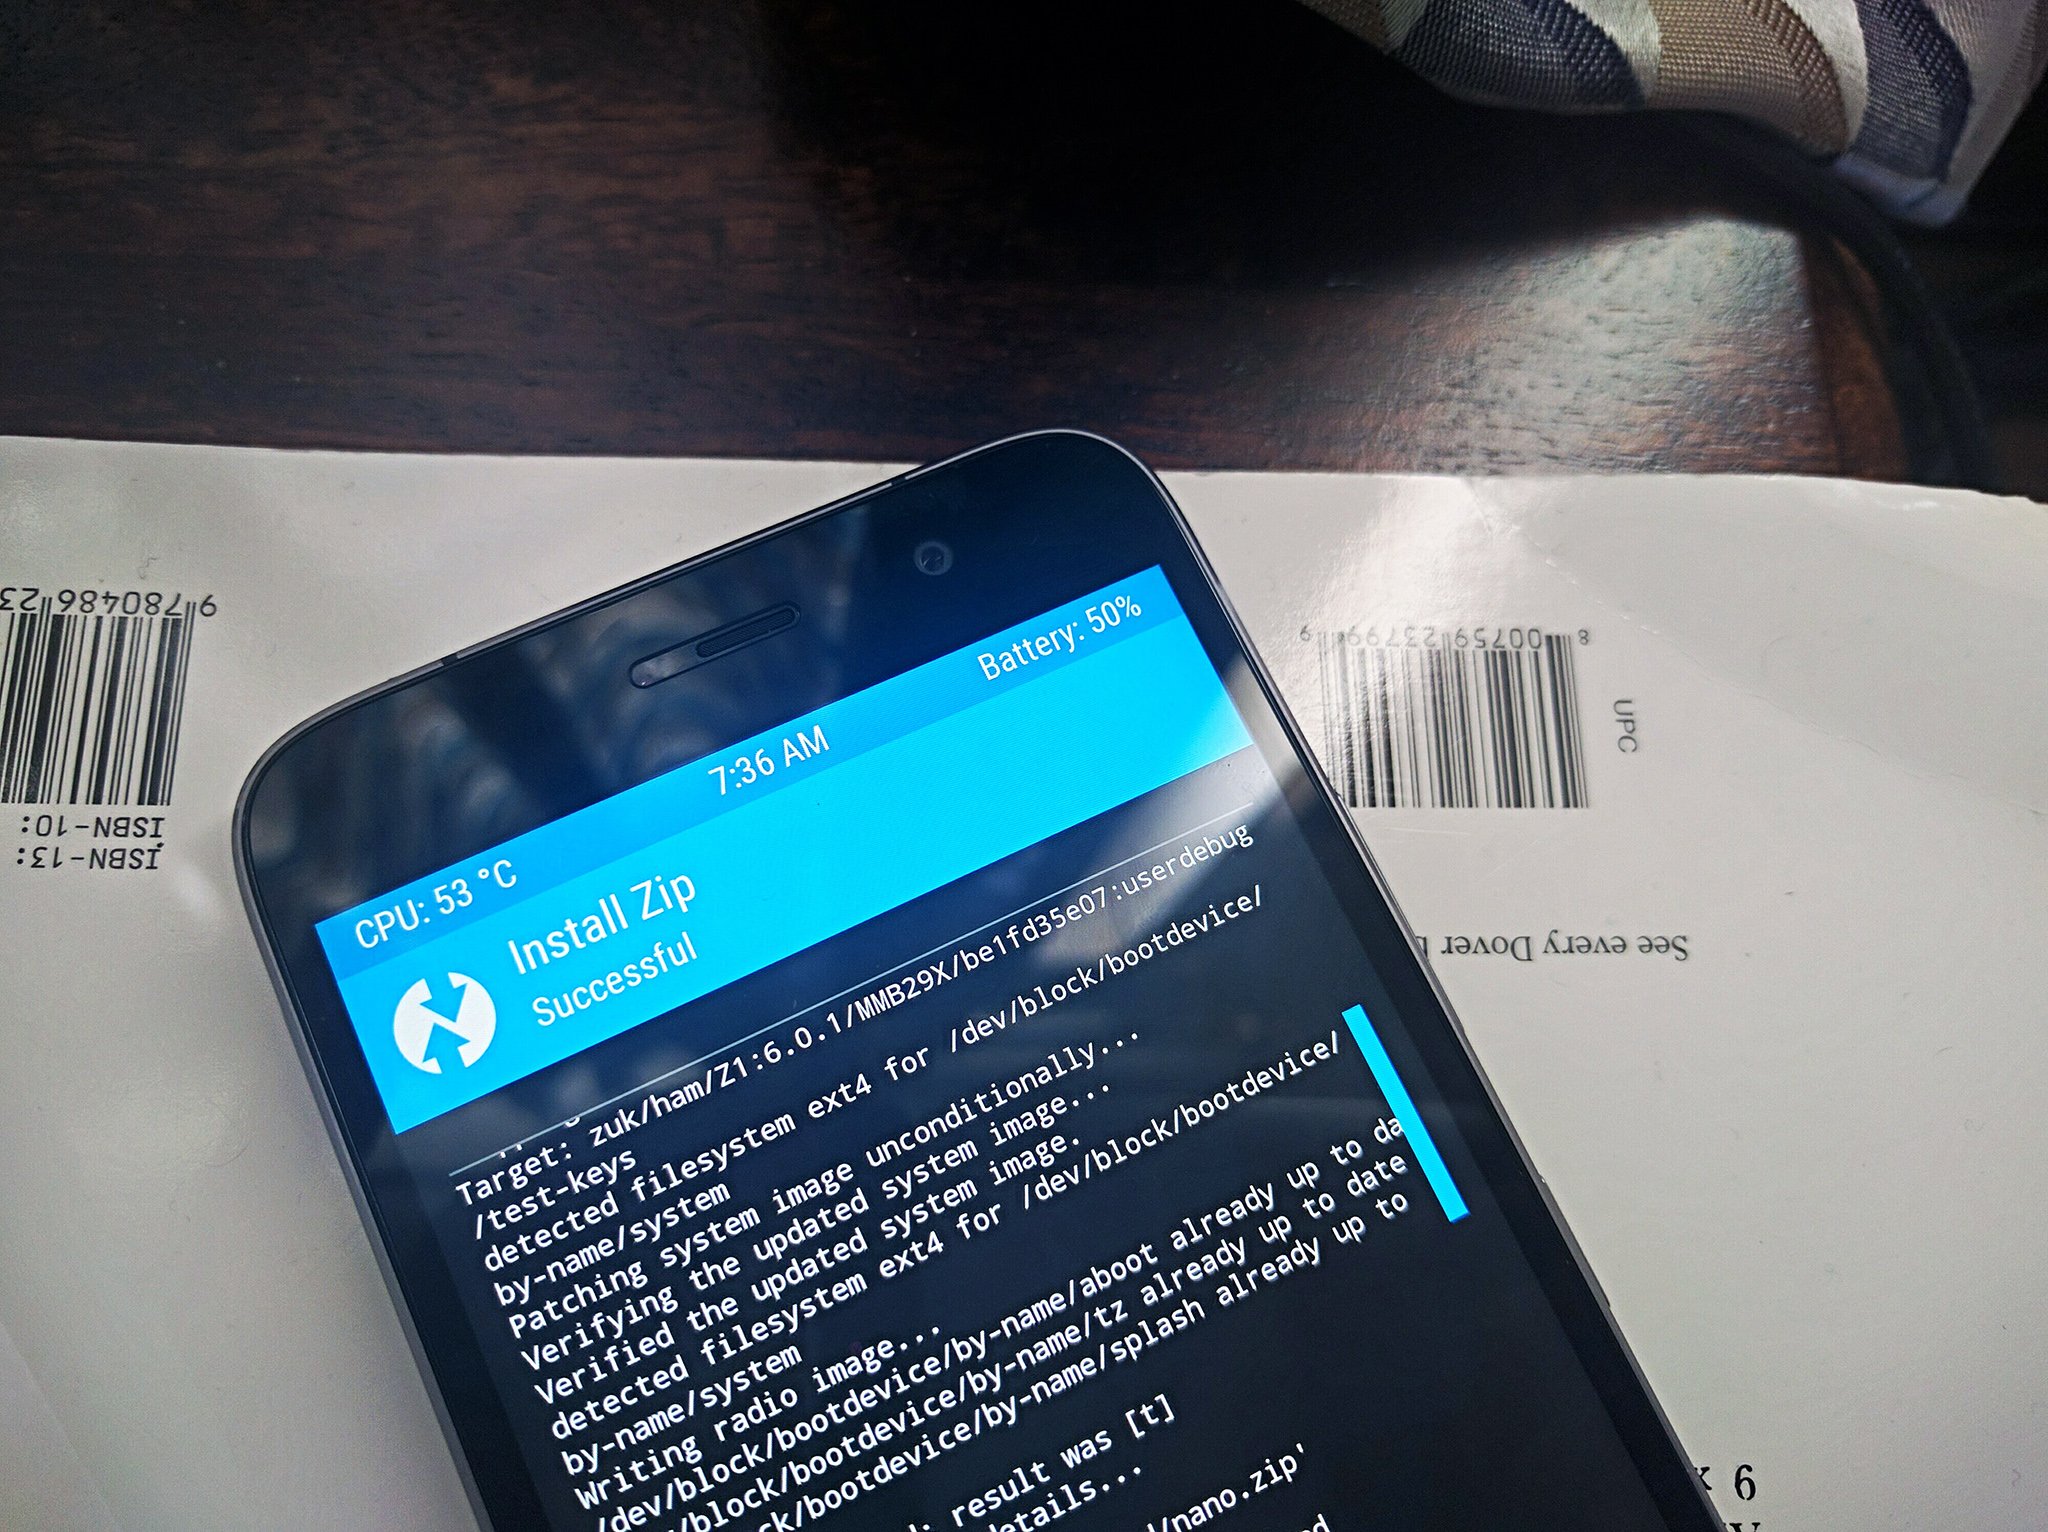
Want Marshmallow on your Lenovo ZUK Z1? You can install CyanogenMod 13.0 right now!

Lenovo's ZUK Z1 is one of the best budget phones currently available in India. The handset offers great hardware for the price, which includes a 5.5-inch Full HD screen, Snapdragon 801, 64GB storage, 3GB of RAM, and a 4100mAh battery that lasts at least a day and a half. That said, things aren't as rosy on the software side of things, as the phone is yet to pick up the Marshmallow update, currently running Cyanogen OS 12.1.
However, a stable CM 13.0 ROM — based on Android 6.0.1 Marshmallow — is available to flash should you desire to do so. Want to know how you can get Marshmallow on you Z1? Read on to find out.
The prerequisites
- A Lenovo ZUK Z1.
- CyanogenMod 13 snapshot build for the phone and TWRP.
- The Google apps package.
- ADB and fastboot drivers — I use Minimal ADB and Fastboot as it gives you both utilities without having to install the Android SDK.
- Enable developer options: Go to Settings > About phone, and tap on the Build number field seven times to enable developer options.
How to flash CyanogenMod 13.0 on the Lenovo ZUK Z1
- Go to Settings > Developer options. Slide the toggle for Android debugging to On. Also set the toggle for OEM unlocking to On.
- Connect the Z1 to your computer.
- Navigate to the folder where Minimal ADB and Fastboot is installed, and launch a Command Prompt window. Right click anywhere within the folder while holding down the Shift key, and select "Open command window here" from the context menu.
- From the Command Prompt window, use the following command to boot the phone into fastboot:
adb reboot bootloader - The Z1 will reboot and you'll see a message on-screen that says that the phone is now in fastboot mode. To verify the connection, enter the following command:
fastboot -i 0x2b4c devices - You should be able to see the serial number of the Z1 listed. All good? Now type the following command:
fastboot -i 0x2b4c oem unlock-go - The Z1 is now unlocked and we can proceed with flashing the CyanogenMod 13.0 build. Once the phone reboots, head back into Settings > Developer options and re-enable Android debugging.
- Install a custom recovery like TWRP by downloading a recovery image for the Z1. Rename it to twrp.img, and transfer it to the Minimal ADB and Fastboot folder.
- Use fastboot to install TWRP with the following command:
fastboot flash twrp.img - Download the CyanogenMod 13.0 package, rename it to cm.zip, and transfer the file into the Minimal ADB and Fastboot folder.
- Download Google apps, change the name of the package to google.zip, and move it to the Minimal ADB and Fastboot folder.
- Use ADB to move cm.zip to the phone's internal storage with the following command:
adb push cm.zip /sdcard/ - Use ADB to move google.zip to the phone's internal storage with the following command:
adb push google.zip /sdcard/ - Turn off the phone, and hold the volume up, volume down, and power buttons simultaneously to boot into TWRP.
- Select Wipe, and then choose Install.
- Navigate to the /sdcard folder, and choose cm.zip.
- Slide the screen to start installing CyanogenMod 13.0. Once the installation is finished, head back to the Install screen and choose google.zip to install the Google apps package.
- After the installation is finished, hit Reboot to boot into CyanogenMod.
You're now running CyanogenMod 13.0. Any questions? Let us know in the comments below.
Get the latest news from Android Central, your trusted companion in the world of Android

Harish Jonnalagadda is Android Central's Senior Editor overseeing mobile coverage. In his current role, he leads the site's coverage of Chinese phone brands, networking products, and AV gear. He has been testing phones for over a decade, and has extensive experience in mobile hardware and the global semiconductor industry. Contact him on Twitter at @chunkynerd.
