Android 5.0 Lollipop Nexus factory images are live — here's how to update!

New Android 5.0 Lollipop factory images for the Nexus 5, 7, 10 and 9
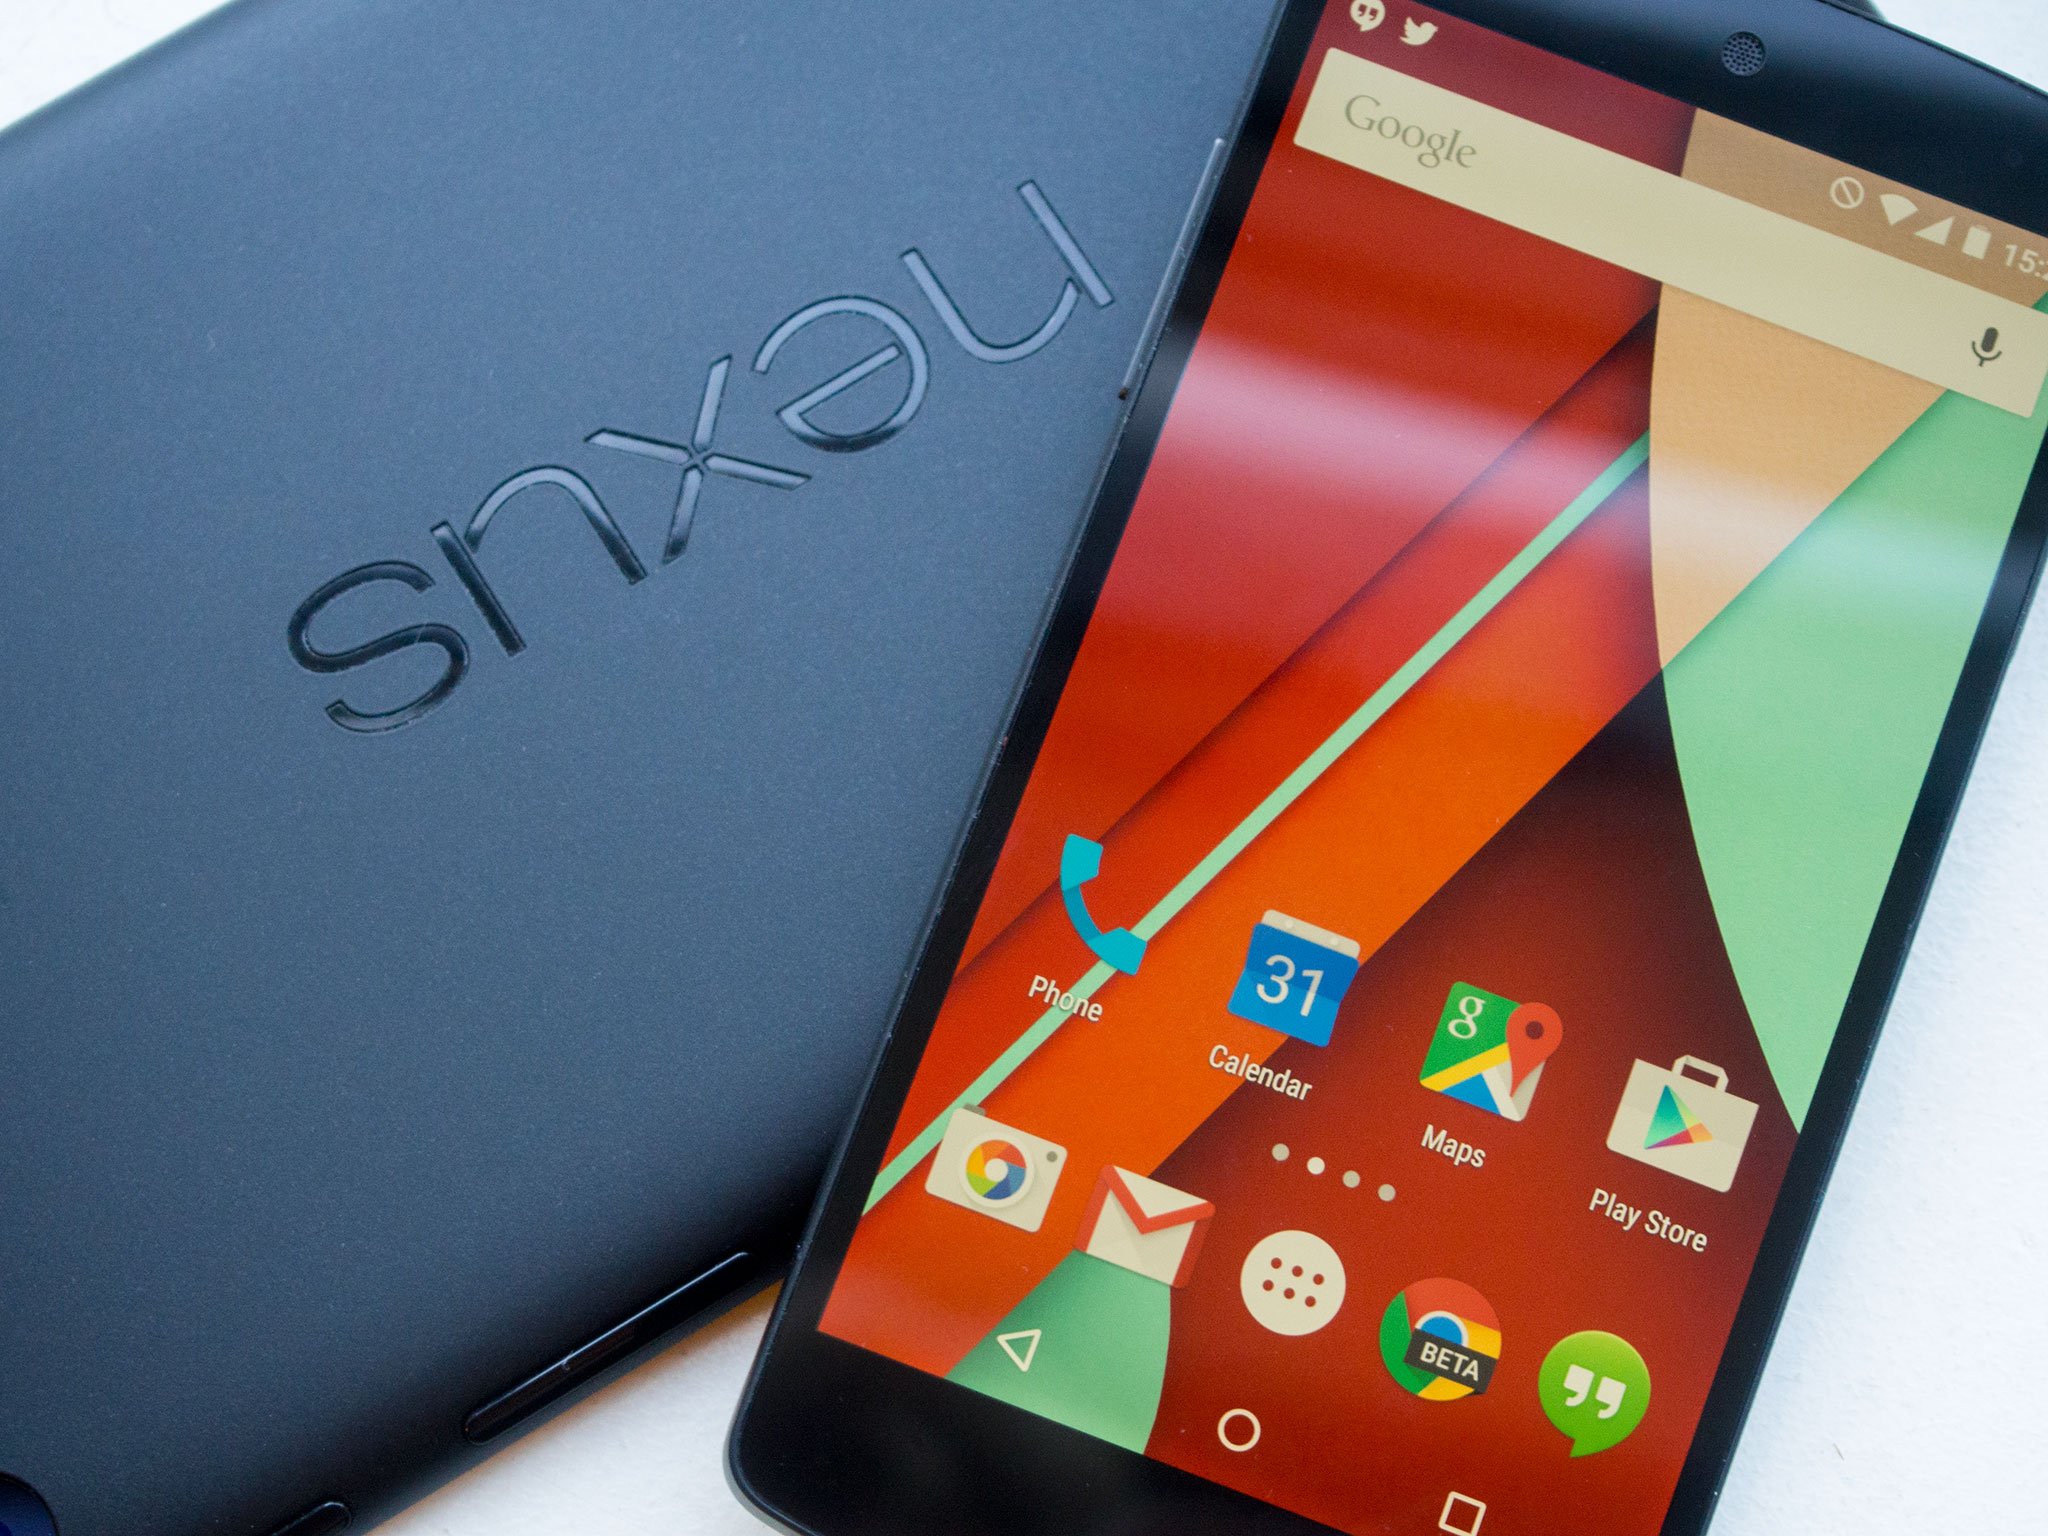
Android 5.0 Lollipop is upon us! The Nexus 9 tablet tablet has been on sale for a good while, but today the first Lollipop updates have started to become available for Nexus devices in the form of factory images. At the time of writing we're seeing Lollipop factory images for the Nexus 5, Nexus 7 (Wifi-only, 2013 + 2014 models) and Nexus 10 over on the Android Developers site. There's also an updated build for the Nexus 9 — LRX21Q.
As always, Android 5.0 updates will filter to Nexus and Google Play edition devices automatically in the coming weeks for those who don't manually update.
However if you don't want to wait to update your Nexus phone or tablet, the good news is that manually updating your device is relatively easy. All you'll need is your Nexus, an unlocked bootloader, a little bit of command line knowledge. We'll walk you through the process after the break.
Caution: This guide is intended for technically proficient users only. Proceed at your own risk. Dragons ahead, etc.
Where to find Nexus factory images
Factory images allow you to restore your Nexus to the latest version of Android, regardless of whatever software — or custom ROM — you're running. These can be downloaded from Google here. You'll need a Nexus with an unlocked bootloader in order to flash a factory image. Before beginning, remember to double-check you're using the right factory image for your device!
Note that flashing your Nexus to Lollipop using the instructions below will wipe EVERYTHING on your device — apps, photos, music and all.

How to flash your Nexus to Lollipop using a factory image
- Unpack the factory image package from Google to the Android SDK/platform-tools folder on your computer
- On your Nexus, go to Settings > Development options and switch the toggle on. Then enable USB debugging under the "Debugging" menu group.
- Power down your phone or tablet.
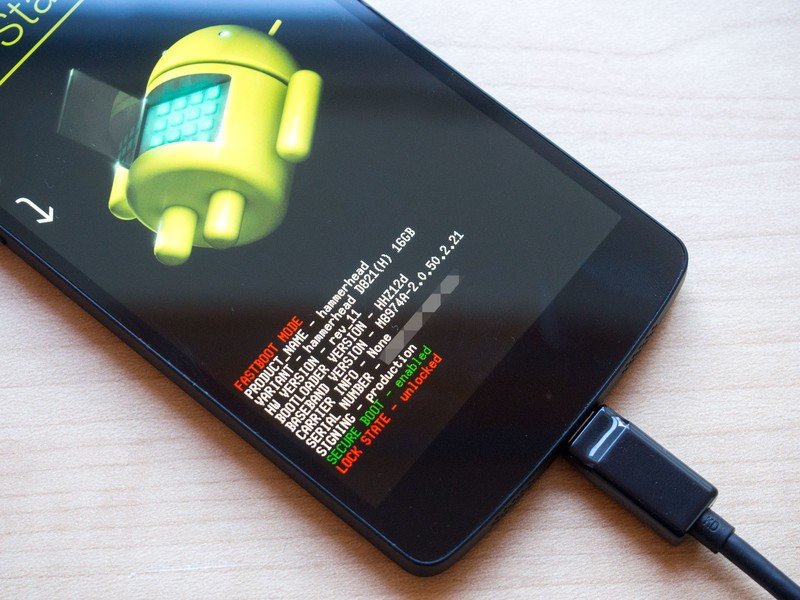
- Start up the bootloader by holding down volume up, volume down and power on your device.
- When the menu loads, plug your Nexus into your computer.
- On your computer, open up a command prompt or terminal window.
- On Windows, type: flash-all.bat
- ... or on Mac, type: ./flash-all.sh
- ... or on Linux, type: ./flash-all.sh
Your device will be wiped and set up with a clean install of Android 5.0. - Enjoy some delicious Lollipop!
And that's it! We'll keep this page updated when over-the-air updates start rolling out, so stay tuned!
Get the latest news from Android Central, your trusted companion in the world of Android
More: The complete guide to manually updating your Nexus!

Alex was with Android Central for over a decade, producing written and video content for the site, and served as global Executive Editor from 2016 to 2022.
