The first 9 things to do on your new Samsung Galaxy S9

Get the latest news from Android Central, your trusted companion in the world of Android
You are now subscribed
Your newsletter sign-up was successful
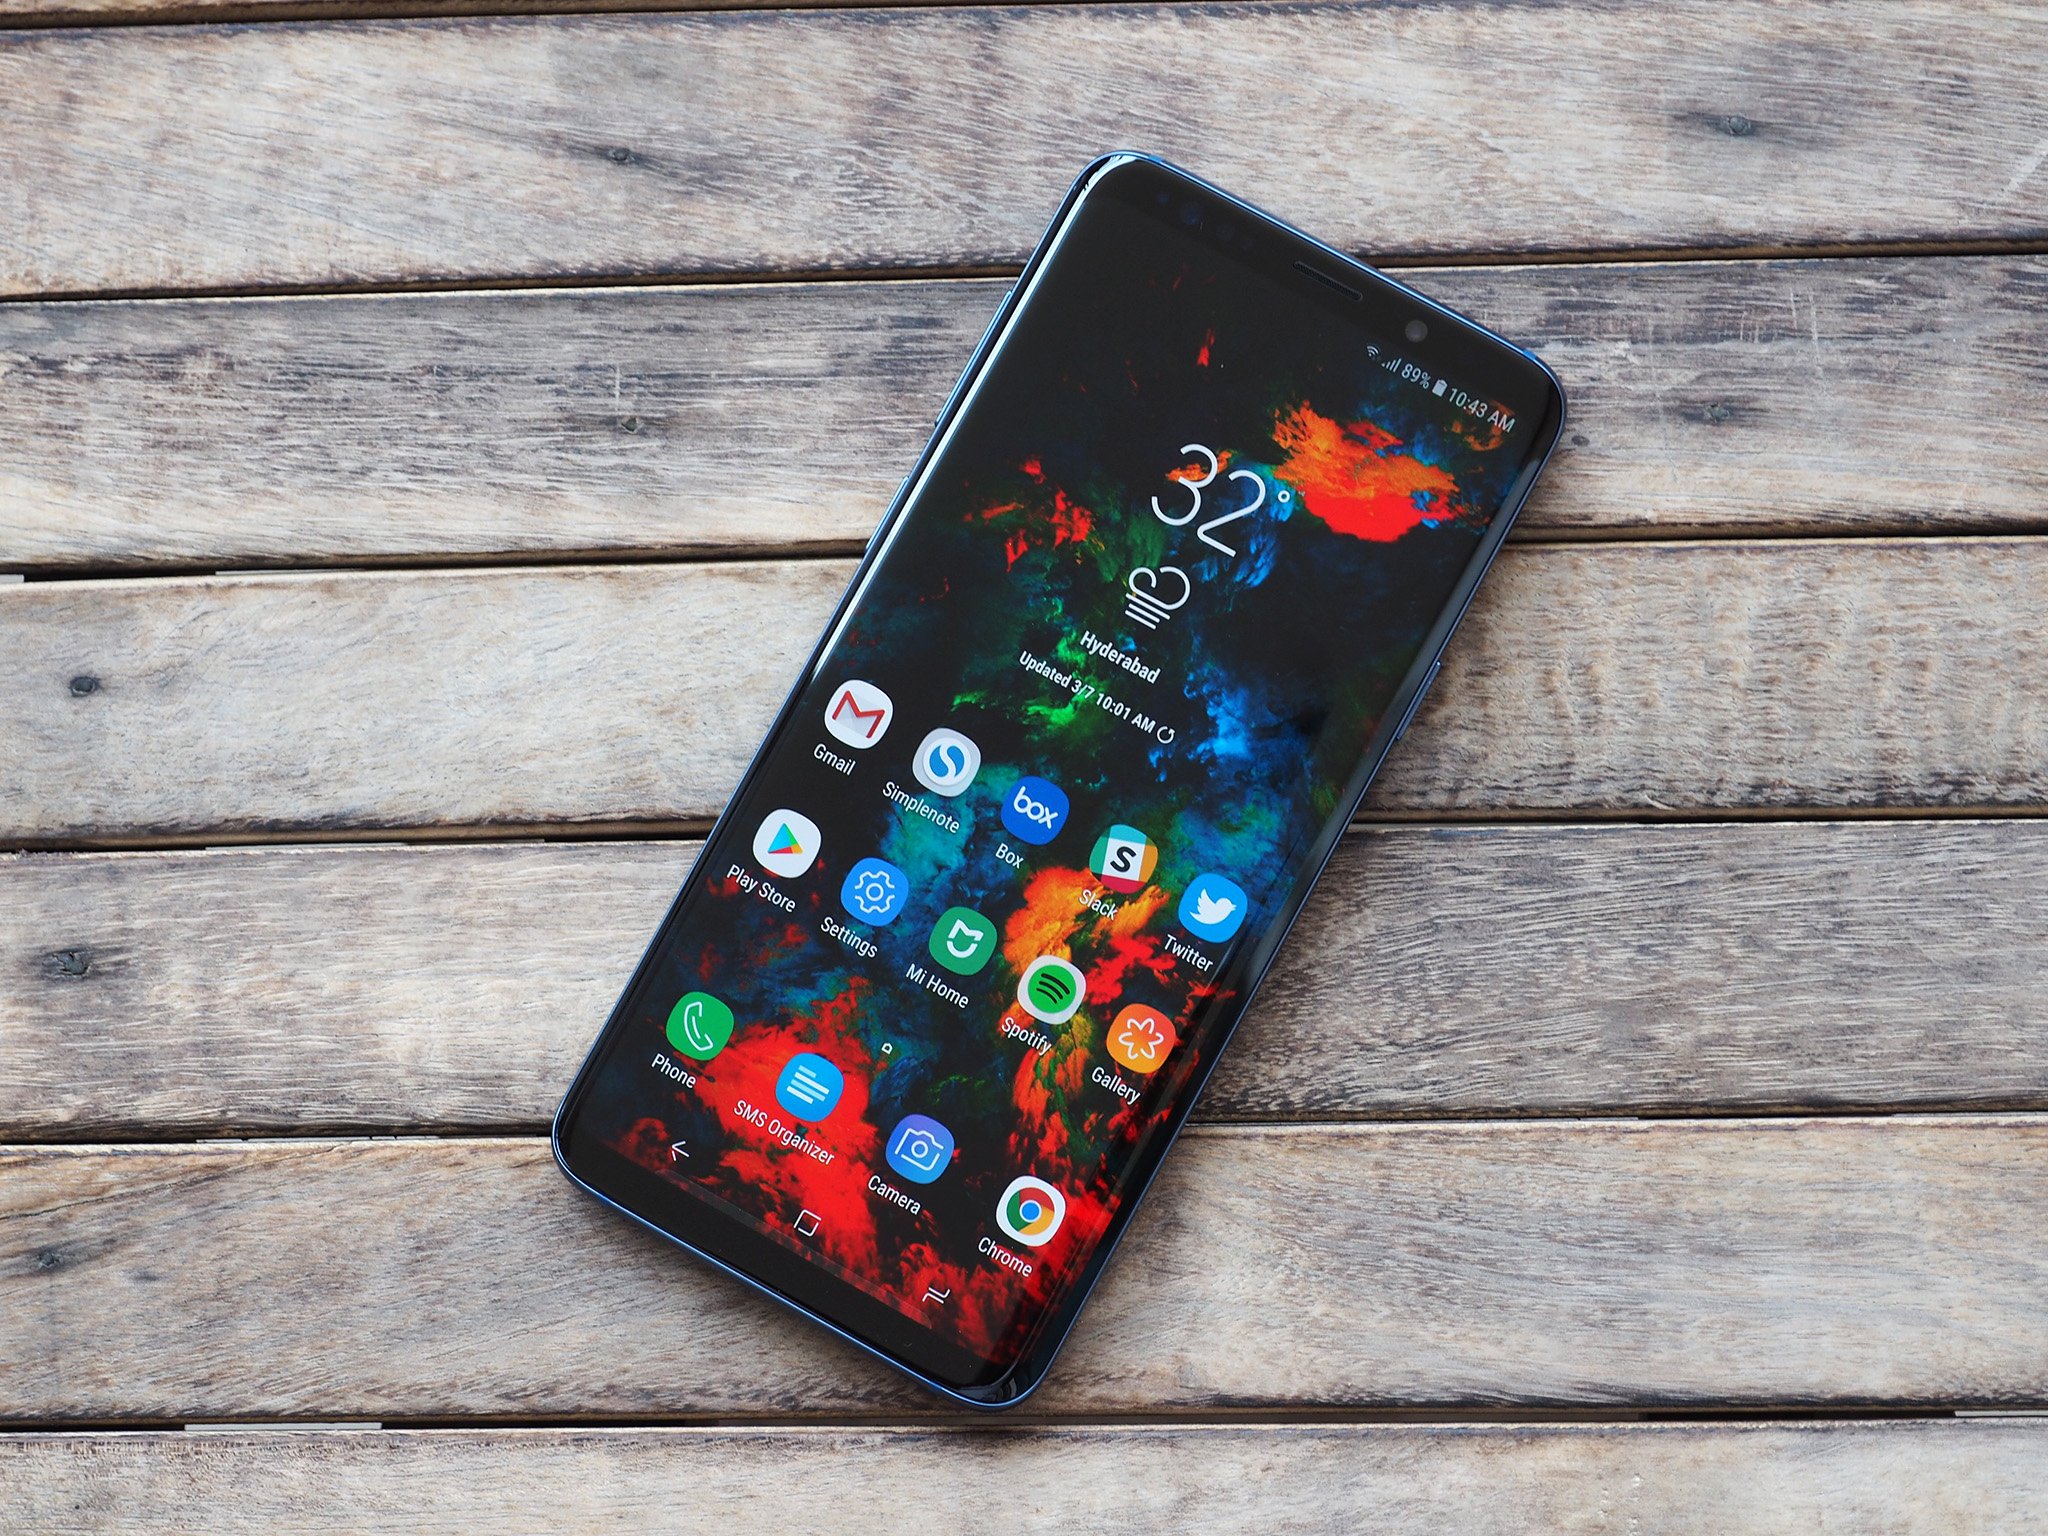
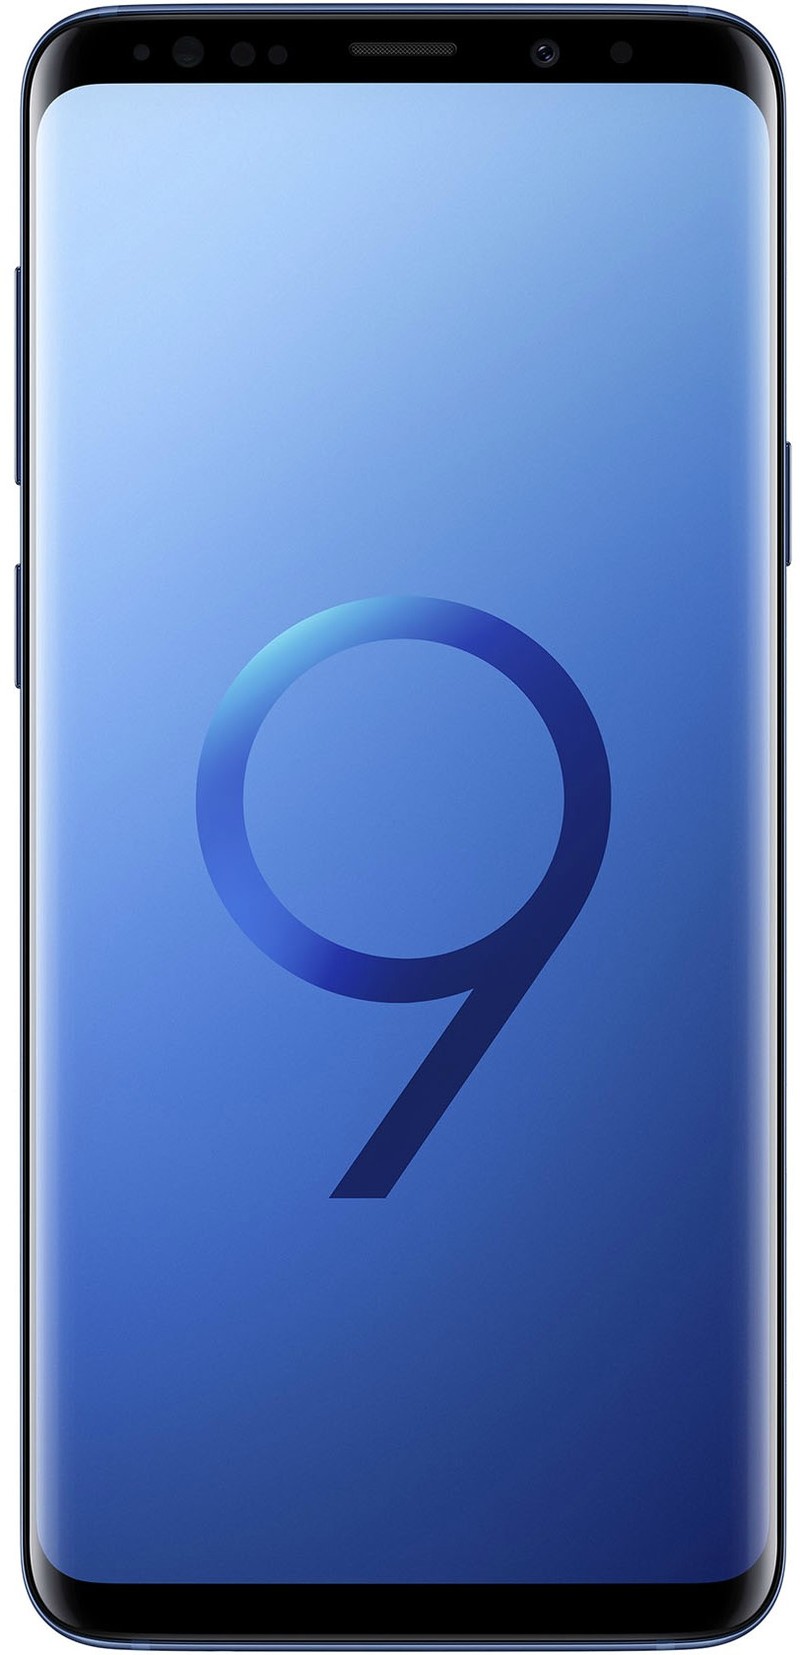
The Galaxy S9 and S9+ are Samsung's bread and butter, and there's plenty to like in whichever size you choose. Both phones come with a slew of great features, and Samsung's user interface offers a ton of customization options. If you've just got your hands on your Galaxy S9 or S9+ and are looking for tips to personalize your device, read on.
Products used in this guide
- Amazon: Samsung Galaxy S9 ($600)
- Amazon: Samsung Galaxy S9+ ($650)
Set up iris scanning/Intelligent Scan
Samsung has a unique biometric authentication feature that leverages facial recognition and iris scanning. Dubbed Intelligent Scan, the feature is faster than the standard face unlock or iris scanning, and it does a better job authenticating your facial features in low-light conditions.
Use iris and fingerprint scanning interchangeably.
That said, Samsung notes that Intelligent Scan isn't as secure as iris scanning, and you won't be able to use the feature with Samsung Pay. The feature is essentially designed to complement the fingerprint scanner at the back, and offer a quick way to unlock your phone.
To get started, go to Settings, Lock screen and security then Intelligent Scan and follow the prompts to set up the biometric authentication service.
Switch the screen resolution to WQHD+
The Galaxy S9 comes with a WQHD+ Super AMOLED panel that's easily one of the best displays available on a phone today. However, the default resolution out of the box is FHD+ (2220x1080) and not QHD+ (2960x1440).
Samsung introduced the change a few years ago on the Galaxy S7, likely to improve battery life and eke out more performance, and the feature has stayed intact on the Galaxy S8 and now the Galaxy S9. While the difference between 1080p and 1440p isn't that noticeable on a 5.8- or 6.2-inch panel, you'll want to switch the resolution to WQHD+ to take full advantage of that gorgeous screen.
Get the latest news from Android Central, your trusted companion in the world of Android
To do so, head to Settings, Display, Screen resolution and toggle the slider to WQHD+.
Configure Edge panels
Samsung went all-in on curved panels last year, so if you're picking up the Galaxy S9, you'll get a screen that curves outwards on both sides. The manufacturer baked in features to take advantage of the dual curved panel in the form of Edge screen.
Something to add to your multi-tasking workflow.
The feature lets you access favorite apps and contacts by a simple swipe gesture from the edge of the screen, and you can also configure shortcuts, get score updates and even the latest news headlines.
To configure the Edge screen, go to Settings, Display, Edge screen and toggle Edge panels. There's also an Edge lighting feature that lights up the sides of the phone for incoming notifications and calls. You can also enable it from the same menu, and there are several customization options that let you choose the color and effect for notifications.
As for the Edge screen, you'll see a short pull-out tab on the right edge of the screen, through which you'll be able to access oft-used apps, contacts, and more. Once you get to the Edge panel, you can edit the options by selecting the Gear icon at the bottom left of the screen. If you're not a fan of Edge panels, you can disable it entirely.
Change the position of the nav keys
Samsung got rid of the hardware navigation buttons last year on the Galaxy S8, paving the way for on-screen keys. One advantage to having software navigation keys is the configurability — you can finally change the layout of the back and recent button, and hide the nav bar entirely.
If you're used to having the back button to the left of the home key, you can change the layout of the keys from the settings. Navigate to Settings, Display, Navigation bar, Button layout and select your preferred configuration. You can also set the nav bar to auto-hide by toggling the Show and hide button option in the same menu.
Set up the blue light filter
The Galaxy S9 comes with a blue light filter that reduces strain on your eyes when viewing the screen at night. Switching on the filter eliminates blue hues and gravitates the screen to warmer colors, resulting in a yellowish tint. You can adjust the intensity of the filter, and create a schedule so it turns on automatically at a specified time.
To configure the blue light filter, head to Settings, Display, Blue light filter. You can either set a custom schedule or have it enabled from sunset to sunrise — you'll need to enable location access for this.
Configure Bixby — or get rid of it entirely
Samsung introduced Bixby last year, with the virtual assistant designed to surface relevant information — like your calendar entries. The virtual assistant has a lot going for it: Bixby Vision lets you translate text from images in real-time; Bixby Home is a centralized hub for Facebook, Twitter, and other social media sources, and Bixby Voice lets you open apps with voice commands.
Bixby can be useful, but also frustrating.
To get started with Bixby, you can hit the dedicated hardware button located underneath the volume rocker, and set up the virtual assistant. You can also swipe to your leftmost home screen — which by default is taken up by Bixby Home — and set up integrations with other services.
If you feel Bixby is superfluous considering Google Assistant performs most of the same tasks, there is an option to disable it entirely. With the virtual assistant getting a dedicated hardware button, disabling the service also nullifies the button as it can't be configured for other actions.
Set up Always On Display
Always On Display has been a mainstay on Samsung's phones for some time now, and the feature makes it easy to view incoming notifications without turning on the display. You'll also be able to view the clock, quickly check your schedule, and access music playback controls right from the lock screen.
Head to Settings, Lock screen and security, Always On Display to enable the feature and select what information to surface on the lock screen. Once AOD is enabled, you'll be able to pick the clock styles, widgets, and add contact information on the lock screen by navigating to Settings, Lock screen and security, Clock and Face Widgets.
Get started with Samsung Pay
Samsung Pay will have you bragging to your friends after the first use.
Samsung Pay is one of the best mobile payment services available today, if not the best overall. The feature is notable as it allows you to use your phone to pay for purchases at retail stores that don't have NFC card readers. That's because of Magnetic Secure Transmission, which essentially mimics a credit or debit card's magnetic stripe.
MST requires dedicated hardware, which is why the feature is limited to Samsung phones. To set up Samsung Pay, you'll first have to download the app by heading to the Galaxy Apps store. Once it's installed, you'll be able to add your credit and debit card information and start using the service to pay for in-store and online purchases.
Turn off app icon borders
Samsung automatically turns all icons into squircles, creating a white border around those that don't scale. The end result doesn't look all that great, particularly on apps that feature a rounded icon, like Spotify.
If you're looking to get rid of the icon borders, there's an easy fix. Go to Settings, Display, Icon and select Icons only and hit the Done button to revert the icons to their original format.

Samsung's latest tech at a great price
The Galaxy S9+ is overshadowed somewhat by the newer and larger Note 9, but it shouldn't be forgotten. It's still an excellent flagship phone with all of the same design, features and appeal ... but for a fraction of the price. For around $650, it's a great phone for anyone who wants to save a little money and still get a great phone that can compete with the best.

Andrew was an Executive Editor, U.S. at Android Central between 2012 and 2020.
