How to add a portable display to your Kano Computer
Get the latest news from Android Central, your trusted companion in the world of Android
You are now subscribed
Your newsletter sign-up was successful
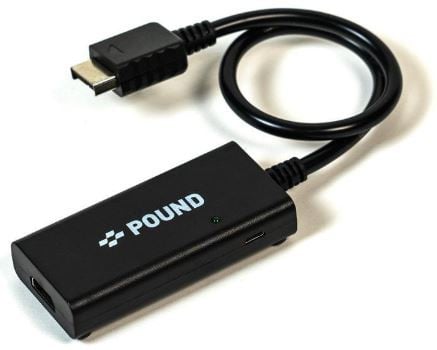
Sometimes you just need to be reassured that no matter where you are, or what you're doing, your Kano computer will be there to help you out. Fortunately, with a tiny, affordable computer being run by the Raspberry Pi 3, that means you'll be able to carry it around wherever you want. Of course, it all depends on the portable display you have. There are multiple ways to add one to your computer, either with an HDMI adapter, an HDMI to VGA adapter, or a DVI to HDMI adaptor. If you have neither of these ports in your monitor, then no need to fret because an adaptor will help you do to the job just fine. Either way, it all leads back to HDMI.
Products used in this guide
- Amazon: Sunfounder 7-inch Monitor ($56)
- The Pi Hut: Raspberry Pi 3 - Model B ($42)
- The Pi Hut: 1.8M HDMI Cable for the Raspberry Pi ($3)
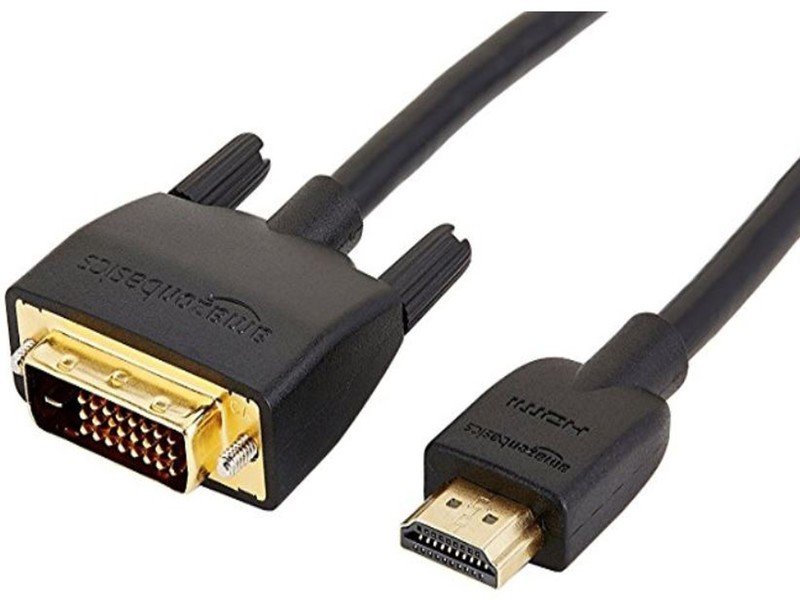
- Amazon: AmazonBasics HDMI to DVI Output Adaptor Cable ($8)
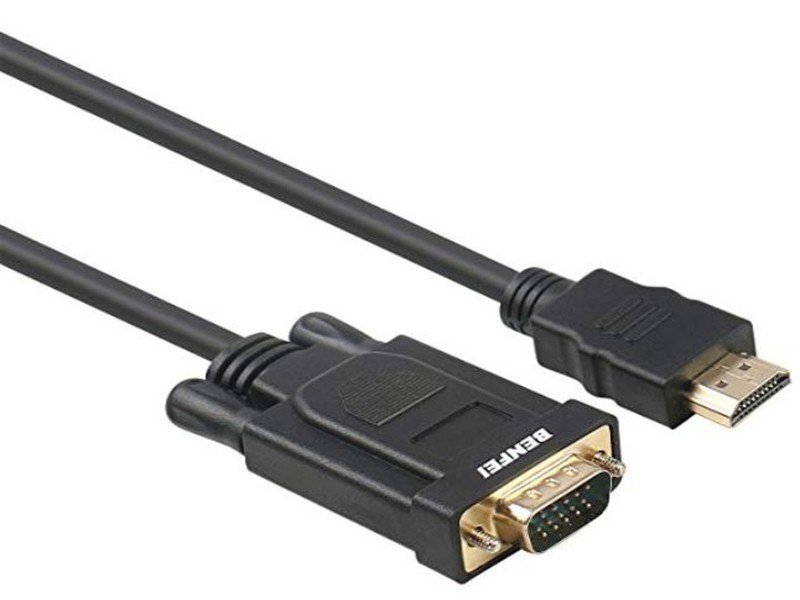
- Amazon: HDMI to VGA Adapter ($10)
How to connect a portable display to your Kano Computer (HDMI)
- Set up your Raspberry Pi 3 Kit. This includes putting it into your casing.
- Check your monitor for aHDMI port. If yes, read on.
- Insert your HDMI cable into the port on your portable monitor.
- Connect the HDMI cable to your Raspberry Pi 3 Kit.
- Boot up your monitor and connect.
- Make an easy as pie pun because now you're officially finished.
It really is that easy to add a portable display to your very own Kano Computer. Though that begs the question, what should you do if the monitor you've bought doesn't have an HDMI port? Don't worry, it's far from being the end of the world. No matter what port your monitor has, it really is so simple that you'll be able to use your Kano Computer as soon as humanly possible. That said, to make sure it properly works, I advise getting a monitor that has the minimum resolution of 1024 x 768.
How to connect a portable display to your Kano Computer (DVI)
- Set up your Raspberry Pi 3 Kit.
- Check your monitor for aDVI port. If yes, read on.
- Insert your DVI cable into your monitor.
- Connect the other side of the cable, aka the HDMI cable to your Raspberry Pi 3 Kit.
- Boot up your monitor and connect.
So you've got your DVI port and your HDMI port's accounted for. But, what about if your monitor has a VGA port?
How to connect a portable display to your Kano Computer (VGA)
- Set up your Raspberry Pi 3 Kit.
- Check your monitor for aVGA port. If yes, read on.
- Insert your VGA cable into your chosen monitor.
- Connect the other side of the cable, aka the HDMI cable to your Raspberry Pi 3 Kit.
- Boot up your monitor and connect.
Alright! Now that you've connected your portable monitor to your own Kano Computer, you should be able to turn the monitor on and see your browser. If not, make sure you're actually on the right HDMI channel, as mistakes do happen which often leads to panic and, in my experience, a loss of money.
However, if you can see your browser then there's no need to be concerned at all and you can celebrate. You won't have to do any configuring to the Kano OS, unless the screen is too small or too big. But for now? Pat yourself on the back champ, you did it.
Our top equipment picks
So you feel like you've got all the equipment you need? Well, think again folks. While you think you've got everything you need, what about something that'll make it so much easier to connect your Kano Computer on the go?
Get the latest news from Android Central, your trusted companion in the world of Android

High resolution, low power consumption
For $56 dollars, this monitor is a complete steal. Not only does it have high resolution to match with a low power consumption, but it works perfectly no matter which Raspberry Pi you have. Pi 3, 2 and 1 Model B/B+, it doesn't matter - it'll all connect no matter what.
Not only is this device portable, but it's also slim and doesn't take up much room. What's more, the monitor comes n HDMI, VGA and DVI ports, meaning that no matter what, you'll always have something to plug into. It also has built-in speakers, useful if you'd rather listen to the sound without headphones.
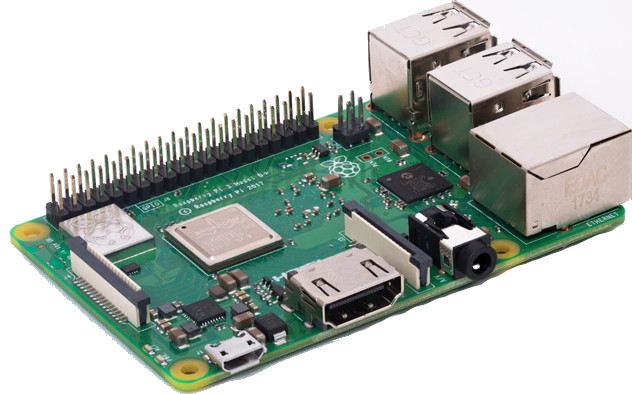
Raspberry Pi 3? Easy as pie
There's nothing that beats having your very own microcomputer in your pocket. With the Raspberry Pi 3 you gain 4 USB ports, 1GB of RAM to run bigger programs and you'll even have the option to connect a Raspberry Pi camera and touchscreen display.
To connect your Kano Computer to a portable monitor in the first place, you're going to need to build one first. With the Raspberry Pi 3, it has never been simpler to create your own computer.
Additional Equipment
With everything you buy, you're going to want to know the pros and cons, right? We're here to help.
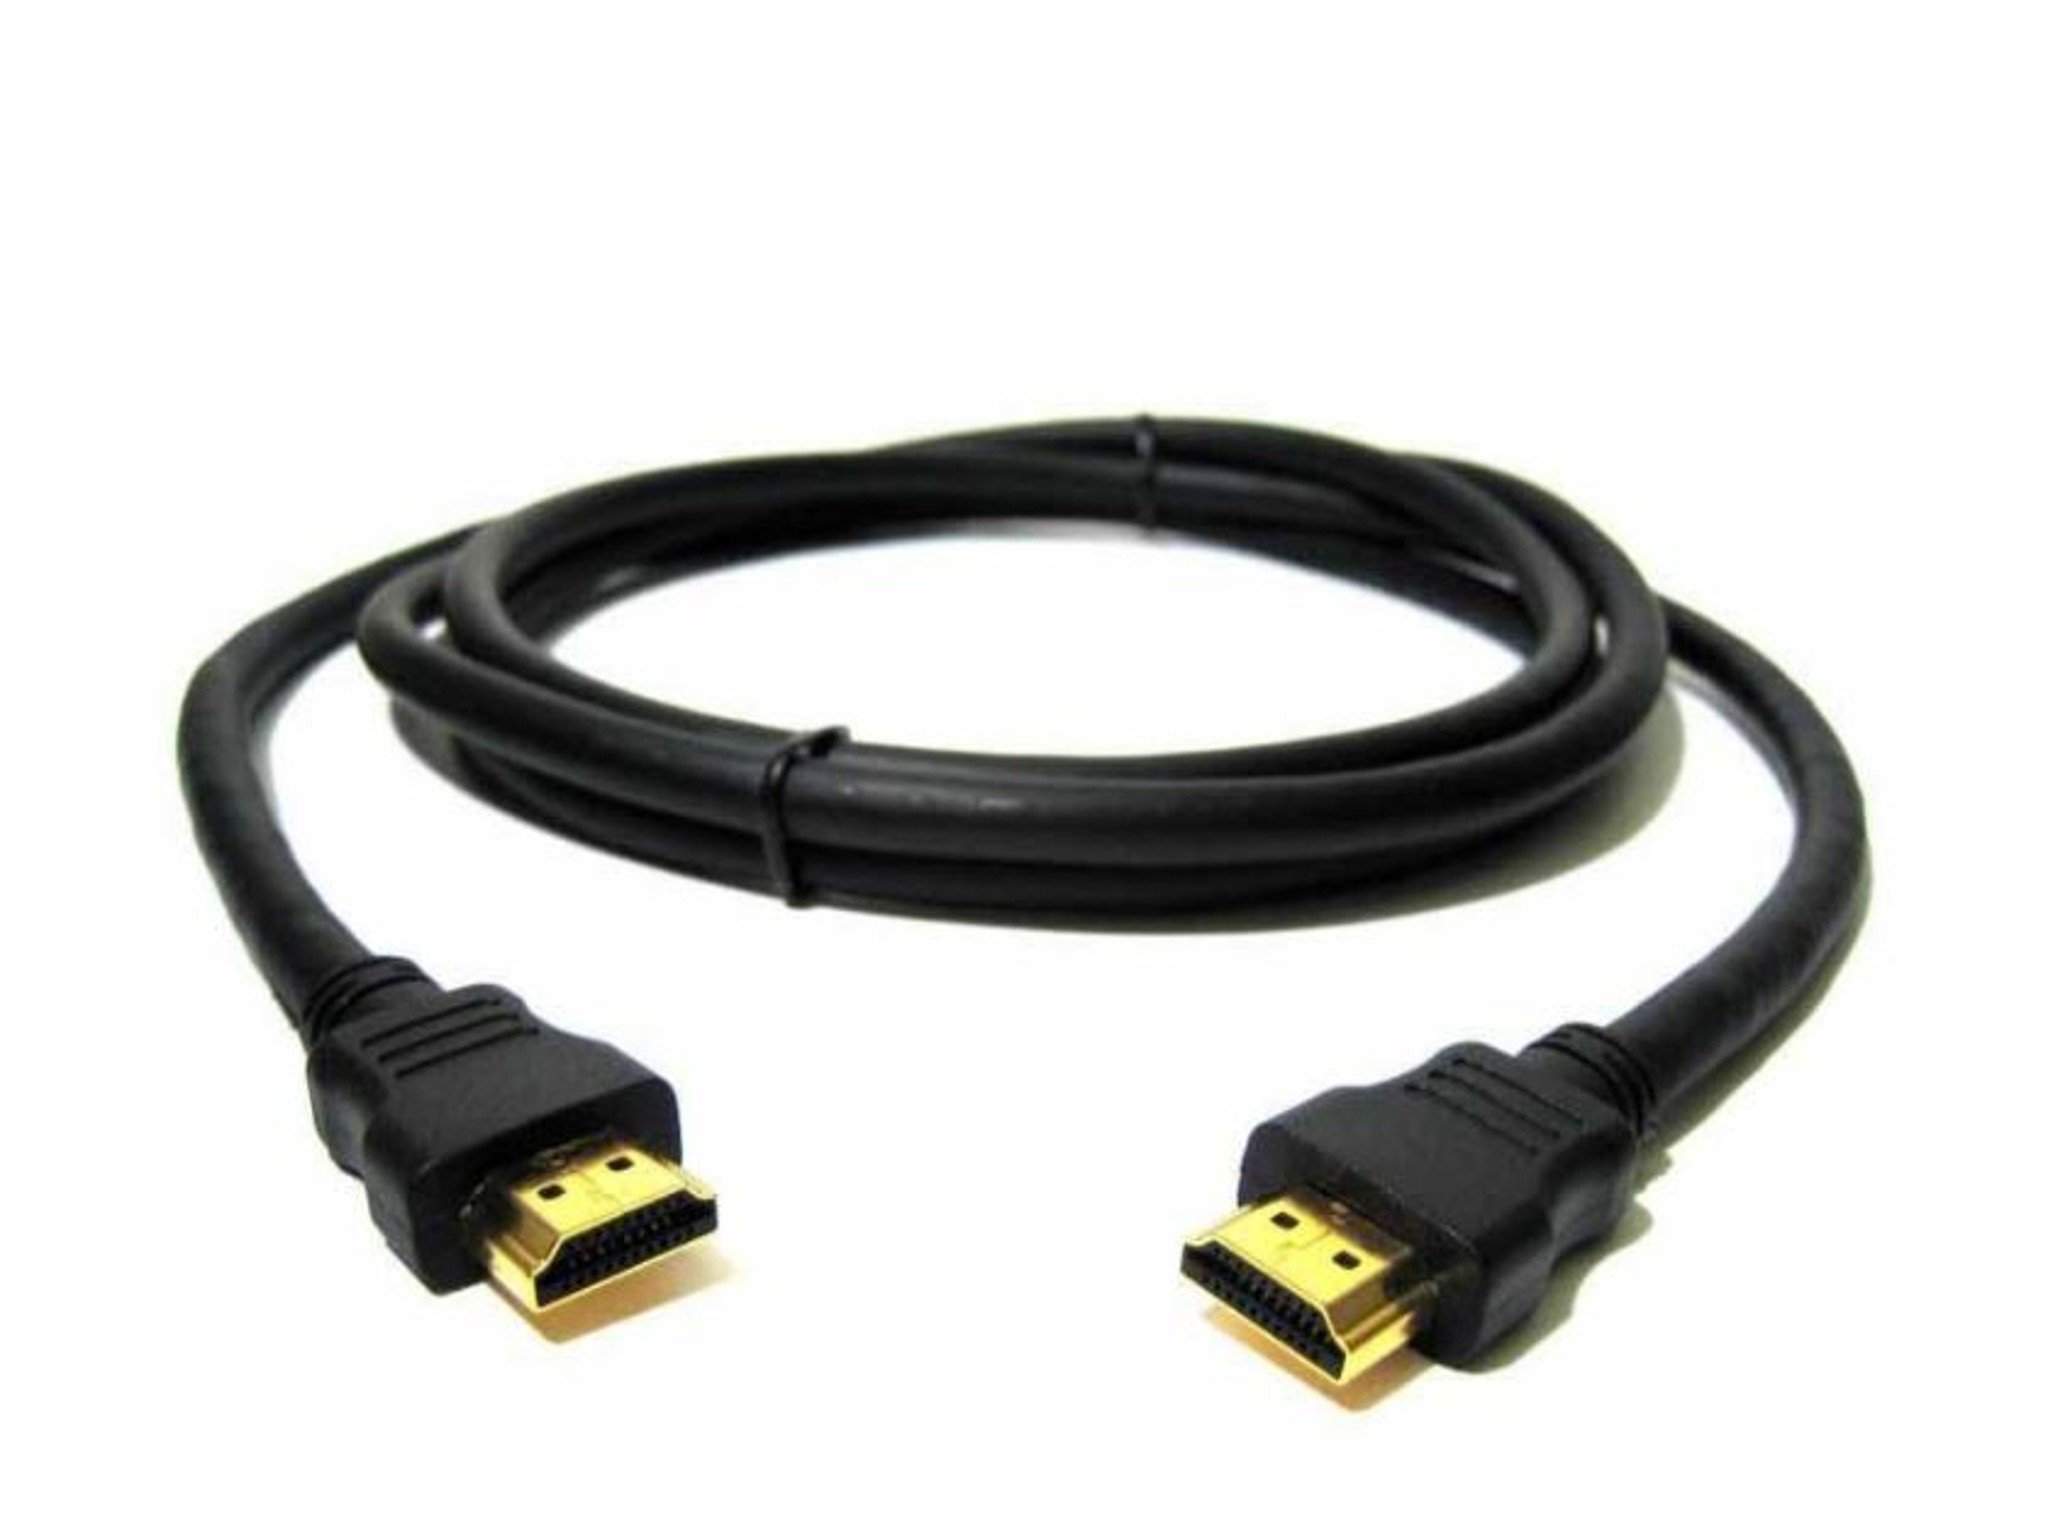
1.8M HDMI Cable for the Raspberry Pi ($3 at PiShop US)
It does exactly what it says. Perfect for connecting your Raspberry Pi with your monitor, and supports 480i, 480p, 720p, 1080i, 1080p.
