How to play Half-Life: Alyx on the Oculus Quest
Get the latest news from Android Central, your trusted companion in the world of Android
You are now subscribed
Your newsletter sign-up was successful
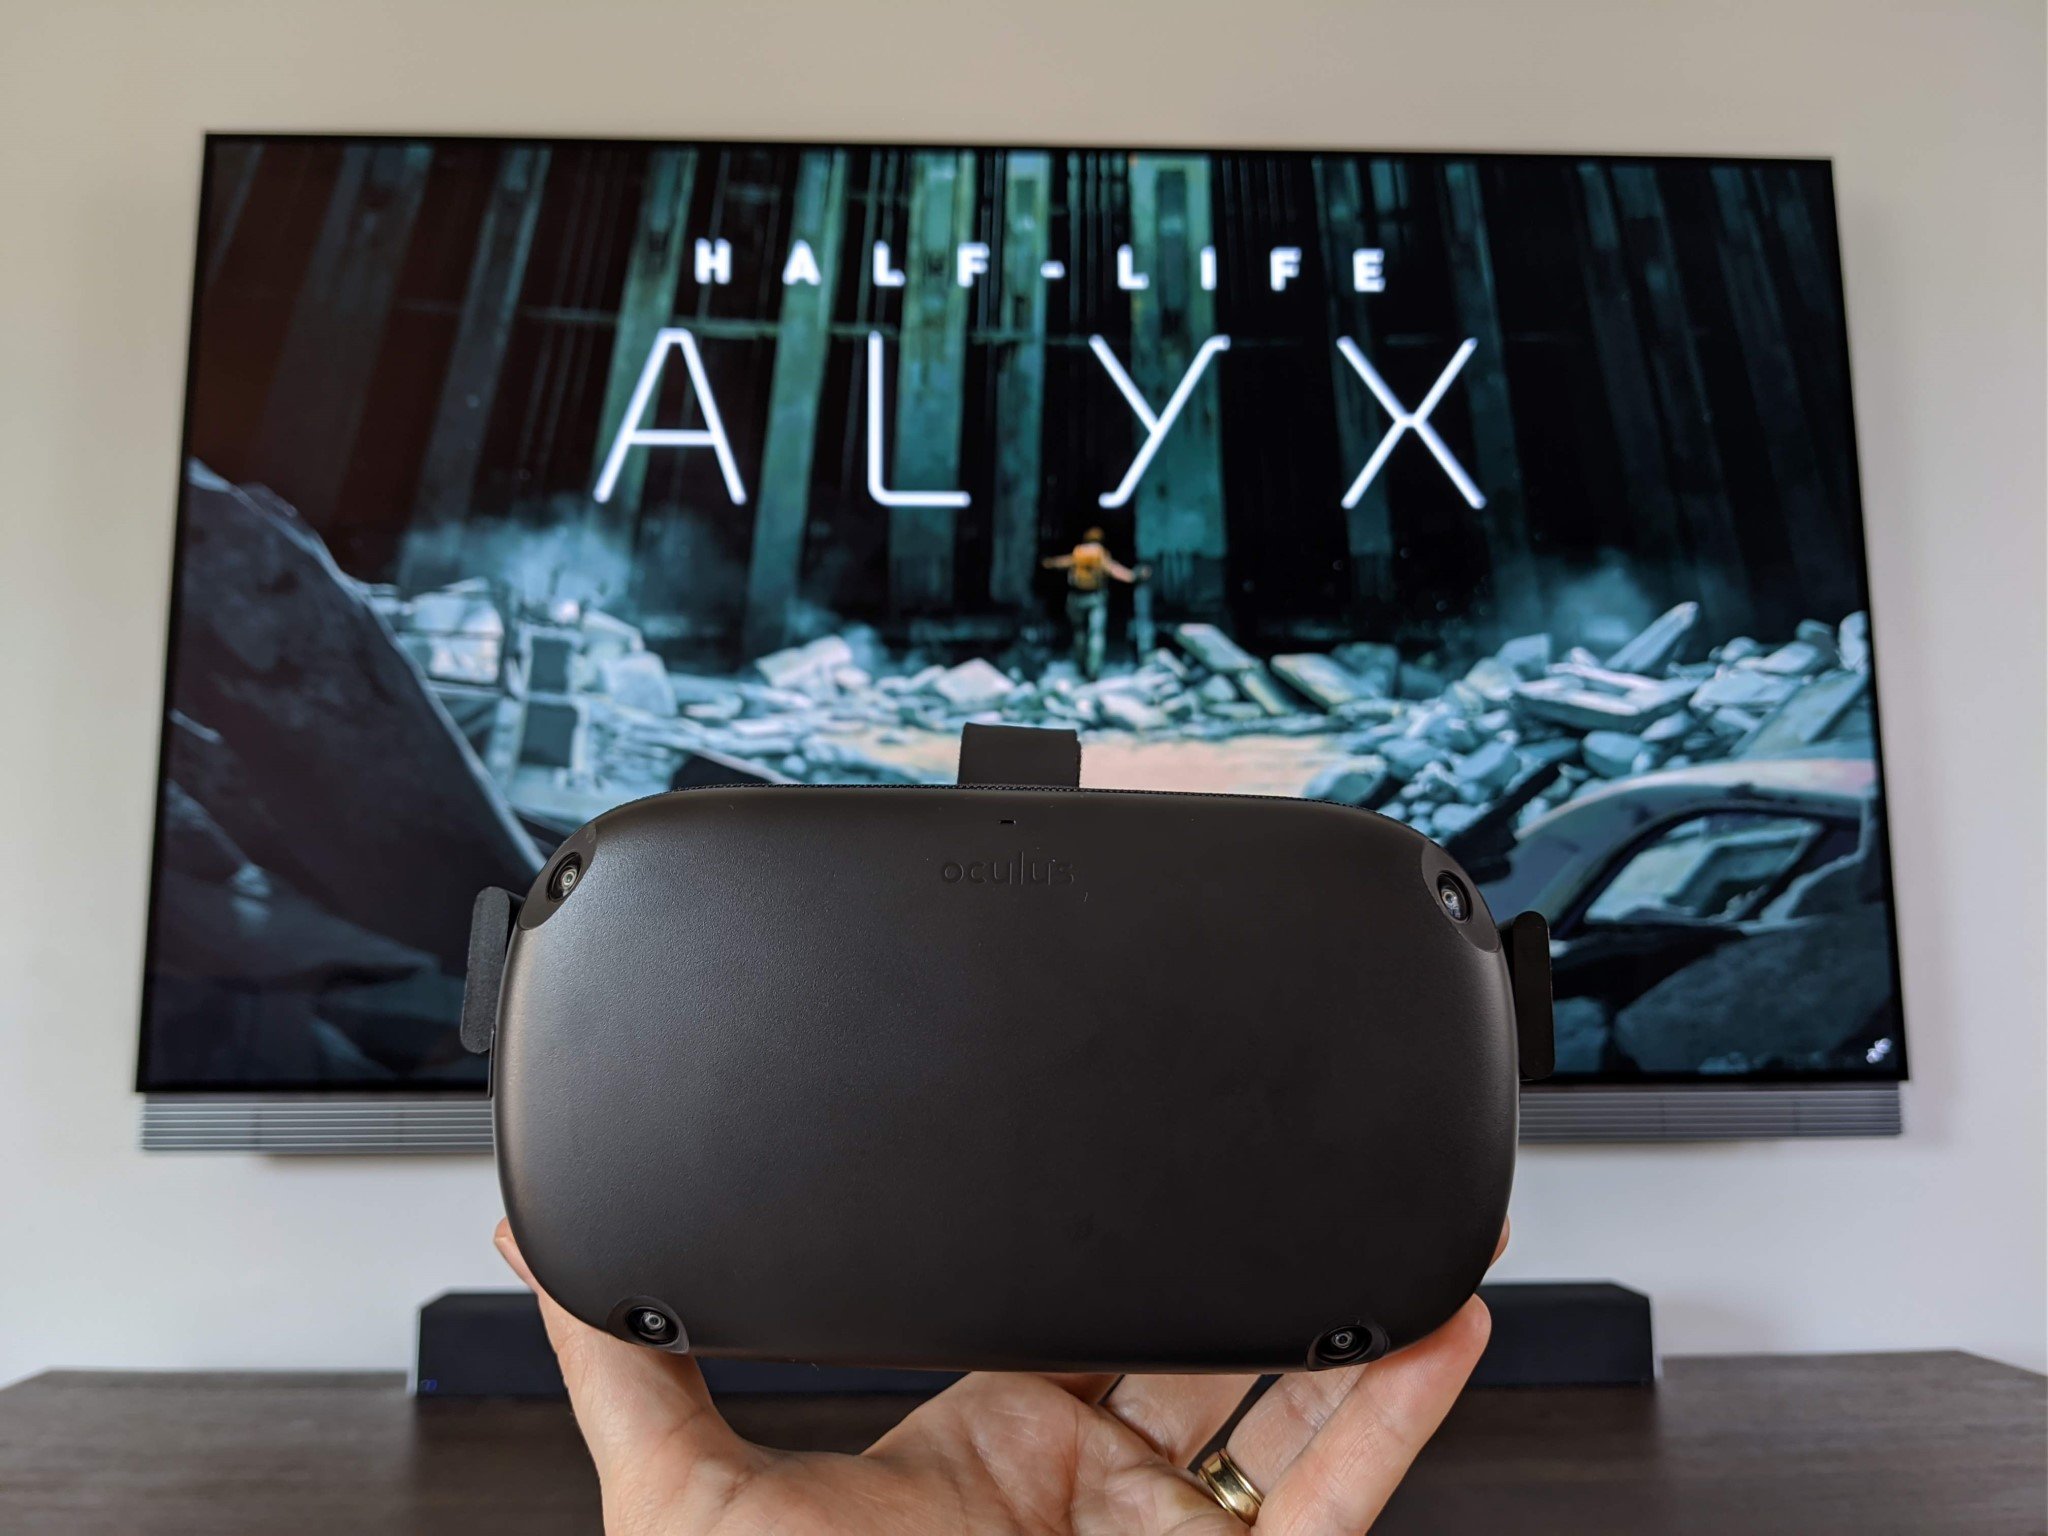
Half-Life: Alyx is Valve's first flagship VR title, and it's the first new Half-Life game in well over a decade. Valve has, once again, lived up to its pedigree as one of the world's foremost video game developers and created a must-have title. Unfortunately, at this moment, it's only available on a PC running Steam. But Oculus Quest owners can rest assured knowing that they don't need to purchase another VR headset just to play; all you need is a decent gaming PC and an Oculus Quest to get playing!
- Oculus Link: a simple wired experience
- Virtual Desktop: the best wireless option
- ALVR: the free wireless solution
Products used in this guide
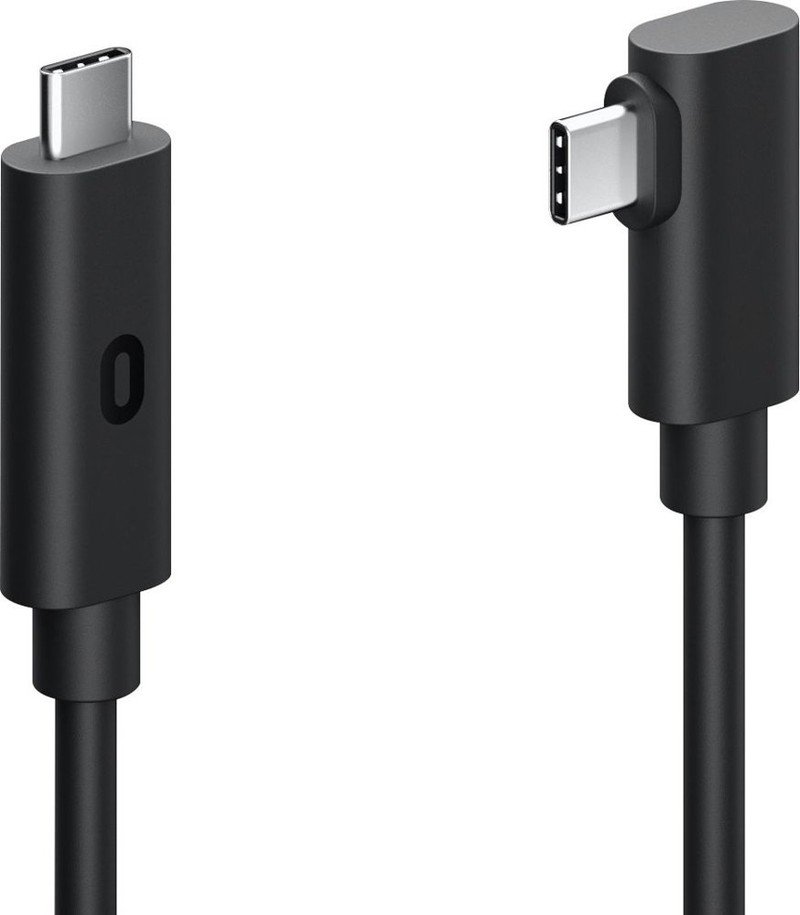
- The easiest way to connect: Oculus Link cable ($80 at Best Buy)
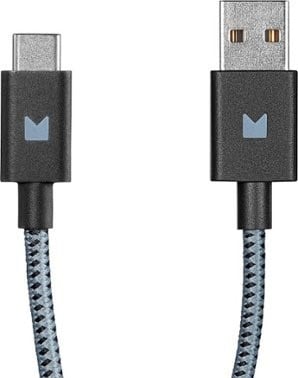
- When a USB-C port isn't available: Modal 10-foot cable ($27 at Best Buy)
- See your computer's desktop through your Quest: Virtual Desktop ($13 at Oculus)
- Unlock your Quest's full potential: SideQuest (Free at SideQuest VR)
How to play Half-Life: Alyx with an Oculus Link
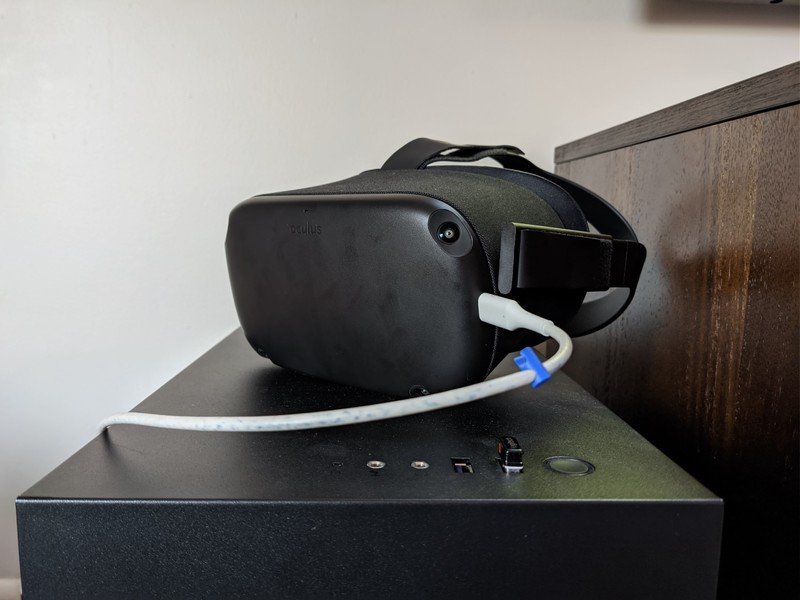
Wired is the best way to go right now for two main reasons. First, the wired experience is unbelievably easy to set up and, second, you'll be getting the highest quality video and audio quality with a wire. To get started, all you'll need is a USB Type-C cable to plug your Oculus Quest into your computer.
The $80 Oculus Link cable will offer the highest quality experience and is officially recommended by Oculus. If your computer doesn't have a USB Type-C port, you can opt for a less expensive $27 Modal 10-foot cable that'll plug into the USB Type-A 3.1 ports on your PC. Once you've got the cable, follow these instructions.
- Make sure Steam, SteamVR, and Half-Life: Alyx are all installed on your computer. You can get Steam here. You don't need to open SteamVR at this time.
- If you don't already have it, download it here.
- Sign in with your Oculus account.
- Connect one side of the USB cable to the appropriate port on your PC and the other side to your Oculus Quest.
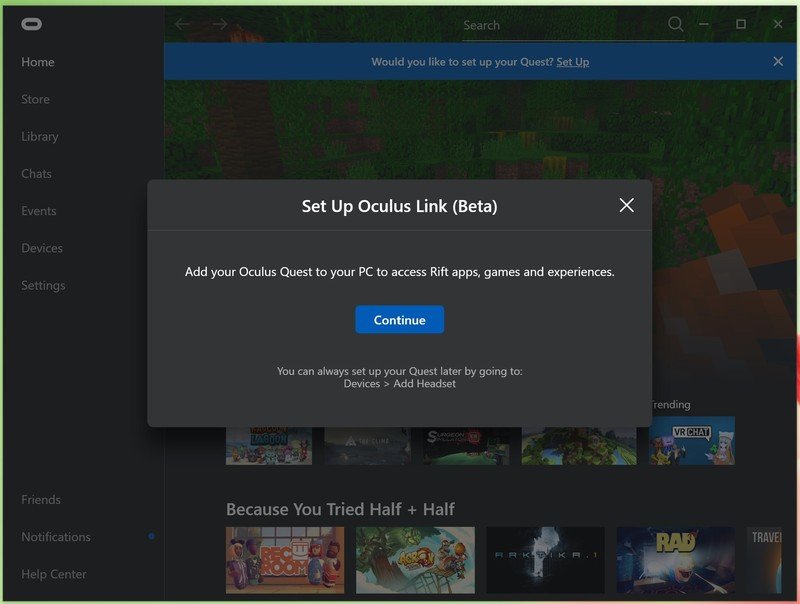
- The Oculus app on your computer should recognize the Oculus Quest once it's plugged in. Click Continue on the screen that pops up to enable Oculus Link.
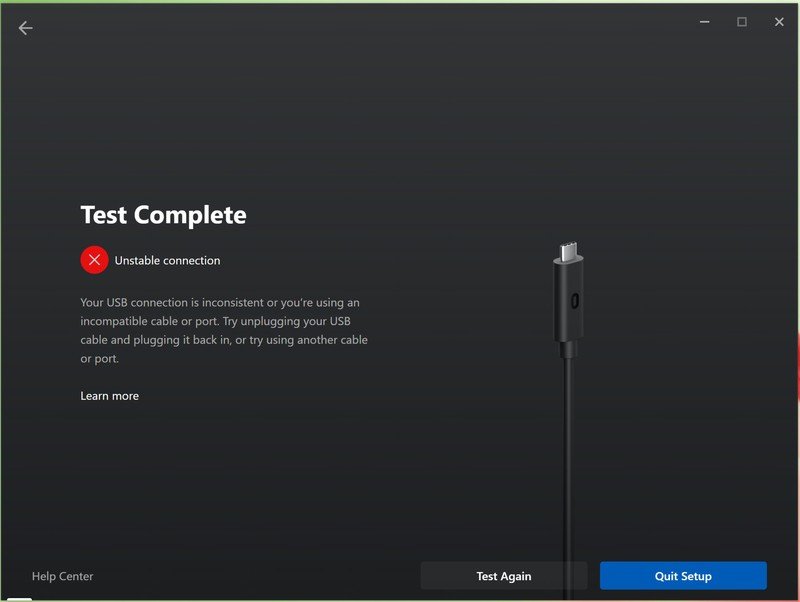
- During the Oculus Link setup, you can test the cable to make sure it's fast enough to be used with Oculus Link by clicking the Test button at the bottom of the screen. If your cable fails the test, you should consider one of the cables we recommended above.
- Click Continue and put the Oculus Quest on your head.
- You'll be asked to set up the Guardian boundaries for your room.
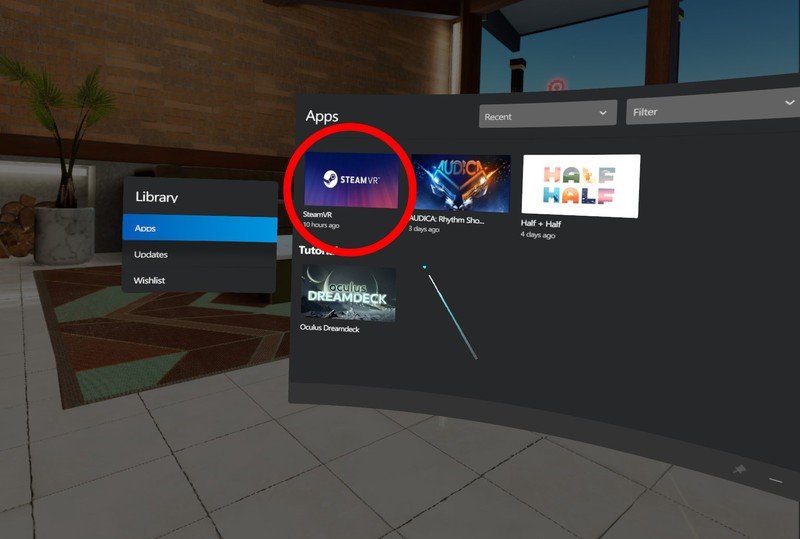
- On the Oculus Home screen, select Apps on the left-hand side of the screen.
- Now start SteamVR.
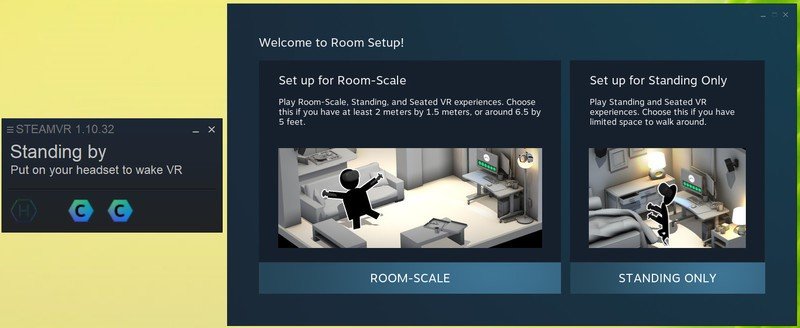
- If you have not previously set up the room boundaries in SteamVR, you'll need to follow through with the steps on your PC. This will appear automatically on your monitor if it was not previously set up.
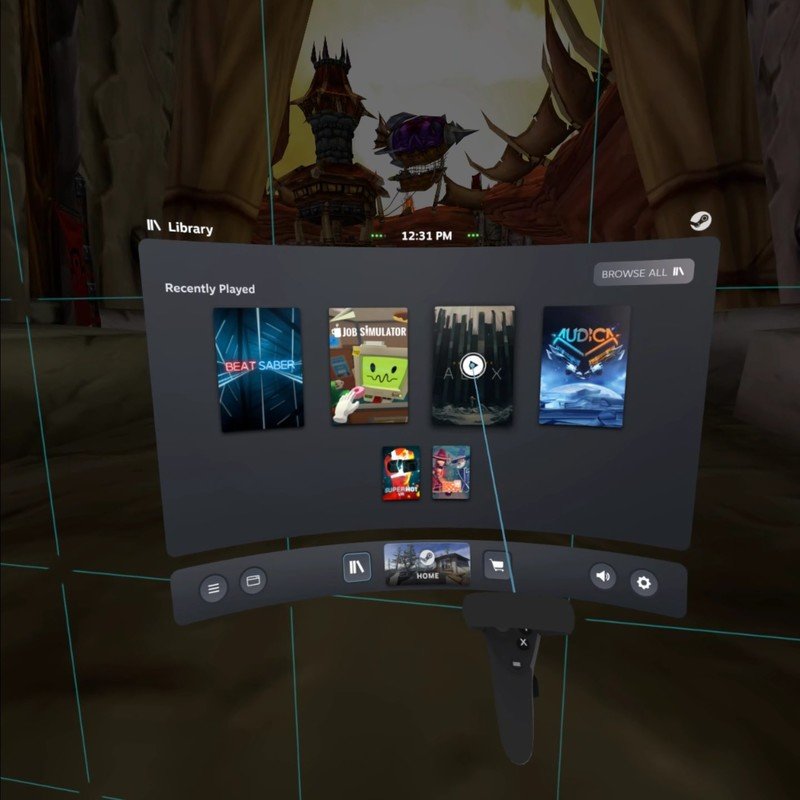
- Once SteamVR loads up, press the menu button on the left Oculus Touch controller to pull up the SteamVR dashboard.
- Launch Half-Life: Alyx and enjoy.
How to play Half-Life: Alyx with Virtual Desktop
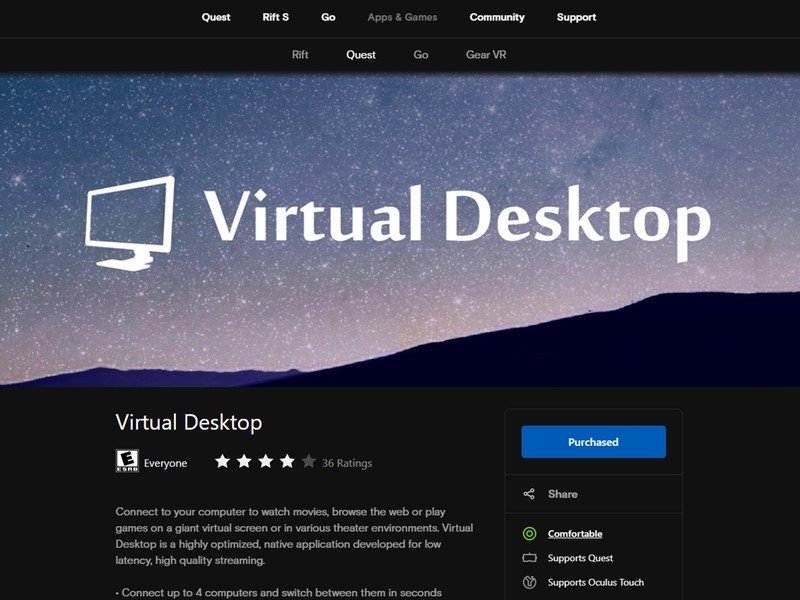
Virtual Desktop is the best wireless experience but it'll cost you extra (if you want to go free, check out ALVR). Make sure to buy the Oculus Quest version, which can be found on the Oculus Store right here (the Steam and Oculus Rift versions won't do the same thing). Once you've got that, put your Oculus Quest on and get Virtual Desktop installed:
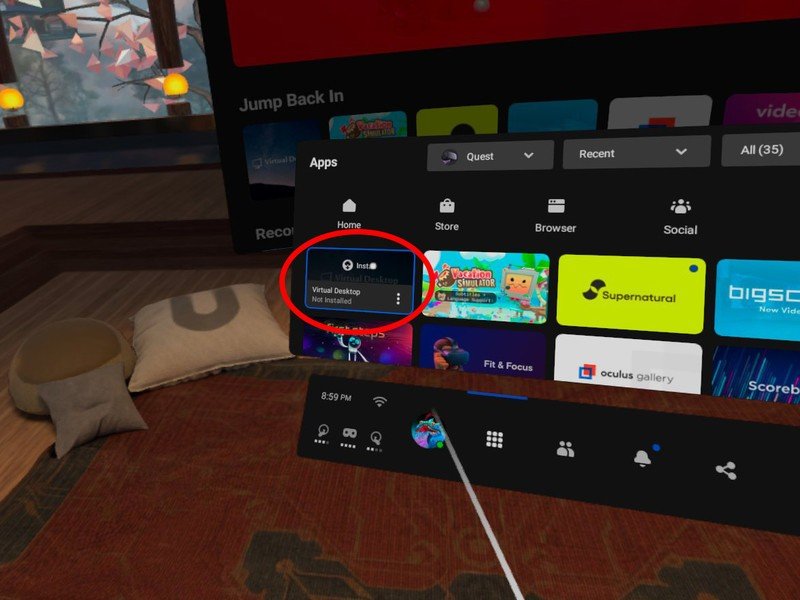
- If you don't see the bar at the bottom, press the home button on your right controller.
- Install Virtual Desktop by clicking the install button on the Virtual Desktop tile.
- Once it's done installing, take your headset off. Don't launch Virtual Desktop just yet.
Head on over to your gaming PC now.
- Plug your Oculus Quest into your computer with a USB cable. SideQuest should recognize your Oculus Quest if you've gone through our SideQuest setup guide.
- Navigate to the SideQuest app on your Desktop PC.
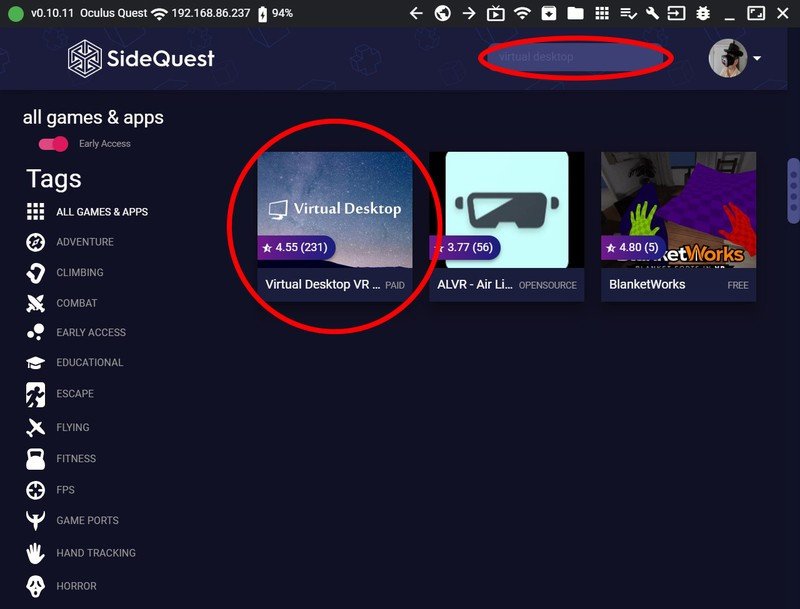
- Use the search bar on the top right of the SideQuest app to search for Virtual Desktop or just click here.
- Select Virtual Desktop.
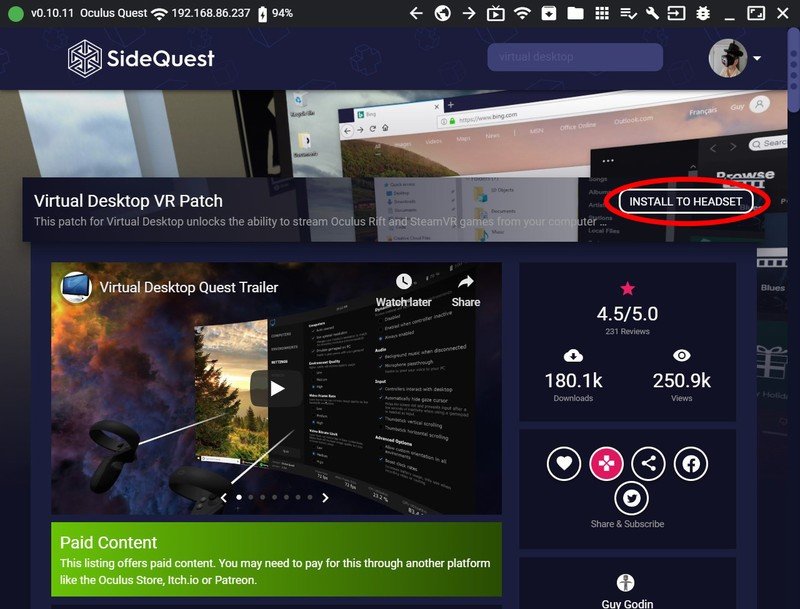
- Click the Install to Headset button to install the Virtual Desktop patch onto your Oculus Quest.
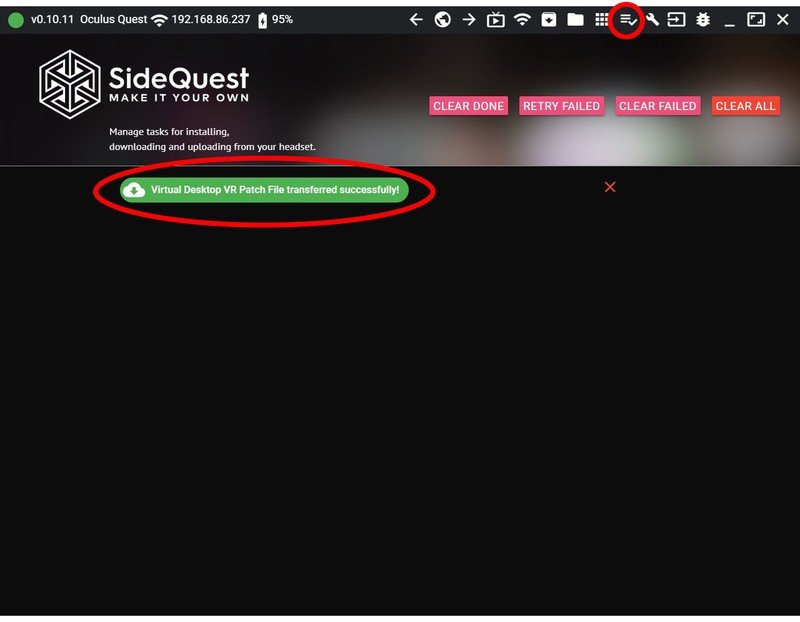
- Click on the tasks button on the top and ensure the patch was successfully installed.
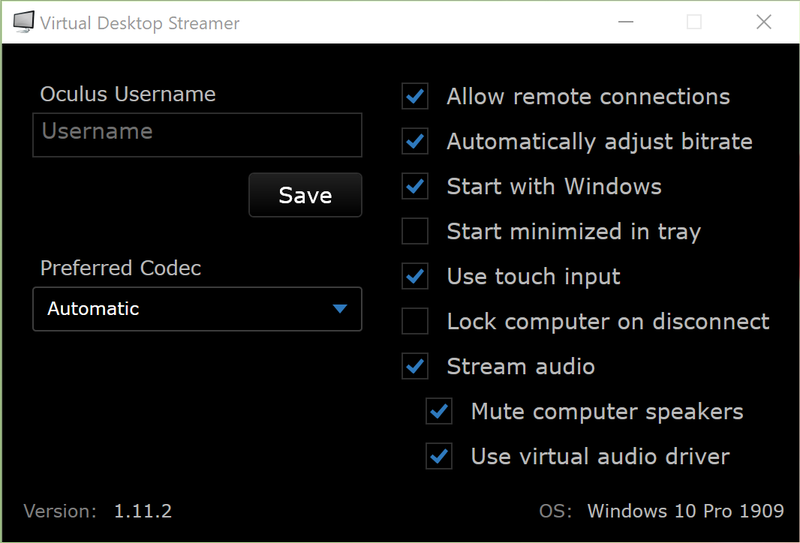
- While still on your PC, download the Virtual Desktop streaming app.
- Run the application once it's done downloading.
- Fill in your Oculus username in the box and press Save.
- For the best future experience, make sure Start with Windows and Start minimized in tray are selected.
Time to put the Oculus Quest on your head and game.
Get the latest news from Android Central, your trusted companion in the world of Android
- Launch Virtual Desktop from the library tab on the Oculus bar at the bottom.
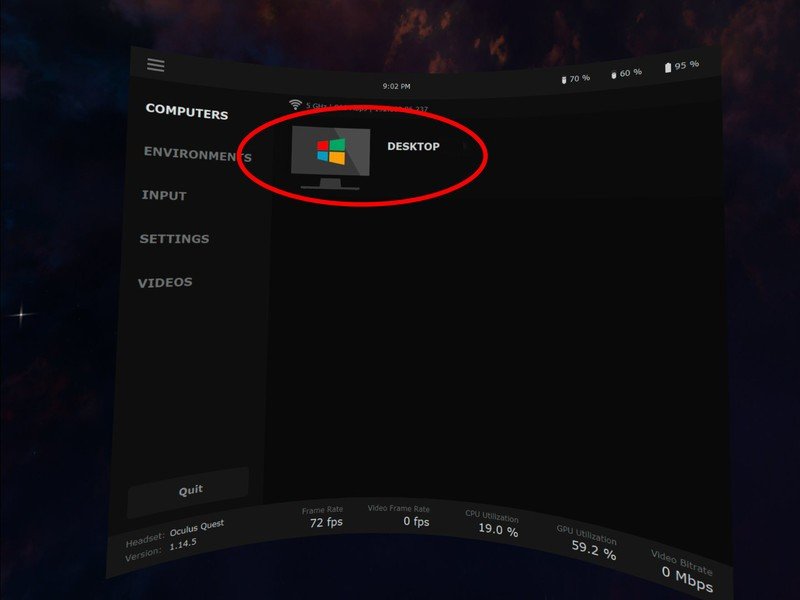
- When Virtual Desktop loads up for the first time, you'll need to select your Desktop PC from the list to connect to it. It's probably the only thing listed.
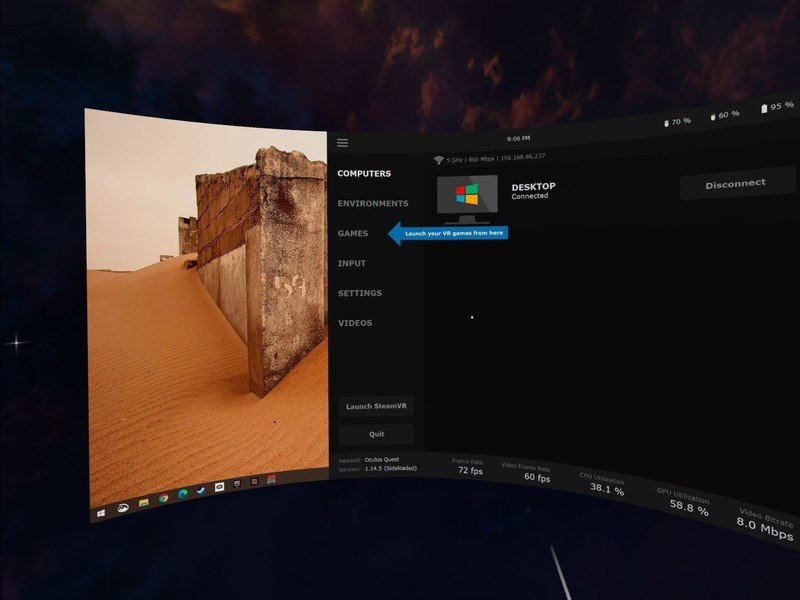
- Once connected, press the menu button on the left controller to open the universal Virtual Desktop menu.
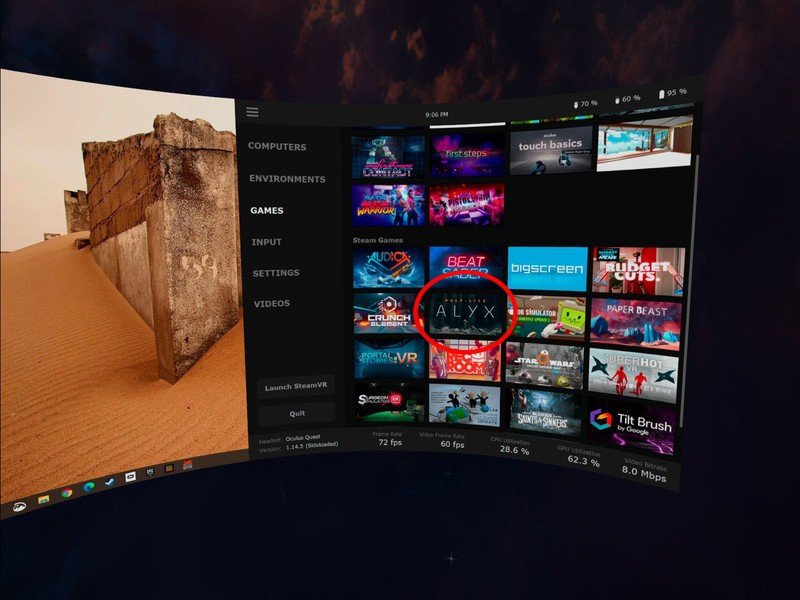
- Select Games from the list.
- Select Half-Life: Alyx.
How to play Half-Life: Alyx with ALVR (a free wireless experience)
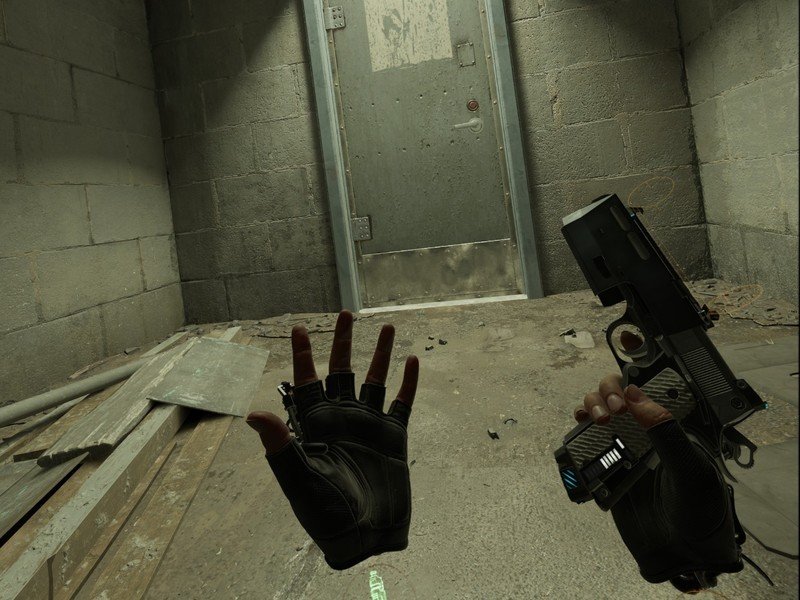
ALVR delivers a wireless VR experience without the extra cost. It's come a long way in a very short amount of time and, in most cases, the quality gap between it and Virtual Desktop has quickly shrunk. That's why we love ALVR and can recommend it as a great way to go wireless without spending the extra dough.
For this tutorial, you'll need to use SideQuest to get ALVR installed onto your Oculus Quest. Please follow our SideQuest guide here if you don't have SideQuest installed yet.
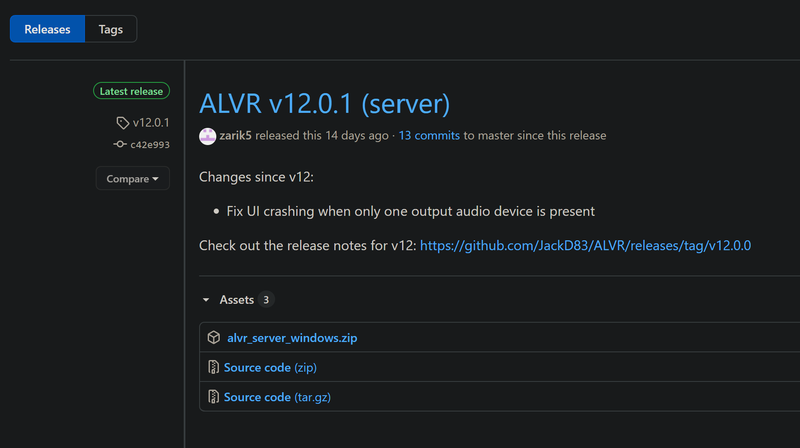
- On your desktop computer, navigate to the ALVR Github.
- Download ALVR_server_Windows.zip. You can find this under the Assets section of each release in Github.
- Extract ALVR_server_Windows.zip to a permanent location on your computer. Something like My Documents or the Desktop folder is fine.
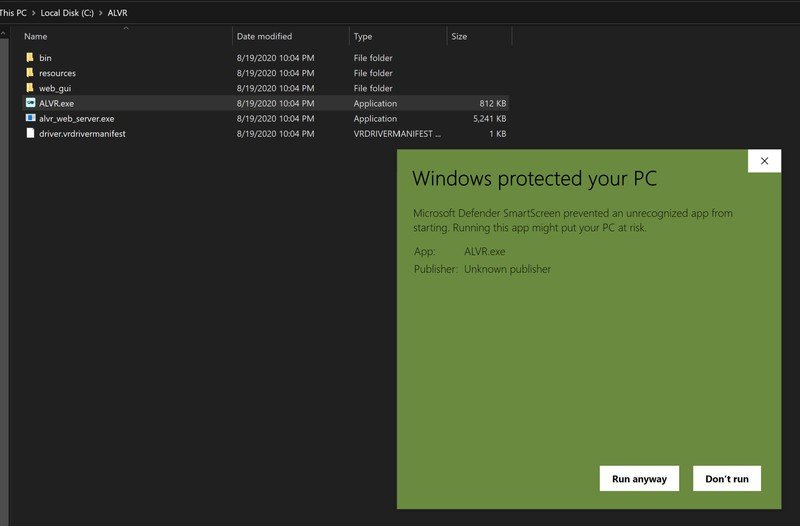
- Open up the ALVR folder you just extracted and run ALVR.exe.
- Accept any security warnings that appear.
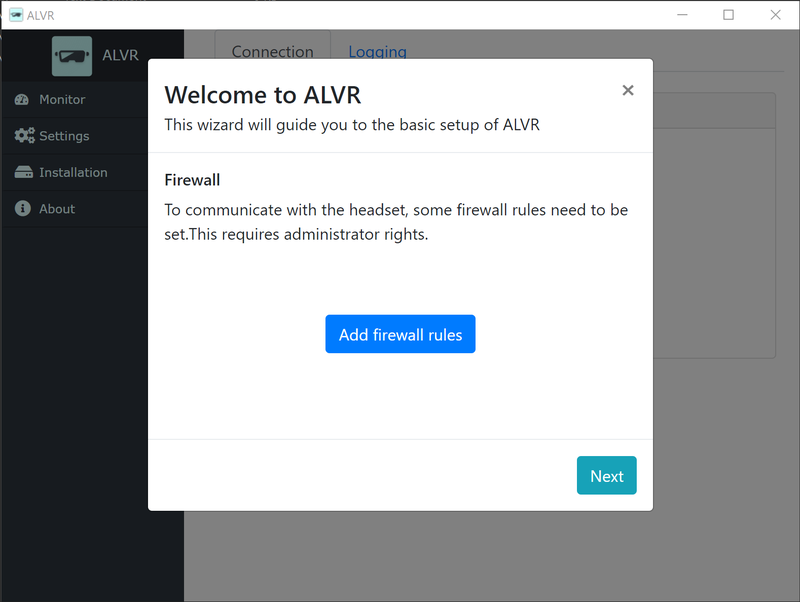
- Follow through the initial setup to make sure your Windows Firewall is configured correctly.
Now to load ALVR onto your Oculus Quest
- Plug your Oculus Quest into your computer with a USB cable. SideQuest should recognize your Oculus Quest if you've gone through our Sidequest setup guide.
- Open up the SideQuest application on your desktop PC.
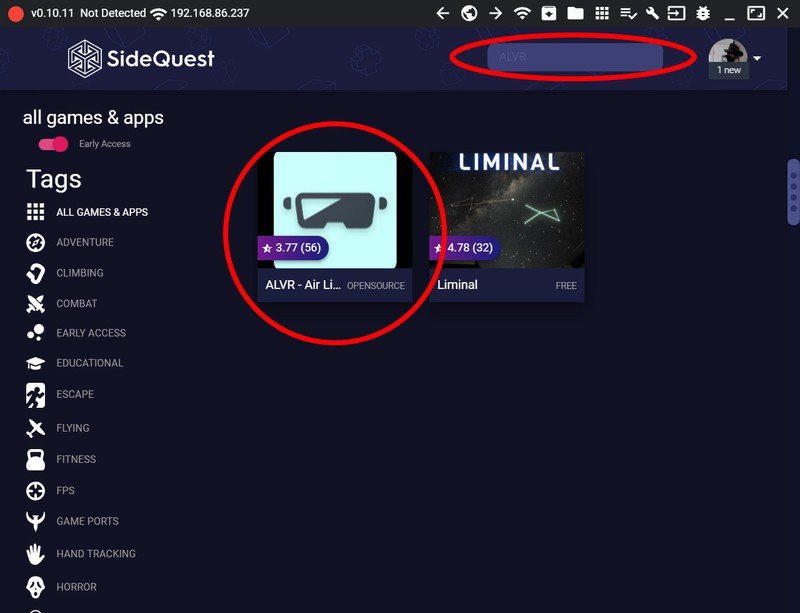
- Use the search box at the top of the screen to search for ALVR or click here. The full title name you'll see listed in Sidequest is ALVR - Air Light VR.
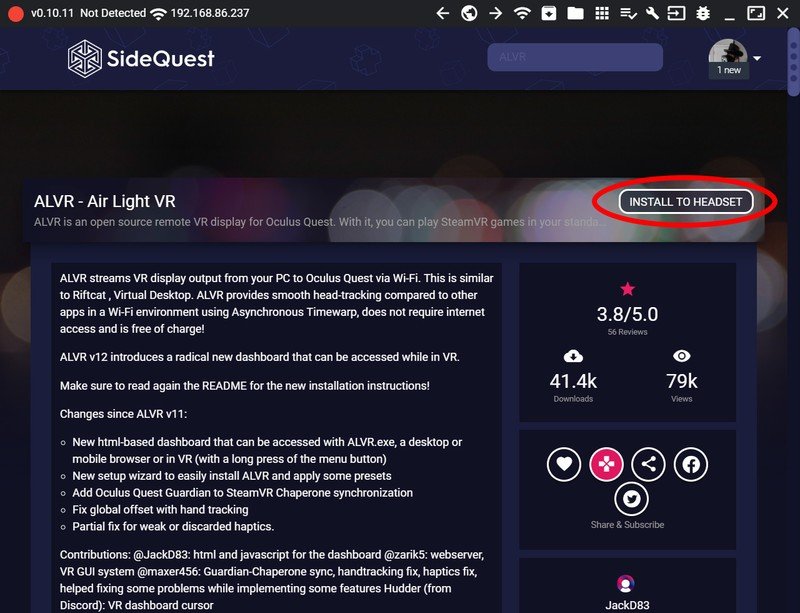
- On the store page within Sidequest, click the Install to Headset button to download and install ALVR onto your Oculus Quest.
- Once the installation is complete, unplug the Oculus Quest and fit it to your face as you normally would when playing.
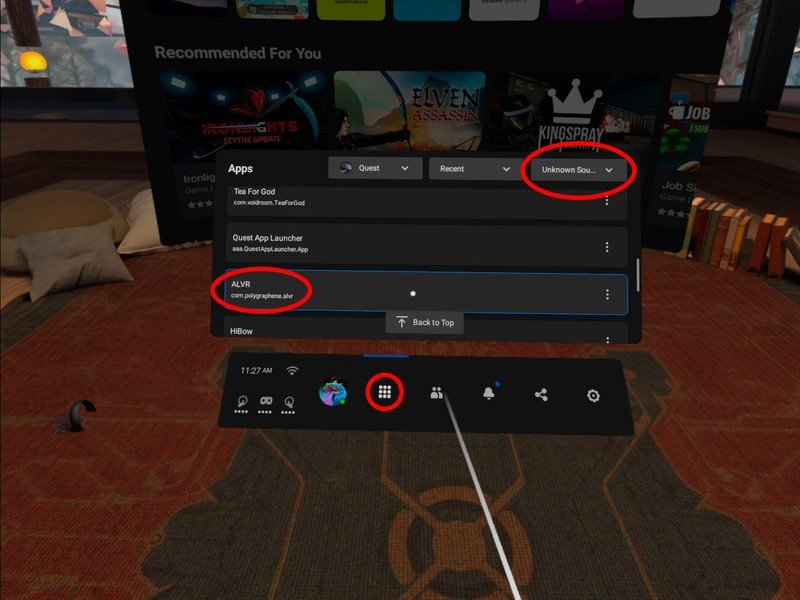
- Open your library tab on the Oculus bar at the bottom of your view. It's the square grid of 9 dots. If you don't see the bar at the bottom, press the home button on your right controller.
- Select Unknown Sources from the rightmost dropdown list.
- Scroll down and select ALVR from the main pane.
- ALVR will launch into a white screen.
- Pull your visor up but leave the Oculus Quest on your head to keep it from falling asleep.
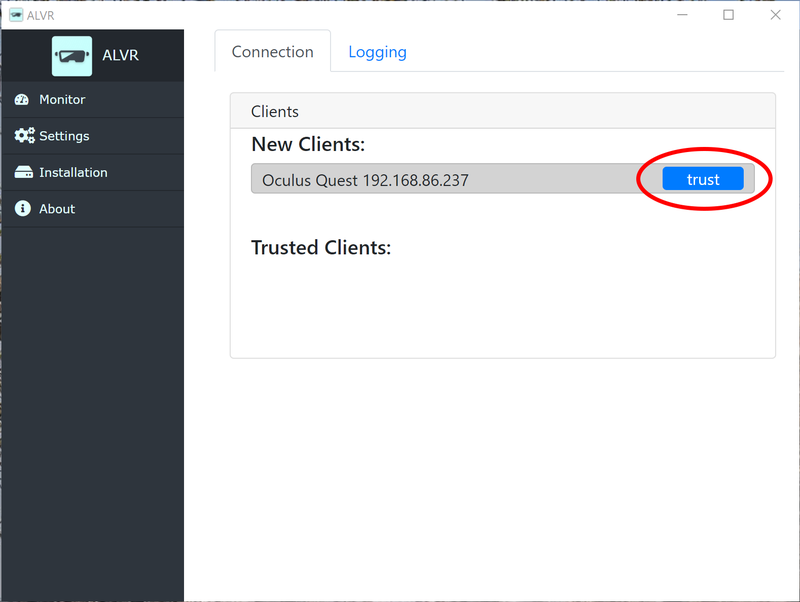
- On your computer, click the Trust button within the ALVR app next to the Oculus Quest listing.
- Once it's connected, you'll see your headset's statistics and information displayed in the ALVR app on your desktop.
- SteamVR will automatically launch and you'll be greeted with SteamVR home from within the Oculus Quest.
- Once SteamVR loads up, press the menu button on the left Oculus Touch controller to pull up the SteamVR dashboard.
- Launch Half-Life: Alyx and enjoy.
And there you have it, all the options you could want for playing Half-Life: Alyx on your Oculus Quest. Keep in mind that you'll experience the highest quality visual and audio fidelity when using the wired Oculus Link experience. The wireless experiences outlined here will be slightly lower quality but will depend entirely on how fast your home's network is. A faster home network will guarantee a higher quality wireless experience. Either way, you'll be experiencing the best VR has to offer with Half-Life: Alyx.
Less money, more compatibility
Modal's 10-foot USB-A to USB-C cable works perfectly for the Oculus Quest when your computer doesn't have a USB Type-C port to plug into. It's also less expensive than the official cable and features a durable braided protective cover.

