How to scan documents with a Chromebook
Get the latest news from Android Central, your trusted companion in the world of Android
You are now subscribed
Your newsletter sign-up was successful
Chromebooks have come a long way in the last few years. Once considered cheap and very limited computers, these computers have grown into devices with a full range of choices to handle the needs of most anyone. This was illustrated when, in 2020, Chromebook sales overtook Macs. Because these devices have matured so much, many people use them as their primary computer for work. This means you may need to use to scan a document with a Chromebook from time to time. Well, here's how to get that done.
How to scan documents with a Chromebook
When Google added native scanning to Chromebooks in April 2021, the process of getting a physical document onto your computer got much easier. Let's get started with your Chromebook and scanner powered on and on the same Wi-Fi network — or the scanner is plugged into your Chromebook if dealing with a USB document scanner.
- Load the document you want to scan into your scanner.
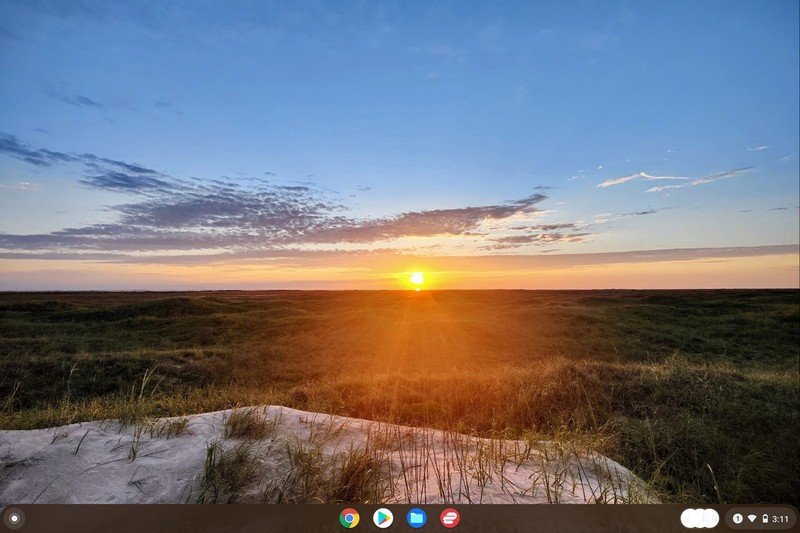
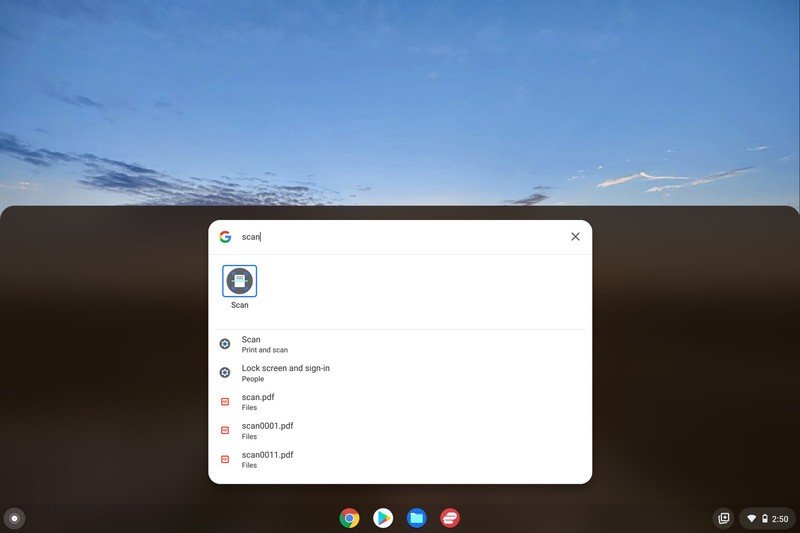
- Press the Everything Button, between the tab and shift buttons, or click the search button on your Chromebook.
- Type scan into the search box and click on the Scan icon.
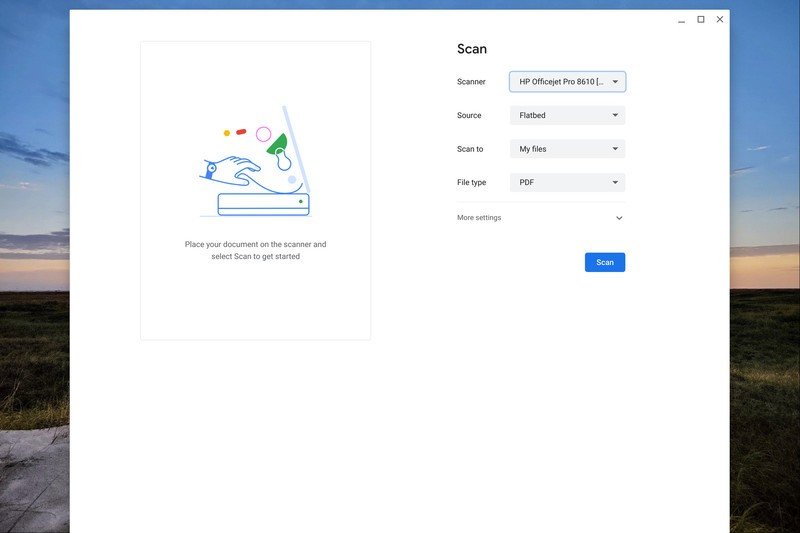
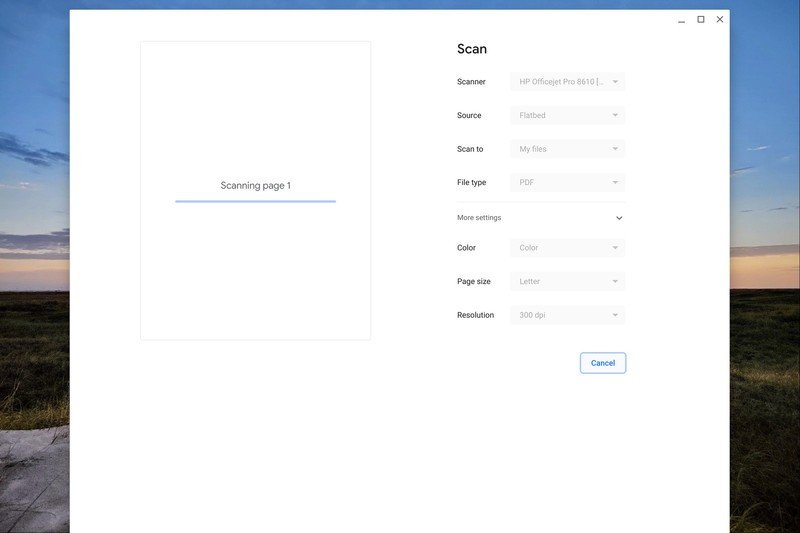
- Choose your scanner in the drop-down menu.
- If your scanner has multiple scanning methods, use the drop-down menu for Source to pick the one you need.
- The default location for your scanned file is My files. If you want to change that, do so in the Scan to menu.
- Set the type of file you want the document to be saved as in the File type menu.
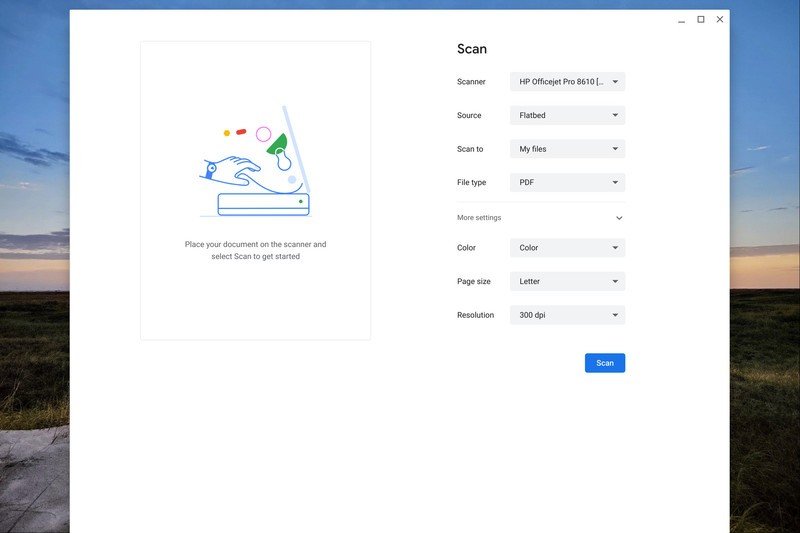
- Click More settings if you want to set your scanned document's color, page size, and resolution.
- When satisfied with your settings, click Scan.
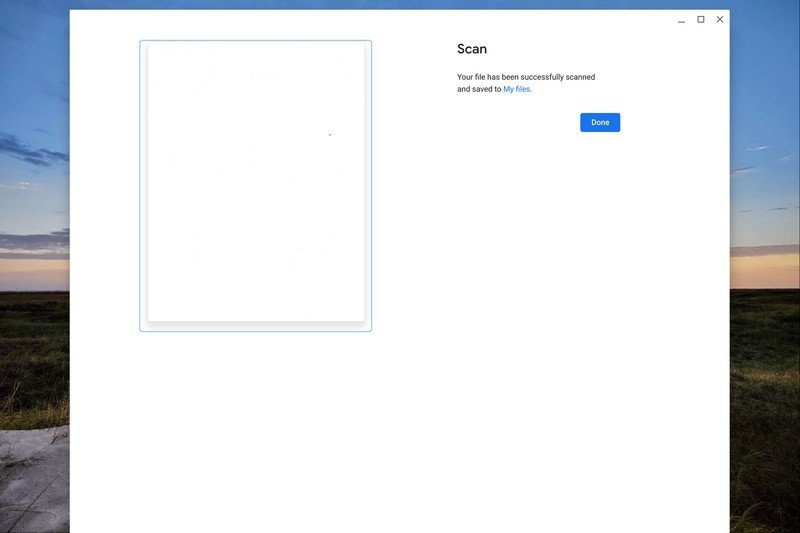
- After the scan is complete, click Done.
With your document scanned to your Chromebook, you can do what you need to with it. Whether that is uploading it to your Google Drive, emailing it off, or using any number of excellent Chromebook apps to make edits, the choice is yours.
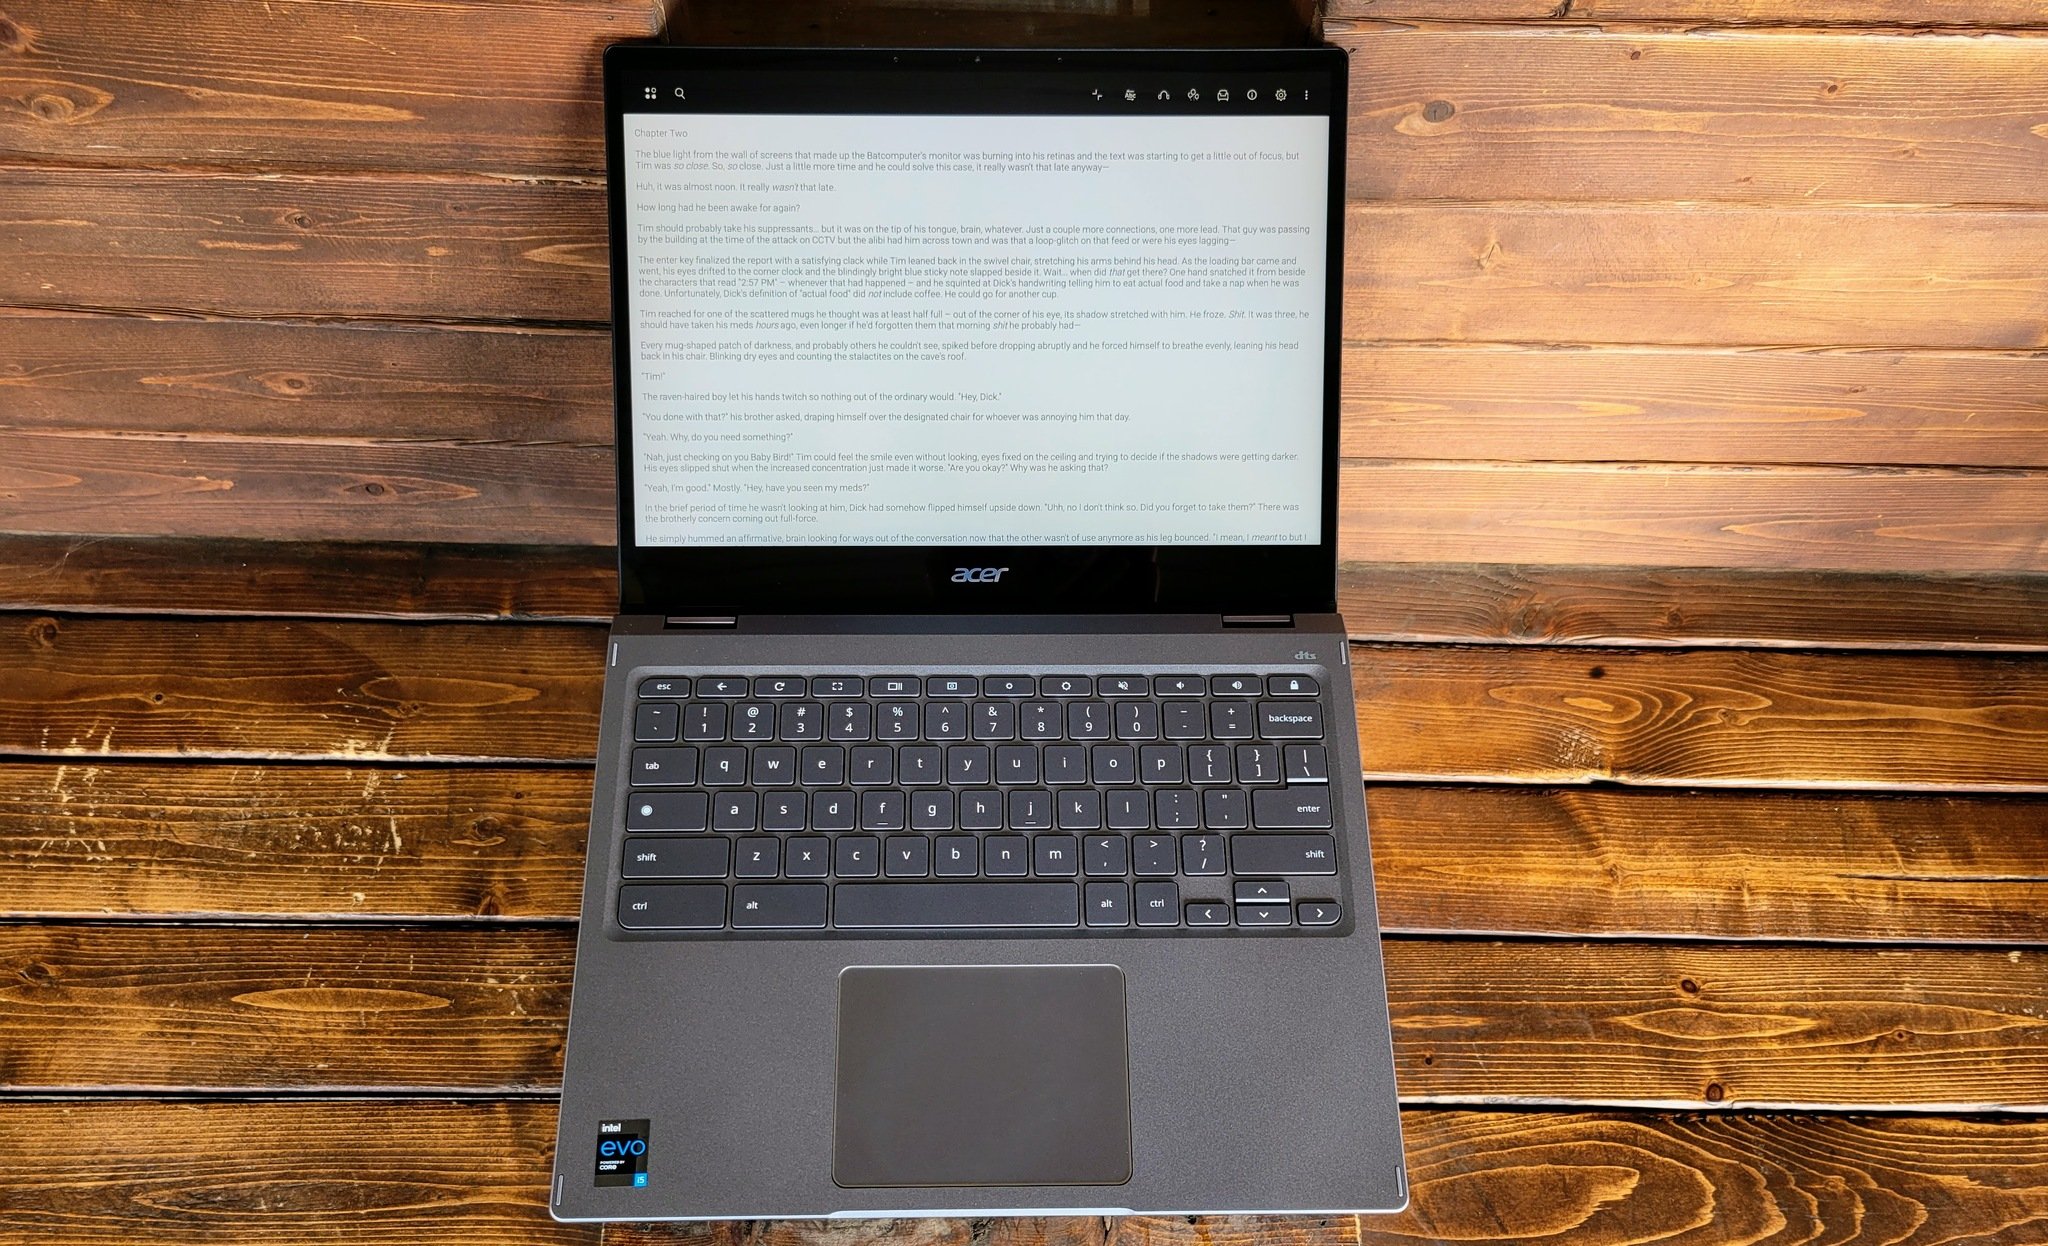
Part of the beauty of Chromebooks is that the software functionality of each device is the same. That's because Google updates all current devices essentially at the same time without the user needing to do anything other than restart the computer. So, whether you use a powerhouse device like the Acer Chromebook Spin 713 or a great Chromebook for kids, each computer can scan documents the same way.
Get the latest news from Android Central, your trusted companion in the world of Android

