How to move your Dropbox pictures over to Google Photos
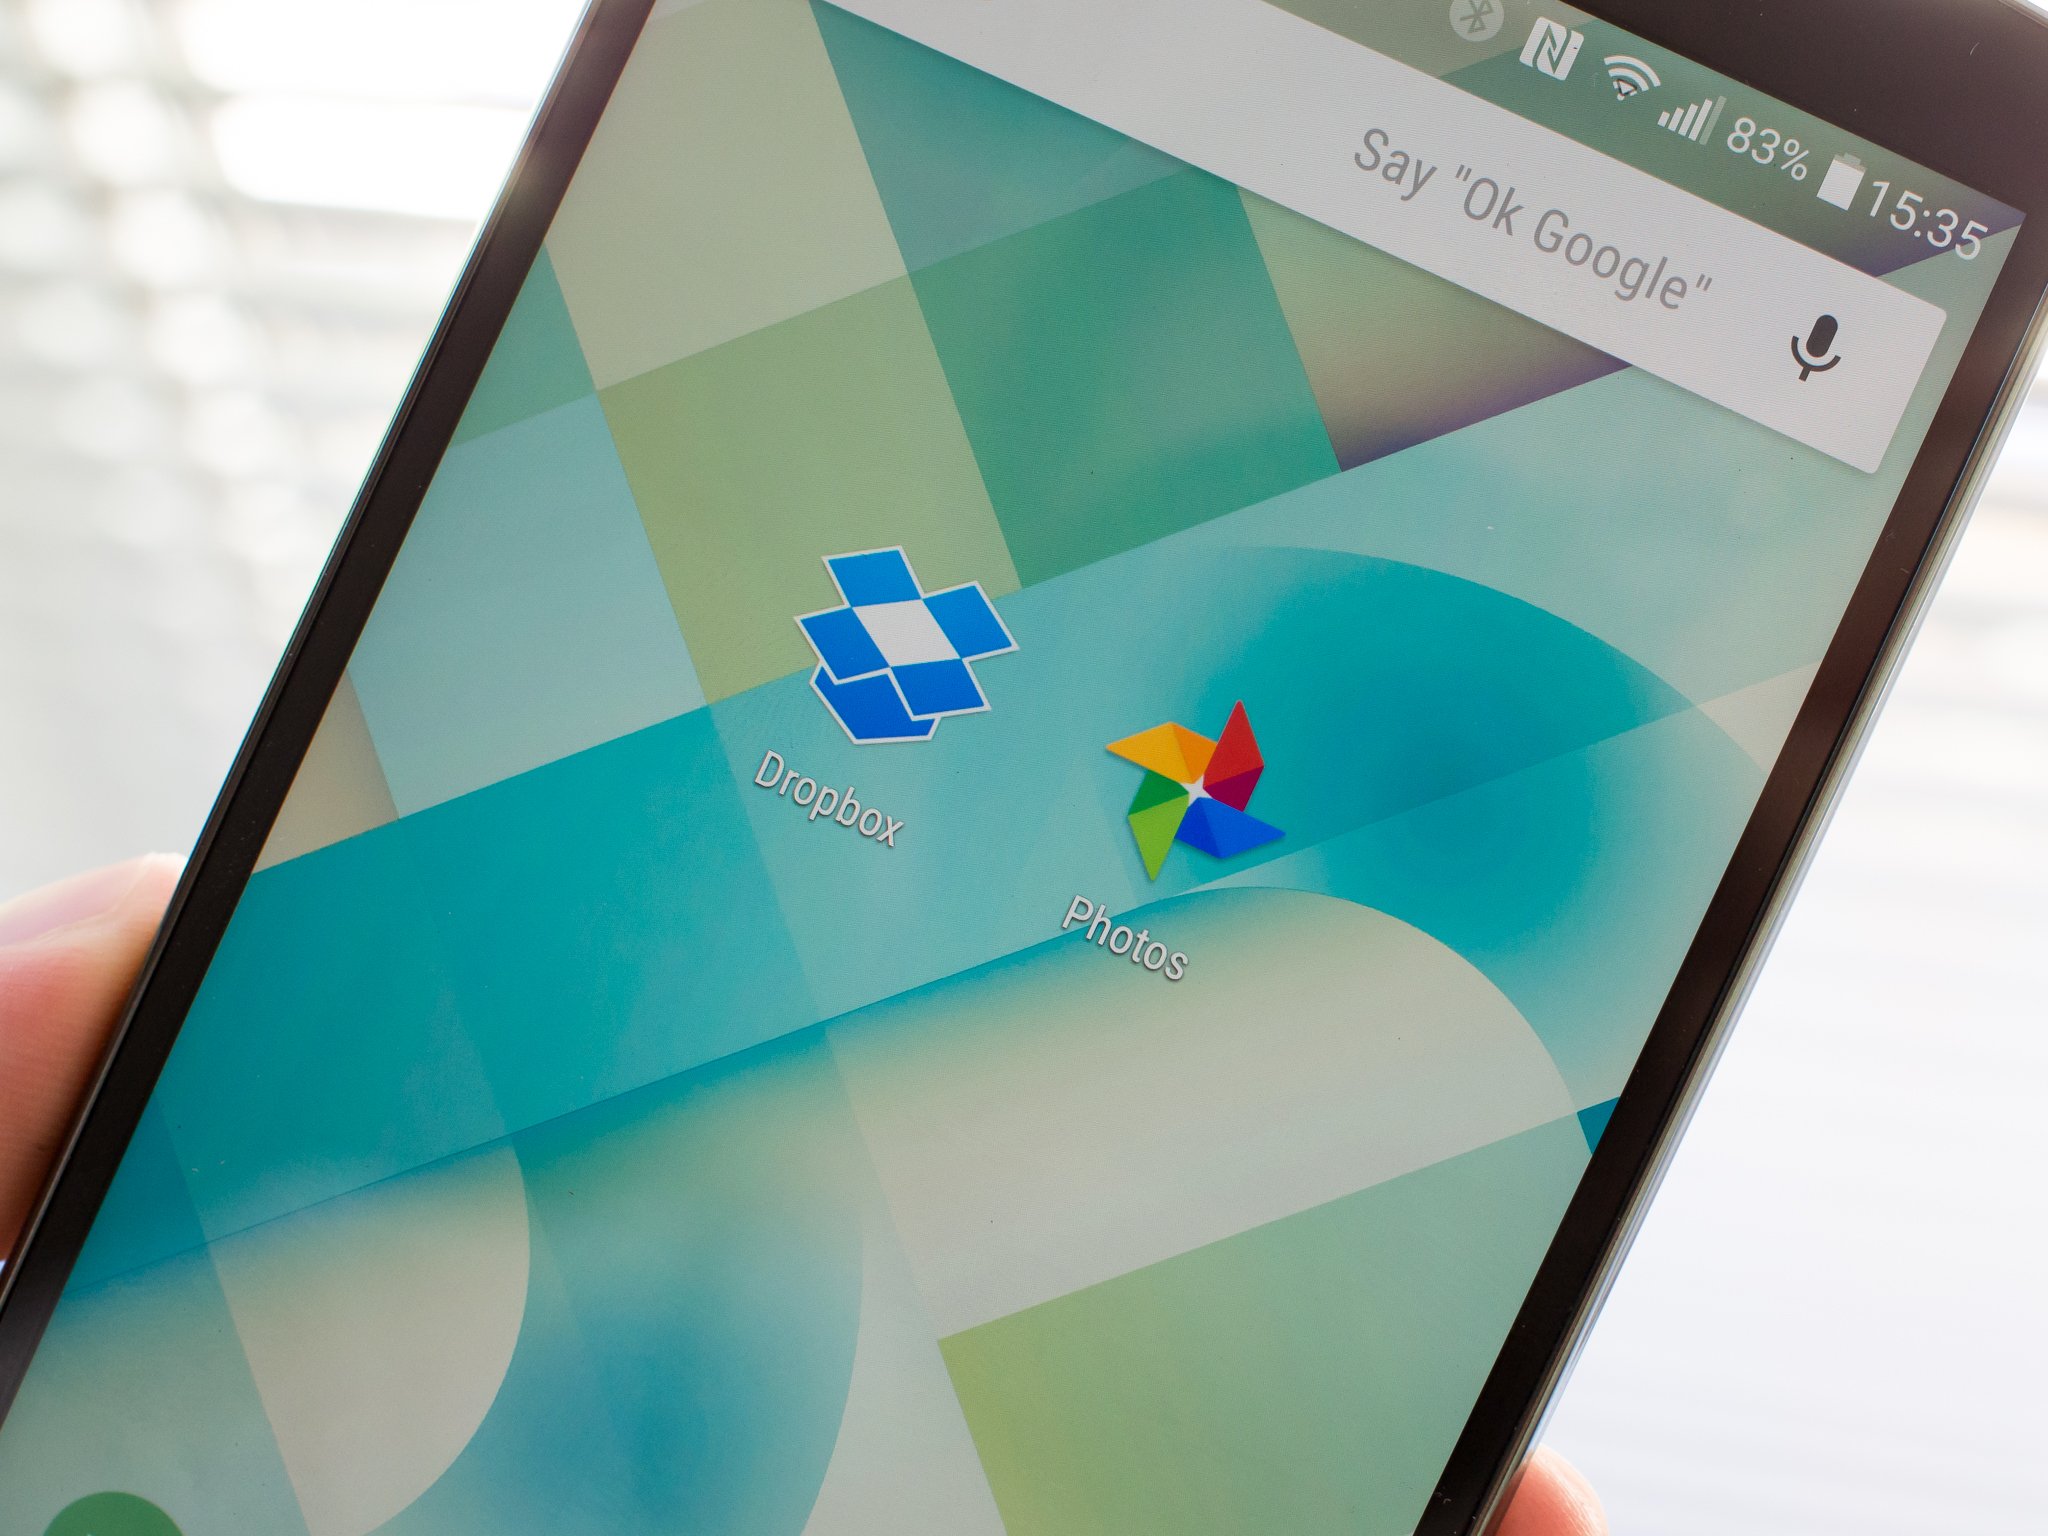
With the ubiquity of Dropbox throughout multiple platforms and its great automatic uploading from your phone and desktop, there's a decent chance you've used it to back up your photos. Whether you have a Dropbox folder structure with a defined hierarchy of categorization or several folders spread all about from various times, it's still going to be a hassle to drag-and-drop individual folders out of Dropbox and over to Google Photos.
Thankfully with just a few steps and a couple of desktop applications you can let your computer do the work for you, pulling images from Dropbox and then swiftly moving them up to Google Photos. We're going to show you how.
Sync Dropbox pictures to your computer
The first step of getting your photos from Dropbox to Google Photos is simple, and it starts with installing the Dropbox desktop app. This app, like the one you may be familiar with from Google Drive, synchronizes a folder on your computer with the Dropbox cloud. If you already have the app installed and syncing your entire Dropbox account to your computer, you're ahead by one step.
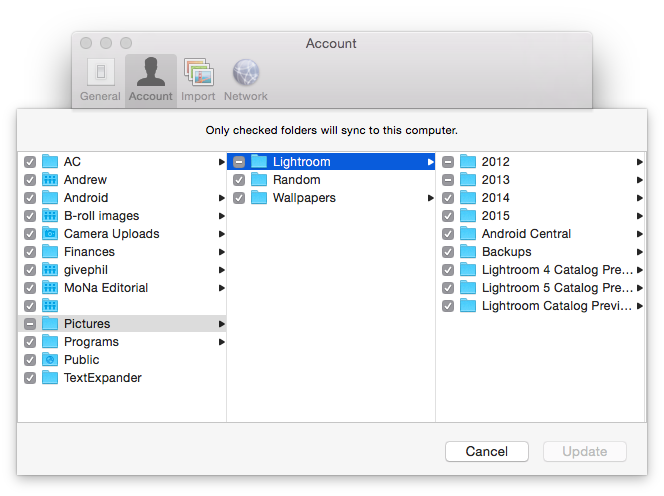
If you haven't yet installed the Dropbox desktop app, do so now. Once you have it installed and you sign in to your Dropbox account, head into the app preferences and under "Account" look for "Selective sync." Here you can choose specifically which folders are kept in sync with your computer, and which just stay up in the cloud. For our purposes here, go through and uncheck every folder that doesn't have photos in it. This will save you time because your computer doesn't have to download everything in your Dropbox, and it'll save you storage space on your computer.
In short:
- Install the Dropbox desktop app, sign in with your Dropbox credentials
- Enter the Dropbox app preferences, choose selective sync, and only sync the files with photos in them
- Files will begin to download in the background to a new Dropbox folder on your computer
Set Google Photos to automatically upload them
Get the latest news from Android Central, your trusted companion in the world of Android
Once that's set up and begins syncing, you can move on to the Google Photos portion. Depending on your internet connection speed it'll take some time to pull down the requested folders and their contents from Dropbox, but the first thing that'll show up are the high-level folders themselves — that's all we need to set up this system.
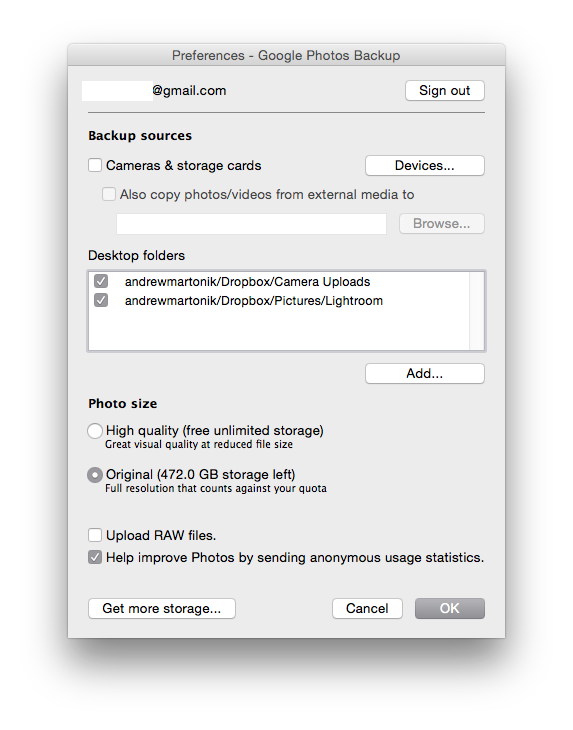
As we covered in a previous how-to article, it's easy to install the Google Photos Backup desktop app and configure it to look at specific folders on your computer for photos to upload automatically. Once you've installed the app and signed in with your Google Account, go into the settings and under "Desktop folders" click the "Add..." button. You'll quickly see the Dropbox folder, and have the option to choose subfolders inside as well.
If you want to upload every photo you have stored in your Dropbox, regardless of location, then you can simply choose the top-level Dropbox folder and be done. If you're a bit more specific about which folders are uploaded, make that choice here. Before you click "Ok" to start the upload, also choose whether you want to upload these Dropbox images as "High quality" (up to 16MP, but with some optimizations) for free or "Original" (no changes made) and counting against your Google Drive storage allotment.
In short:
- Install the Google Photos Backup desktop app, sign in with your Google credentials
- Uncheck any unwanted desktop folders, select "Add..." and instead select those new Dropbox folders that are syncing
- Choose whether you want "High quality" (free) or "Original" (paid storage) versions to be uploaded
- Wait as the uploader takes pictures from Dropbox and uploads them in the background
Now that you have Dropbox set up to sync down all of the folders you've designated as having photos in them, and also have the Google Photos Backup app scanning those same folders for photos to upload, you can sit back and relax while your computer does the work. No manually dragging and dropping, no worrying about which photos are where — the only limitation here is how fast your internet connection lets you download and upload. Give it a few hours — or a few days if your library is large — and your Google Photos library will be populated with all of your Dropbox photos.
Once all of your photos have finished downloading to your computer and then uploading to Google Photos — as indicated by both apps on your computer — you can then uninstall the Dropbox app (don't just delete the folder) if you no longer have a need for its syncing services. You can do the same for Google Photos Backup, though chances are you'll want to keep that installed for future uploads.

Andrew was an Executive Editor, U.S. at Android Central between 2012 and 2020.
