How to use the Pixel 4 camera's dual exposure sliders

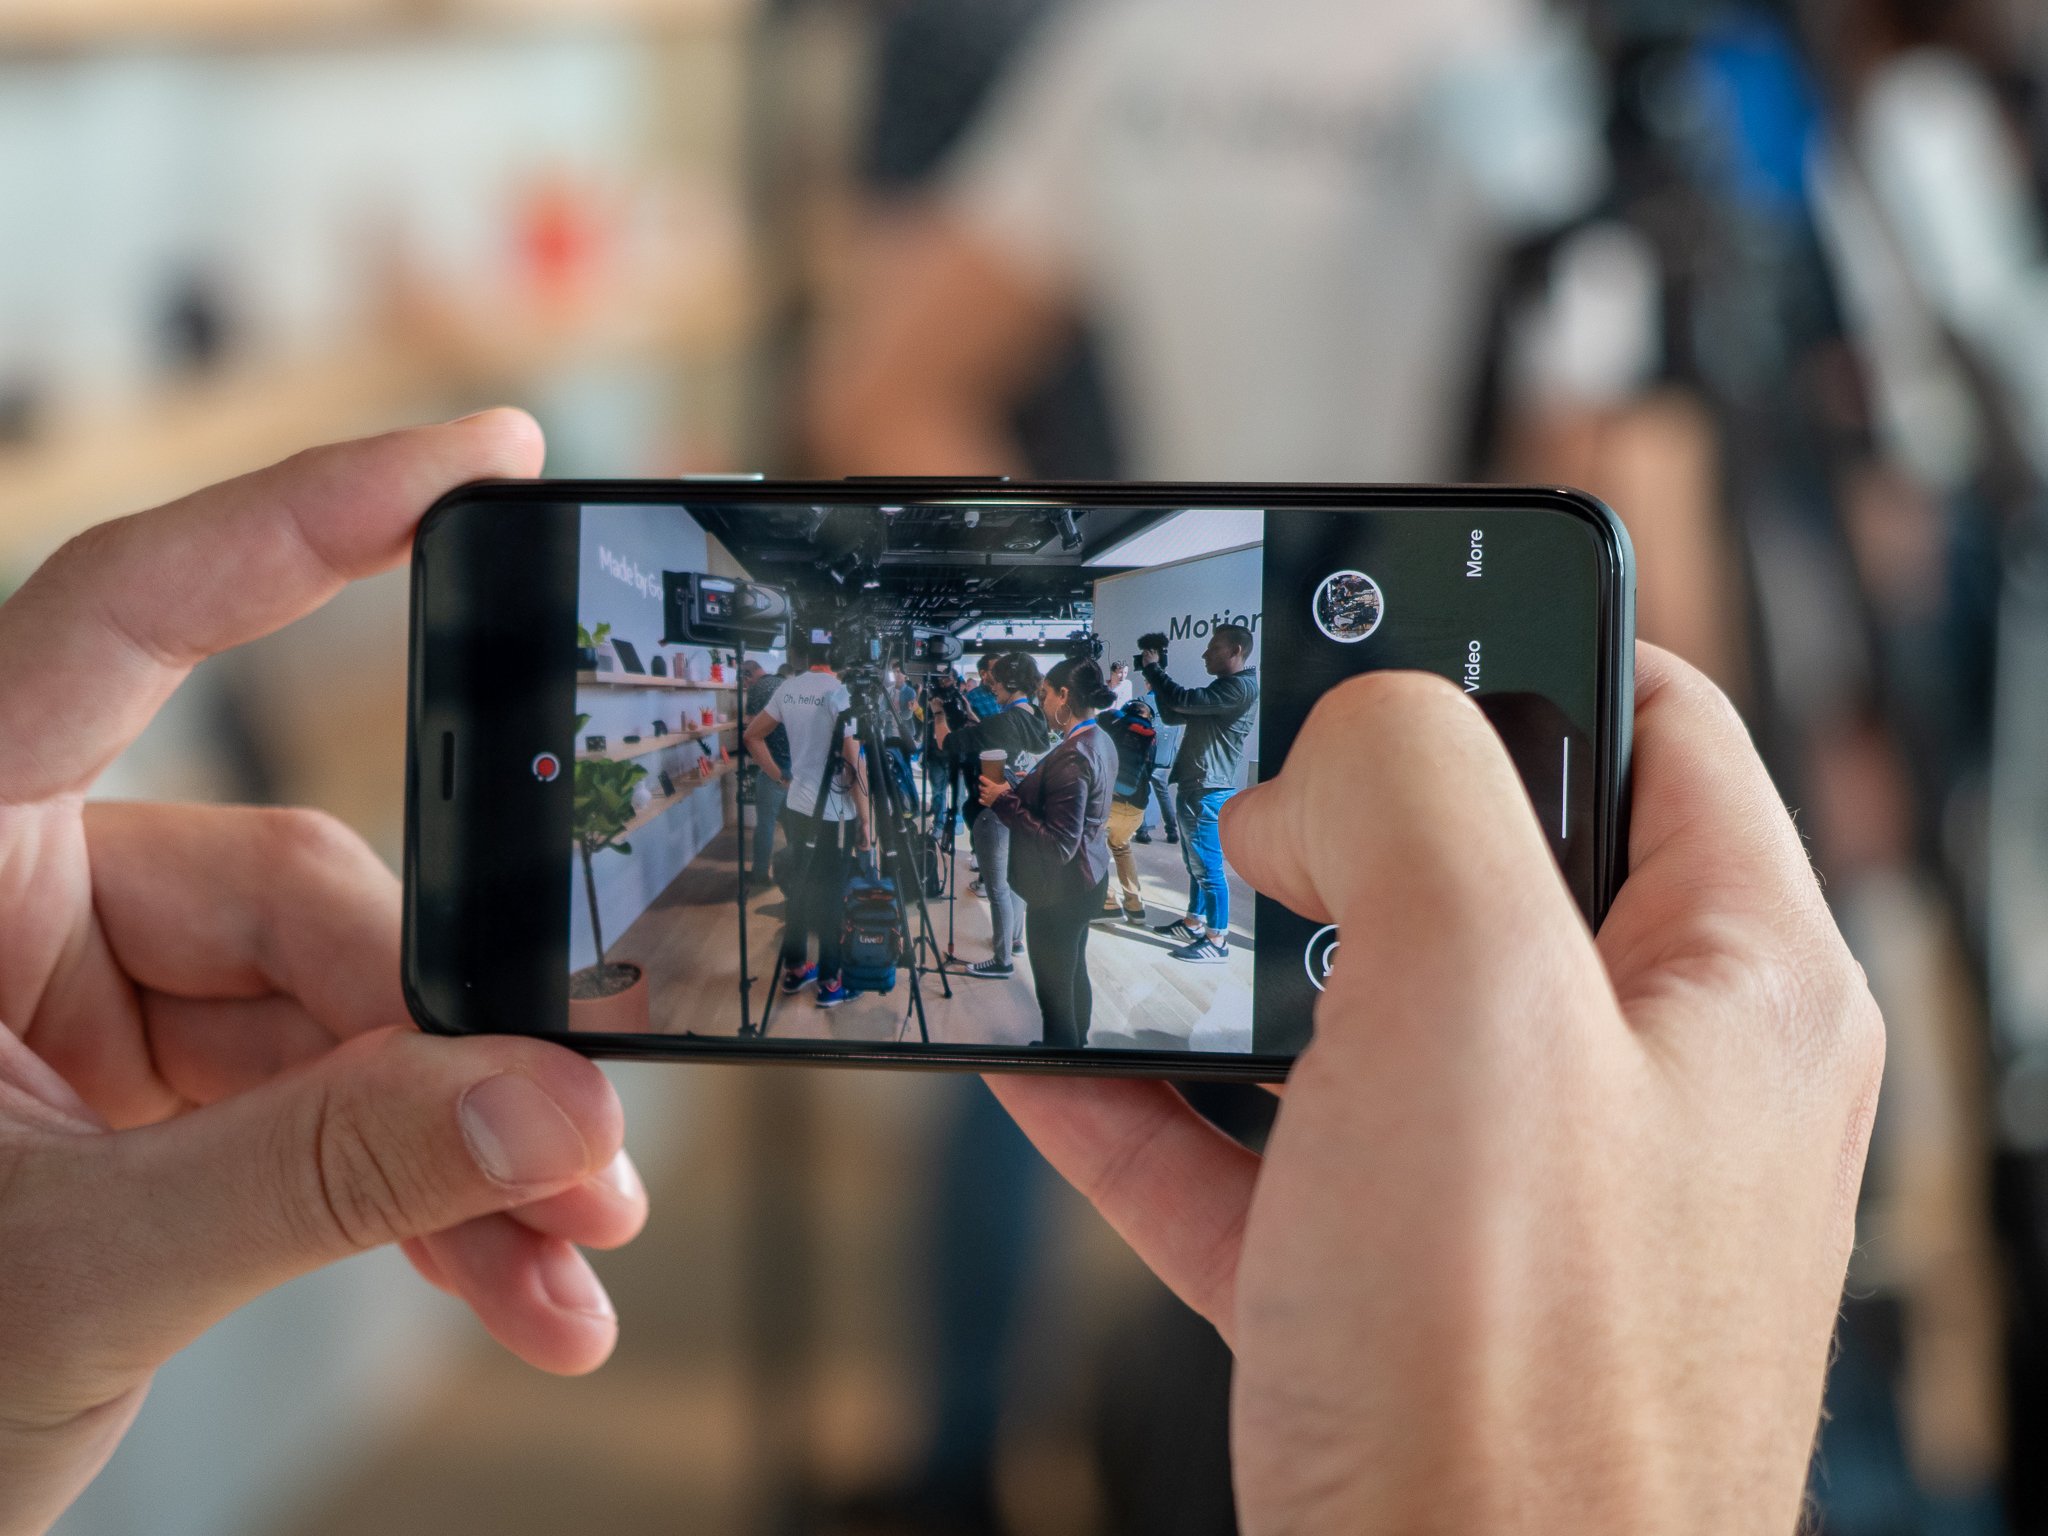
The Pixel 4's new camera app introduces several changes to the interface, and for the most part it's still dead simple to use. But there are a couple advanced features and modes, like the dual exposure sliders, that improve its shooting capabilities. Once you know what these sliders do, they can take your photography to the next level.
How to use the Pixel 4's dual exposure sliders
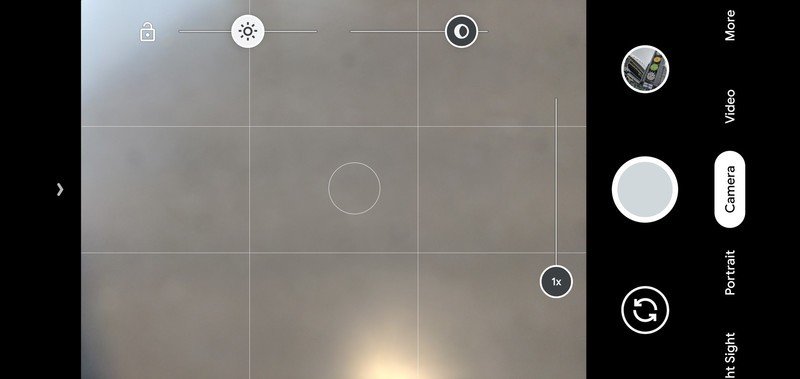
First thing's first: how to show the sliders so you can use them. There's no way to show the exposure sliders on the camera interface all the time, but they're available any time you tap anywhere the viewfinder. The sliders show up for several seconds, and stay longer if you make any slider adjustments.
It takes only a few minutes playing with the sliders to see how they can change a photo.
In order to effectively use the dual exposure sliders, you need to understand some basic photography principles. The left (or top, in portrait) slider is the overall brightness slider, and the right (or bottom) slider is the shadows slider. Most people will understand what changing the brightness means — it adjusts the light sensitivity of the camera, brightening or darkening the entire frame by a set amount. Adjusting the shadows is a bit more nuanced — this adjusts the brightness of only the dark parts of the frame, which has a much more subtle effect because it leaves the remaining whites and colors untouched.
Taking a few minutes to move the sliders around while pointed at a static subject will quickly introduce you to their capabilities. Slide them to the left (or up, in portrait) to increase brightness, and to the right (or down) to decrease brightness.
When the scene you're shooting has a relatively consistent amount of light across the entire frame, sometimes you just need to adjust the overall brightness to get the whole-scene look you desire. However, in cases where you have a scene of mixed lighting, or are trying to emphasize the dark or light parts specifically, the shadows slider can be more useful — and its effect is typically more subtle.
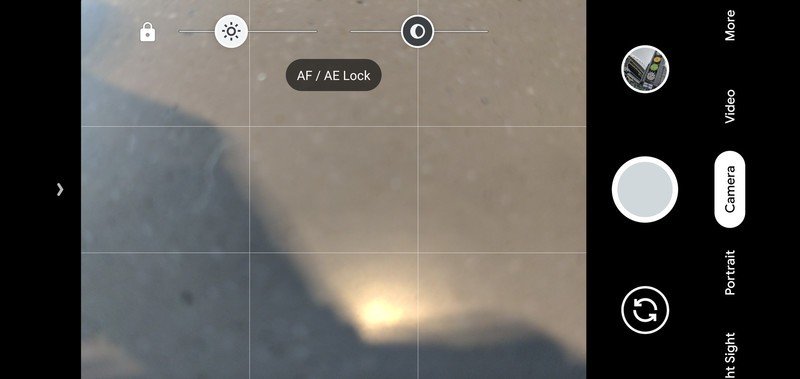
AF/AE lock saves you from auto focus frustrations, and opens up possibilities for cool shots.
You'll notice that tapping the viewfinder makes the camera focus on that point as well (which is arguably the main function of tapping), so make sure you keep that in mind when you're tapping to show the sliders. Once you've made slider adjustments, if you tap anywhere else to adjust focus again, the sliders will reset to their default positions.
If you're taking your time to frame and expose a specific shot, the fact that the focus and exposure sliders eventually adjust and disappear will be frustrating. Google's thought about this, and offers an AF/AE "lock" mode — once you set your focal distance, tap the lock icon next to the brightness slider to lock that focal distance. With AF/AE locked, the camera won't auto focus when you move, and subsequently will keep both of your exposure sliders set wherever you left them as well.
Get the latest news from Android Central, your trusted companion in the world of Android
Understanding one button and two sliders can make a difference in so many different shooting situations.
You can use the auto focus lock to take selectively blurred shots, for example, or just keep the camera from making adjustments when something moves within the frame or your hands move. With auto focus locked, you can still make changes to the exposure sliders and it won't change where you have focus set — the only thing that will remove the lock is tapping somewhere else on the viewfinder or tapping the lock icon.
The exposure sliders are also available when recording video, and in this mode you may be even more likely to use the AF/AE lock as you or your subject are moving. Even if you make no adjustments to the exposure on the fly, keeping the camera from hunting for focus is very helpful.
Whether you use the sliders, lock, or both, your Pixel 4 photos and videos are going to be improved by knowing how they work and when to use them.

Andrew was an Executive Editor, U.S. at Android Central between 2012 and 2020.


