How to use God of War's new photo mode
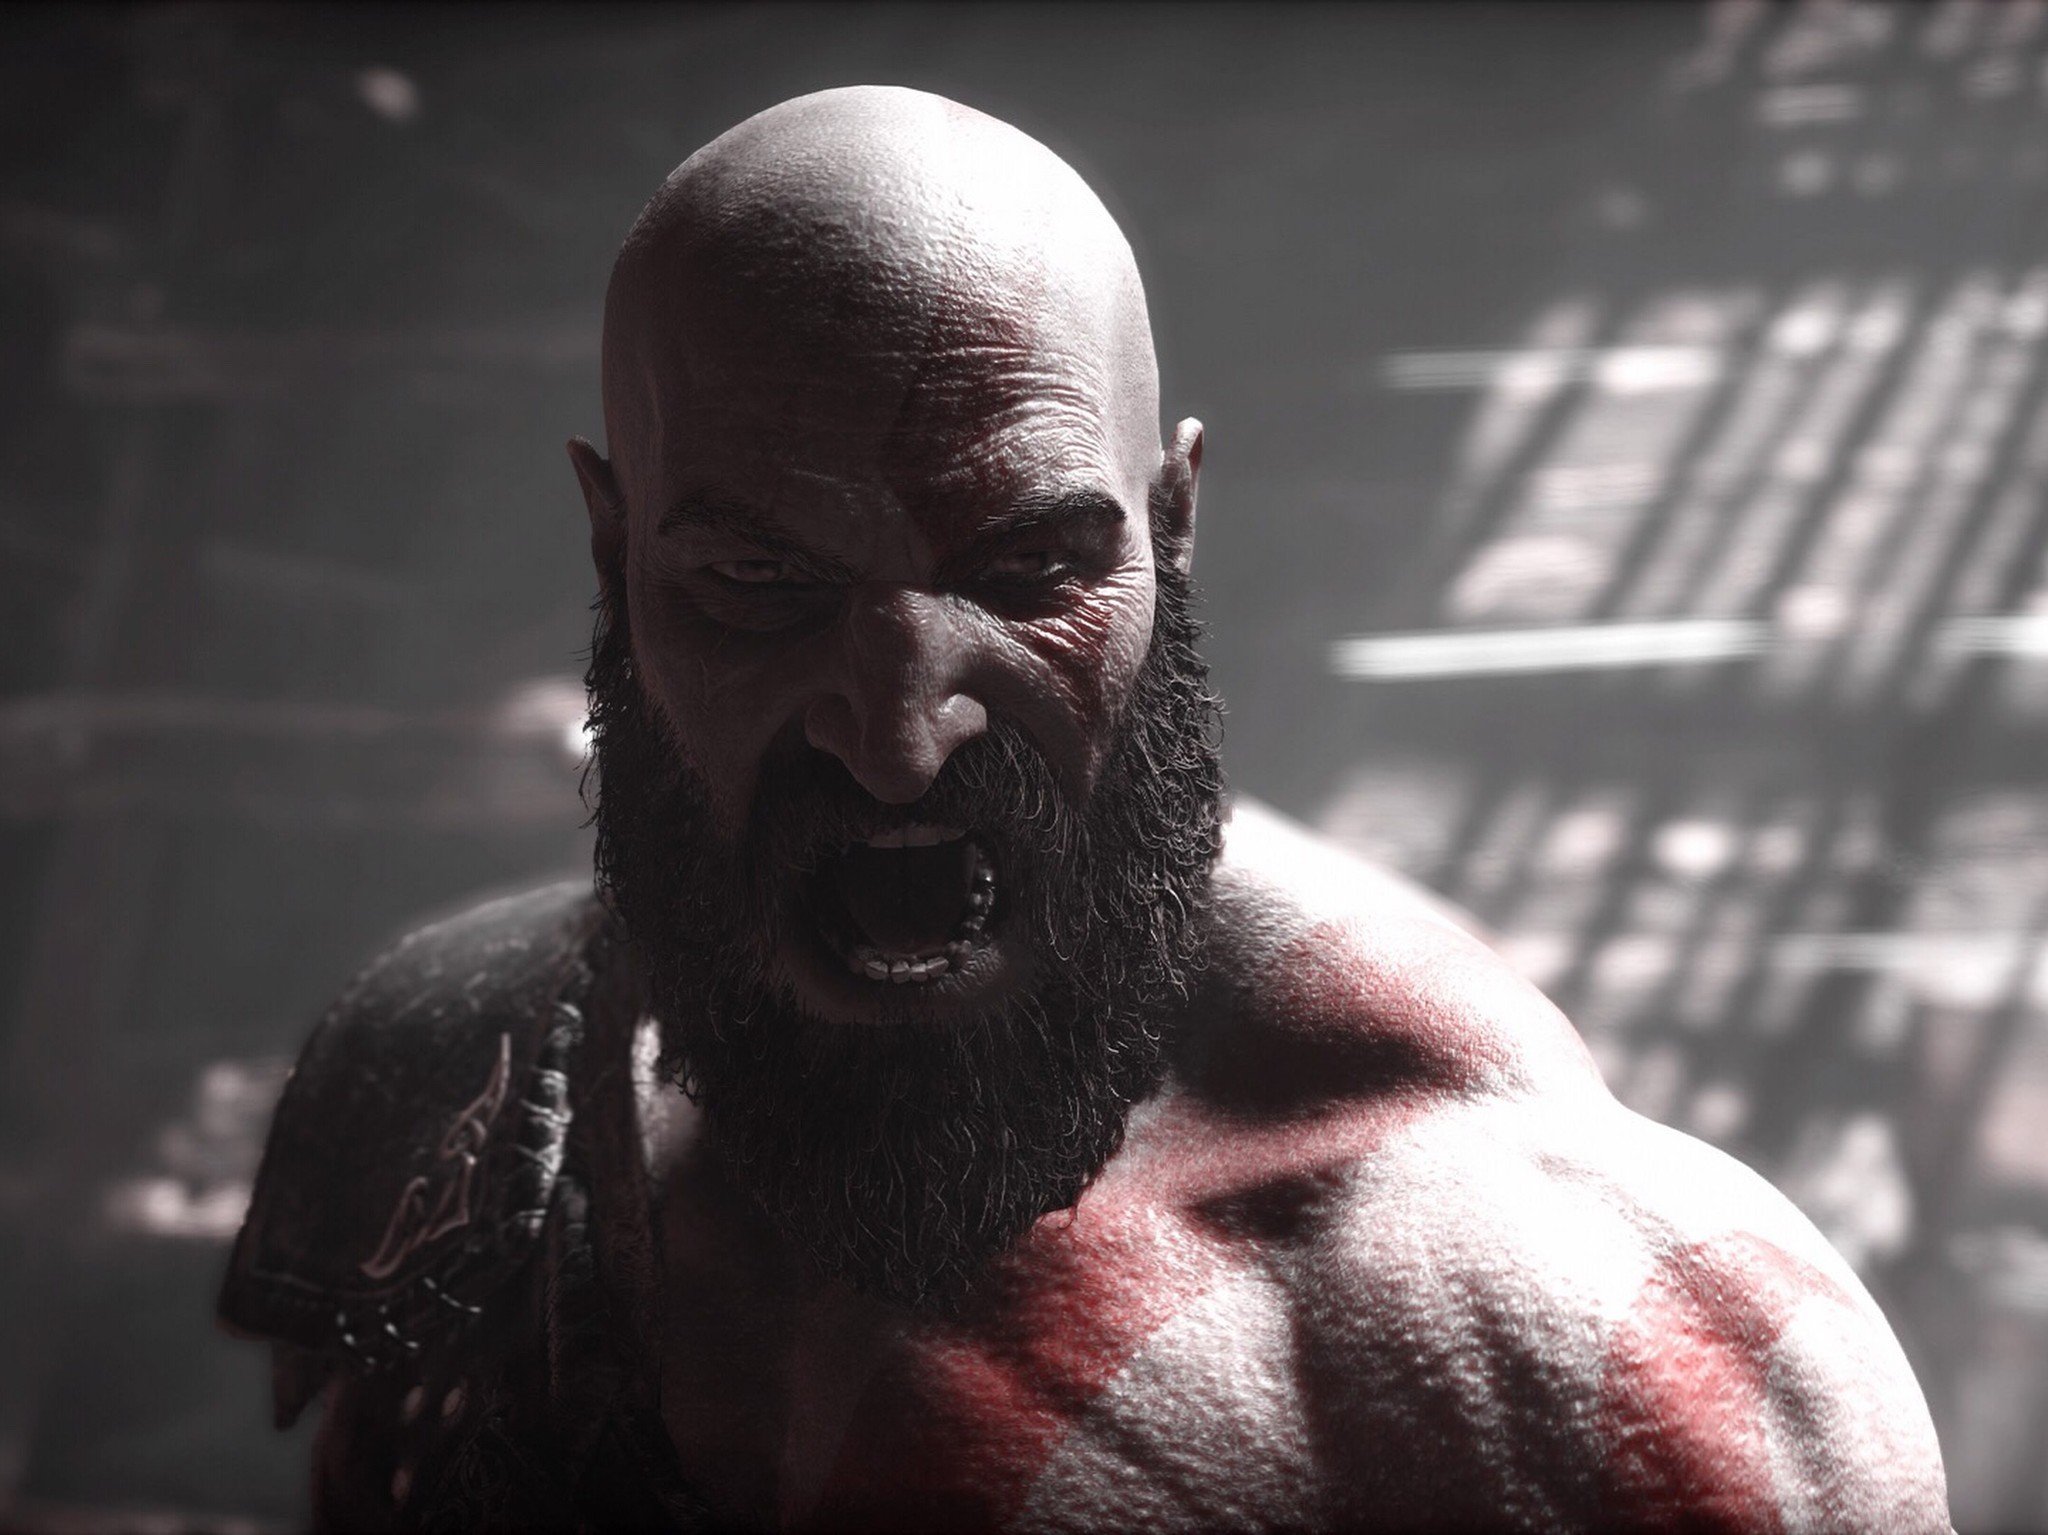
Want to take a break from killing draugrs to capture some moments with Kratos and the boy? God of War's new photo mode - here as part of patch 1.20 - offers a comprehensive set of tools to let you compose the best scene and take the best shot.
Here, we'll show you everything that the game's photo mode allows you to do, and how you can use those tools to get the most out of each photo.
How to get to Photo Mode in God of War
First things first, you'll need to actually launch the mode before you can use it. You'll have to do a bit of legwork to set the scene up by actually playing the game. Whether you want to take a snapshot during a fight or if you just want to have Kratos looking over a cliffside into the sunset, you have to get him there.
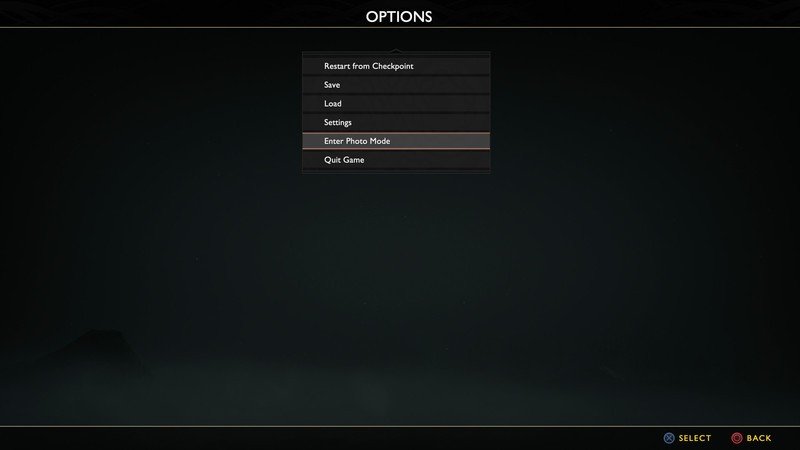
Once you do, it's just a matter of opening the options menu. You can do this by tapping either the TouchPad or the Options button anytime during gameplay. Once there, press the Triangle button. Scroll down to "Enter Photo Mode" and press the X button.
Get your composition
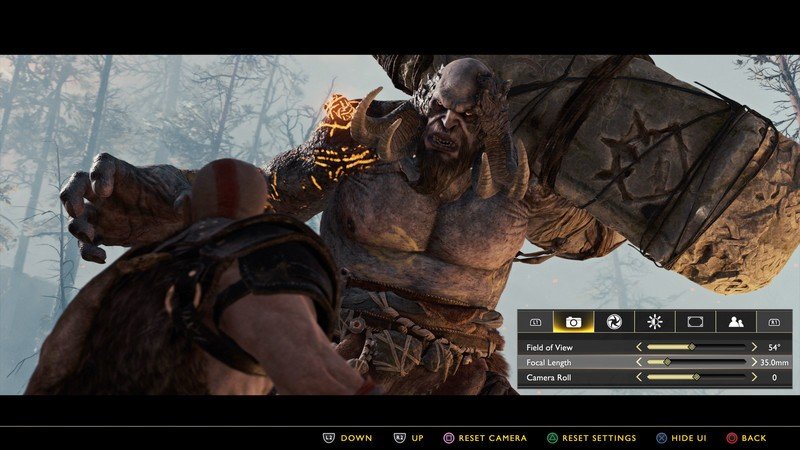
Upon entering Photo Mode, the first thing you'll want to do is find out how you want the scene to be shot. You can easily manipulate the scene by using the analog sticks to pan the camera and change the camera angle, while the R2 and L2 buttons let you pan vertically. If you need to reset the scene, just press the Square button.
It's important to remember that there's no right or wrong way to do this. It's your shot, so get the subjects and backgrounds in there however you like and go for it.
Fine tune your scene
Next, you'll adjust the scene using a bundle of effects, filters, and settings found within five different tabs which you can cycle through using the L1 and R1 buttons.
Get the latest news from Android Central, your trusted companion in the world of Android
Camera
The camera tab has options for changing the field of view, focal length, and camera roll. These three will help you tighten up your shot's composition.
For all intents and purposes, you can consider field of view and focal length to be the same options, the former being a term that gamers may be more familiar with and measured in degrees, with the latter being the photography equivalent measured in millimeters. No matter which you choose to adjust, they're essentially just allowing you to zoom in and out in any given shot.
The camera roll is a bit different. It offers the ability to tilt the angle either left or right.
Aperture
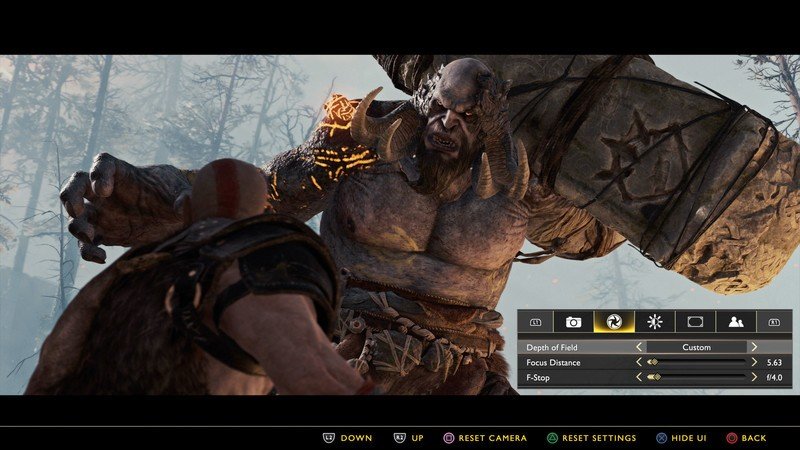
This is where you make those adjustments that'll make your photos dreamy. The aperture menu houses controls for adjusting depth-of-field, focus distance, and F-Stop. Together, they all help to deliver effects like a blurred background (or what's known as bokeh in the field of photography).
The reverse is also true: you can adjust the depth of field and F-Stop in such a way that ensures everything in the scene is sharp and in focus. It's up to you to decide how you want your scene to appear, so be sure to play around with it.
Beginners can use presets that'll adjust the depth of field to ensure a specific character, such as Kratos or Arteus, remains in focus. If you want more control, you can use focus distance and f-stop. The rule of thumb here is that the lower the number on F-Stop, the more blurred your background will be. Want everything sharper? Increase the F-Stop.
Filters
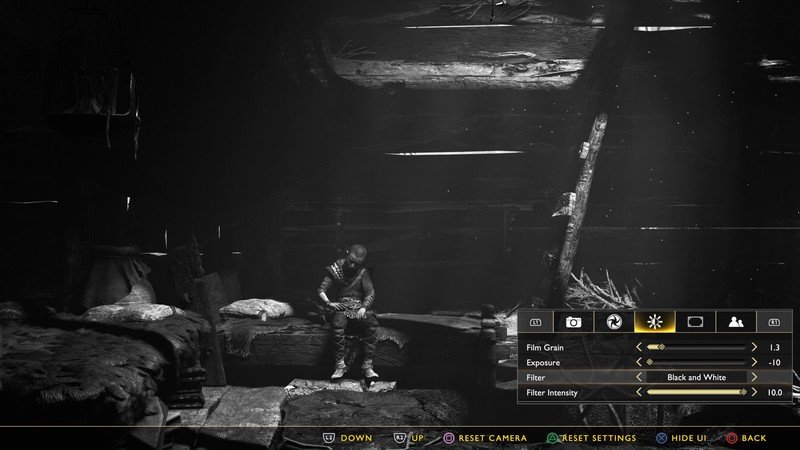
It's time to get your Instagram on. This is the post-processing part of photography that adds effects through filters. You can add film grain if you want to add to the cinematic feel of it all.
Other filter options include black-and-white, sepia, vibrant, and more. Kratos and Atreus even have their own respective filters. You'll get a more warm-looking tone for Kratos, while Atreus' will bring out a lot of cool blue.
A filter intensity option allows you to adjust how powerful the effect is, so whether you prefer a more subtle approach or something louder than life, you're covered.
The filter menu also allows you to change the exposure. If you need the scene to be that much brighter or darker, this is what you'll use to make it so.
Borders
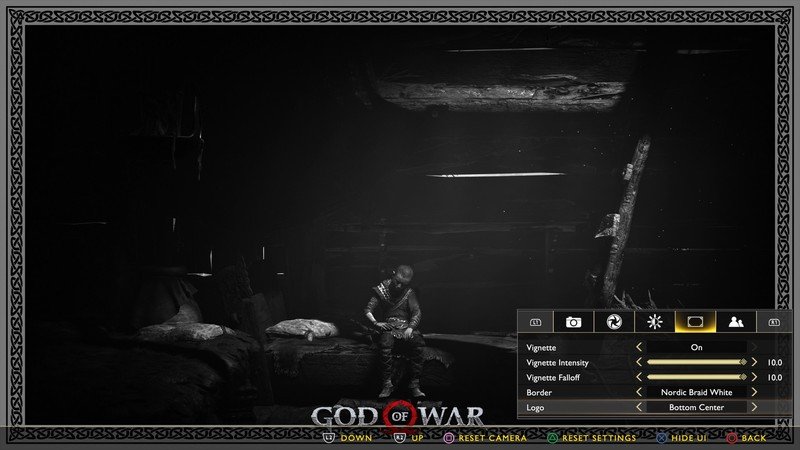
You can add a vignette and a number of borders to your photos. While there is only one standard type of vignette you can use, you do get controls for adjusting the intensity and fall off of it. You'll see the most difference with intensity, while falloff offers more subtle finetuning over how far into the photo the shadows will seep.
For borders, there are standard letterboxing options to help give it that cinematic feel or to help you achieve different perspectives and compositions, such as portrait vs landscape, cinematic 16:9 or 21:9 aspect ratios, or perfect squares if you're looking to throw these up on Instagram. You'll find more flashy borders with a Norse flair beyond that. This is also where you can use the God of War logo if you so wish.
Pro Tip: Use the centered God of War logo as a guide to help you find the center of the image. Feel free to disable the logo once you're finished.
Characters
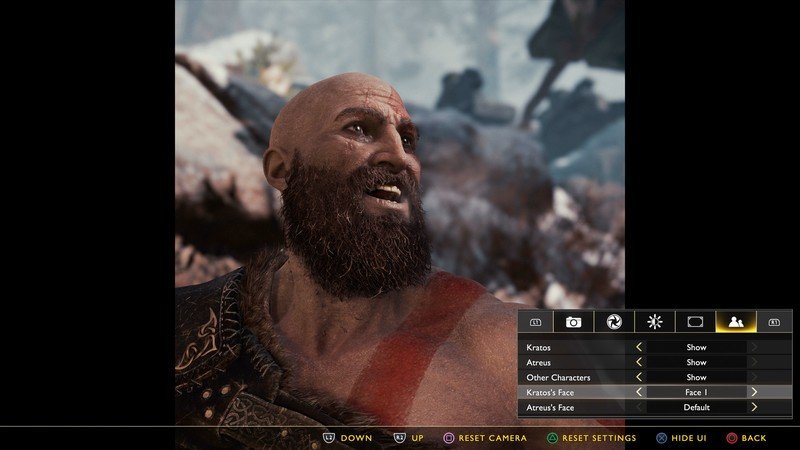
This is where things get really cool with features that you don't see in many other games - you can manipulate the characters in the scene. If you don't want Kratos, Atreus, or neither of them to show up, you can toggle their visibility on an individual basis.
And if that wasn't enough, you can even change their facial expressions. A mean Kratos makes any scene look epic, but it can be nice to bring out his human side every now and then to make him look like the loving father he actually is.
It's downright hilarious to see him cheesing as he's getting ready to cut down a hellacious monster. I also relish the opportunity to make Atreus look like he'll do anything other than bawl his eyes out in any given scene.
Saving your photos
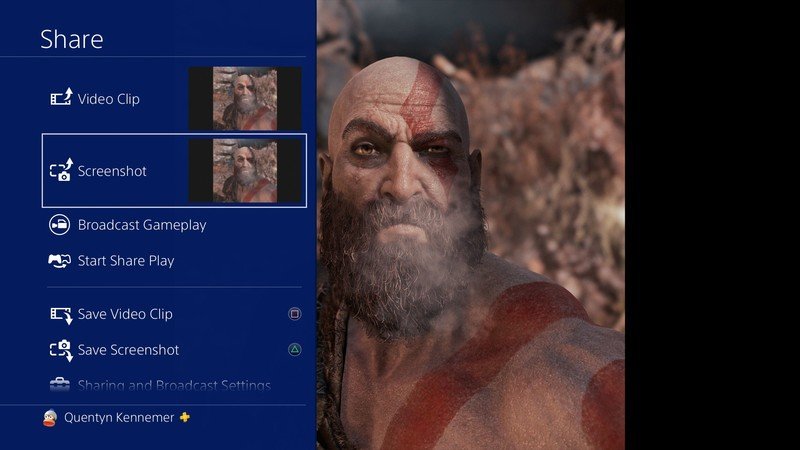
Once it's all said and done, you can hide the Photo Mode UI by pressing the X button and share it however you like. While it's all good and well to stay on your PS4's hard drive, the PS4's built-in share functionality makes it easy to post it on social media or send it to anyone on your friends list. Just tap that trusty Share button on your PS4 controller to share it with the world.
There are limitations
While God of War's photo mode is chock full of control, you will run into some limitations. The first thing to know is that you won't be able to get super in-depth with composition during cutscenes as the game restricts camera and focus manipulation.
We should also note that the game is pretty stringent in how far it'll let you move the camera. You can zoom too far out, nor can you take it very far out of the scene. You may also run into issues when trying to maneuver the camera around bigger characters.
These issues shouldn't sour your fun so much that you'll never want to use photo mode, but don't be surprised when you're eventually denied the perfect shot.
Share your memories
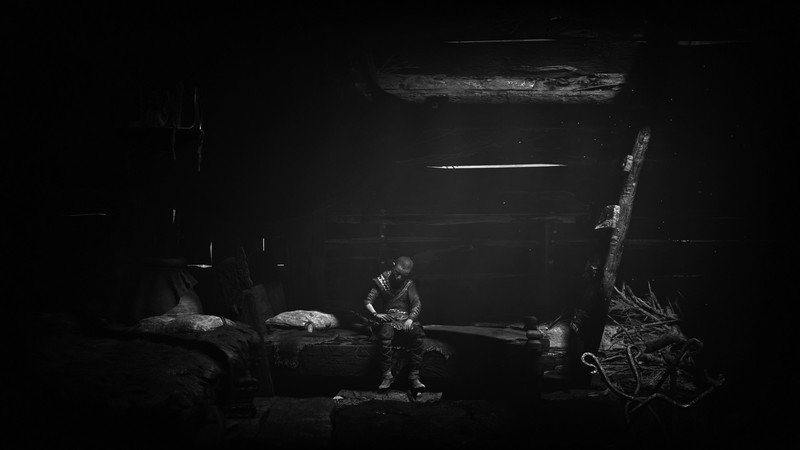
You're armed with some pretty powerful tools to capture and share photos of your time in the world of God of War, and now you have the knowledge to use them to their fullest potential. Put them to good use if you want to keep lasting memories of this beautiful game.

