How to set up your Eero Secure account
Get the latest news from Android Central, your trusted companion in the world of Android
You are now subscribed
Your newsletter sign-up was successful
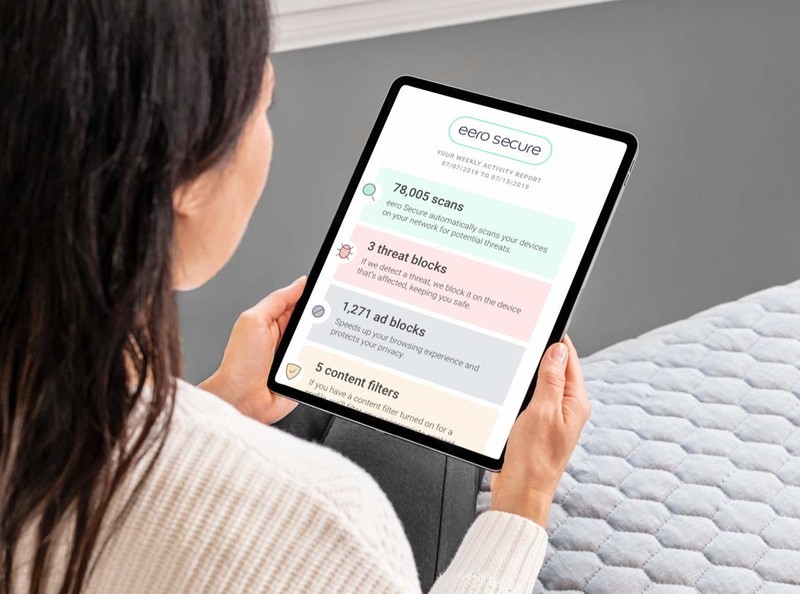
Eero Secure is honestly a pretty great service. Offered by Amazon to owners of its Eero mesh networking hardware, it provides users with greater control over their network, along with myriad tools for keeping both devices and users safe. Whichever plan you choose to subscribe to — Eero Secure or Eero Secure+ — the setup process is the same.
Recommended Eero Products
- To get you started: Eero Mesh WiFi 3-pack ($199 at Amazon)
- For a bit more 'oomph': Eero Pro Mesh WiFi System ($199 at Amazon)
How to set up Eero Secure
- Before you get started
- Make sure Eero isn't in Bridge mode
- Register your Eero Secure subscription
- Sign up for Eero Secure + partnered apps (optional)
- A few final notes on Eero Secure
Before you get started
In order to use Eero Secure, you'll need a few things. First, make sure you've configured your Eero account and set up at least one Eero gateway device. You'll need the Eero app to do this, since it functions as the control panel for your entire mesh network.
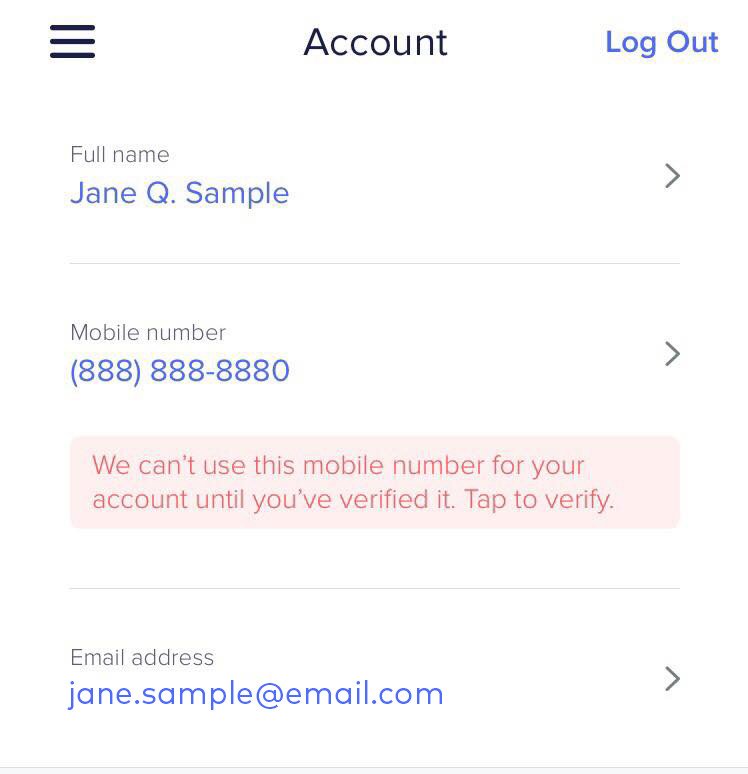
Here's how to create your Eero account.
- Download and Launch the Eero App.
- Enter your phone number and email address.
- You should receive a verification code via phone or email. Enter it to finish creating your account.
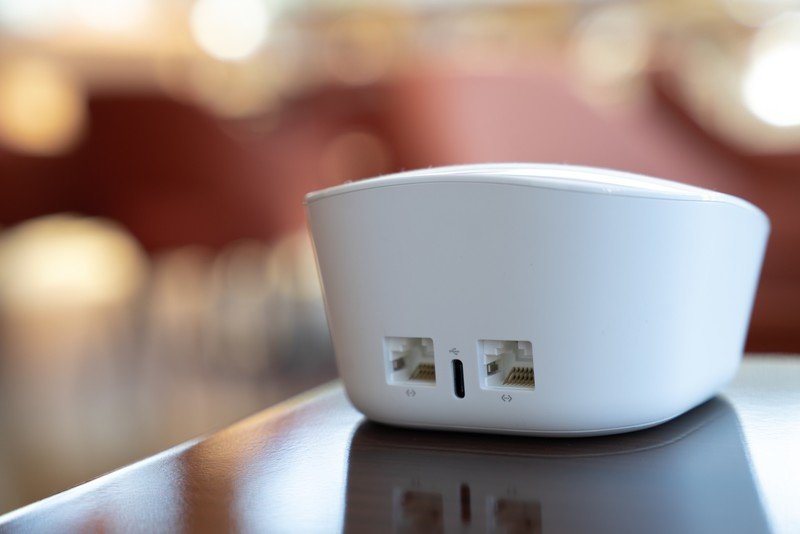
Next, we'll go over setting up an Eero gateway. This is basically just a fancy way of saying an Eero that's connected directly to the Internet via one of its auto-detecting Ethernet ports. It'll serve as the primary hub of your mesh network.
- Unplug your modem. If you have a standalone router, remove it.
- Connect your Eero to your modem using the provided Ethernet cable.
- Plug in your eero, then do the same with your modem.
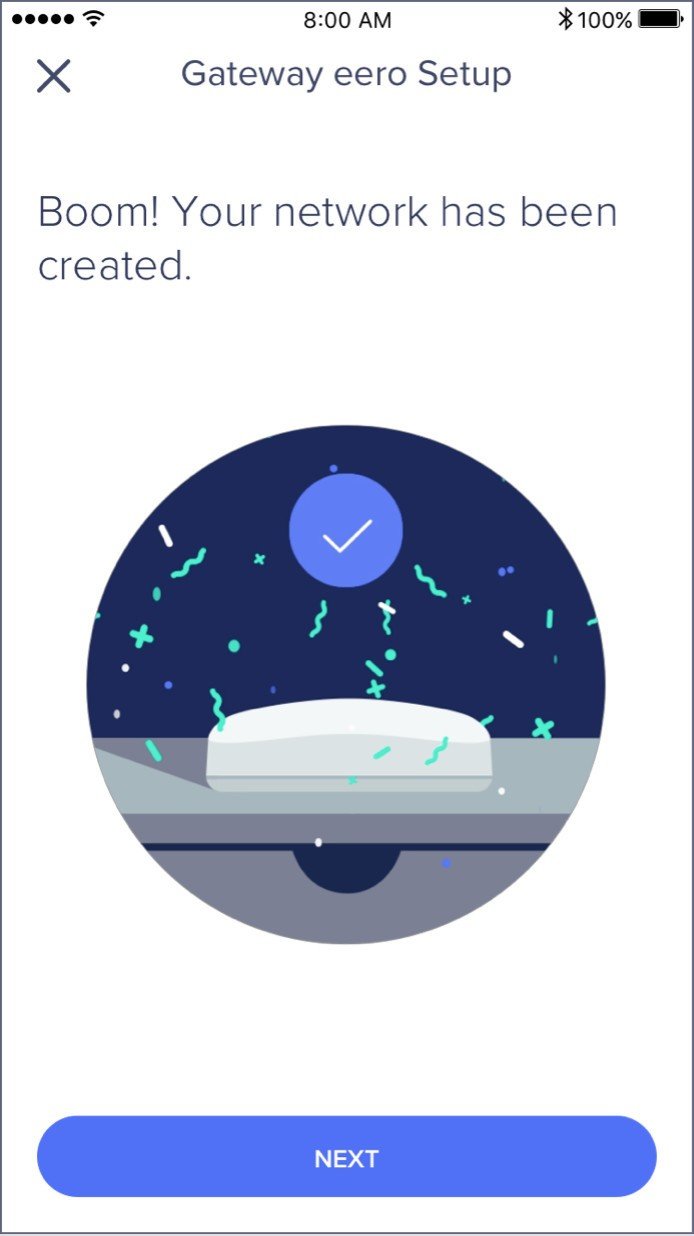
- Launch the Eero app.
- Tap Next. The app should automatically search for and detect your eero.
- Enter your eero's serial number, found on the bottom of the unit. You may not be prompted to do this.
- Choose a name for your eero.
- Configure your network's SSID and password. If you already had a wireless network before using eero, use the details from that.
- Tap Next, and your Eero should be up and running.
Make sure Eero isn't in Bridge mode
One Eero feature is the ability to deploy devices in bridge mode, allowing you to use an existing router to manage your mesh network. While this is great for people who want to preserve their existing network configuration when using eero, it also means losing access to a bunch of features, including Eero Secure. As such, you'll want to disable bridge mode (and probably remove your old router) before subscribing.
Android
Get the latest news from Android Central, your trusted companion in the world of Android
- Open the Eero app.
- Then open your settings menu, located in the top left corner of the app.
- Tap on Network Settings, then Advanced Settings.
- Tap on DHCP & NAT. Make sure it's set to Automatic, not Bridge Manual.
- Tap on Save when you're done.
iOS
- Open the Eero app.
- Then open your settings menu, located in the top left corner of the app.
- Tap on Advanced, then tap DHCP & NAT.
- Make sure it's set to Automatic.
- Tap on Save when you're done.
Register your subscription
Almost done! Your next step is to decide which Eero Secure subscription you want to go with.
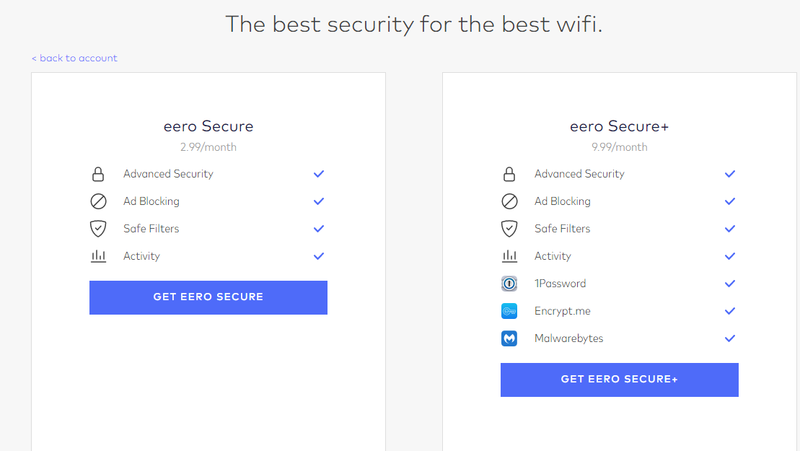
For $3 per month or $30 annually, Eero Secure offers automated threat detection, ad blocking, content filtering & device profiles, and VIP tech support queues. Eero Secure+, meanwhile, offers these features along with a premium antivirus, VPN, and password manager. At $10 per month/$100 annually, it's a bit costlier, but it might be worth it if you haven't already paid for these services separately.
Regardless of which you choose, the signup process is the same.
- Navigate to http://account.eero.com on a desktop or within your smartphone's browser.
- Log in with your Eero account.
- Choose either Eero Secure or Eero Secure +.
- Choose a monthly or yearly payment plan.
- Enter your credit card information, then click Submit Payment.
- Open your Eero app.
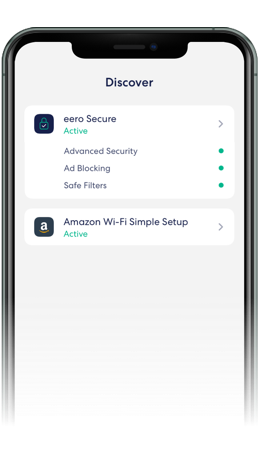
- If your subscription has been successfully set up, you should see a bunch of new options within the app. These will be under Discover-> Eero Secure on iOS, and under Eero Secure in the settings menu on Android.
Sign up for Eero Secure + partnered apps (optional)
If you've signed up for Eero Secure+, you'll have access to three partnered apps: Malwarebytes premium, 1Password, and Encrypt.me. You can register for all three via the Eero app.
On Android
- Open the Eero app.
- Tap on the menu, then tap Eero Secure.
- You should see three icons there: Malwarebytes, 1Password, and Encrypt.me. Tap on each of them, then follow the prompts to create your accounts.
On iOS
- Open the Eero app.
- Tap on the Discover icon.
- Tap on Eero Secure.
- You should see three icons: Malwarebytes, 1Password, and Encrypt.me. Tap on each of them, then follow the prompts to create your accounts.
A few final notes on Eero Secure
Whether you're a parent looking to defend their children from the dangers of the internet or a security-conscious person who wants a bit more protection for their devices, Eero Secure has something for you. Even if you don't have kids, the premium accounts included with Eero Secure+ alone make it a worthwhile purchase. Just remember that it's exclusively an Eero service, so there's no point signing up if you don't have any Eero devices.
Lastly, if eero's not really your style, there are plenty of other options, many of which provide similar offerings to Eero Secure.
Recommended products
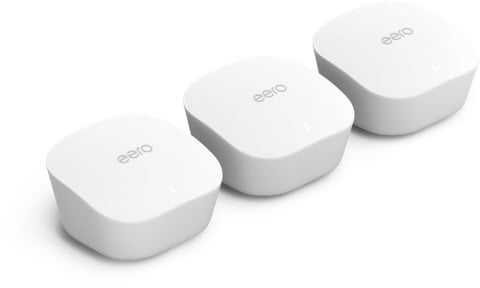
The perfect place to start
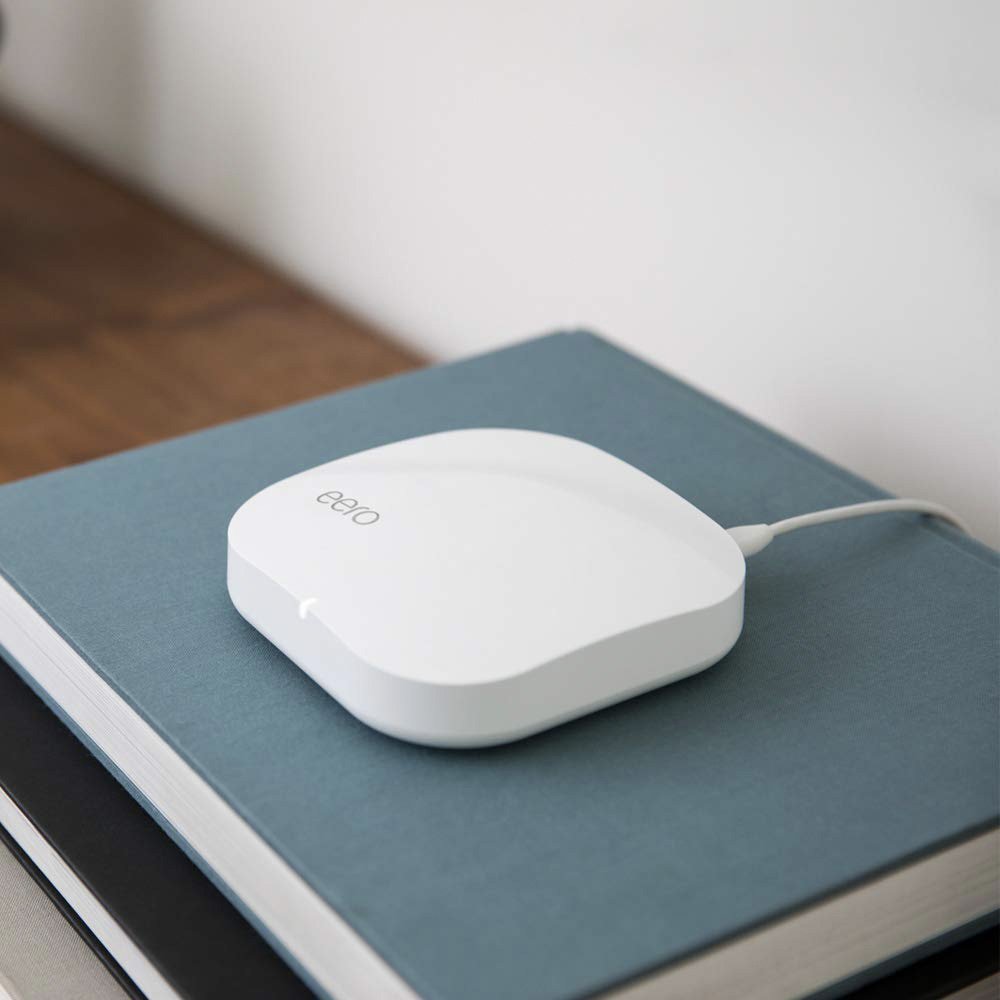
These mesh nodes are affordable, aesthetically pleasing, and easy to configure. They provide excellent coverage, and decent speed as well — maybe not as much as some higher-end hardware, but enough to keep every device in your home connected.
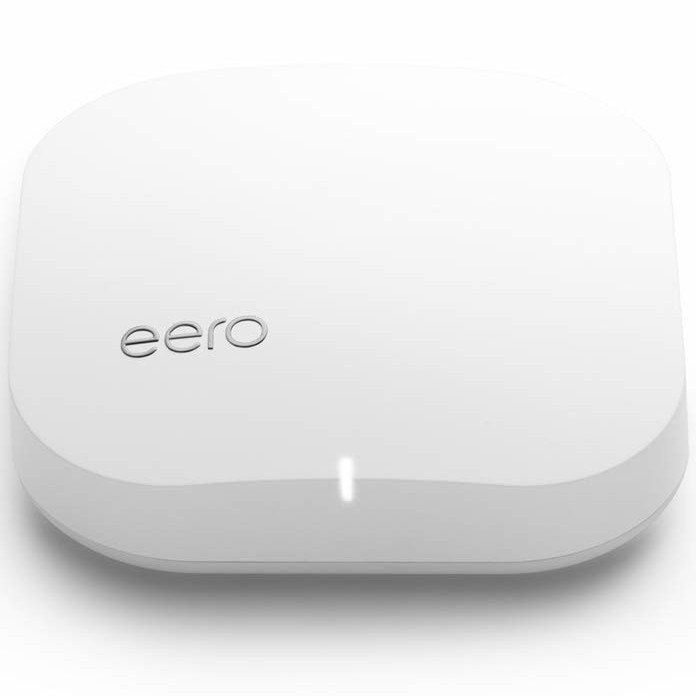
A step above the basics
The latest iteration of eero's networking hardware, the Eero Pro, is armed with tri-band wireless, giving it some serious power and range where networking is concerned. It offers speeds double that of a standard Eero device. If you have the money, it might be better to populate your house solely with these.
