Hands-on with Flir One, a smartphone-powered thermal camera
Get the latest news from Android Central, your trusted companion in the world of Android
You are now subscribed
Your newsletter sign-up was successful
Thermal cameras are little more than a fun toy for most of us, but the companies and contractors that rely on the technology to be more efficient in their work are routinely faced with the tremendous cost associated with most of the hardware in the category. Over the last two years we've seen an effort to make thermal cameras smaller, cheaper, and in some cases even relying on your smartphone to do a lot of the heavy lifting.
The most recent advancement in this lineup is the Flir One, a microUSB dongle that promises to offer a decent thermal camera to those who don't need a $1,000 rig for every job. Here's a quick hands on of this new accessory and it's many features. Spoiler alert — it is also a fun toy.
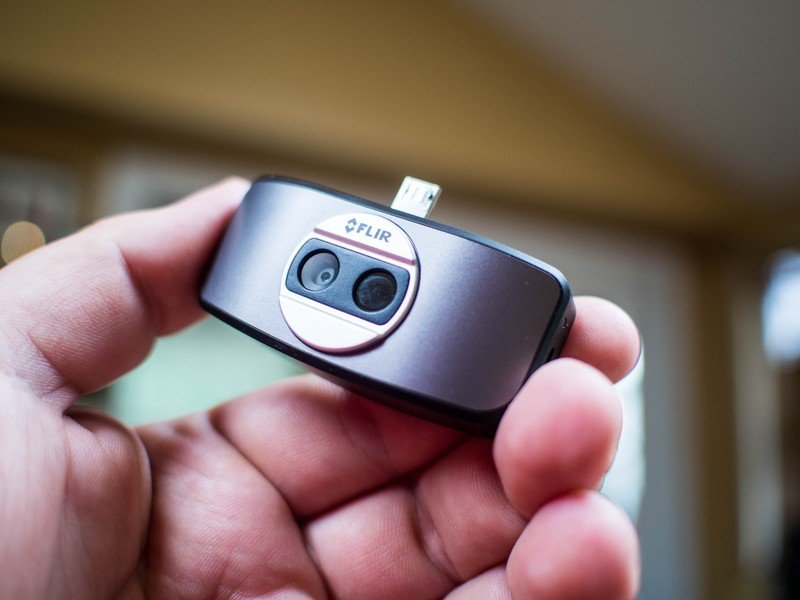
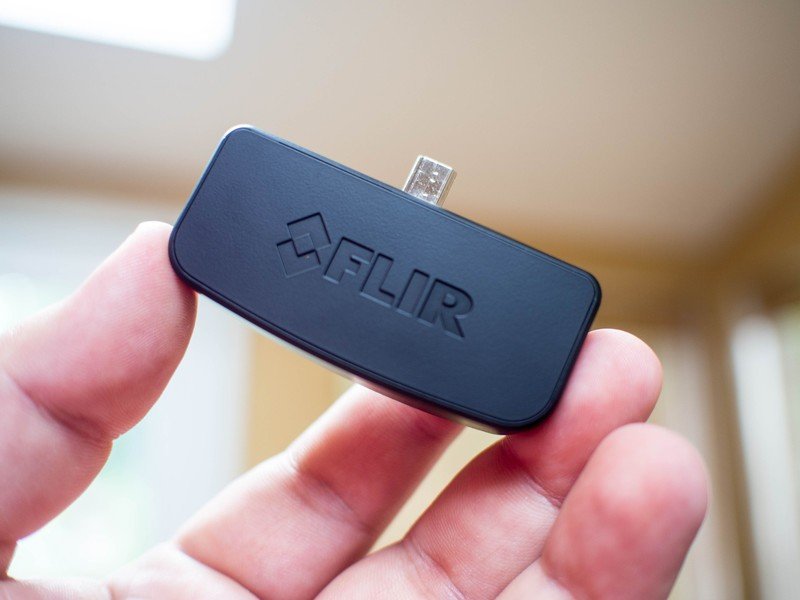
This is not Flir's first effort in the smartphone accessory space, but it's easily the most polished — especially for Android phones and tablets. The microUSB dongle comes with a nice carrying case with a lanyard for when it's not in use, and it's small enough to be pocketable. Even when outside of the case, the two lenses on the front of the dongle are recessed, so accidentally dropping the camera doesn't immediately spell disaster. It's a fairly simple design, with a microUSB port on one side to charge the included battery and a power button to activate the camera on the other.
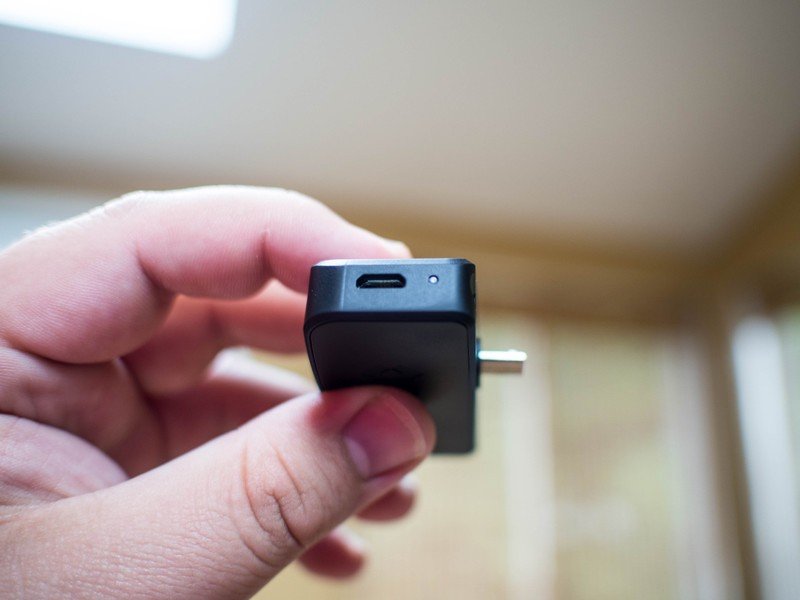
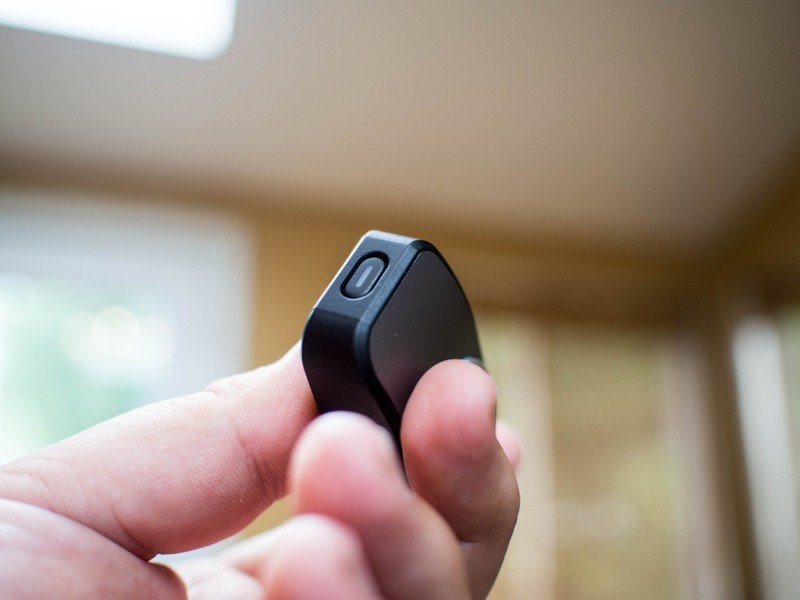
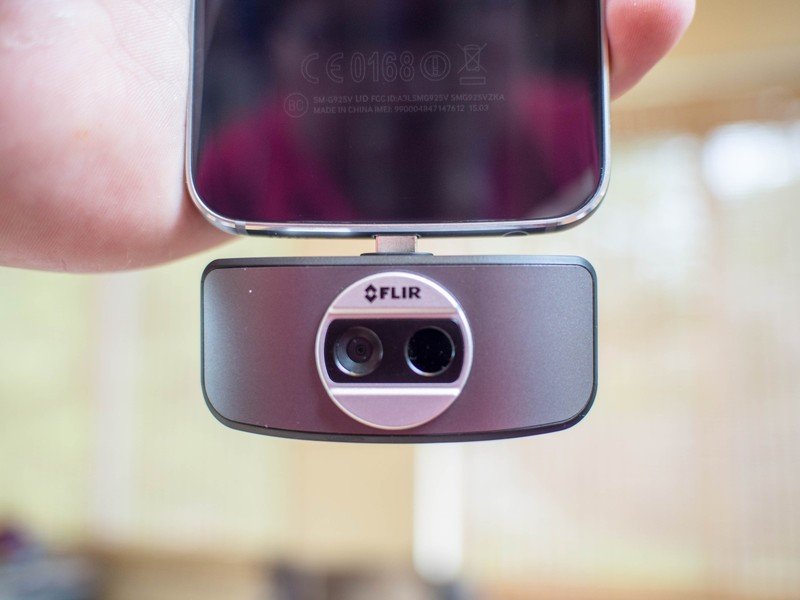
Getting this camera to work on your phone is a three step process. You need to open the Flir One app, connect the camera, and tap the power button. You'll see a notification asking for permission to allow data from the microUSB port, and once you've hit OK the thermal image will appear on the screen. From this point, you're using the cameras attached to the bottom of your phone for everything, and the camera on the back of your phone isn't active at all.
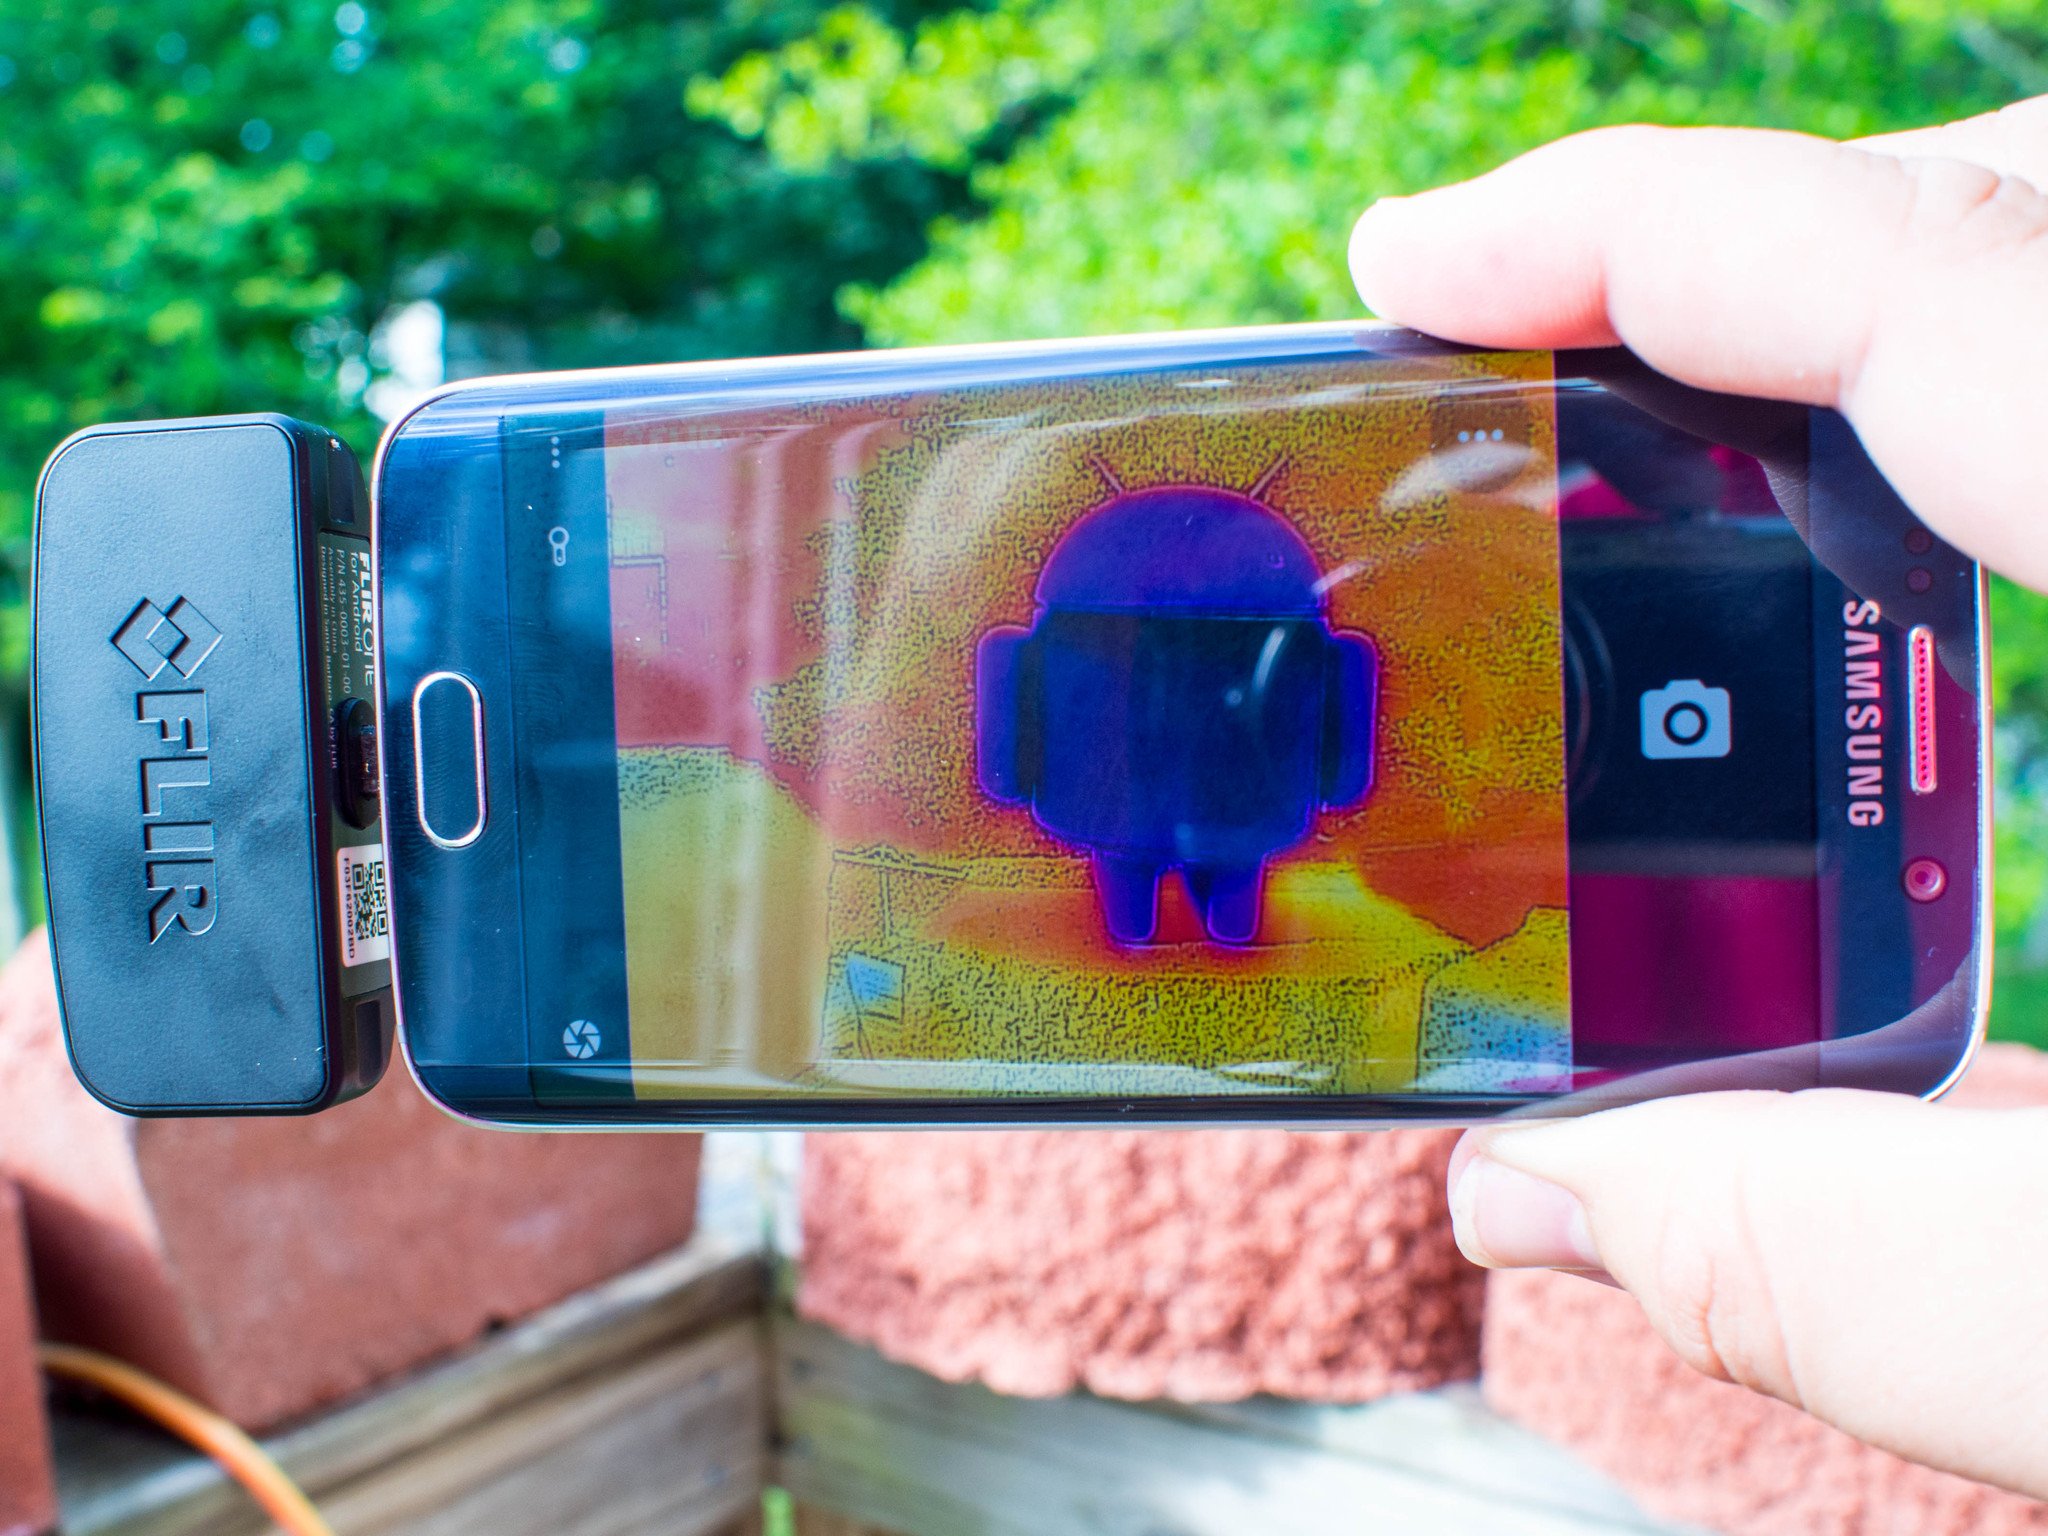
Flir's multi-spectral dynamic imaging tech uses one regular camera for detail and one Lepton camera for heat, placing them together in the app to create a single image. This means even though you can get plenty of thermal information with the lights off, the best pictures come from well-lit environments.
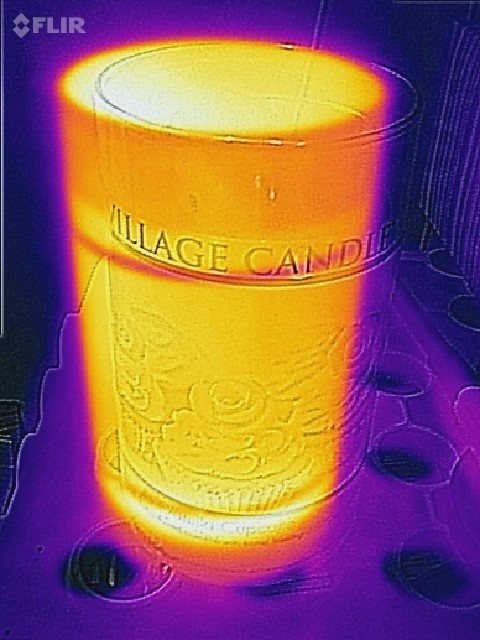
As you can see in this photo, there's occasionally some drift between the detail sensor and the thermal sensor on the camera. The focal point for these two cameras is best at two feet or greater to avoid this visual separation, but at that distance the detail is usually clear enough that you can figure out what you're looking at with relative ease, so if your goal is to use this camera to find heat or cold leaks it's unlikely to be a problem. You'll also note the resolution of the photo is fairly low by modern smartphone standards, but in fact the 640 x 480 image or video captured by Flir One is twice the size of its predecessor.
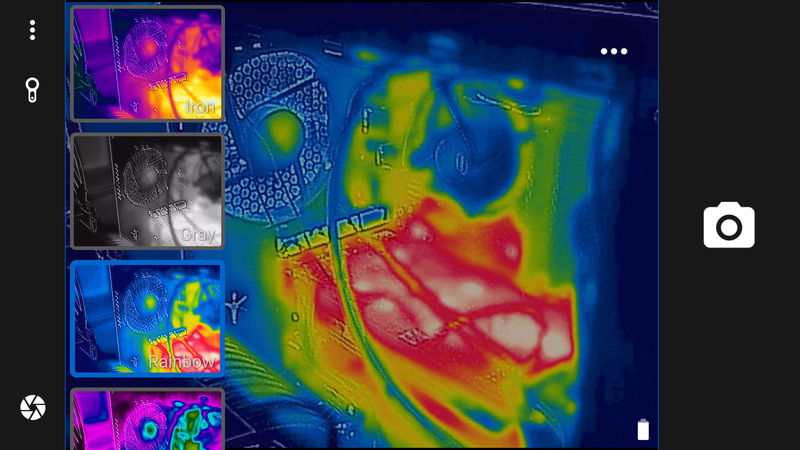
The Flir One UI is about as straightforward as you can get. There's a giant capture button for grabbing photos, a toggle switch in the bottom left for switching from photo to video, and a menu toggle for accessing a thermometer that draws a crosshair in the middle of the screen with the temperature, and some basic settings for camera quality. If you swipe from right to left, you'll get the last photo taken in a built in gallery mode, where you can edit and share photos. These photos are already saved to your local storage, and already accessible from your existing Gallery app, but if you want a quick look back at the quality of the last shot it's a handy swipe away.
Get the latest news from Android Central, your trusted companion in the world of Android
Swiping from left to right accesses a panel with nine color map options for the viewer, allowing you to choose how the thermal information is displayed and captured. These options range from flat gray with tiny splashes of color for the warmest or coldest spots to full on Predator Vision, and just about everything in between. The Iron setting, which is the default when launching the app for the first time, is my personal preference. Since I'm not using this for anything other than making pretty colors on things, that doesn't count for much. They are more than just filters, though. There's potentially significant information in each option, depending on what you want from an image. Here, see for yourself.
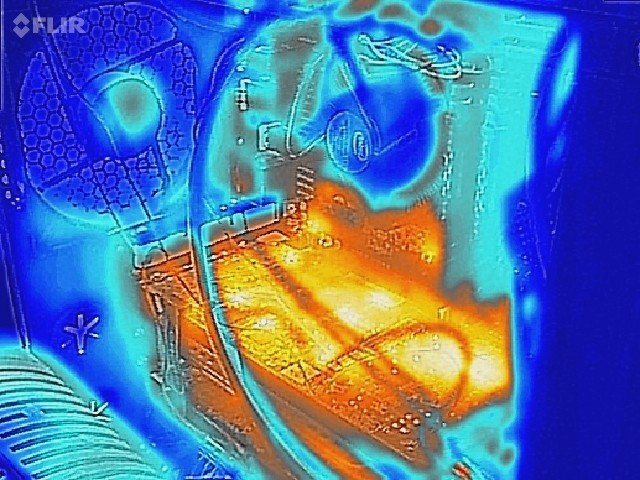
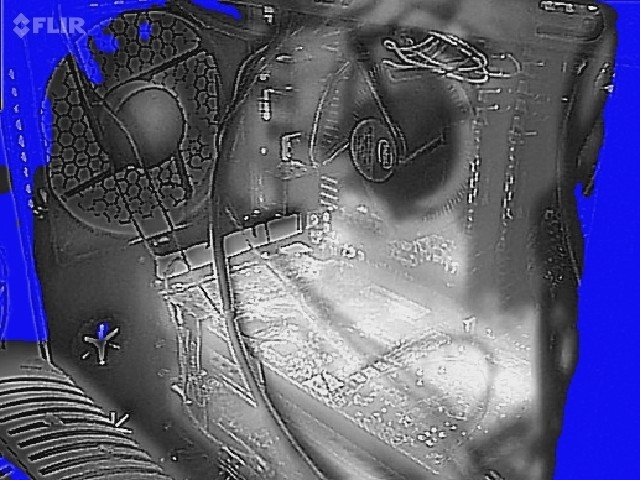
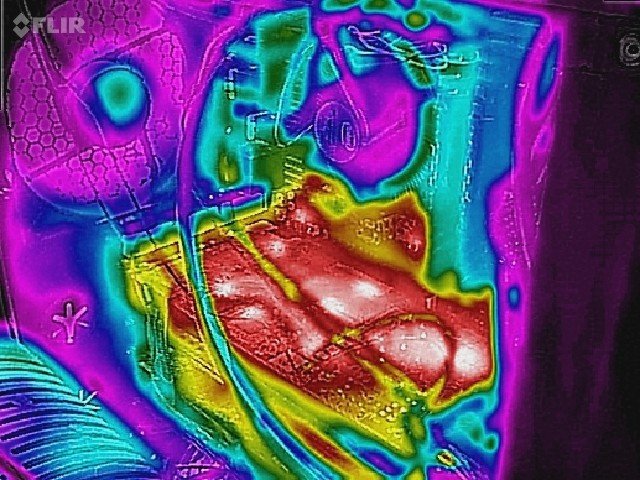
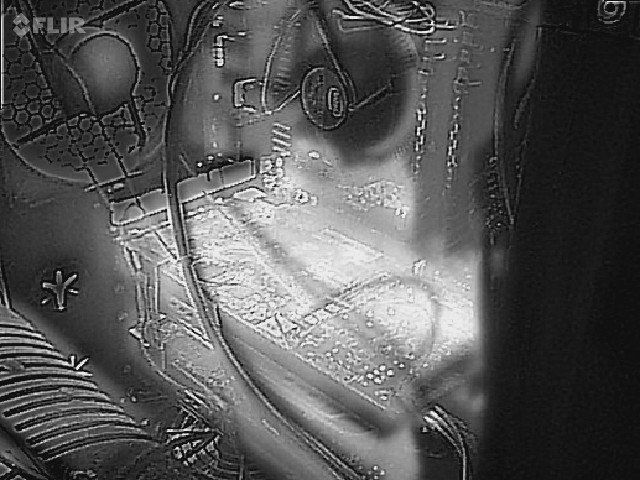
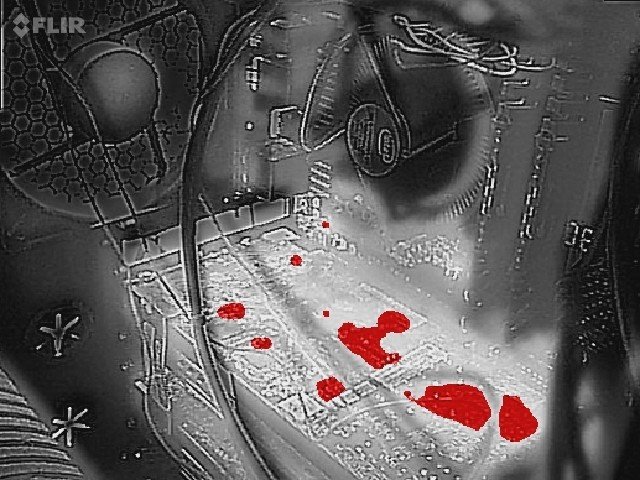
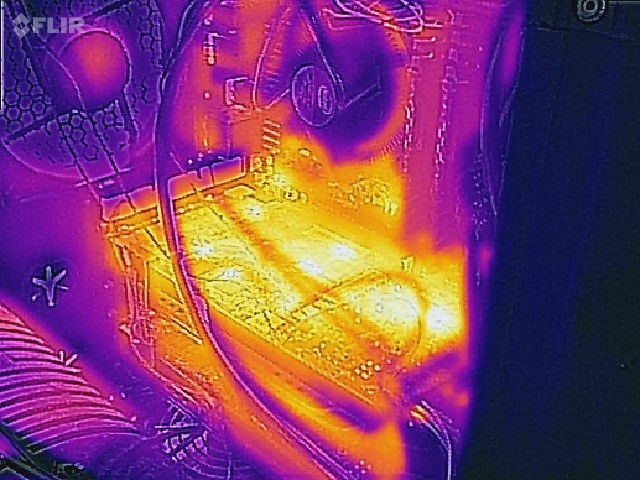
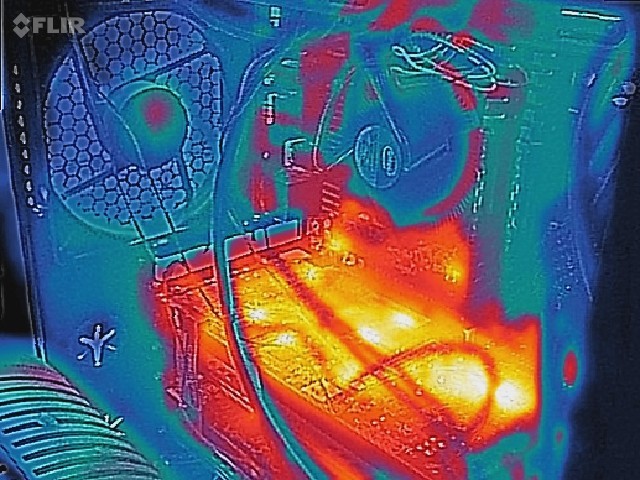
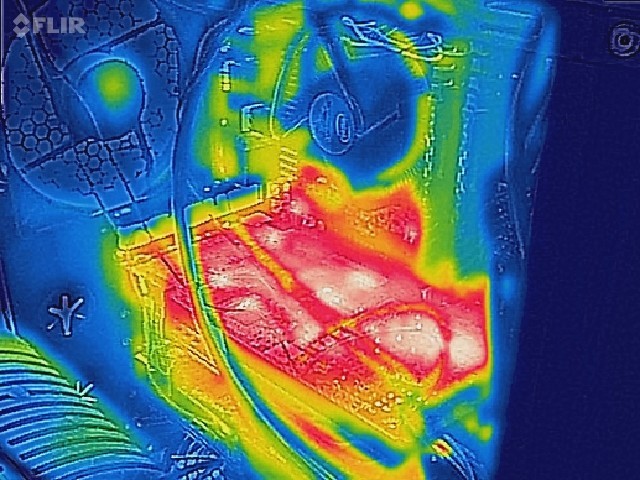
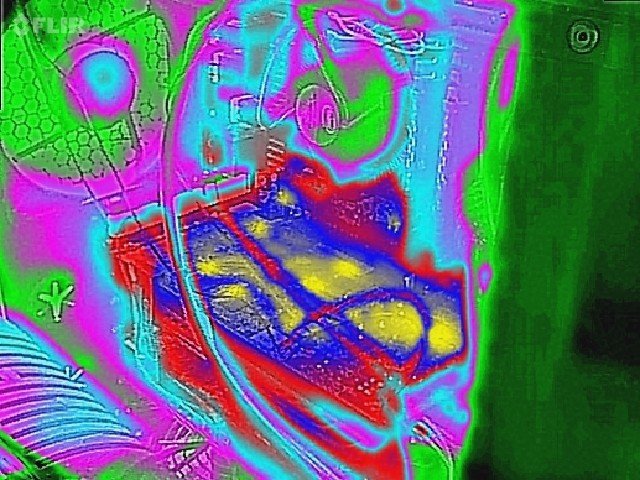
Ultimately, $250 is still a steep ask for something like this if you're only using it for fun, but there's plenty about the Flir One that should be attractive to those who could use a thermal camera that is a third the cost of "cheap" thermal cameras. It's also $50 cheaper than the competing Seek thermal camera for Android, though we've not yet done a side by side to see which of these cameras is actually better. If you're looking for a decent thermal camera on a budget, or you're looking for a fun accessory for your Android phone, the Flir One seems is worth a closer look.

