
If you just got a Meta Quest 3 headset, you're probably raring to jump into virtual worlds and experience the best of VR on your shiny new VR console.
But before you get too far into the setup experience, we've got a few tips and tricks to make your VR experience the best it can be. Be sure to check out the first four points on this list before you play for the first time, and come back to read the rest after you've played around in your first experience for a while.
And even though the Meta Quest 3 is a great out-of-the-box experience, the best Meta Quest 3 accessories will further enhance your experience by making the controller even more comfortable, extending the Quest 3's battery life, allowing you to play in the dark, and more.

Measure IPD
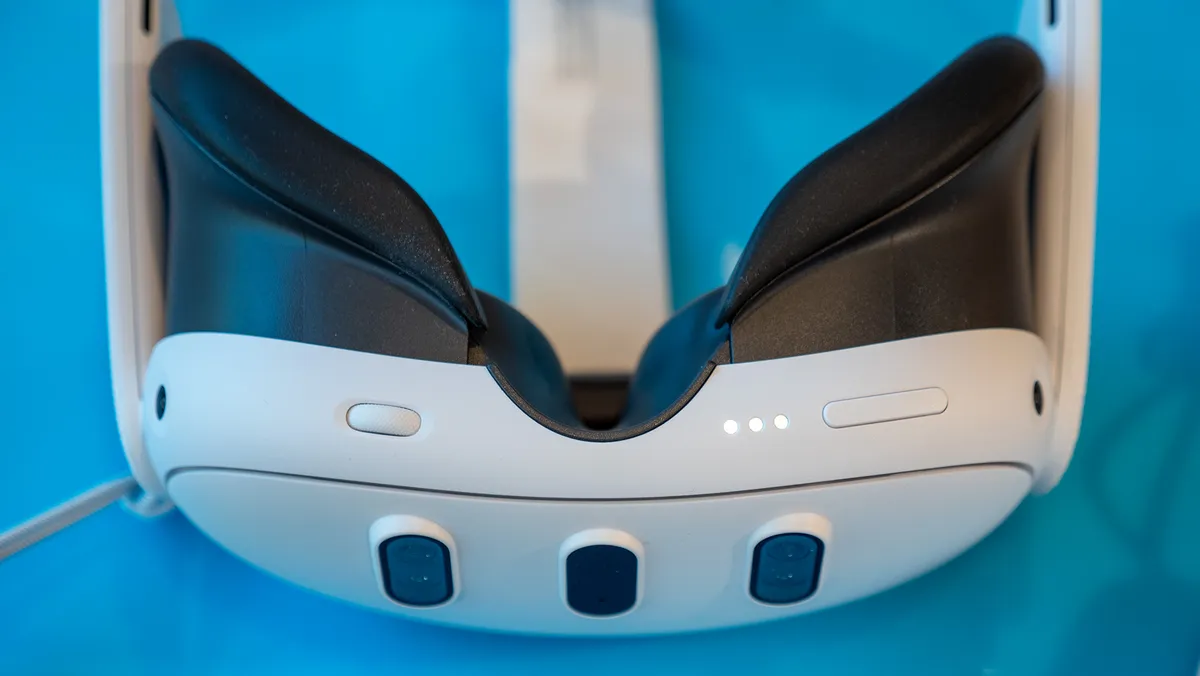
Before you do anything, measuring your interpupillary distance (IPD) and setting the lens distance are the most important things you'll ever do before wearing a VR headset. Using a VR headset like the Meta Quest 3 with the incorrect lens spacing is the quickest way to get headaches and generally have a bad time in VR. Thankfully, adjusting the IPD on a Quest 3 is a simple task.
First, you'll want to measure your IPD by using a ruler with millimeter marks.

1. While looking in the mirror, close your left eye.
2. Look straight into the right mirror with your right eye.
3. Hold the ruler just below your eye and center the zero marker on your right pupil.
4. Close your right eye and open your left eye, making sure not to move the ruler.
5. Look into the left mirror with your left eye.
6. Look straight and note the millimeter distance that matches up to the center of your left pupil.
Most adults' IPD ranges are between 60-68mm, but there are always folks who have narrower or wider IPD than others. Once you have your number, put the Meta Quest 3 on your head and rotate the IPD wheel located on the underside of the headset to the left of your nose.
As you rotate this wheel, the IPD measurement dialog will appear on the screen. Rotate it until you've reached your correct IPD. Just don't forget to have everyone who is using your headset do this so they have the best experience in VR!
Check the comfort rating

No matter if you're a VR newbie or a veteran, not everyone handles virtual motion the same way. The comfort rating on the Meta Quest store is particularly important for anyone new to VR. Choosing a game with a moderate or intense rating is one of the fastest ways to make yourself feel nauseous, give you headaches, and generally feel awful.
When choosing from the best Meta Quest games, make sure to take a look at the comfort rating highlighted in the image above. Both desktop and mobile versions of the Quest Store show the comfort rating, and the descriptions and color ratings make it pretty easy to understand.
A green Comfortable rating means the game should be fine for anybody so long as the proper comfort options are selected in the game. Games with a yellow Moderate rating are likely fine for anyone who has been playing VR games for a while. Anything with a red Intense rating is only recommended for folks with iron stomachs or VR veterans who aren't phased by anything.
Set up your playspace
VR is best experienced when you can freely move around your room, but headsets like the Meta Quest 3 allow you to even map your furniture and walls for some great mixed reality experiences.
When you turn on your Quest 3, it'll run you through the process of automatically mapping out your room and playspace. To get the most out of this, make sure your floor is clear and any other obstructions — coffee tables, laundry baskets, etc. — are moved out of the way.
Once room mapping is done, adding your furniture to VR allows you to enjoy better mixed reality experiences and even gives you a quick way to move from the couch to standing without having to remap your space. Follow these steps to get your furniture added:
1. Put on your headset, then press the Meta button on the right controller to pull up the universal menu.
2. Click the clock on the left side of the universal menu to open Quick Settings.
3. Tap Settings in the top right corner, then tap Physical Space.
4. Select Space Setup from the menu.
5. Tap the Setup button.
6. Follow the prompts to add any couches, tables, walls, or other objects in your room.

You'll also want to make sure your playspace is adequately lit. Playspaces that are too dark can reduce tracking performance or turn off tracking entirely. Plus, hand tracking is only usable in well-lit spaces.
If you're just more comfortable playing in the dark, however, Zyber has an infrared illuminator that taps into your headset's USB-C port and creates a canvas of light that only your headset can see. It's a small investment for folks who enjoy living in the shadows (or just don't want to disturb their housemates).

Your eyes can't see all the light this infrared illuminator creates, but your headset certainly can! Play in the dark without tracking issues thanks to Zyber.
Share the experience
VR headsets are amazingly immersive, but the folks around you can't see what you're doing unless you cast your experience to a smartphone or TV. If you're already wearing the headset, press the Meta Button on the right controller to bring up the Universal Home Menu, tap the Camera icon, then tap Cast. The pop-up menu will show any compatible devices on your Wi-Fi network that you can cast to.

But if you're demoing the headset for someone else, the best way to cast the experience is to use the Meta Quest app on Android or iOS. You probably already used this app to set up the headset initially, and it's perfect for everyday use, as well.
Here's how to cast to your phone:
1. Open the Meta Quest app on your smartphone or tablet.
2. At the top of the app's home screen, tap the Cast button next to your Meta Quest 3 headset.
3. Once the headset connects to your phone, tap Cast again to start the feed.
4. While watching the VR feed on your smartphone or tablet display, tap anywhere to bring up the menu.
5. From here, you can remotely launch apps and games for the person wearing the VR headset.
Remotely launching apps and games is far easier than telling someone how to find their next experience, so be sure to use it often when demoing your headset! As a reminder, make sure to demo the right VR games for first-timers using our guide. Not all VR games are made for first-time users, and putting them in the wrong experience is the fastest way to make them feel sick or woozy.
Capture the action
Did you know you can take screenshots, record videos, or even live stream your play sessions to your Facebook feed? It's super easy to do any of these, and it makes sharing your experience with people outside of your home easy as pie.
To take a screenshot, press and hold the Meta button and trigger on the right controller for one second. If you did it correctly, you'll hear the iconic screen capture sound.
To record a video, press and hold the Meta button and trigger on the right controller until you see the recording dot appear on the top right corner of your display in the headset. When you're ready to stop recording, repeat the same steps until the recording dot disappears.

Alternatively, you can press the Meta button on the right controller, then tap the camera icon on the universal home bar at the bottom of the screen. From here, you can take a quick video or screenshot, as well as begin a live stream to your Facebook feed. If you haven't previously linked your Facebook account to your Meta Quest, the headset will walk you through the steps to do so.
Once you're done playing and want to share your captured screenshots and videos, open up the Meta Quest app on your smartphone and tap the Gallery tab at the bottom of the screen. All of your recently captured moments should be here.
If you don't see your most recent screenshots or videos, you can manually sync them by putting your Meta Quest 3 on, tapping the Meta button on the right controller, and tapping the camera icon on the universal home bar at the bottom. Hover your hand or cursor over the media you want to sync, then tap the three dots on the top right of the thumbnail and tap sync now. Your media should now be available in the Meta Quest app on your smartphone.
Get health tracking with Quest Move
Meta Quest Move is a built-in health-tracking app that can track how many calories you burn no matter what you're doing in VR. It can also be used to sync these numbers to your favorite Android or iOS health-tracking apps, and it even gives you breakdowns of how long you've played each game per month.

To enable Meta Quest Move, tap the Meta button on your right controller, then tap the 9-dot grid icon on the bottom right to open your app drawer. From here, either find the Meta Quest Move app or search for Move on the top. Launch the app by tapping its icon and follow the steps to set it up.
Once Move is set up, open the Move app and navigate to settings. Ensure that Track movement and Connect Move to Meta Quest App are both enabled to get the most out of Meta Quest Move.
Finally, connect Meta Quest Move to your Android phone by following this guide from Meta. Just make sure you've installed the free Google Health Connect app on your Android phone first.
Set up additional profiles
Sharing your headset with family members is as natural as sharing a controller on a traditional gaming console, but just as on those systems, you probably don't want everyone using the same profile.
What's particularly awesome is that the primary profile on the headset shares a library with the rest of the profiles on the headset, so you won't have to buy games more than once just because your spouse or kids want their own profile.

1. Create a new Meta account by visiting the Meta accounts center.
2. Put on your headset, then press the Meta button on the right controller to pull up the universal menu.
3. Click the clock on the left side of the universal menu to open Quick Settings.
4. Tap Settings in the top right corner, then tap Accounts.
5. Tap Add Account in the top right corner.
6. From your smartphone or tablet, go to www.meta.com/device and enter the 8-digit code from your headset.
7. Have the new person put on the headset and finish setting up their profile.
Once you've got all your profiles set up, you'll want to enable app sharing between profiles. To do so, follow these steps:
1. Put on your headset, then press the Meta button on the right controller to pull up the universal menu.
2. Click the clock on the left side of the universal menu to open Quick Settings.
3. Tap Settings in the top right corner, then tap Accounts.
4. Click the toggle to App Sharing to enable.
Now, any of the sub-profiles you make on your headset can launch any app or game owned by the primary profile.
Make some apps private
While we're on the subject of sharing app libraries and games, it's important to note that not all games or apps are appropriate for all ages. If you want to lock certain apps behind a password — because the app contains age-inappropriate content or for some other reason — here's how to do that:
1. Put on your headset, then press the Meta button on the right controller to pull up the universal menu.
2. Click the clock on the left side of the universal menu to open Quick Settings.
3. Tap Settings in the top right corner, then tap Apps.
4. Select App Locks from this menu.
5. Select any apps that you want to lock and follow the prompts to set up a PIN or password.
Enable voice commands
Over the years, Meta has drastically improved the Meta Quest UI to make it more user-friendly. Even still, asking the built-in virtual assistant to do something for you is the quickest way, and enabling it just takes a few steps. Annoyingly, this is only available for the United States at the moment, but it will hopefully come to other regions in a future update.

1. Press the Meta button on your right controller to pull up the universal menu.
2. Click the clock on the left side of the universal menu to open Quick Settings.
3. Tap Voice Commands.
4. Tap Start Setup.
5. You can now say "Hey Meta" followed by a voice command.
6. If you'd rather press a button to invoke the assistant instead, navigate back to the Voice Commands section in settings and select Enable Shortcut.
7. Once enabled, you can double-press the Meta button to initiate a voice command.
Now this leads to the next question: what can you do with Meta Quest voice commands? A lot, to say the least. Meta maintains a full list of voice commands that's updated as Meta adds more voice commands, but here are a few that you might find useful:
- "Lower the volume to 3."
- "What's my battery?"
- "Open Beat Saber."
- "Go home."
- "Start/stop casting."
- "Start/stop recording."
- "Who's online?"
- "Start a party."
Try out hand tracking
Hand tracking is the most effortless way to interact with the VR world, particularly when you're just popping on the headset to hang out with friends, watch something, or perform a quick task.
But hand tracking isn't just good for times when you don't want to use controllers. Hand tracking actually helps improve controller tracking by tracking your hands and controllers at the same time. Here's how to enable it:

1. Put on your headset, then press the Meta button on the right controller to pull up the universal menu.
2. Click the clock on the left side of the universal menu to open Quick Settings.
3. Tap Settings in the top right corner, then select Device in the menu.
4. Select Hands and Controllers.
5. Click the toggle next to Hand Tracking to enable the feature.
Now, you can play the best hand-tracking games or just effortlessly tap around the Quest UI without needing controllers.
If you've already picked up your controllers but want to switch to hand tracking, double-tap your controllers together to toggle between them. To switch back to using controllers, just pick up your controllers and press any button to wake them.
Toggle passthrough
One of the coolest things about the Meta Quest 3 is the ability to (mostly) clearly see your surroundings while wearing the headset. But did you know you can toggle between virtual reality and mixed reality "passthrough" vision at any time? Just double-tap the side of your headset to toggle between these views while on your Quest home screen or even while playing a game.
If the double-tap isn't working, here's how to make sure it's enabled:
1. Put on your headset, then press the Meta button on the right controller to pull up the universal menu.
2. Click the clock on the left side of the universal menu to open Quick Settings.
3. Tap Settings in the top right corner, then select select Guardian from the left-hand menu.
4. Click the toggle next to Double Tap for Passthrough to enable the feature.
Swipe typing
Ever since Meta launched the Direct Touch UI in 2023, they've been adding features that make the floating virtual UI on the Quest feel more like a smartphone or tablet UI.
One of the best ways to type in VR is to just use your fingers to hunt and peck the way you might on a physical keyboard, but that's a bit slow for normal conversation. Instead, give swipe-typing a try! It works just like a smartphone keyboard's swipe-typing and feels great to use. Here's how to enable it:

1. Put on your headset, then press the Meta button on the right controller to pull up the universal menu.
2. Click the clock on the left side of the universal menu to open Quick Settings.
3. Tap Settings in the top right corner, then select Experimental features.
4. Click the toggle next to Swipe Typing to enable the feature.
Change up your home environment
When you first set up your Meta Quest 3, the default home environment is a passthrough look into the real room you're sitting or standing in. But you don't always have to look at the room around you! Instead, you can toggle between passthrough mixed reality vision and a sweeping virtual environment, instead.
Here's how to do it:

1. Put on your headset, then press the Meta button on the right controller to pull up the universal menu.
2. Click the clock on the left side of the universal menu to open Quick Settings.
3. Tap the Space tile on the Quick Settings screen to toggle between Passthrough and Immersive.
But you don't have to settle with the default immersive home environment! Meta has several free environments to choose from. You can even use your own 360-degree image as a home environment if you want to be really fancy. Here's how to set up a new home environment:
1. Put on your headset, then press the Meta button on the right controller to pull up the universal menu.
2. Click the clock on the left side of the universal menu to open Quick Settings.
3. Tap Settings in the top right corner, then select Personalization.
4. Choose the home environment you want from the list. You may need to download it before applying.
Get smoother performance
Both the Meta Quest 2 and Quest 3 support different refresh rates, but the Quest 3's more powerful chipset means using 120Hz in apps and games is a lot more feasible. Running apps and games at 120Hz means they'll feel smoother and can even improve the experience for motion-sensitive individuals.
Just be aware that 120Hz will drain your Quest battery faster. If you end up having much worse battery life after enabling the feature, try disabling it and see if that helps.
Here's how to do it:

1. Put on your headset, then press the Meta button on the right controller to pull up the universal menu.
2. Click the clock on the left side of the universal menu to open Quick Settings.
3. Tap Settings in the top right corner, then select System.
4. In the System menu, tap Display.
5. Click the switch next to 120Hz Refresh Rate to enable the feature.
Better battery life
Planning to play VR for hours on end? Meta's new battery-saver mode might be the best new feature for gamers looking to extend their Meta Quest 3's battery life.
Battery-saver mode reduces the framerate and resolution of the game or app. Plus, it lowers your headset's brightness and may even turn Wi-Fi off when it's not in use. Here's how to enable it and give it a shot:
1. Put on your headset, then press the Meta button on the right controller to pull up the universal menu.
2. Click the clock on the left side of the universal menu to open Quick Settings.
3. Tap Settings in the top right corner, then select System.
4. In the System menu, tap Power.
5. Click the switch next to Extended Battery Mode to enable the feature.
Accessibility features
Meta has done a great job of building in many accessibility features to help a wide variety of gamers with different disabilities and needs. Accessibility options vary between vision, hearing, and even movement enhancement options.
Here's a list of possible options for folks needing some assistance:
- Colorblind modes
- Text size adjustments
- Adjust display contrast and brightness
- Adjusting audio balance
- Mono audio
- Turn on live captions
- Remap the controller
- Toggle between standing or seated positions
- Thumbstick calibration

Check out the full list of Meta Quest accessibility features to learn how to enable and use each feature. Many of these are vital to ensuring you enjoy VR!
Now that you've gone through the list, you're fully equipped with all the knowledge you'll need to have the best Meta Quest 3 experience.

