How to take better portrait photos with your smartphone

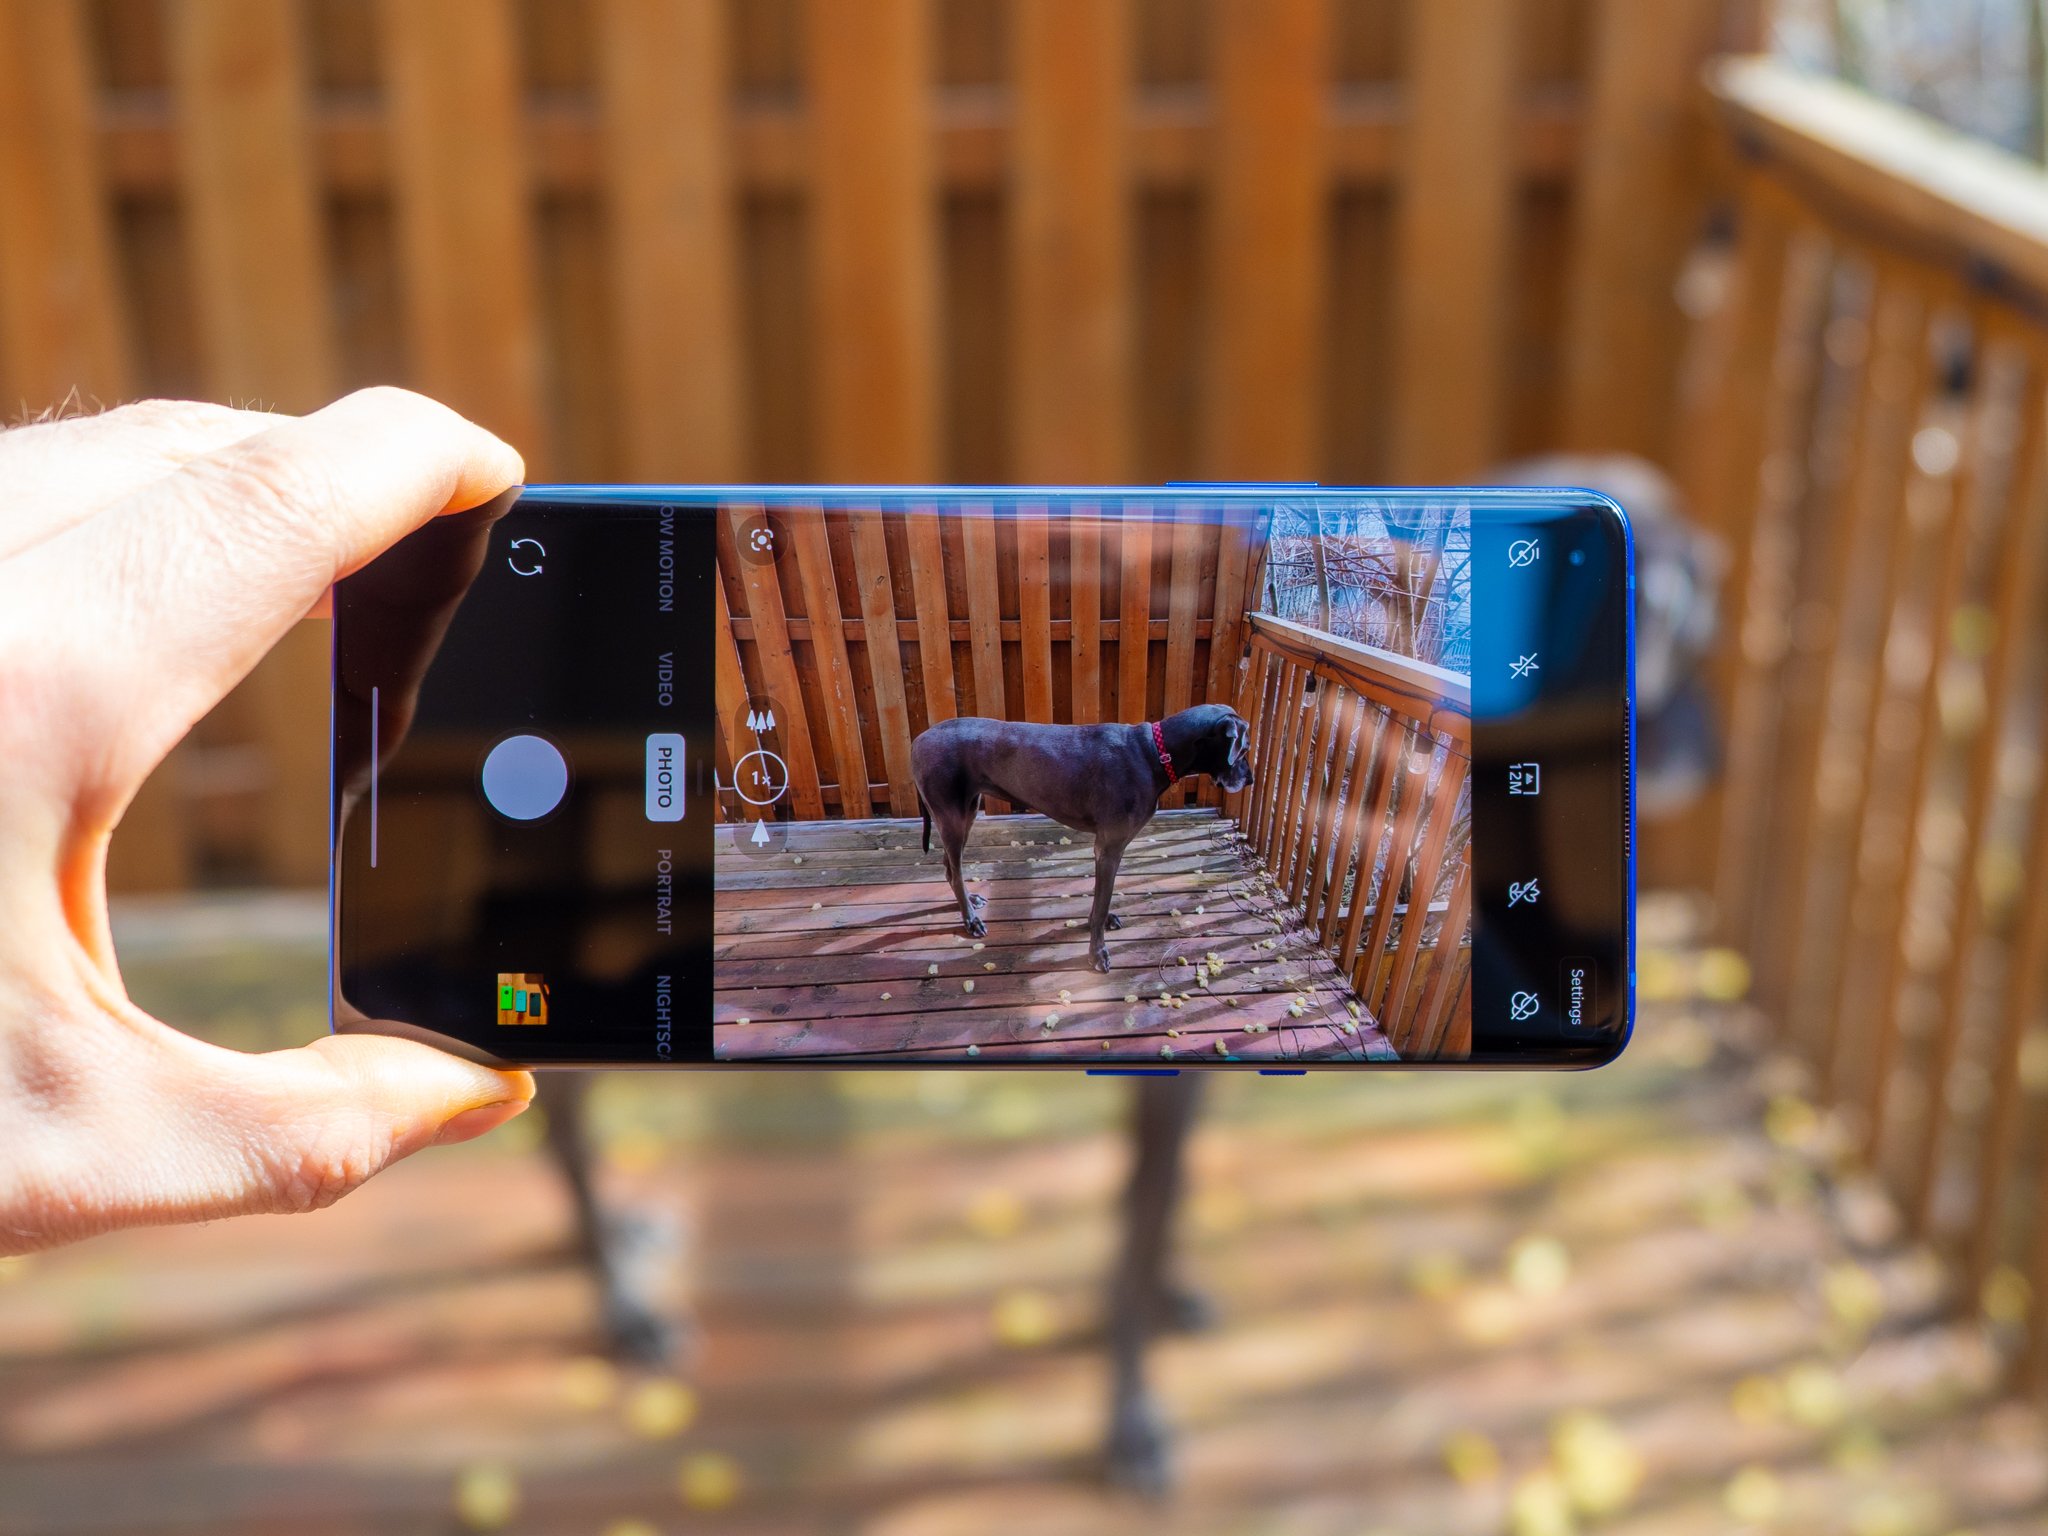
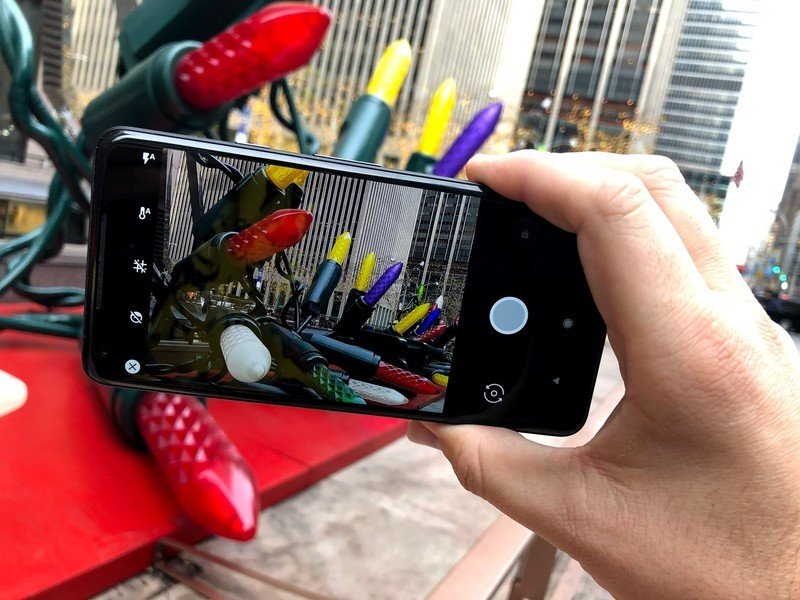
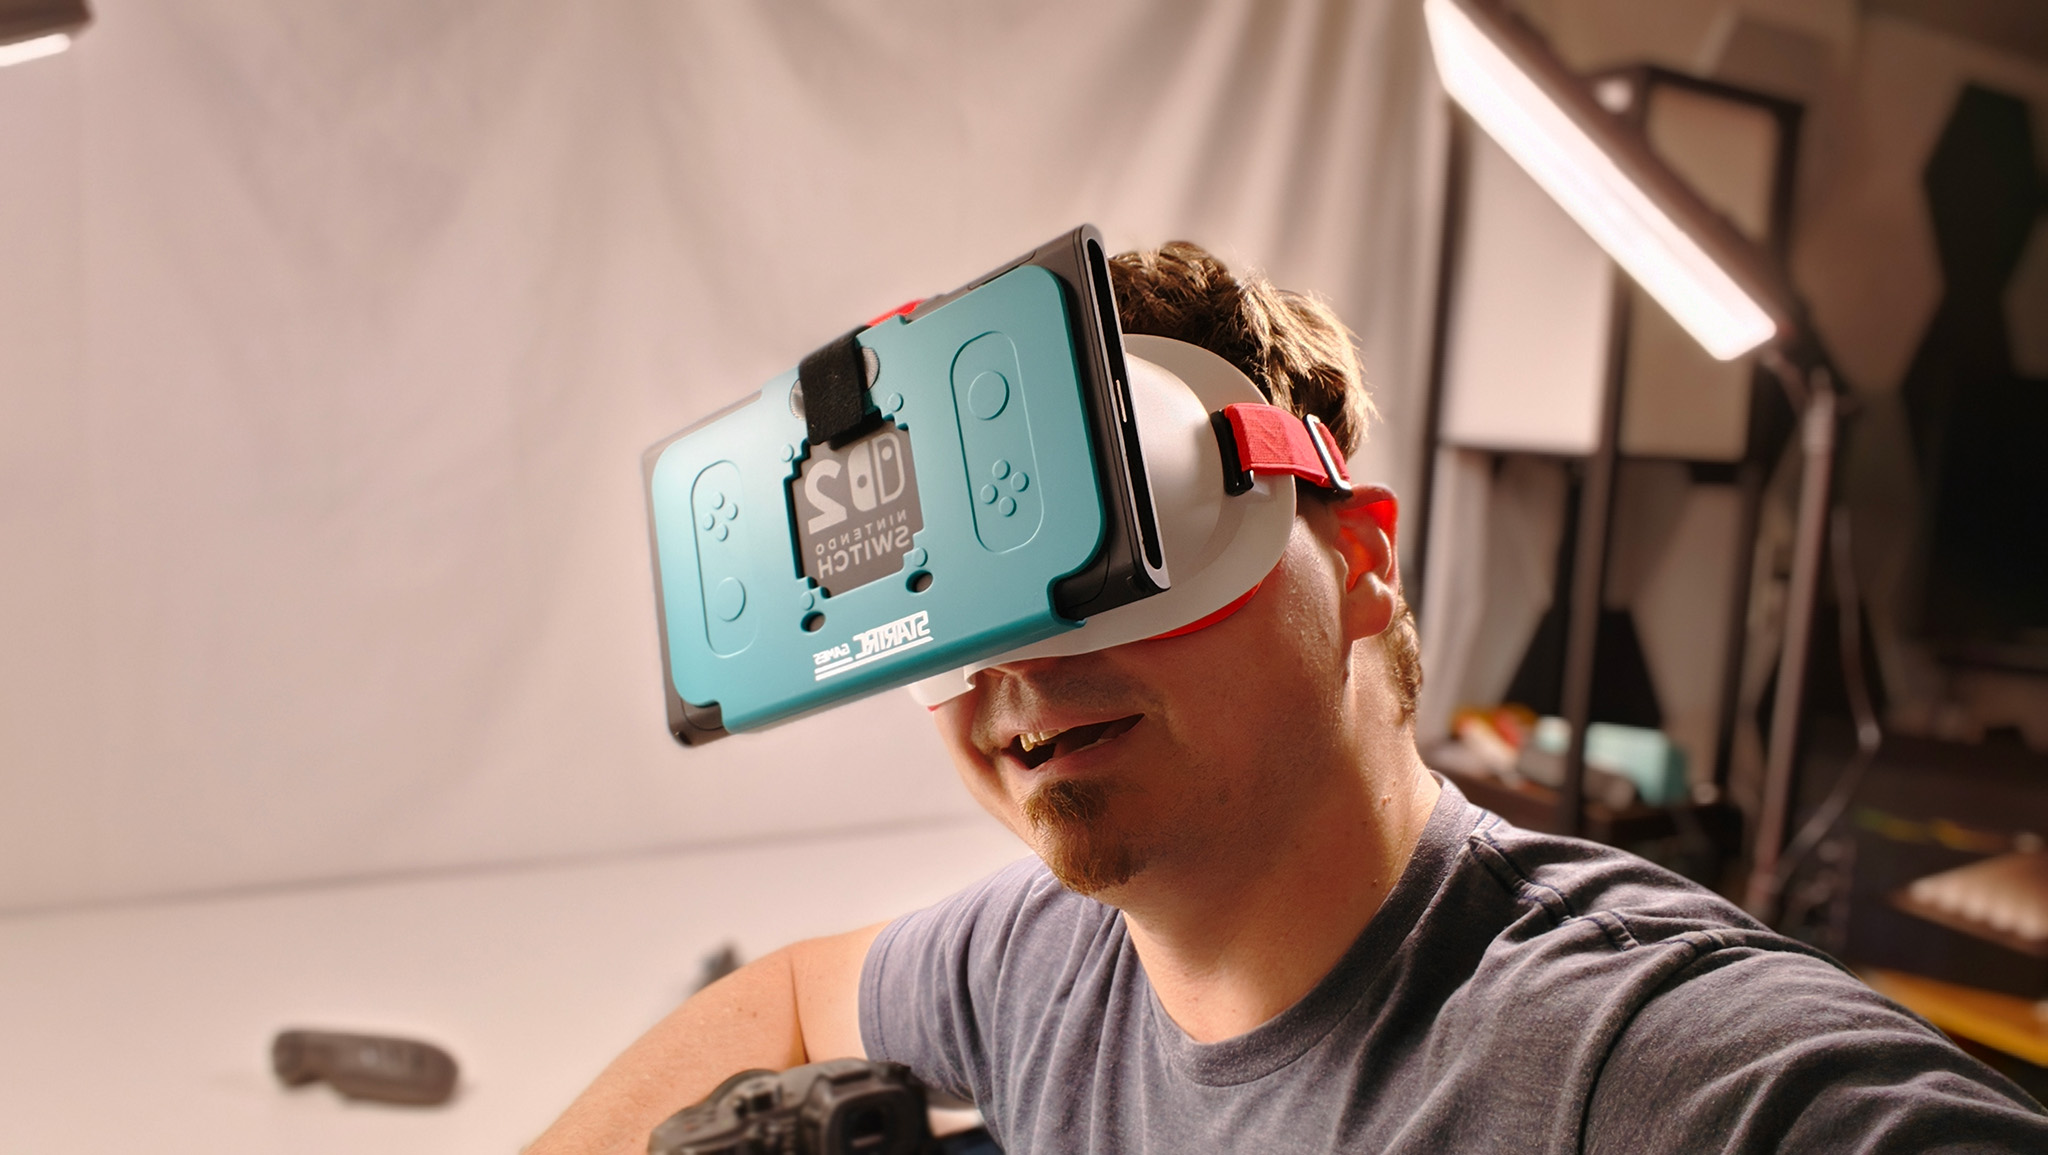
Portrait photography goes back a long way and it remains one of the most popular ways to capture someone in a moment. The occasion can vary a great deal, but the point is to focus on someone and capture emotion, no matter the time, place, or person involved. Smartphones not only have superb cameras nowadays but also the ability to take great portraits. They may not be able to truly match the larger sensors and lenses of DSLR and mirrorless cameras, but with the right steps, they can close the gap and look great. Here are some ways to make that happen.
Learn your phone's portrait mode

If you have a phone from recent years, there's a good chance it has a portrait mode. At the outset, they were prone to rampant processing that looked too artificial. In other cases, the software couldn't fully separate the subject from the background. Strands of hair would often get blurred because of it. They've gotten better over the years, though there's still plenty of room for improvement.
Despite that, you can still get some great shots with these modes. More often than not, they use both the standard and telephoto lenses to create the depth effect. The challenge is that the two lenses are also using different apertures, so they're taking in different amounts of light. Still, the point is that the mode often directs you as to when it's best to snap the photo. It may require that you keep a certain distance from the subject to engage it, whereas other times, you may have greater flexibility.
Try this mode first and see if it gets you the kind of results you're looking for. However, prioritize using it when you have good lighting to work with. Otherwise, there may be too much noise in the background.
Give them a light

Speaking of lighting, how a subject is illuminated is critical to a good portrait. It's even more important when you factor in how much extra help a phone's camera sensor needs to pull in extra light. Using the flash is not a good option. The light is too bright, especially for the distances involved, and they can wash out skin tones and create a terrible shadow.
Utilize whatever natural or artificial light is available to you. You may be surprised, but overcast days are better than bright sunny ones for the simple fact that sunlight can be harshest during the midday hours. If it's dawn or dusk, on the other hand, you may be able to take advantage of the angle the sun is rising or setting at to light up the subject. You don't have to worry about that as much on cloudy days because it's like a large softbox that drapes light over a subject evenly.
The same is true indoors. Overcast skies coming through a window are amazing for capturing a mood or adding character to a shot. For example, try having the light hit the subject from one side, making the other darker. You can also do this with artificial light as well. Say you have a colored light, like maybe a neon sign or something to that effect. Position the subject close enough to it so that the light floods their whole face or part of their face. You may get results that will look dynamic and artistic all at once.
Get the latest news from Android Central, your trusted companion in the world of Android
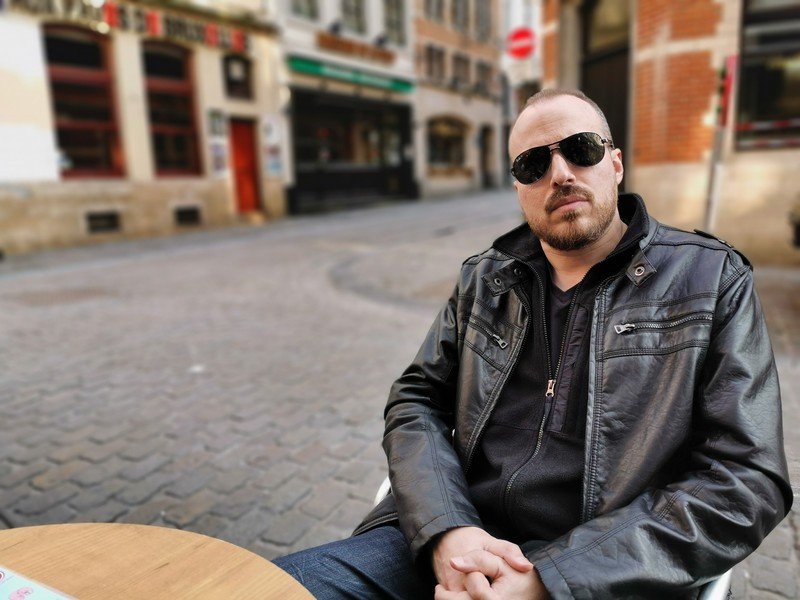
Get closer for a bokeh effect

The closer you get, the more focused you are on the person, and the blurrier the background. This is a usual rule of thumb in photography, but with a phone, it makes it easier to avoid using the portrait mode when you don't want to. How close you get depends on the kind of shot you're looking to take.
Unlike DSLR and mirrorless cameras, you can't control the depth of field by changing apertures, so the best you can do is utilizing distance to help create more of a bokeh effect. The more natural the bokeh, the better. This is even more so if the distance between the subject and the background is greater. For instance, shoot someone close-up with a vista behind them and the spatial contrast will be more pronounced.
This also works with objects, too. If you're shooting something, try putting it on the left or right of the frame and you may get a progressive bokeh effect that cascades throughout the rest of it. It's also a great way to experiment with angles and perspectives to add depth and scale to an image.
Lower exposure in bright light

As mentioned earlier, sunlight can be problematic for portraits, and one way to alleviate that is to lower the exposure when shooting in those conditions. While you might feel like you're ruining a shot by doing that, the truth is that you're saving parts of it necessary to make the image what it should be.
I'm mainly talking about highlights. In bright conditions, the phone's camera will try to compensate by prioritizing exposure on the subject at the expense of the brightest portions in the rest of the image. Problem is, even if you tried to pull out detail from those portions, you won't be able to. The inverse, however, is easier to manage. It's easier to pull out more detail from shadows when editing afterward, even more so if you isolate the subject and only pull out the details there.
You can do this using the mobile Adobe Photoshop app, though others can work, too. Find the one that works best for your workflow and go from there.
Don't settle for just one
It's hardly a secret that those picture-perfect shots you see on social media are just one of many takes to get it "right." Portraits are among the most subjective photos one can take because they can feel so personal. For that reason alone, be prepared to take at least a few to get the best lighting, composition and framing for the one that wins out above all the others.
Like any other photographic pursuit, practice is essential. Don't be discouraged if you don't get the perfect shot every time. Eventually, you will better understand how to frame a subject and when and where to utilize the light available to you. And when you do, your photos will only improve further.

Hosted by Android Central's Alex Dobie
Join us for a deep dive into everything you need to know to take better photos. Composition, software features, and editing are just some of the features we'll be tackling together in this course.

Ted Kritsonis loves taking photos when the opportunity arises, be it on a camera or smartphone. Beyond sports and world history, you can find him tinkering with gadgets or enjoying a cigar. Often times, that will be with a pair of headphones or earbuds playing tunes. When he's not testing something, he's working on the next episode of his podcast, Tednologic.
