How to save data when using Google Chrome
Get the latest news from Android Central, your trusted companion in the world of Android
You are now subscribed
Your newsletter sign-up was successful
You can use Chrome to save data, and this is how you get that going
Unfortunately, I am on a limited data plan with my carrier. I know that most of you are probably in the same boat. And on limited data plans, data saved is data earned. Many popular music streaming apps have made it possible to save data by storing music on our devices. Google also makes it possible for us to save data using its Chrome web browser. That's definitely something I can get behind. Data savings are made possible by compression from Google's servers.
So how do you go about it on an Android device? Let's find out! It's not too painful of a process.
Step 1: Open the overflow menu

When you open Chrome, you should see something like this at the top of the screen. Select those three dots stacked on top of each other that you should see in the upper right-hand corner of the screen (also known as the "overflow menu").
Step 2: Select Settings
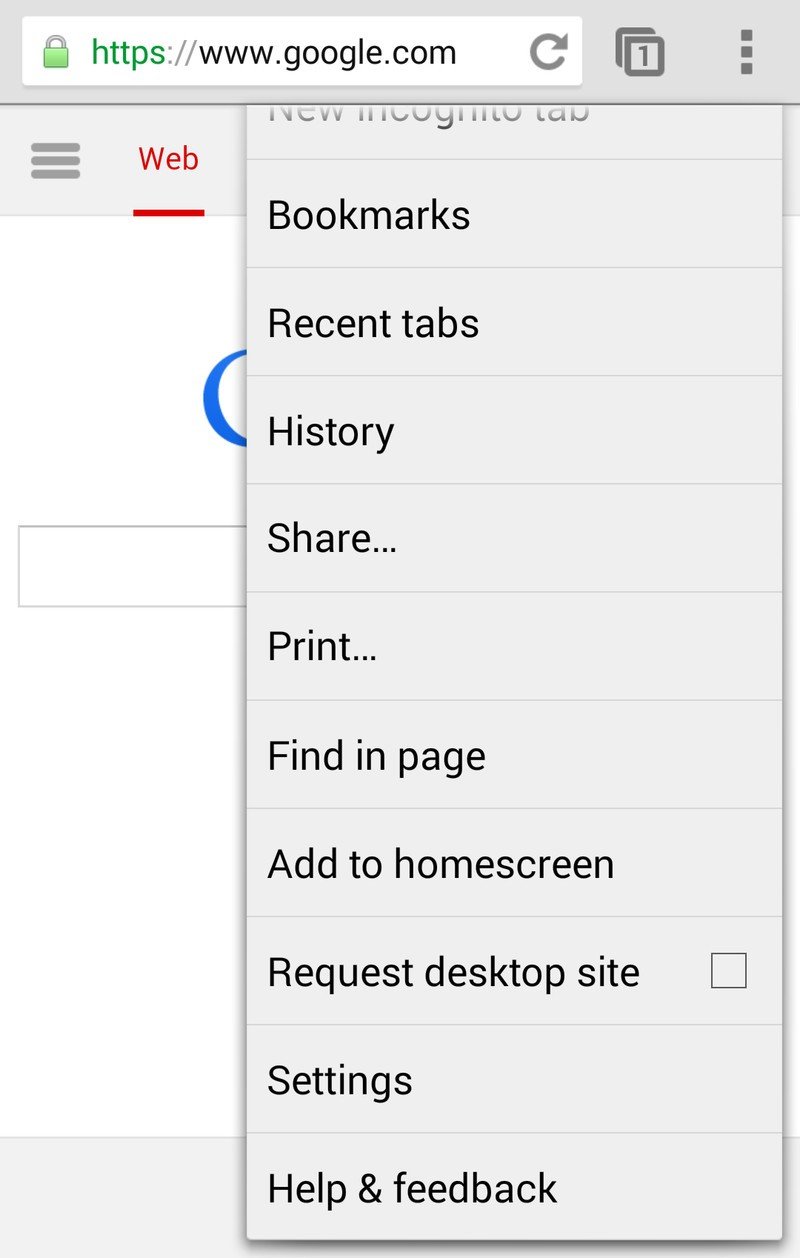
Once you get the overflow menu opened up, you'll see a new menu come up. Scroll down until you see "Settings" and hit that. You may have to scroll almost down to the bottom of the new menu.
Step 3: Select "Bandwidth management"
Get the latest news from Android Central, your trusted companion in the world of Android
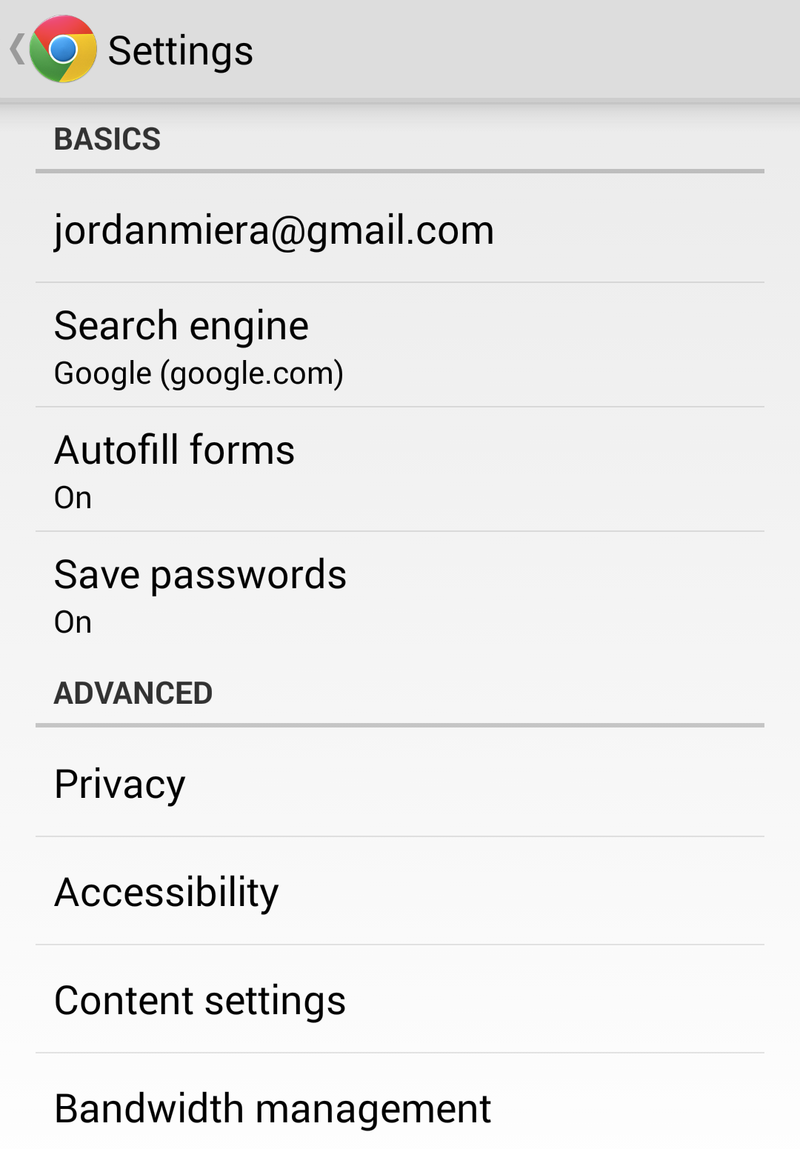
Select "Bandwidth management." That'll get you where you want to go next.
Step 4: Select "Reduce data usage"
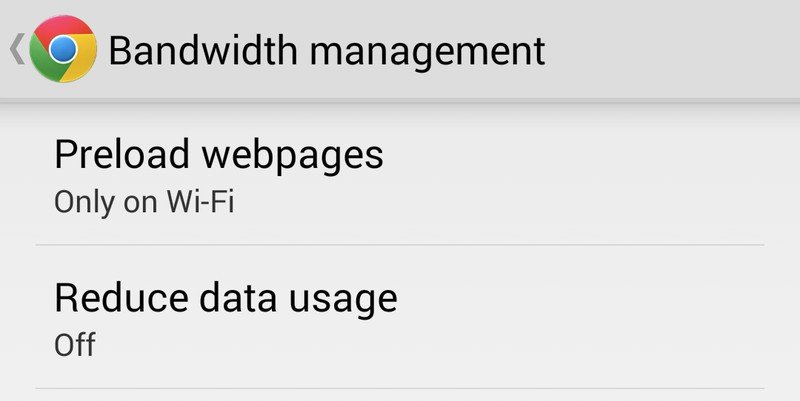
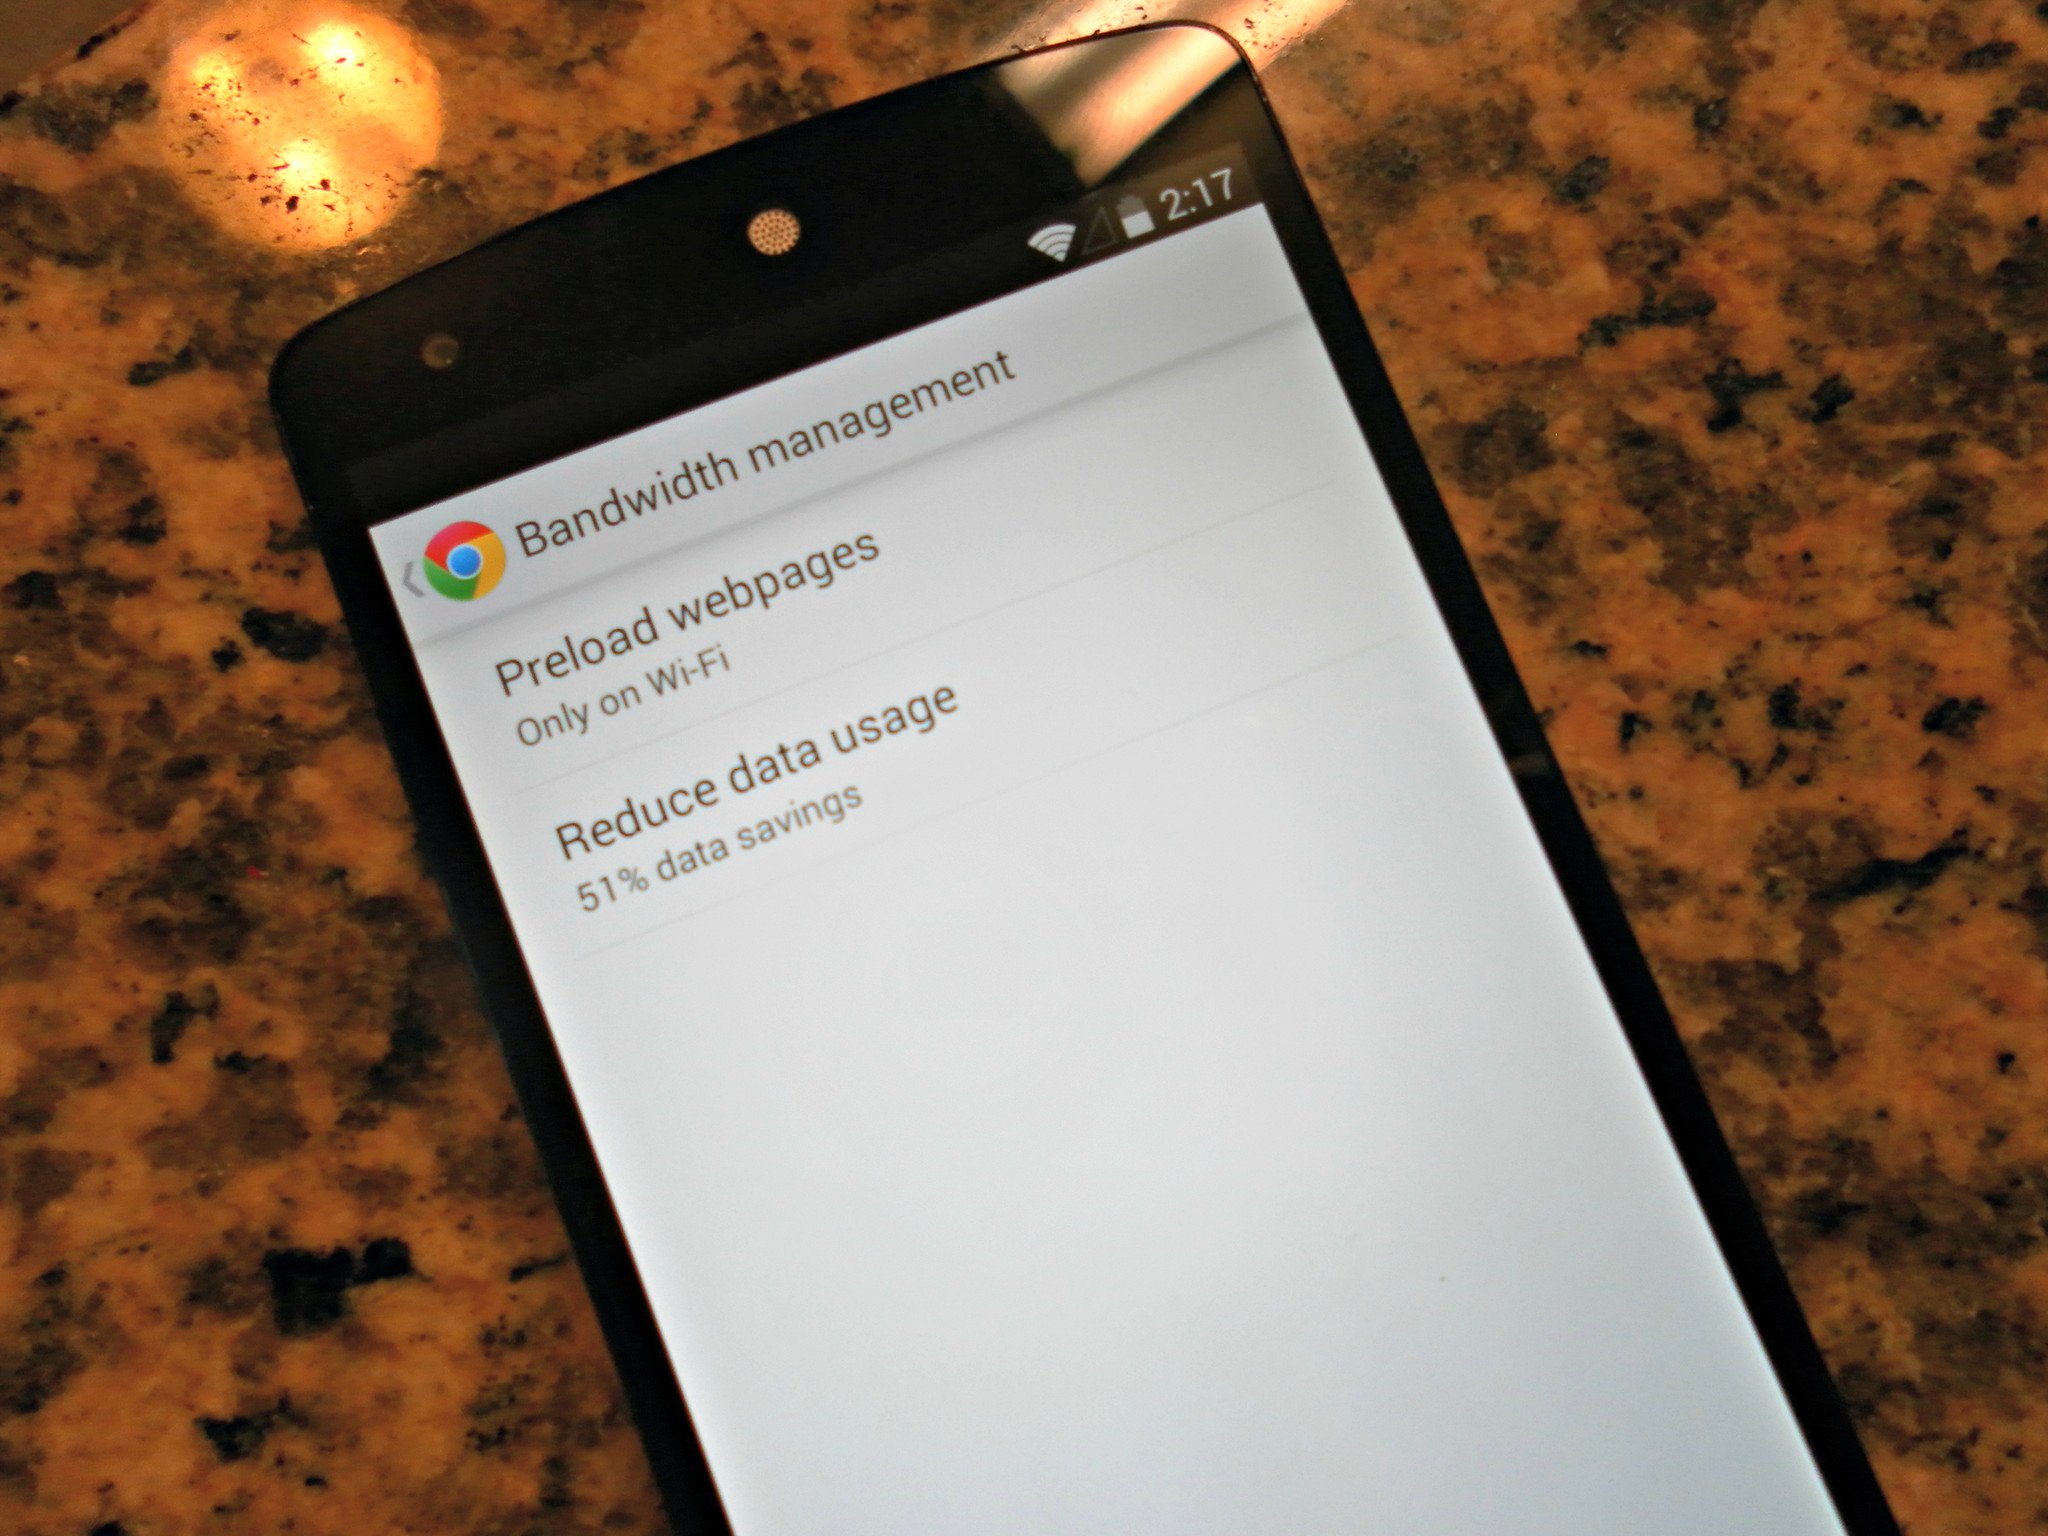
Select "Reduce data usage," which you'll see under "Preload web pages."
Just as a note, when you preload web pages, Chrome will try to predict where you'll want to go next on the page. Based on its predictions, it will load additional pages in the background. That may help pages load more quickly, but it may also burn up more data.
Step 5: Toggle switch from off to on
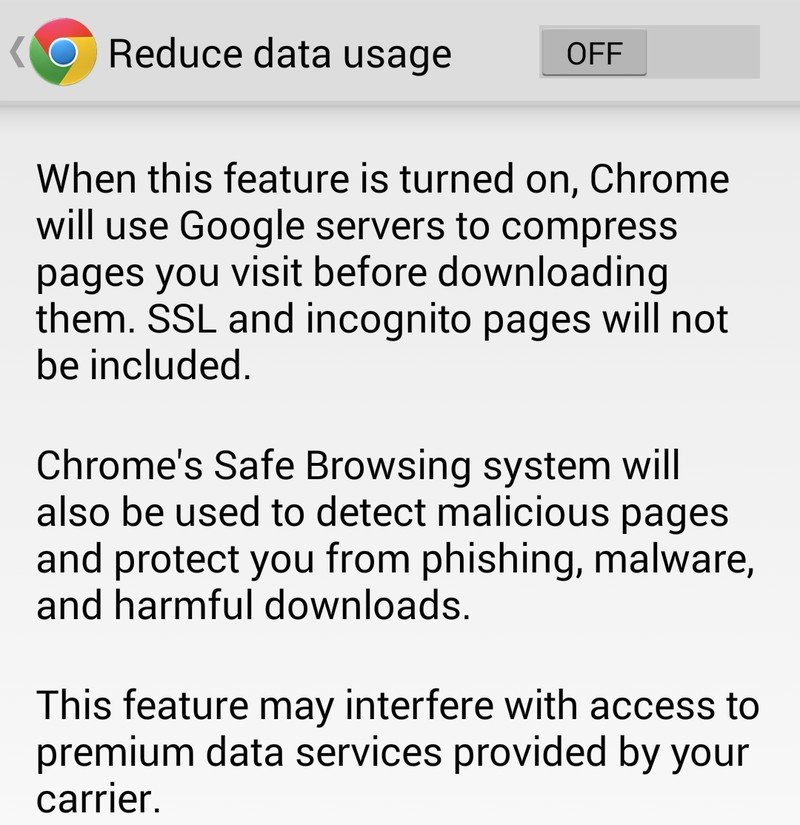
After selecting "Reduce data usage," you'll see a screen explaining that pages loaded with this feature turned on will be compressed through Google's servers. You'll also see a "Learn more" option at the bottom, which gives you a more detailed explanation of the data saving process.
You'll also see an on/off toggle in the upper right-hand corner of the screen. Toggle it to on.
Step 6: Observe effects on data usage
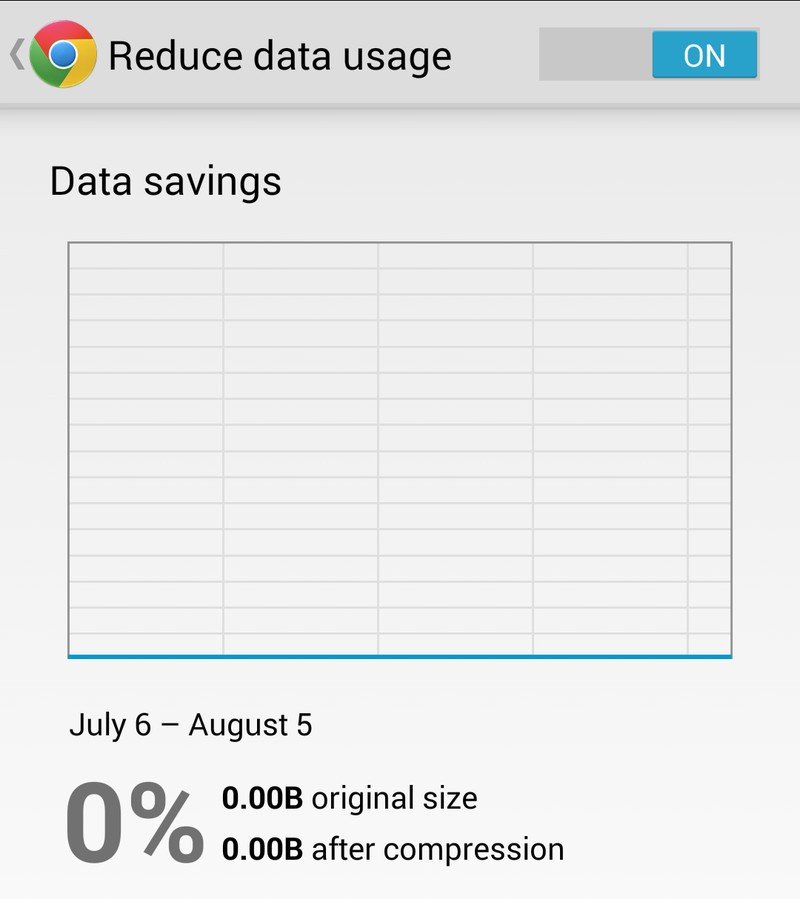
Once data compression is toggled to on, you'll automatically be taken to a screen where you can monitor how much data you've saved. You can always come back to monitor data usage by going back to bandwidth management and selecting "reduce data usage" again.
Now you can enjoy using data for other things!

