Top 7 things to do after setting up your Google Pixel 4
When you have a brand new Pixel 4 in your hands, it's hard to contain your excitement. But that excitement can also make you skip over some essential settings and features that need to be turned on or configured. Once you're done getting through your main setup process, check the tips here to make sure you're getting the most out of your new Pixel 4.
Choose what Motion Sense features you want
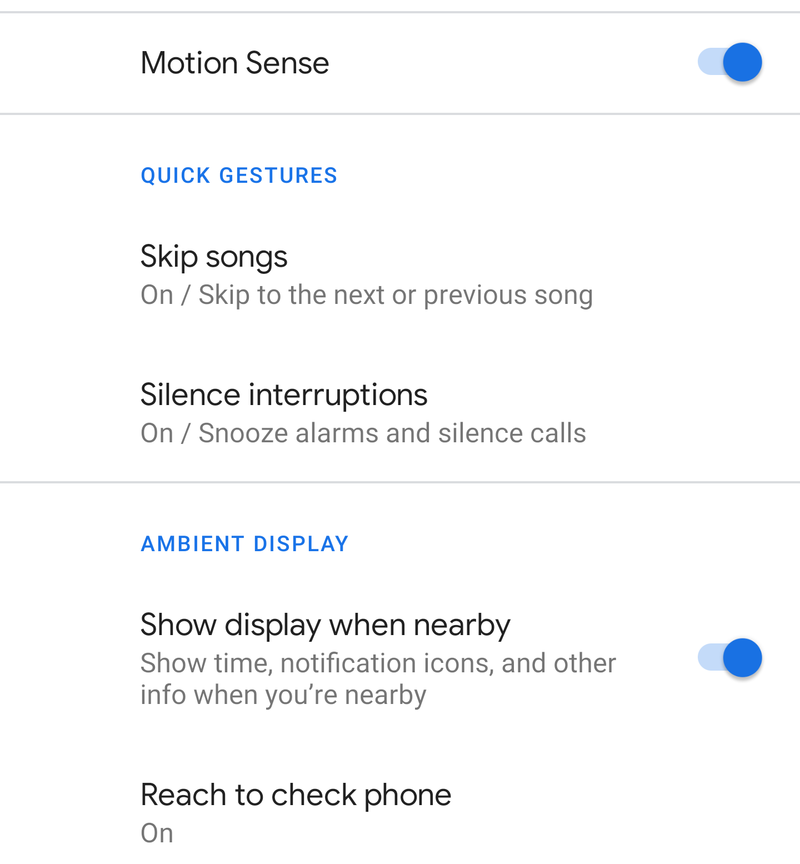
"Motion Sense" isn't a single feature, but a collection of different features across the Pixel 4 that are enabled by its Soli radar chip. The two main active use-cases, though, are the ability to change media tracks and silence interruptions (like alarms and phone calls) by swiping your hand over the phone — even when the screen is off.
Once you get used to the swipe distance and hand placement, Motion Sense can work pretty well. But it can also trigger when you don't need it to — typically when you reach over your phone on a table to grab something. If you play a lot of music or other audio on your phone and find it's triggering accidentally, you can turn off just the media skipping in Settings, System, Motion Sense.
Even outside of the Motion Sense umbrella, there are other Soli radar-related features to be found and configured. In Settings, Display, Advanced, Lock screen display, you can configure whether the phone wakes up when you lift it or hover your hand over the screen, which are both useful but configurable if you don't want them for whatever reason.
How to use Motion Sense on the Pixel 4
Get your camera settings right
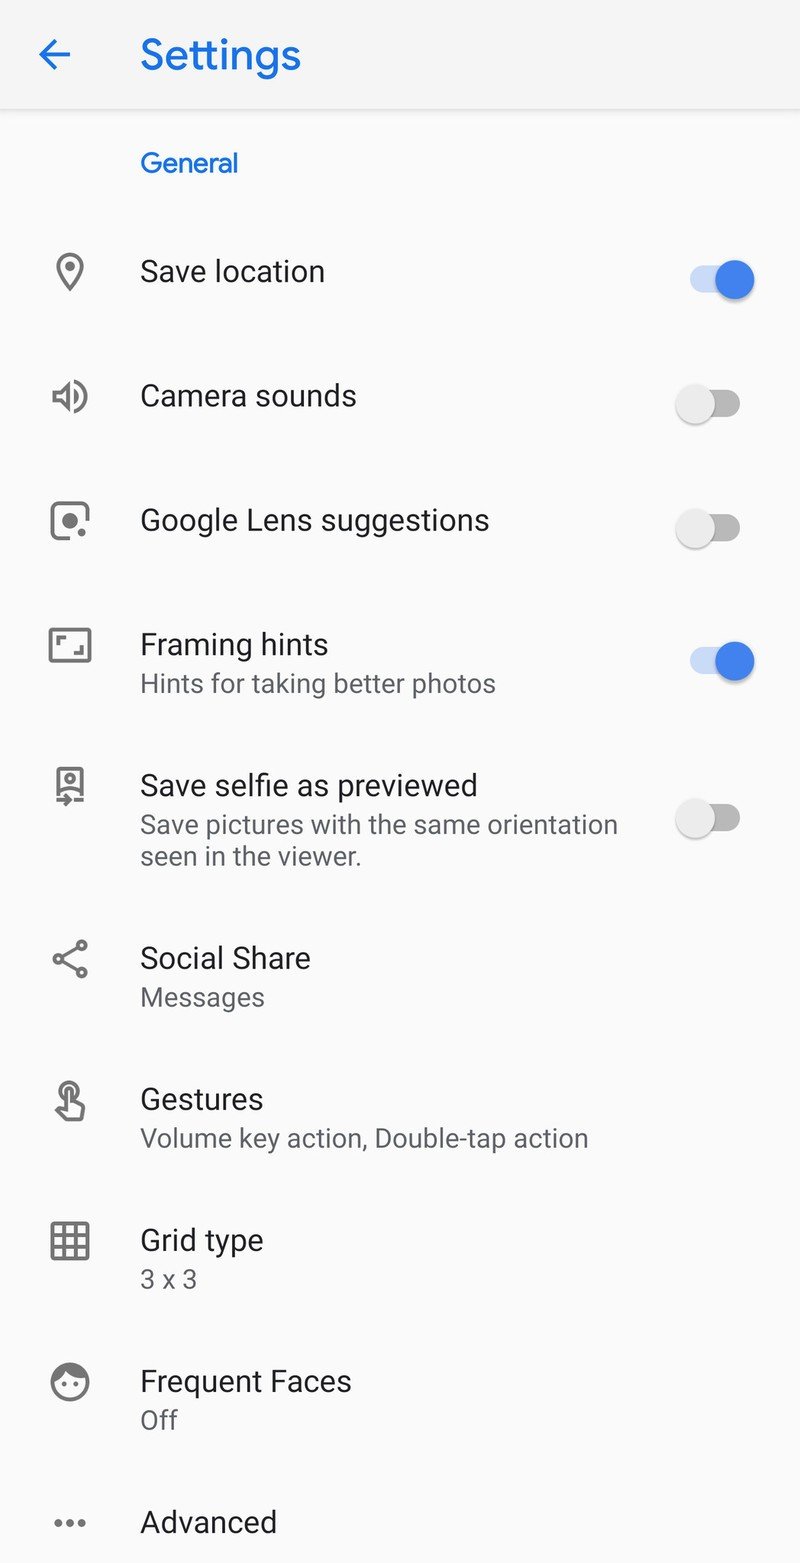
You can open the Pixel 4's camera, press the shutter button, and get amazing photos every single time. But Google has added settings and configuration options to the latest version of the camera app that helps you make the most of it — and it's worth your time to get familiar with all of the options and get it set up the way you need it. Here are the top features you should take a look at:
- Framing hints: This is on by default, and you should leave it there. Google's suggestions for flattening the horizon or slightly moving the viewfinder are unobtrusive and very helpful.
- Social Share: When you take a photo, you get a little arrow on the photo preview you can tap and reveal up to three apps that you can immediately share that photo with a single tap. It's a time-saving feature to keep you from having to go into the gallery first.
- Grid type: You may think that having a grid overlaid on your viewfinder is annoying, but trust us, it's really helpful for framing photos and getting a flat horizon. Give it a try with 3 x 3, which is the simplest.
- Frequent Faces: This is off by default, but worth checking out if you take photos of people often. The camera learns who you take pictures of the most often, and tailors Motion photo and Top Shot photo suggestions to prioritize those people.
- Zoom controls: Wondering where your zoom button went? It disappeared. But you can tap anywhere on the viewfinder to get a slider to get anywhere up to 8X, or double-tap on the viewfinder to immediately move to 2X. In the "Gesture" settings in the camera app, you can also make your volume buttons zoom.
- Brightness/Shadows sliders: These two sliders show up whenever you tap on the viewfinder. The top one controls the overall brightness/exposure of the frame, and the bottom controls just the shadows. Tweak the sliders, and the viewfinder will show an accurate representation of what the shot will look like. You can tap the lock icon to lock your slider settings until you take the photo.
Set up Battery Saver
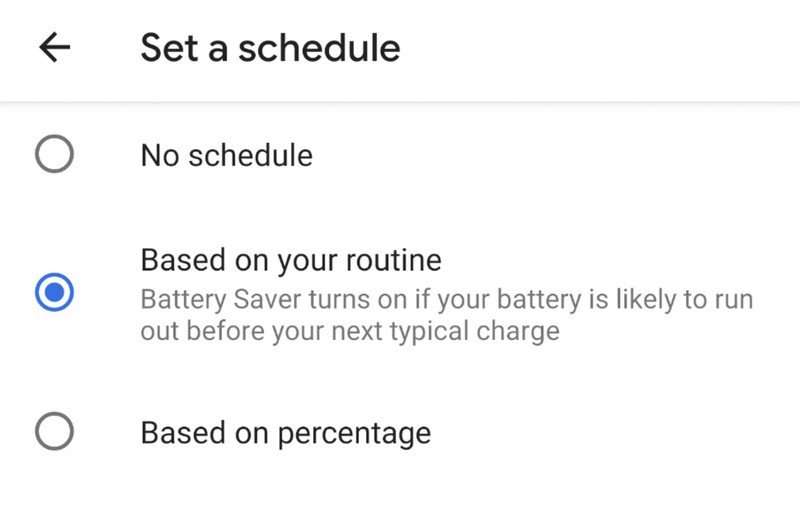
The Pixel 4 and 4 XL don't have great battery life. You'll want to make sure you have Battery Saver set up right so you can make the most of the limited capacity, particularly on the smaller Pixel 4. Go into Settings, Battery, Battery Saver, and then "Set a schedule."
Get the latest news from Android Central, your trusted companion in the world of Android
By default, you'll see it's set to "Based on percentage" — this is a fine choice, because you can set it to come on whenever you feel is the danger zone for battery, between 5% and 75%. But this is kind of an old school approach. Consider choosing the "Based on your routine" option, which lets the phone decide when Battery Saver needs to come on based on how you usually use the phone versus how your usage is that day. Google does a pretty good job of estimating battery usage based on your history, so this can be a good "set it and forget it" option.
Of course, you can always toggle Battery Saver on manually from the notification shade quick settings menu whenever you feel you need it. You can also quickly turn off Battery Saver this way if it's been turned on automatically through one of the ways listed above.
Change app location access settings
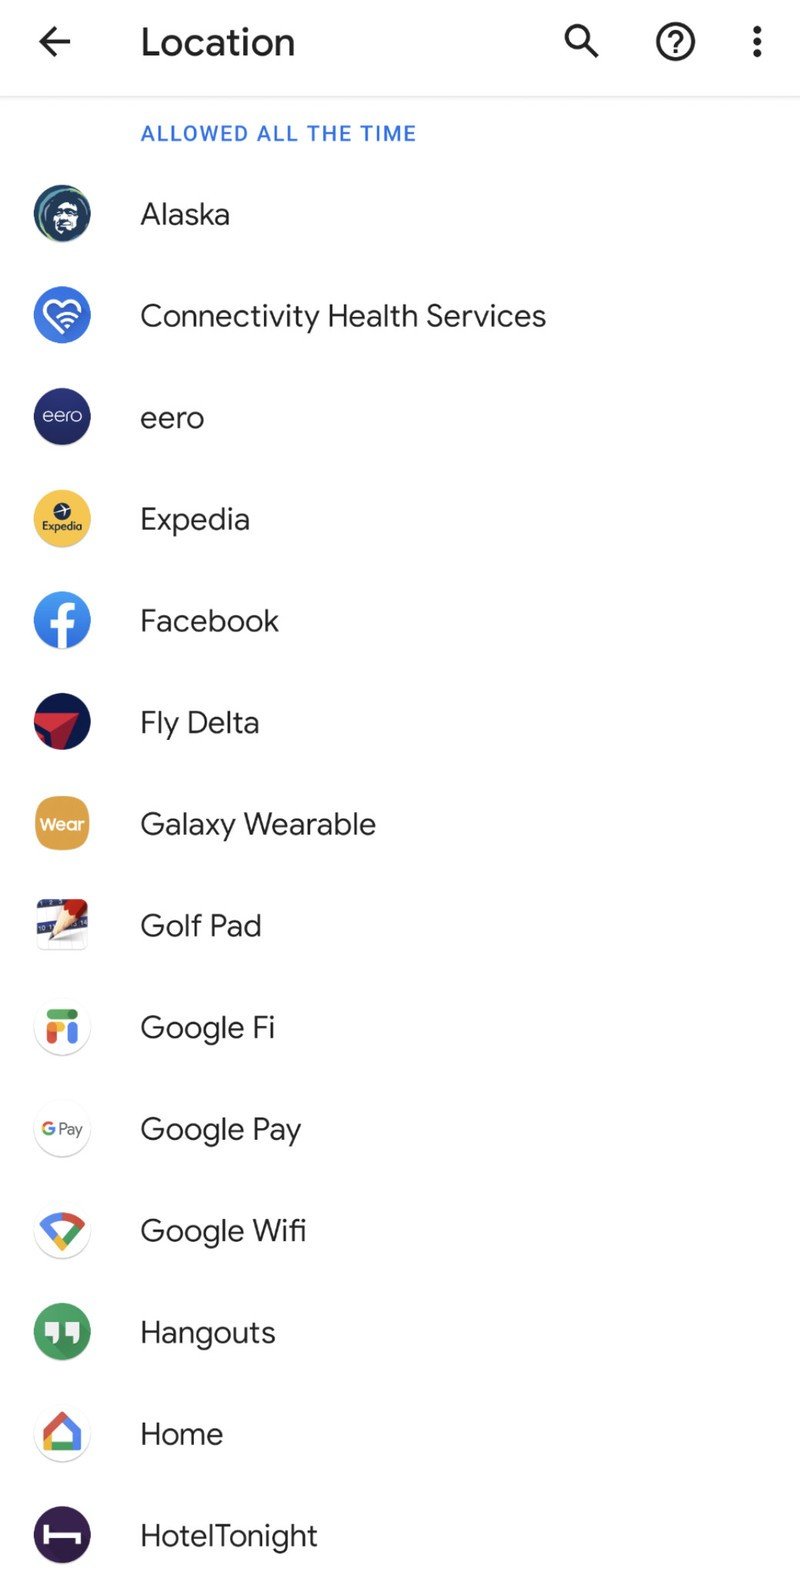
If the Pixel 4 is your first phone running Android 10, you'll want to get familiar with the changes to app location permissions. With Android 10, you now have the option of only letting an app access your location while the app is in use — a huge improvement for your privacy. In Settings, Privacy, Permission manager and Location, you'll get a list of all apps and their status — allowed all the time, allowed only while in use, and denied.
This is generally something that's handled the first time you run an app, if not in the app's settings, but with Android 10 being very new many apps may not have the right pop-ups and interface elements to make it clear what's happening with your location. If you restored from a backup of another phone to your Pixel 4, some settings might have come across jumbled as well. So by going into the phone's settings, you can see everything in one place.
For the most part, having "only while in use" is the best setting. A vast majority of apps really don't need your location outside of when you're using them, and there's no reason to grant a wider permission than that by default. But you may notice that some apps — think travel apps, fitness apps, etc. — really do need access to your location even when they're not actively being used, and you may notice a little wonkiness if you deny them permission. But still, it's a great idea to start with only giving an app permission to have your location while it's running, and go from there.
Consider a case for that glass
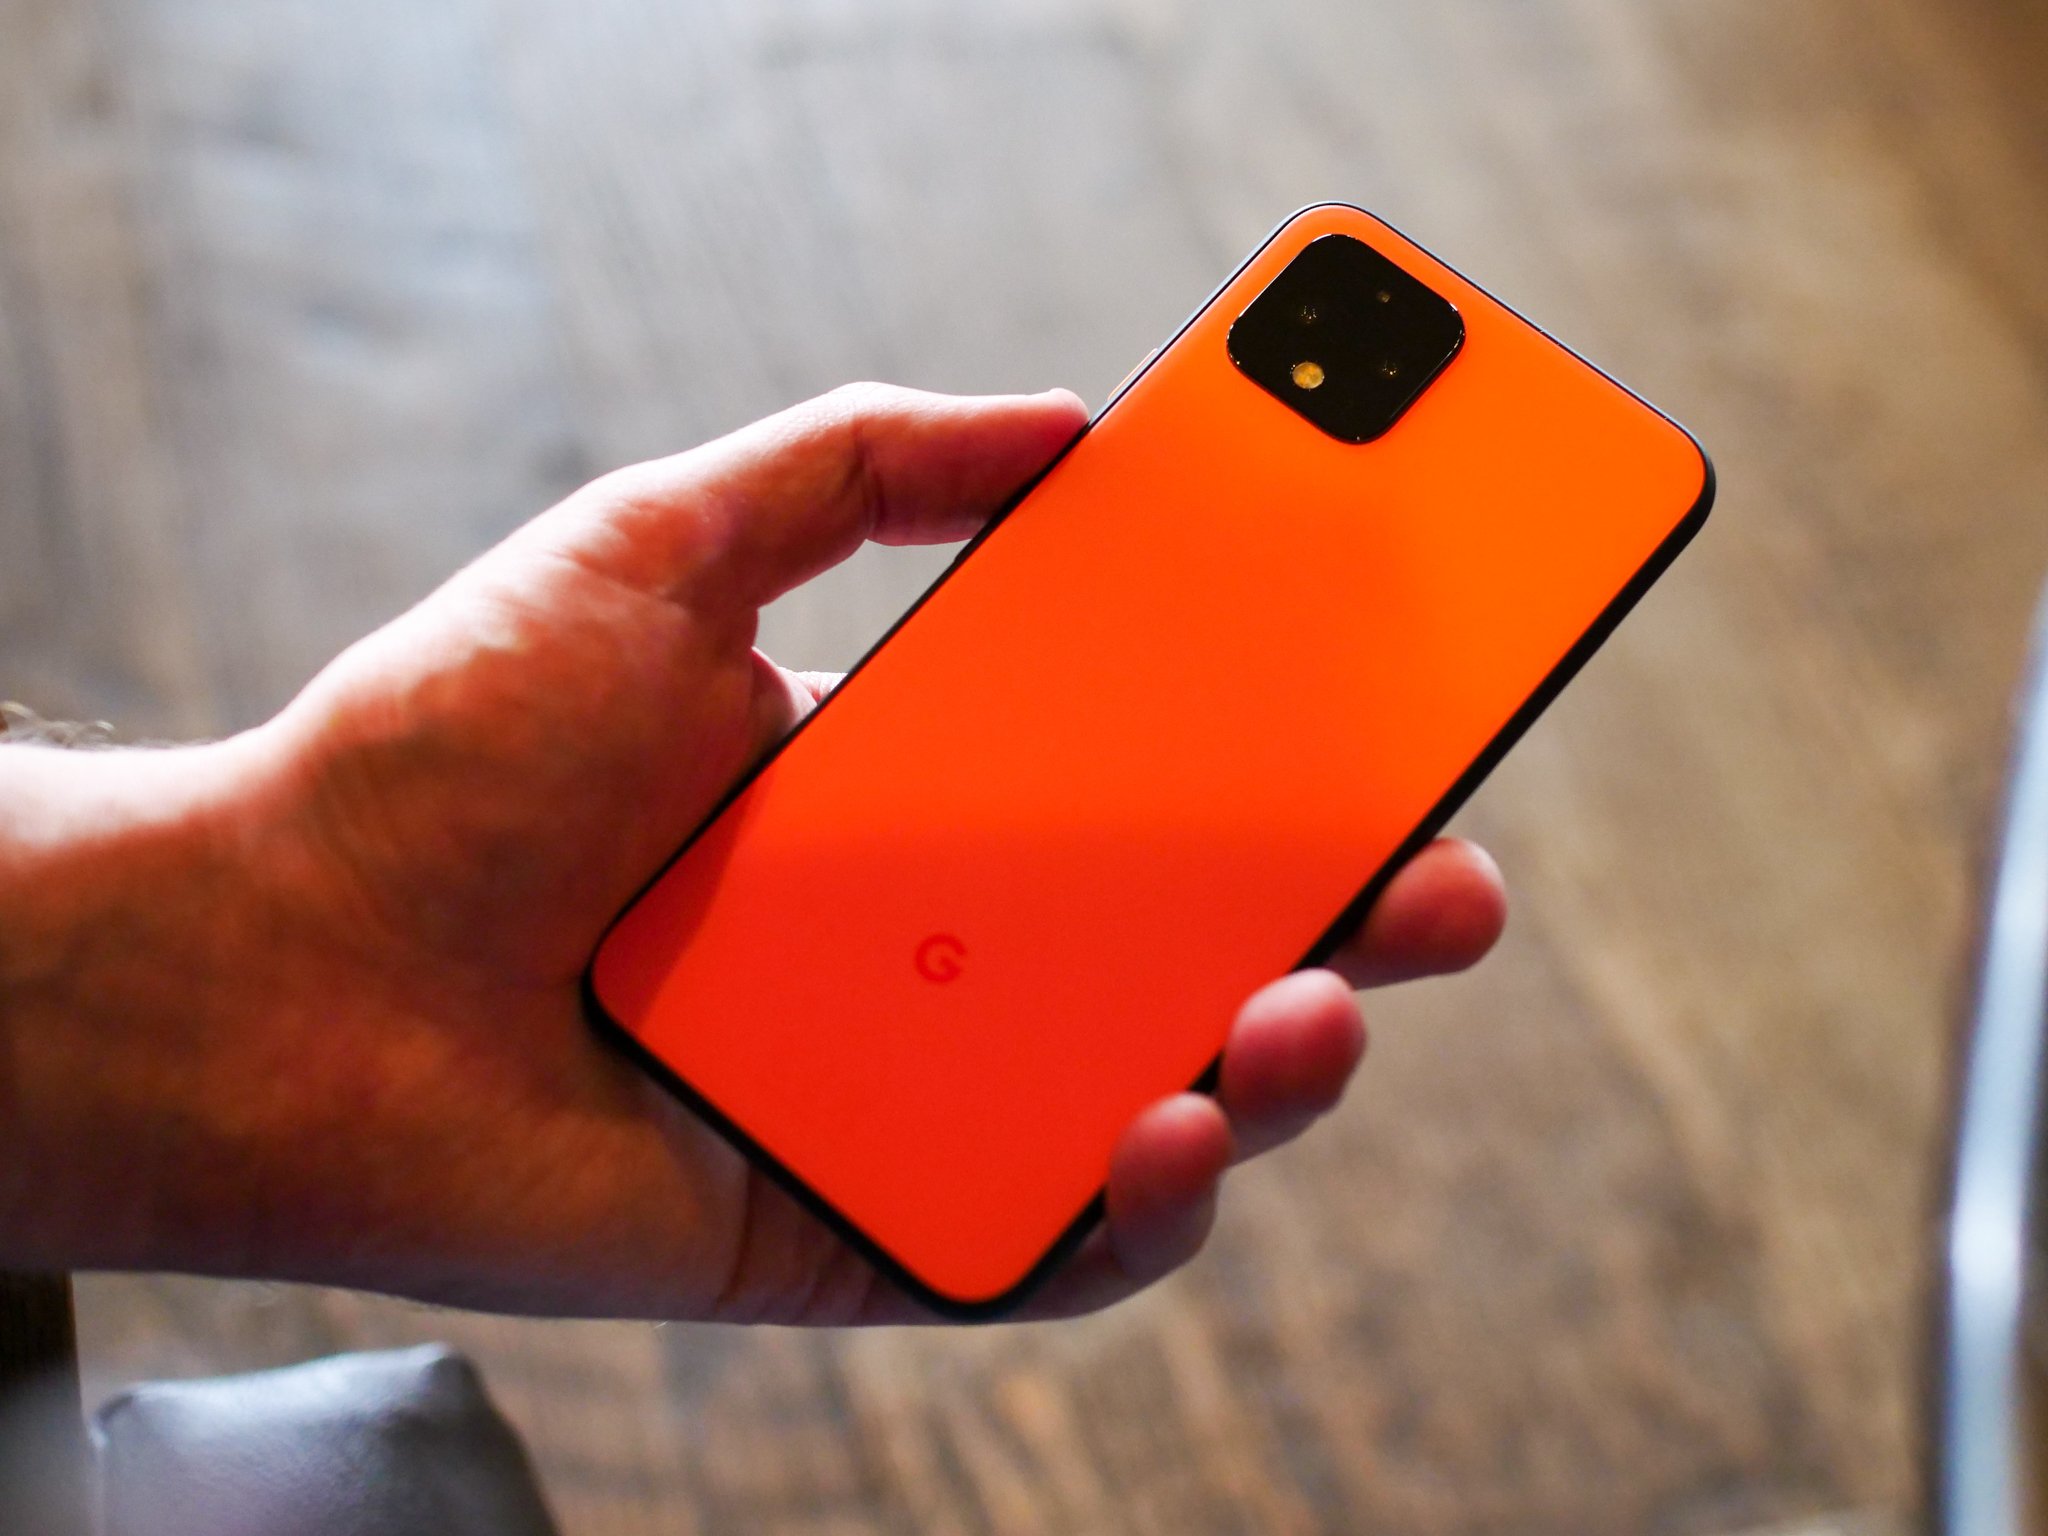
The Pixel 4 is a beautiful object, but it's also an expensive one. There's a good chance you'll spend some time admiring that metal and glass (particularly if you have the orange one!), but after a while, a case may seem like a good idea.
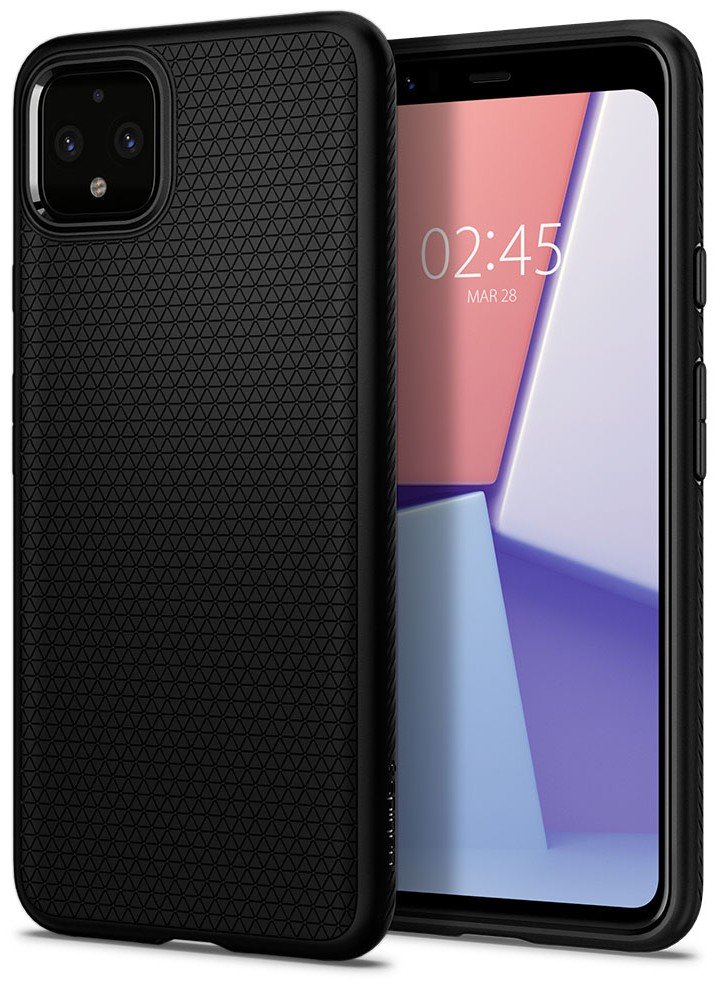
Spigen Liquid Air ($11 at Amazon)
This slim case features a wonderful texture on the back and sides, allowing you to add a bit of drop protection and a lot of grip without succumbing to the same old siren song of the carbon fiber case.
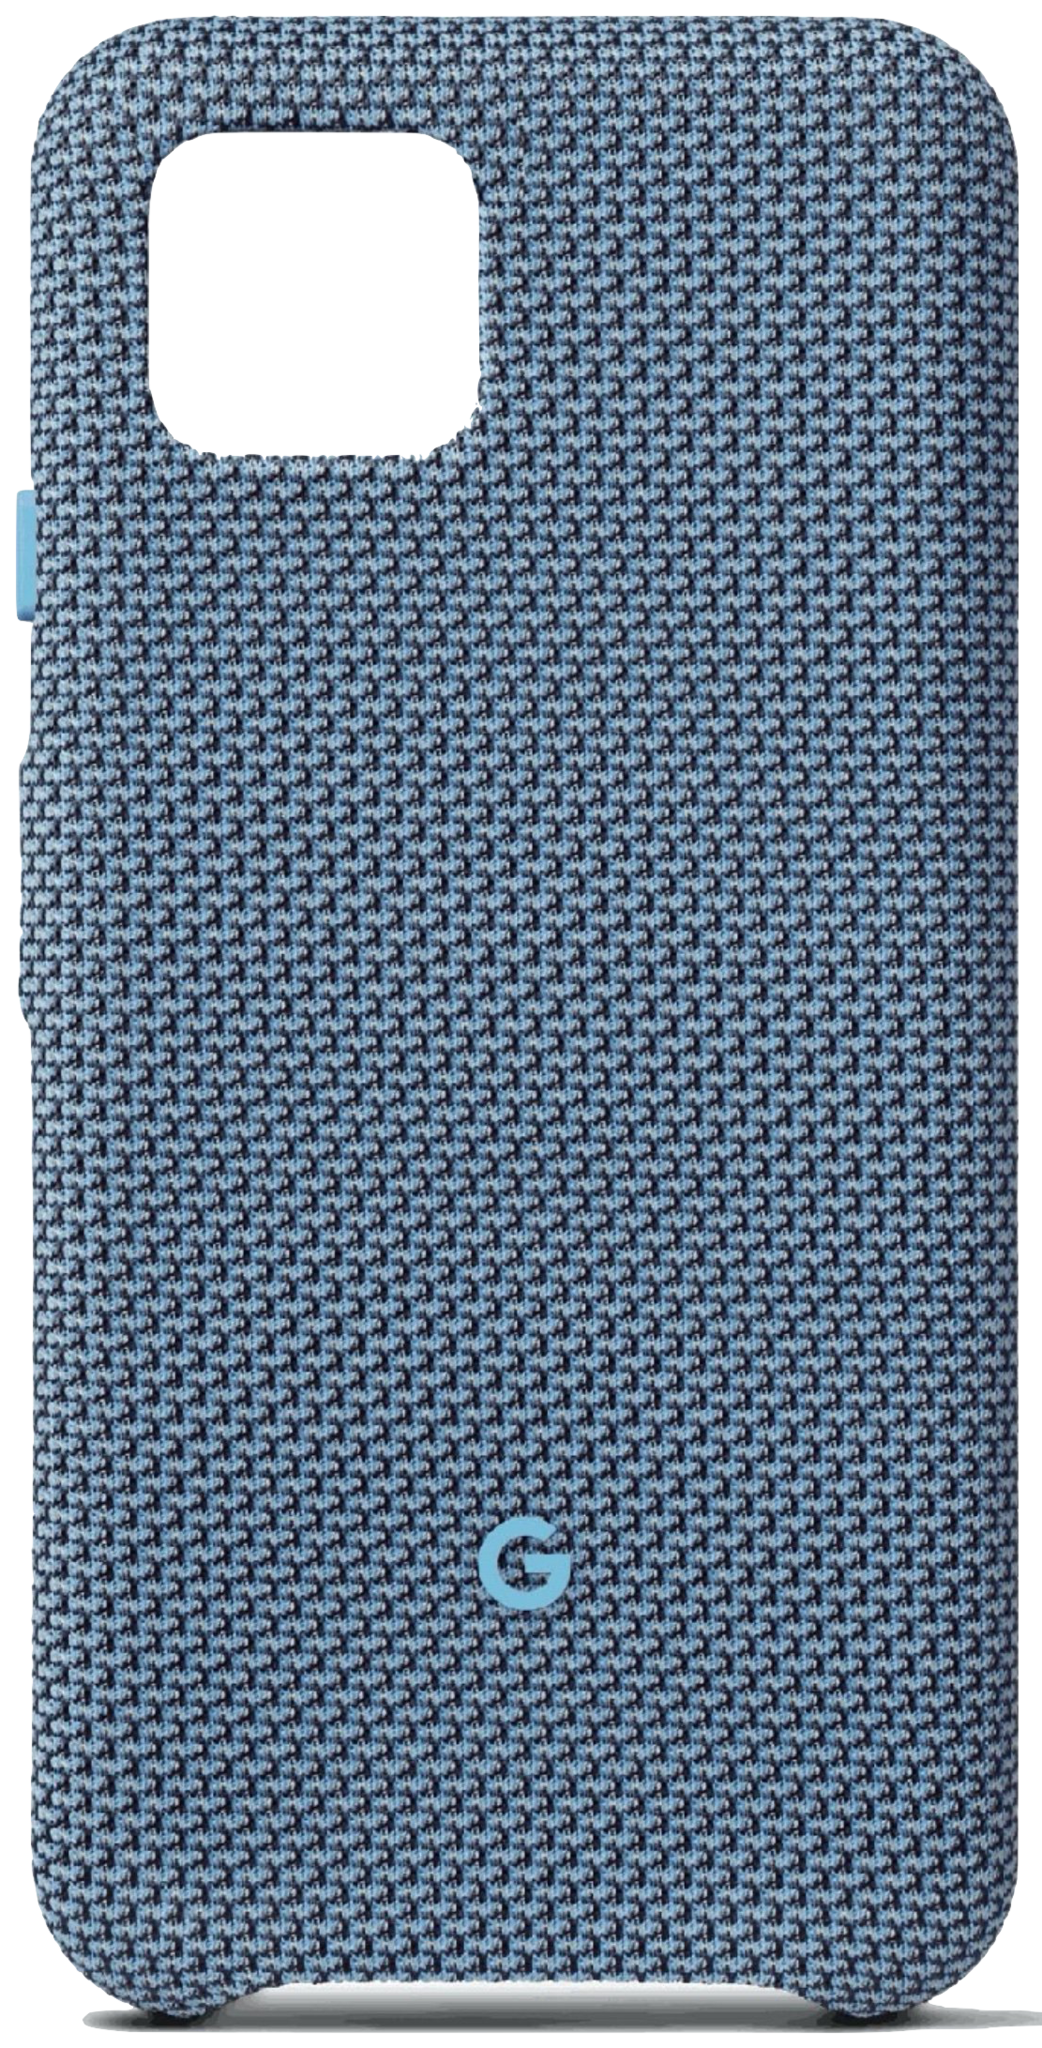
Google Fabric Case ($40 at Amazon)
Google's done fabric cases for three years now, and they always feel and look amazing. This year, Google's widened the weave and the colors are absolutely on point. Just look at that Blue-ish! Look at it!!
Whether you want something thin or rugged, clear or colorful, thrifty, or spendy, we have a case recommendation to fit everyone's needs. We have a collection of cases for the smaller Pixel 4, and a separate collection for the larger Pixel 4 XL.
Configure the Google Assistant
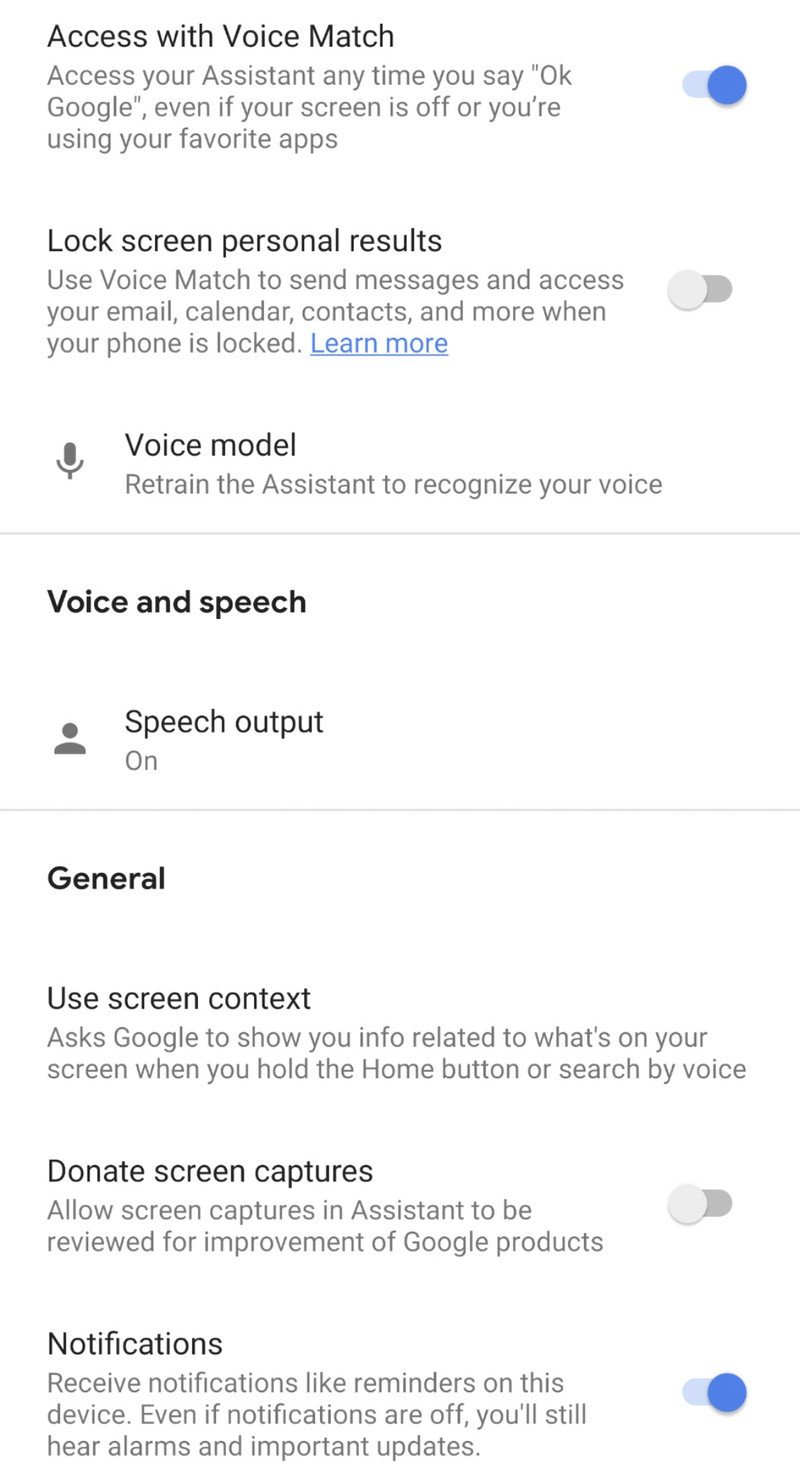
If you skipped through the Google Assistant steps when you first set up your Pixel 4, you'll want to go back in and get it all configured now — go to Settings, Apps & notifications, Assistant. This is where you can train (or retrain) the voice model for "OK Google" detection, choose whether the Assistant returns speech results, and decide whether you want personalized results based on your voice. Back in the main settings, you can configure everything about Assistant in general, including all of the personal information it has access to and how it can use it.
You can also configure the Google Assistant to launch when you squeeze the phone — it's called "Active Edge." Once you turn it on, you can change the squeeze sensitivity and also choose whether it works when the screen is off. Sometimes Active Edge is a better way to launch Assistant than going back to the home screen or saying "OK Google."
Early on, Google has a very frustrating issue with the new Assistant — that's the latest version with on-device voice processing and seamless conversational interactions. Right now, you can't have any Google G Suite accounts (like one provided to you by your work) on your phone if you want to use the new Assistant. The G Suite account doesn't even have to be your default account (which would kind of make sense), it just has to be on the phone, and that disables the new Assistant. Google was aware of this when it launched the Pixel 4, and hopefully, a fix will be coming soon.
Try out Night Light and Dark theme
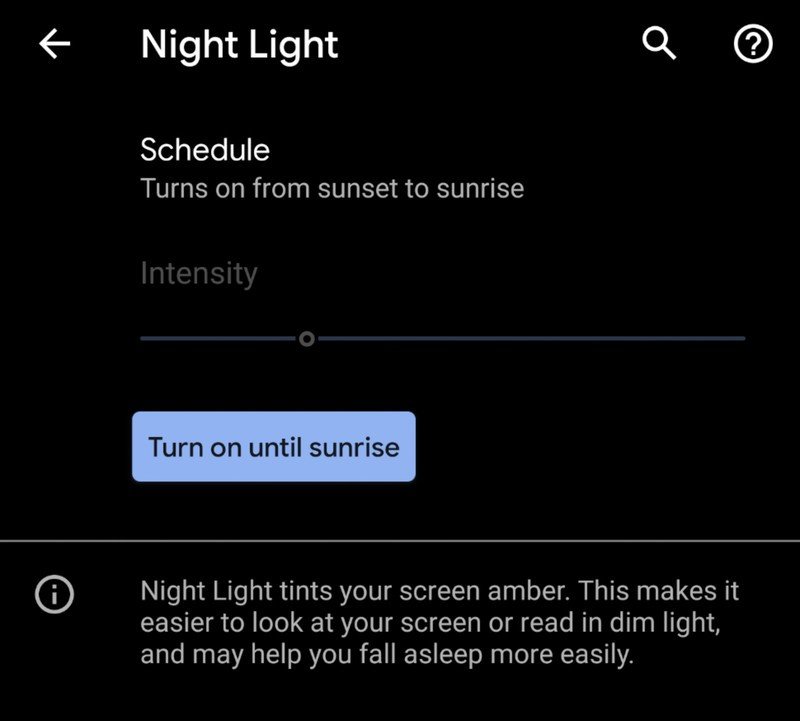
Night Light is Google's setting for changing the way the display looks in order to hopefully reduce eye strain when looking at your phone at night. When Night Light is enabled, the warmth and tone of the display are changed to reduce the output of bright blue light, and when paired with a lower screen brightness can help you wind down in the evening. In the Display settings, you can change when, or if, Night Light comes on on your Pixel 4. By default, it'll come on at sunset and turn off at sunrise, but you can also set a custom time schedule if you'd prefer — or turn it on at any time in the notification quick settings panel. You can also adjust the intensity of the color shift to meet your needs.
Dark theme goes a step further. You can also find it in the Display settings and turn it on. Everything in the interface will go dark, and it'll tell apps to switch to their individual dark themes if they have them — which most do. Some people swear by the dark theme as a way to keep eye strain down all the time, and app developers have generally embraced it. You'll notice that the dark theme also turns on when you enable Battery Saver — because it does make a small difference in battery life as well.

Andrew was an Executive Editor, U.S. at Android Central between 2012 and 2020.
