How to take better landscape photos with your smartphone
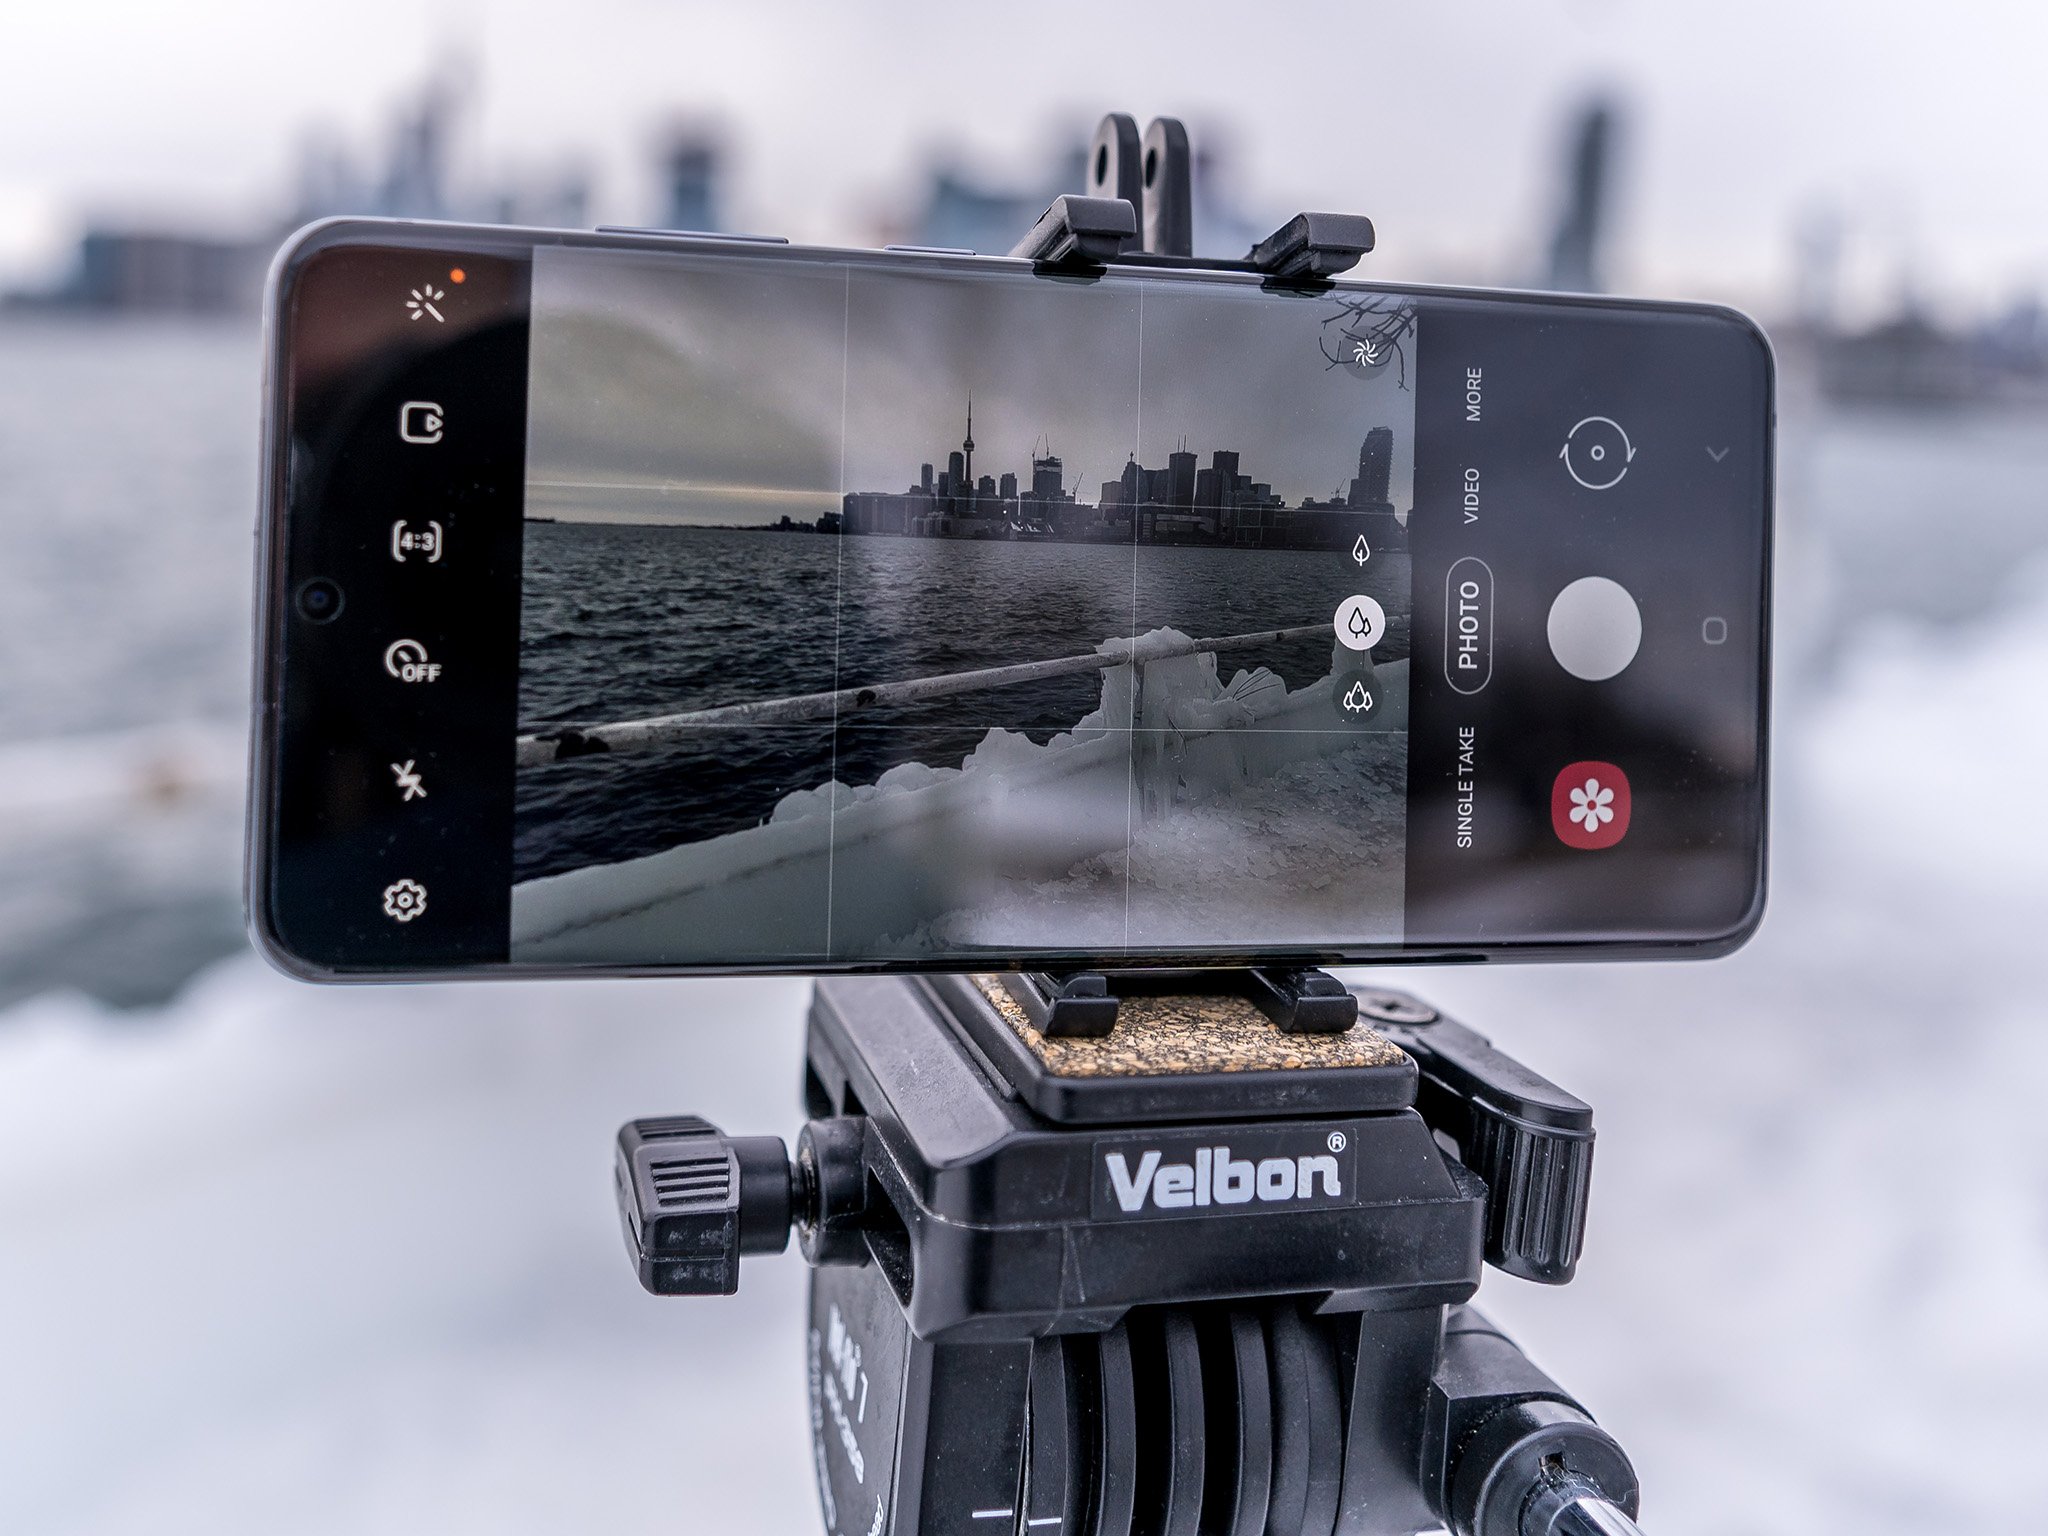
Your smartphone is a powerful camera tool, and if you can harness it the right way, you can up your photography game in all the right ways. Landscape photos are a good starting point because they aren't complicated subjects, and that's why you don't always have to settle for a simple point-and-shoot scenario. Here are a few ways to make these photos more interesting when you shoot them.
How to set up a landscape photo
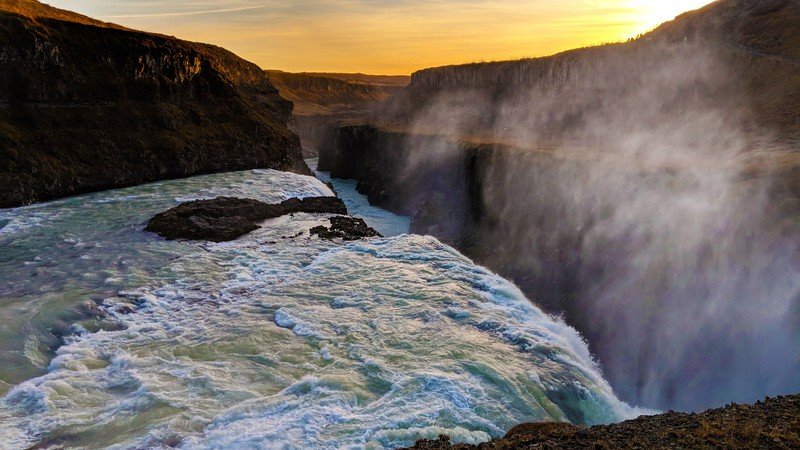
Launching a camera app and tilting your phone sideways is easy enough to get started, but as you do that, take a moment to gauge the scene in front of you. Is it a wide vista, like a mountain range that seems to merge with the sky and clouds? Is it an interesting cityscape or a sunset on the beach?
No matter what natural beauty, taking an extra moment to get a good shot is worth it when time is on your side. It's also worth learning the different shooting modes and options your smartphone camera affords you. If there's an HDR (high dynamic range) mode available, try it out. If you can adjust exposure and shadows yourself before shooting, try that as well.
Source: Ted Kritsonis / Android Central
The worst times to shoot faraway landscape photos (and many other types of outdoor shots, too) is at midday around noon on a sunny day. The sun is at its peak and drowns out any color to the sky and shadows on the ground. Bare that in mind when you get ready to shoot because you may have options to mitigate the effects.
How to change your angles and perspective
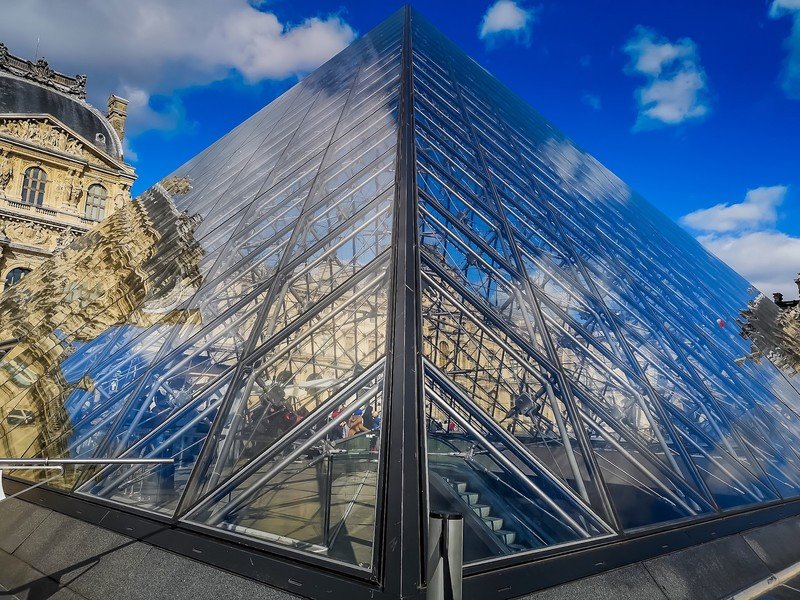
As humans, we perceive images differently when the angles change, and that's no different from photography. Think of how a mountain range looks when you're able to capture it from an airplane window at a lower angle. Then consider how a mountain or volcano might look hovering over a scene below.
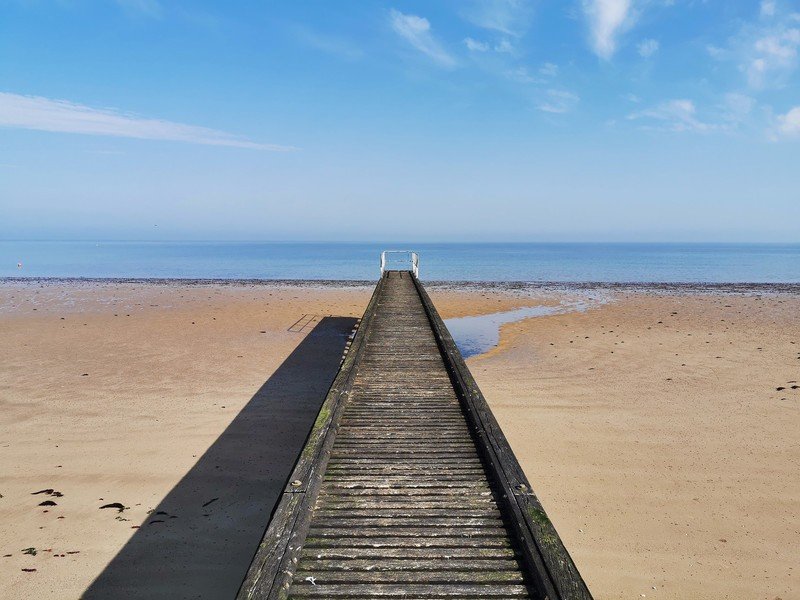
One good rule of thumb is to use part of a scene to create a greater sense of distance. For example, if you have a pathway leading somewhere, try shooting it from a lower angle. The lines and depth of field make the background look and feel less static.
Get the latest news from Android Central, your trusted companion in the world of Android
It's not as easy to do this with a phone because the shutter is on the screen, but most devices use the volume buttons as hard shutters, so that's one option. Another is to use the timer (look for the icon that looks like a clock). With that set, you can tap to focus and give yourself enough time to take the photo after hitting the shutter.
Source: Ted Kritsonis / Android Central
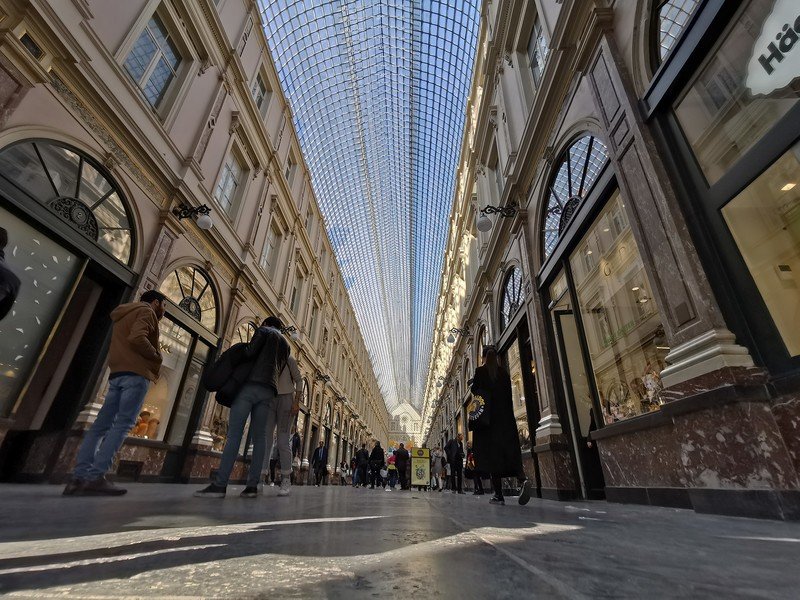
Now that ultra-wide lenses are in vogue with most premium phones, they can be a fun way to capture landscapes with perspective in mind. Whether you are situated above from a high vantage point or using a small tripod really low to the ground for a worm's-eye view, the results can deliver a sense of scale that gives the image more character. So, to recap, here are the tips to remember:
- Look for a unique perspective by angling or tilting the phone to alter the perspective.
- Make sure to focus on something, no matter what you are shooting.
- Don't be shy to focus on something in the foreground, as that may give the background scene a nice bokeh effect.
- Adjust exposure if the scene is too bright or too dark after you tap to focus.
- Take as many photos as you need to get the one you like most.
Stick to these principles, and you should come out with excellent results. Photography is largely about experimenting, so don't be discouraged if you don't get it right every time.
How to find an anchoring point for your photo
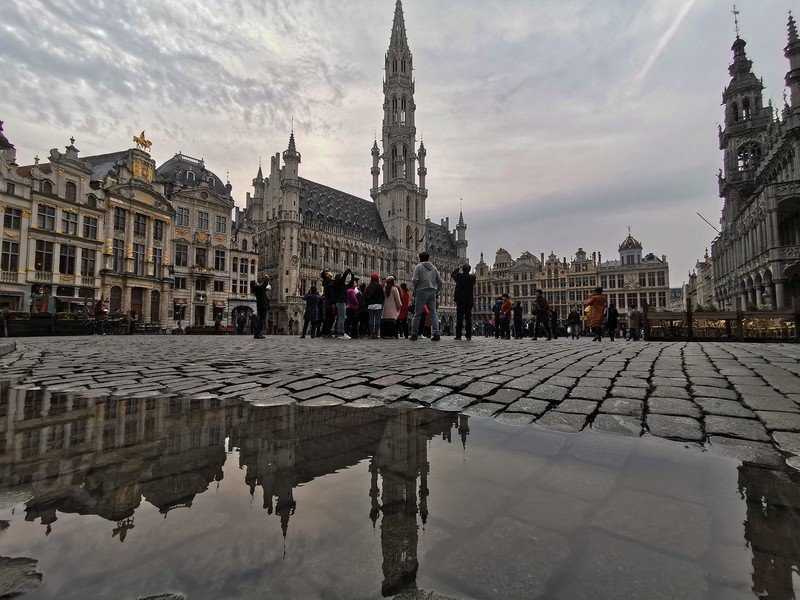
This isn't like finding a point of interest on a map. In this case, it's what I like to call an "anchoring point," meaning a closer subject in the scene that you can focus on. It's along the same lines of what I noted earlier with focusing on a pathway leading to somewhere. Only in this case, it can be anything that is already in the foreground, or that you put there.
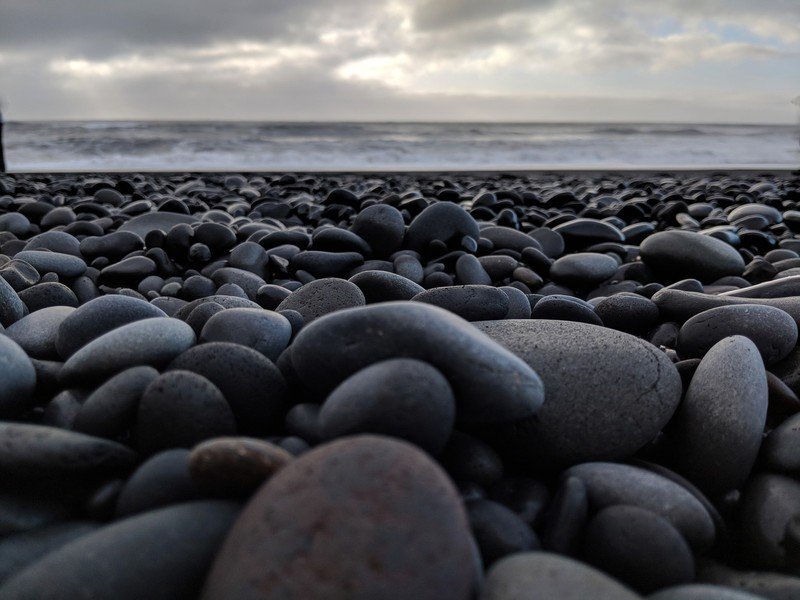
If there are interesting rocks or shells on a beach, you could use one of those as an anchoring point. Or you could create additional perspective by shooting a person on the beach from a distance. Those are particularly nice during a sunset while the subject is in silhouette. Lower the exposure and the shadows become more prominent.
It could even be a drink on a ledge with the sun peering through the glass as it sets on the horizon. Angle your phone the right way, and you may have a great photo on your hands. With that in mind, here are some essential tips to remember:
- Don't always assume your focal point has to be in the middle of the frame.
- Look for a point or subject that would complement the scene behind it.
- It can be objects or people. That part is up to you.
- To be more dynamic, bring the camera closer to the foreground subject.
Getting creative here is the name of the game. The point of interest doesn't always have to be really close or really far, but the idea is to make a landscape tell a story or incur a sense of curiosity.
How to shoot better at night

Night photography is always a challenge, and though smartphones are getting better at it, some principles still apply. Long exposure photos are best for static scenes, like a cityscape or moonlit scene. The problem is that cameras are really sensitive to movement when shooting them. Jittery hands, or even the slightest twitch, can ruin an otherwise great photo.
Using a tripod or propping up the phone on a flat surface is of great help. So is using a timer to let the shutter snap without any physical input. If your phone has a dedicated Night mode that emulates long exposures and makes them workable when holding your phone, try the tripod anyway.
For instance, Google's Astrophotography Mode only works properly with a tripod, and any long exposure using a phone camera's manual or pro mode will need that same stillness. Following these steps should help you out:
- Assess how dark the scene is for your own eyes and for what you see through the camera lens.
- Always use the lens on your phone camera with the widest aperture and best quality.
- Use a tripod or flat surface to keep the phone still when shooting.
- If you're shooting a scene with moving objects, like traffic streaks from vehicles, focus on a static object in the frame.
- Never use a flash to shoot a landscape at night, ever. It will do nothing to improve the image.
- The more light available to you, the easier it is to take a decent photo with less noise.
Don't be discouraged if this seems challenging. You may be limited by the technology in your phone, or need practice to capture better photos. Noise is the true adversary in these situations, and that's why it's a good idea to lower the exposure a little to make the scene darker where required. You will know when looking at the image before and after you shoot it.
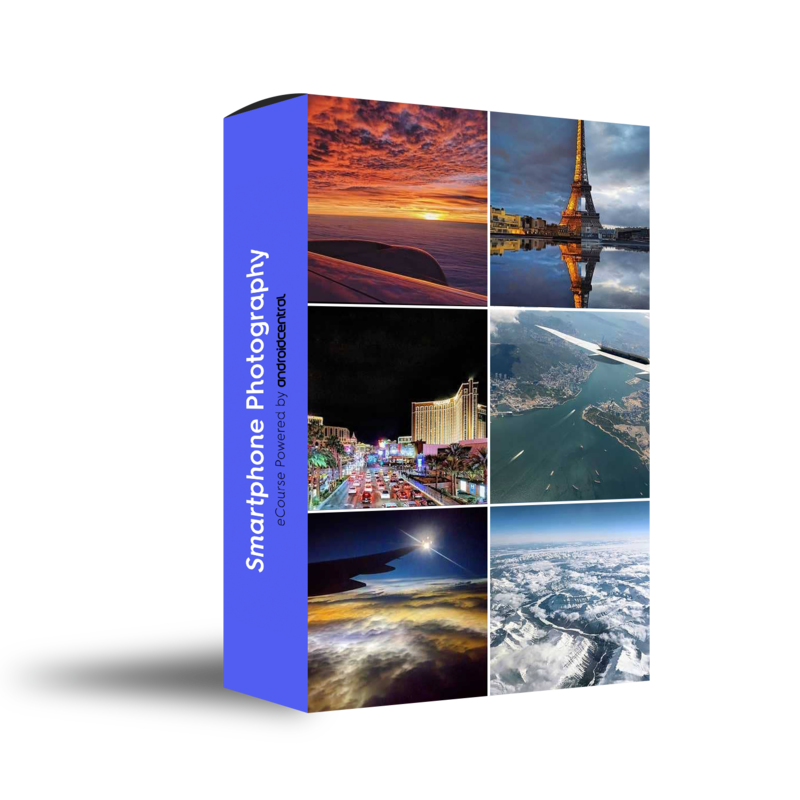
Hosted by Android Central's Alex Dobie
Join us for a deep dive into everything you need to know to take better photos. Composition, software features, and editing are just some of the features we'll be tackling together in this course.
Additional Equipment
Sometimes, one or two hands aren't enough to bring out some extra creativity out of your smartphone camera, and that's where the right tools can help. Shooting landscapes is often about being stationary and playing around with perspectives, so these items could certainly help.

Joby GorillaPod 3K Kit ($50 at Amazon)
This tripod is rugged and sturdy enough to handle most mirrorless and DSLR cameras, but with the right mount, it can do the trick for smartphones, too. It includes the flexible legs Joby is known for, providing a level of stability not typically seen in "non-Pro" tripods. If you're serious about your mobile photography, this is a good place to start.
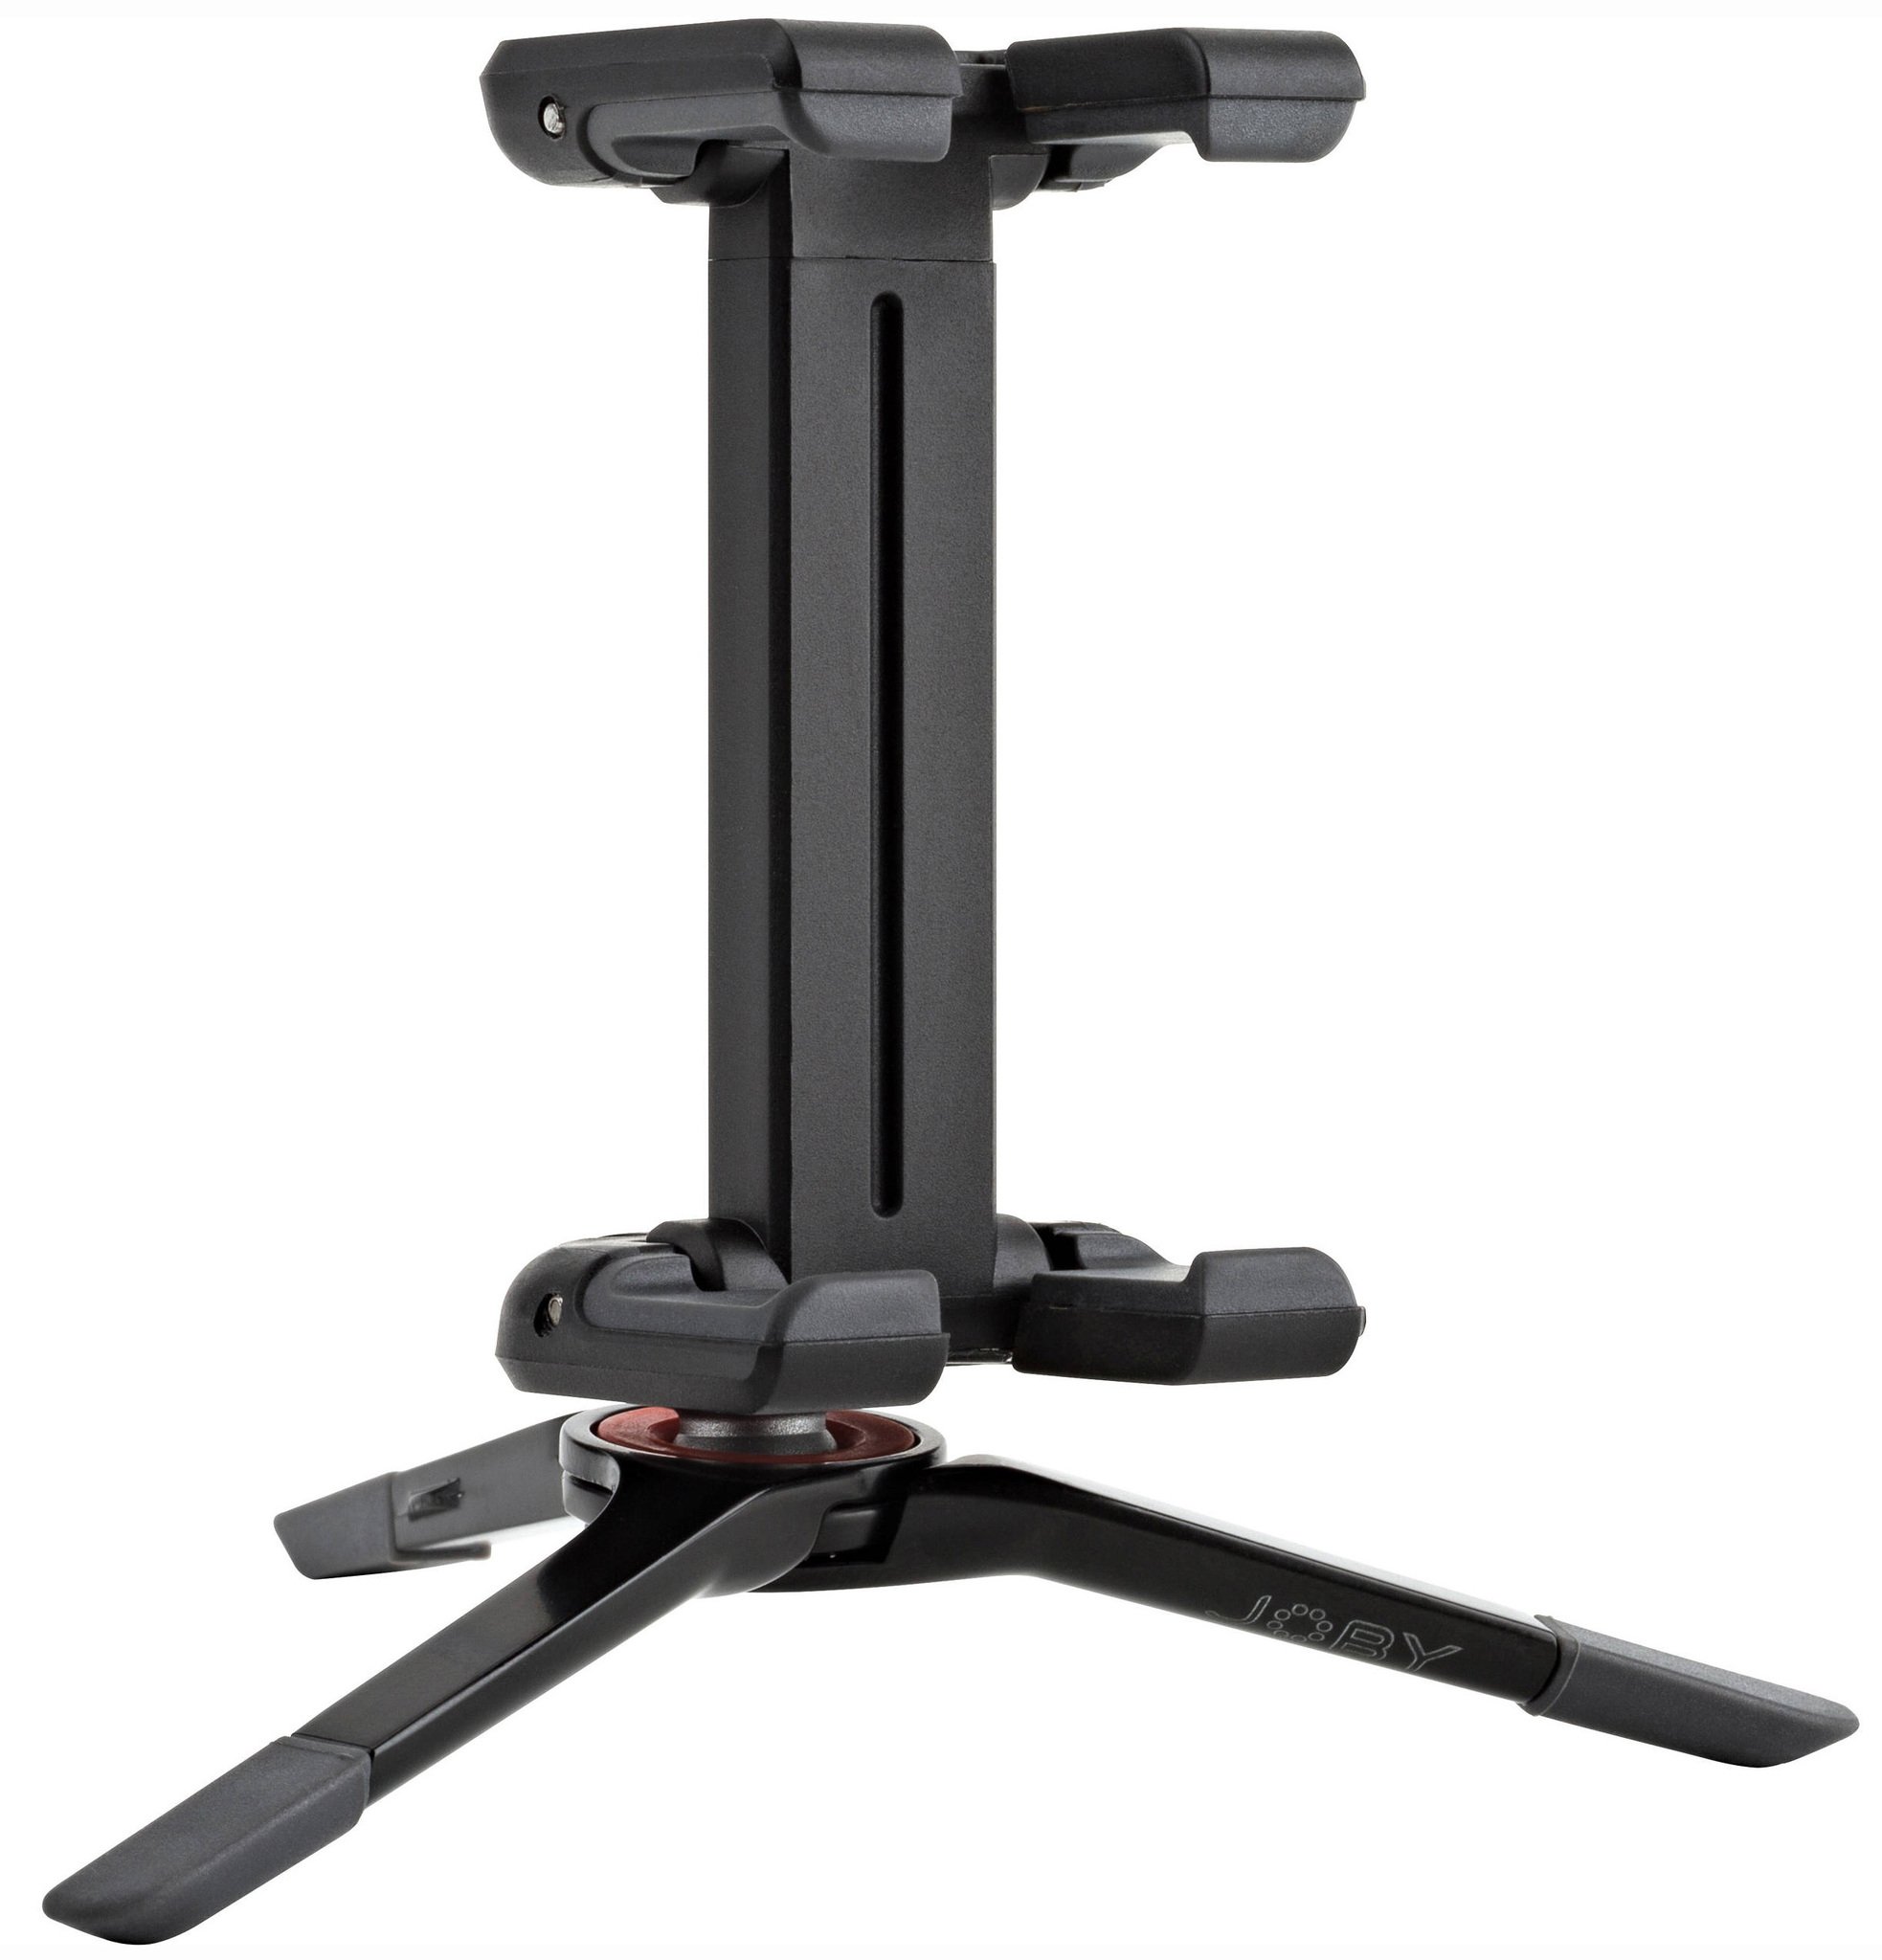
Joby GripTight One Micro Stand ($35 at Amazon)
With a small footprint and low center of gravity, this tripod and mount set is a good option when shooting with stability and angles in mind. The mount stretches out up to 3.6-inches, fitting most phones, even with cases, adding to the convenience when setting it up. If a full-size tripod is within reach, remove the mount and attach it there.
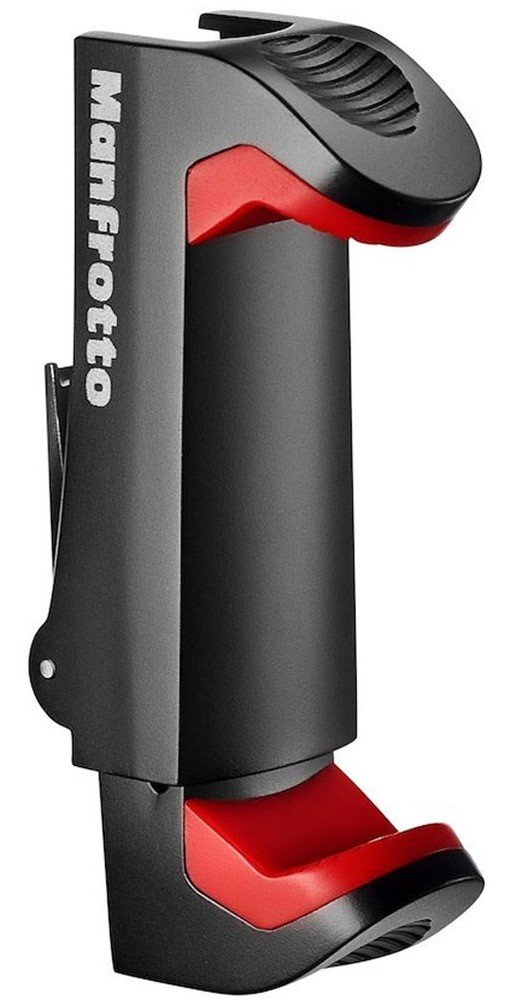
Manfrotto Universal Smartphone Clamp Pro ($20 at Amazon)
One of the better smartphone mounts available, it's solidly built and offers a firm grip on a wide range of phone sizes. Being universal, it will fit right in on tripods big and small and works just as well on selfie sticks for landscape images that include people in the foreground.
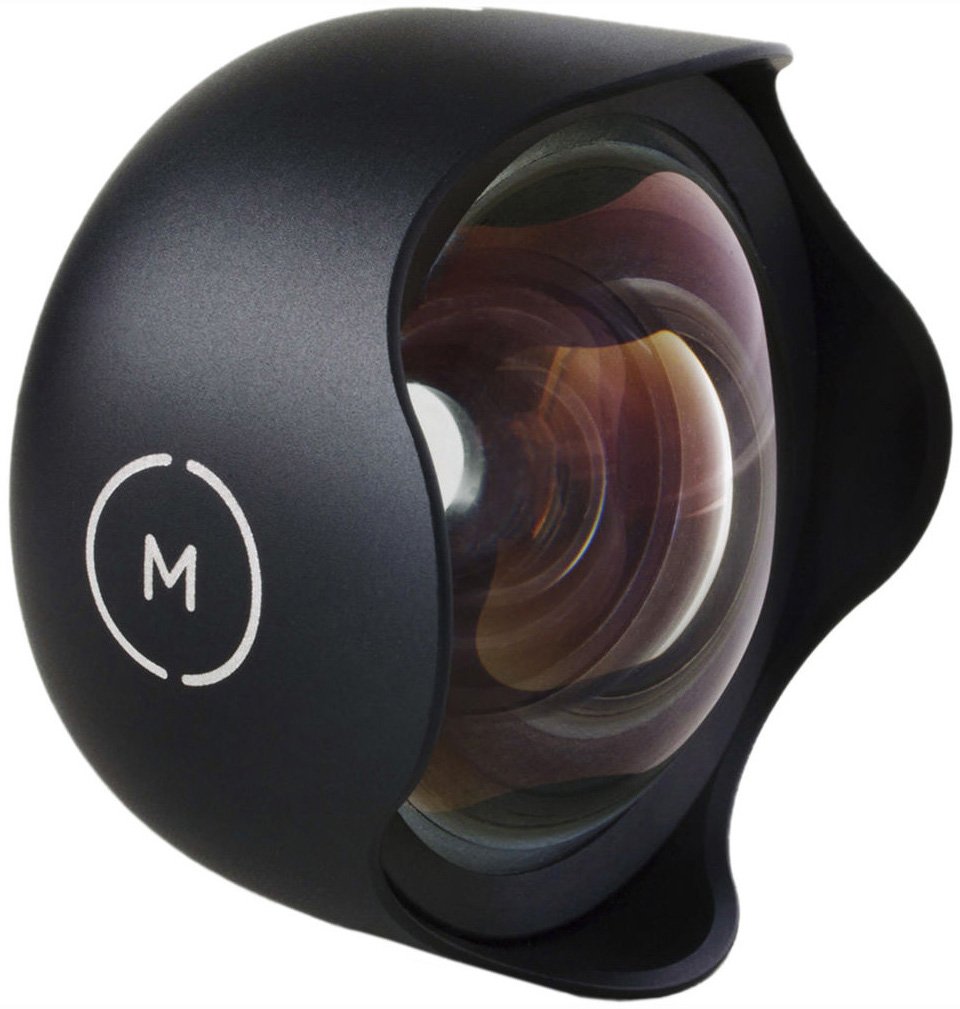
Moment 18mm Wide Lens ($100 at Amazon)
This lens does require that you have a Moment case or Battery Photo Case for a compatible phone first. When you do, it captures 2x more of a scene, giving landscape images a greater sense of scale and context. It is a versatile lens beyond shooting faraway scenes, but it's crisp and manufactured with excellent glass.

Ted Kritsonis loves taking photos when the opportunity arises, be it on a camera or smartphone. Beyond sports and world history, you can find him tinkering with gadgets or enjoying a cigar. Often times, that will be with a pair of headphones or earbuds playing tunes. When he's not testing something, he's working on the next episode of his podcast, Tednologic.
