How to set up a PlayStation Classic
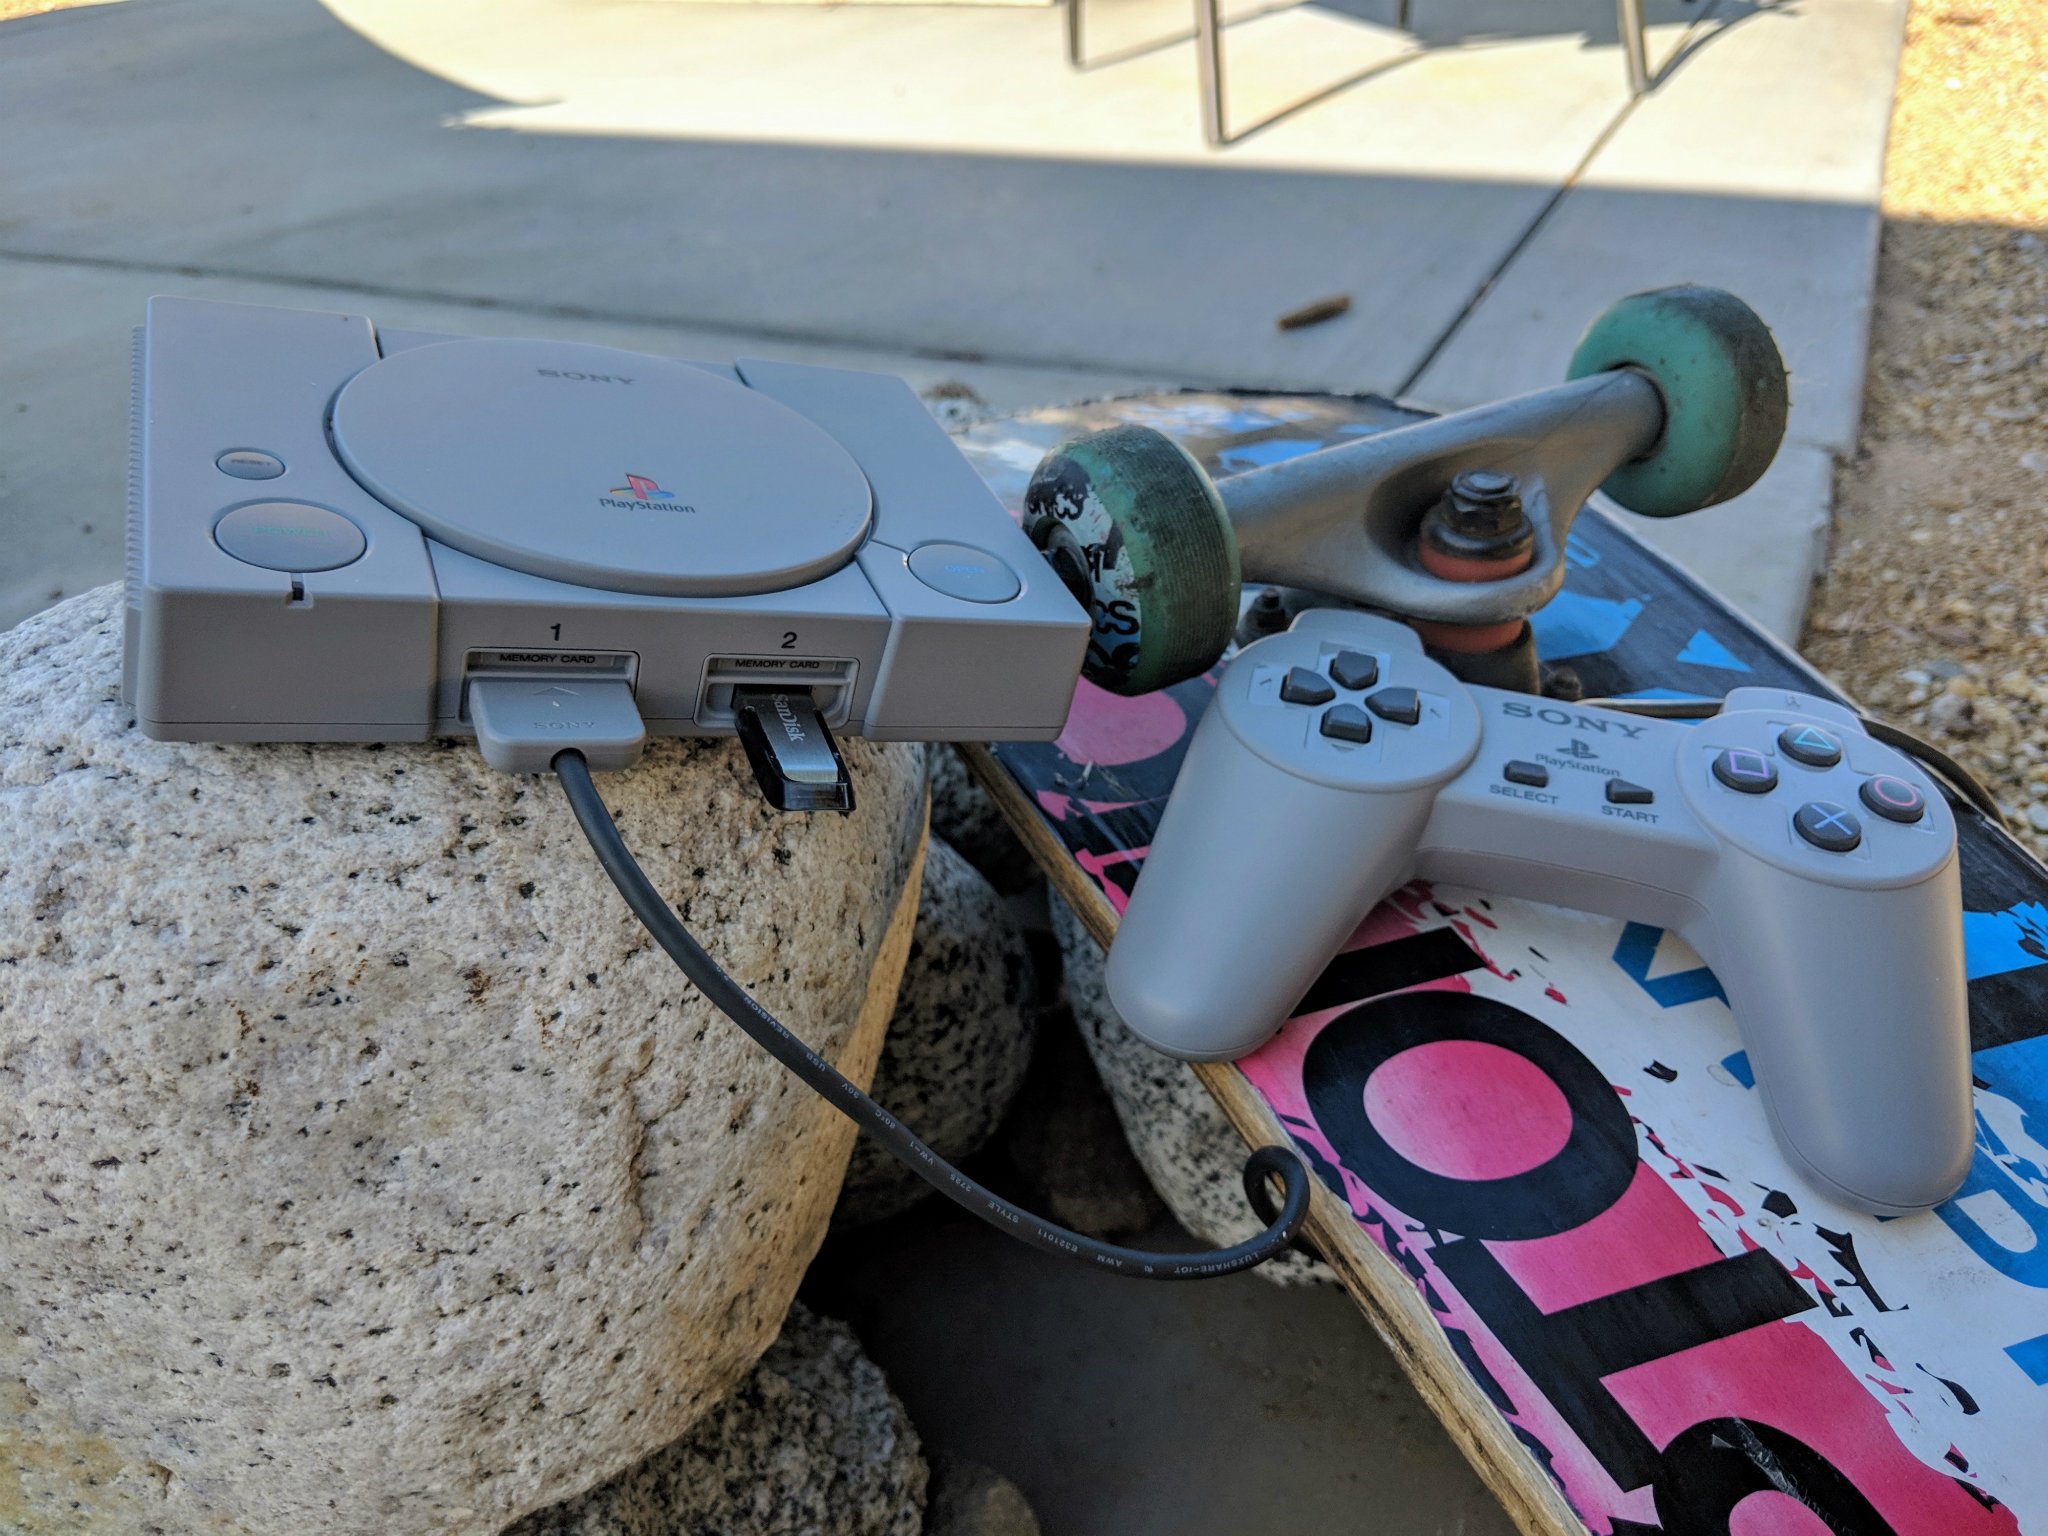
The PlayStation Classic is a mini version of the original grey PlayStation from the late 1990's. It comes with 20 built-in games and two controllers for you and your family to indulge your nostalgia bones. Now you have one though you need to get it set up and ready to play.
Happily, the Classic is fairly simple to get going so we will take you through some simple steps with a little bit of advice on how to move forward once you are ready.
What's not in the box?
Has you can see from the above picture, and the Classic that is in your hand right now, there isn't a lot of cables or anything else in the box. One thing you will have noticed straight away is the lack of power adapter. Don't worry if you didn't pick one before you bought the Classic if you own a modern smartphone then use its power adapter for now.
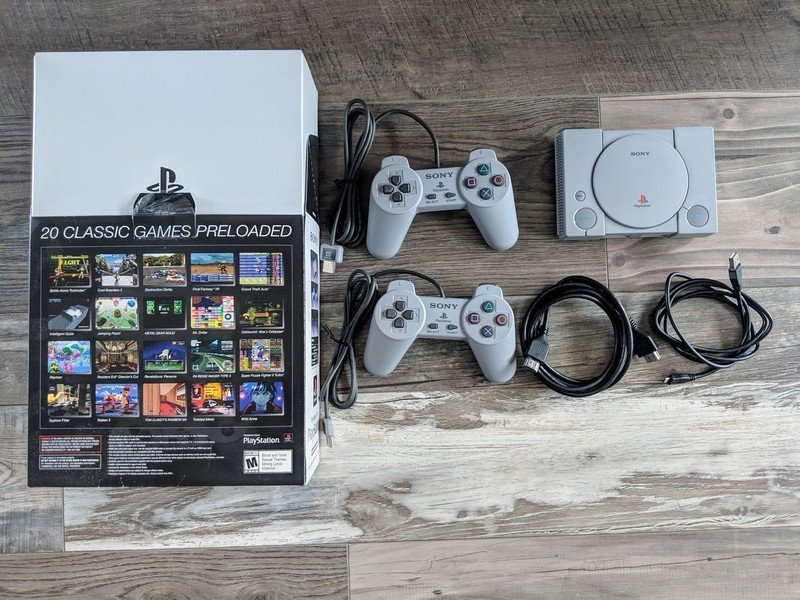
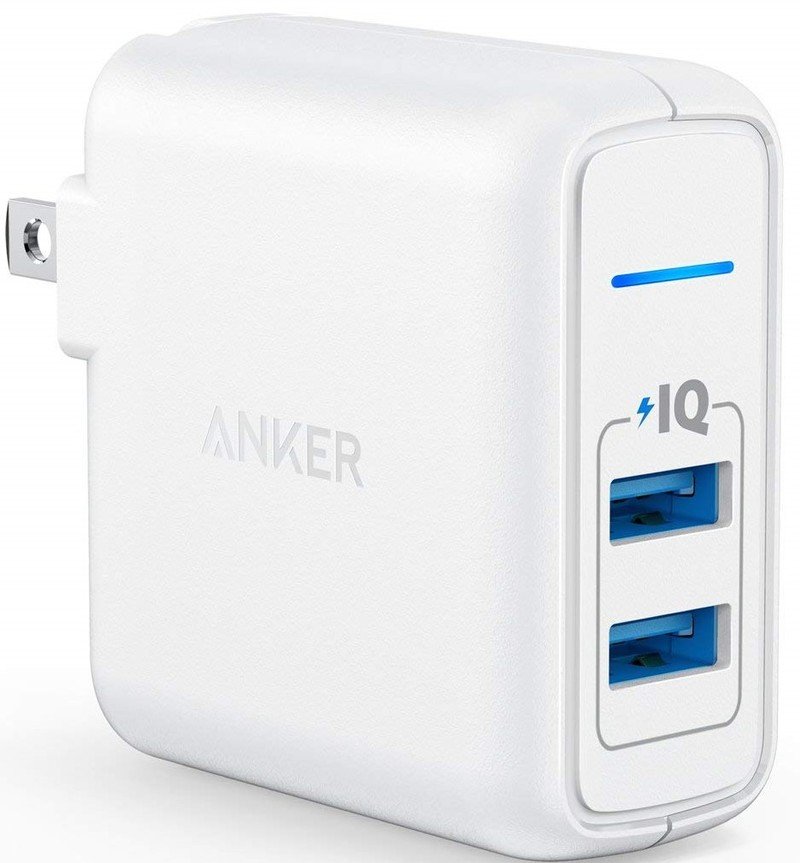
Later on, if you want to buy one, you can pick up this Anker 2 port wall plug from Amazon that will run it just great. For now, let's just grab your smartphone adapter so you can get started playing today!
Step by Step
- Unpack and untie all the cables and controllers from the box. Make sure you keep the box and warranty info handy in case you need to sell or repair later.
- Insert the Micro-USB cable into the power adapter.
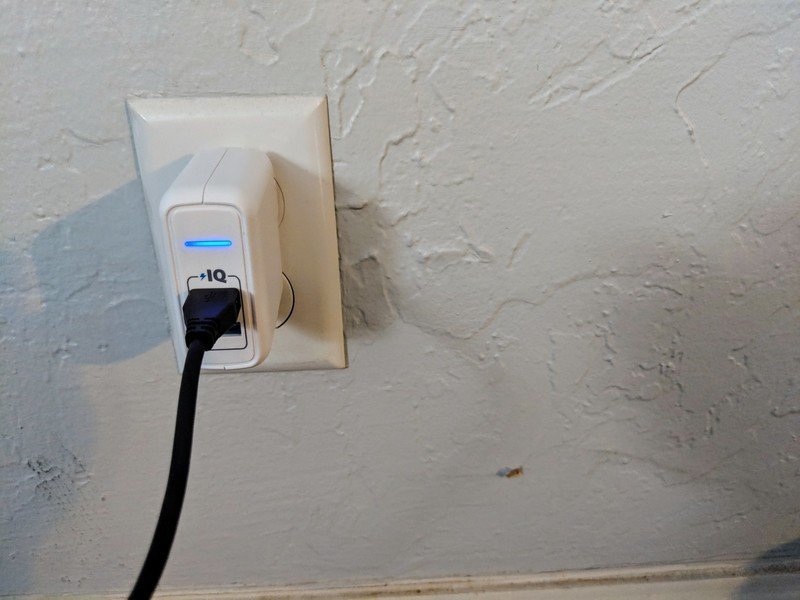
- Insert your power adapter into the wall but do not plug the micro end of the Micro-USB cable into the PlayStation Classic just yet.
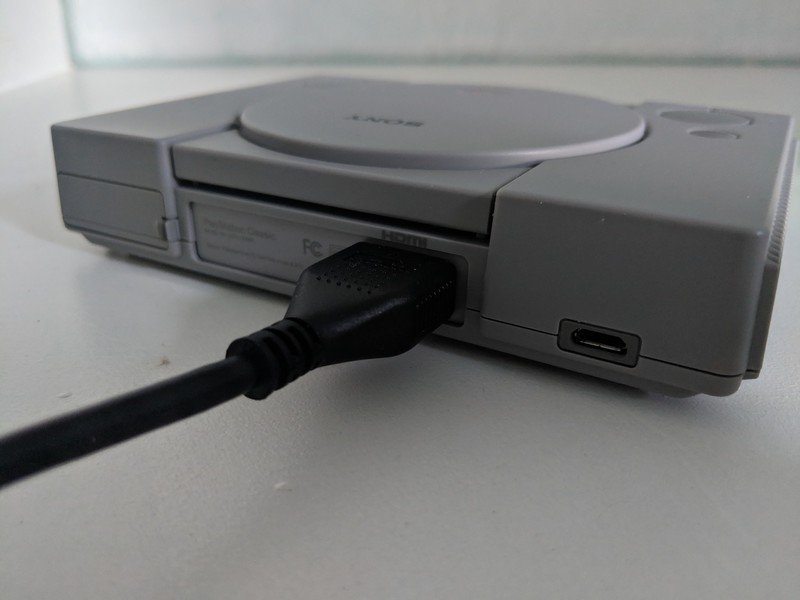
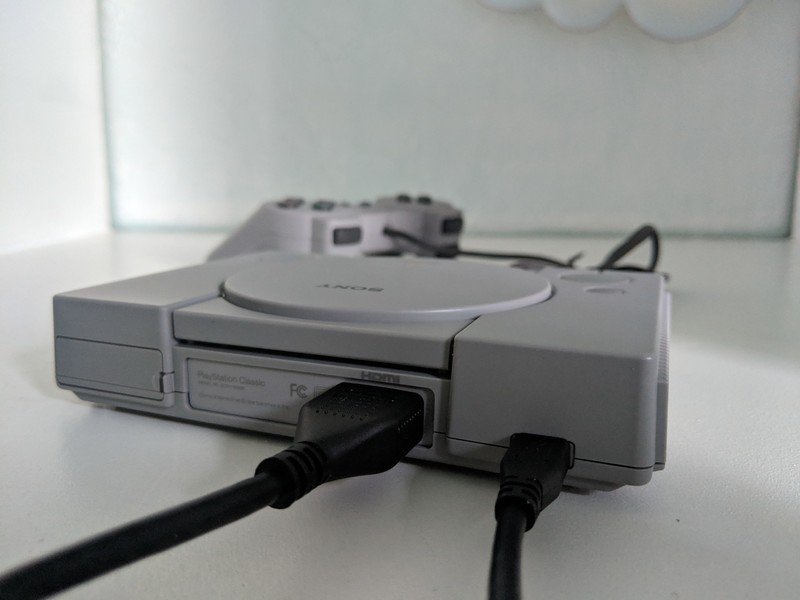
- Insert the HDMI cable that came with the Classic into the rear of the console. It doesn't matter which end you insert.
- Insert the other end of the HDMI Cable into the HDMI port on your TV.
- Select your TVs HDMI input that corresponds to the port you put your Classic into. You won't see anything on the screen yet so don't worry.
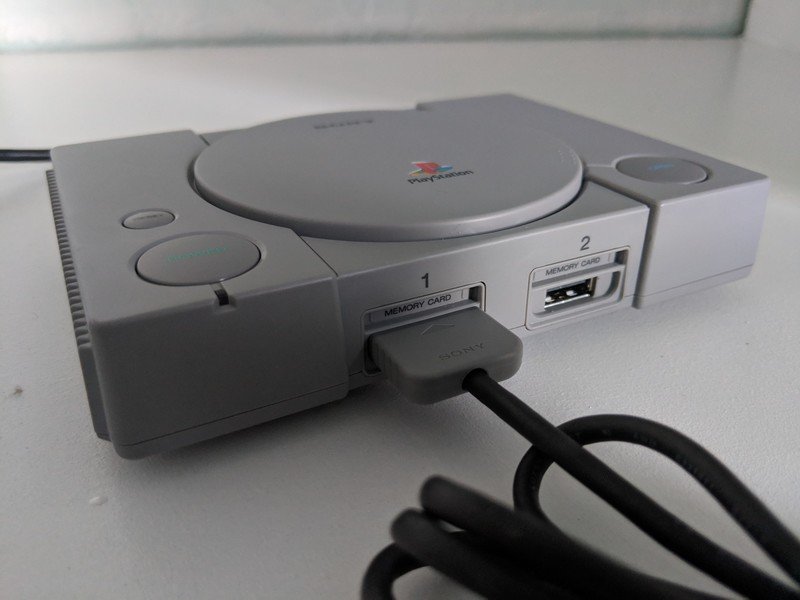
- Insert one of the controllers USB cables into the left-hand USB slot on the Classic console. If you are going to be playing two players today go ahead and insert the second controller too.
- Insert the Micro-USB cable into your PlayStation Classic console. You should see a little orange light appear on the console near the power button. This means it is on standby ready to be turned on.
- Power on the PlayStation Classic. If all has gone to plan your TV should show the old PlayStation logo and make wonderful retro noises.
Other things to know
So there you are. From here it is simply a case of navigating around the various games by using the left or right buttons on the controller's direction pad (D-pad) and pressing the X button to start the game. Once in a game, if you want to get back to the main menu simply tap the little reset button above the power button. This will bring you back to the main menu and hold an instance of the previous game in a paused state so you can come back to it later in that session.
The last button on the Classic is the disk tray button. On the original console, this would have popped open the lid to change out the disks on large games like Final Fantasy VII. On the PlayStation Classic, however, this is used to virtually replace the disk when the game asks. This is a lovely conceit, it makes the Classic feel much more true to the original console. Lastly, there is a memory card icon on the main screen for deleting and sorting your save games.
What about hacking?
Once you have everything set up and ready to go with your PlayStation Classic you can think about doing more advanced things with it. We have a comprehensive list of hacks you can do like adding new games and changing the region settings. When you are ready to head over to our Everything you need to know about modding your PlayStation Classic article for more information.
Get the latest news from Android Central, your trusted companion in the world of Android
Any more Questions?
If you have more questions or can think of something we missed let us know in the comments section and we will try to answer it for you. You should also check out our other coverage of the PlayStation Classic and what you might want to do with it in the future!
Other accessories you might like
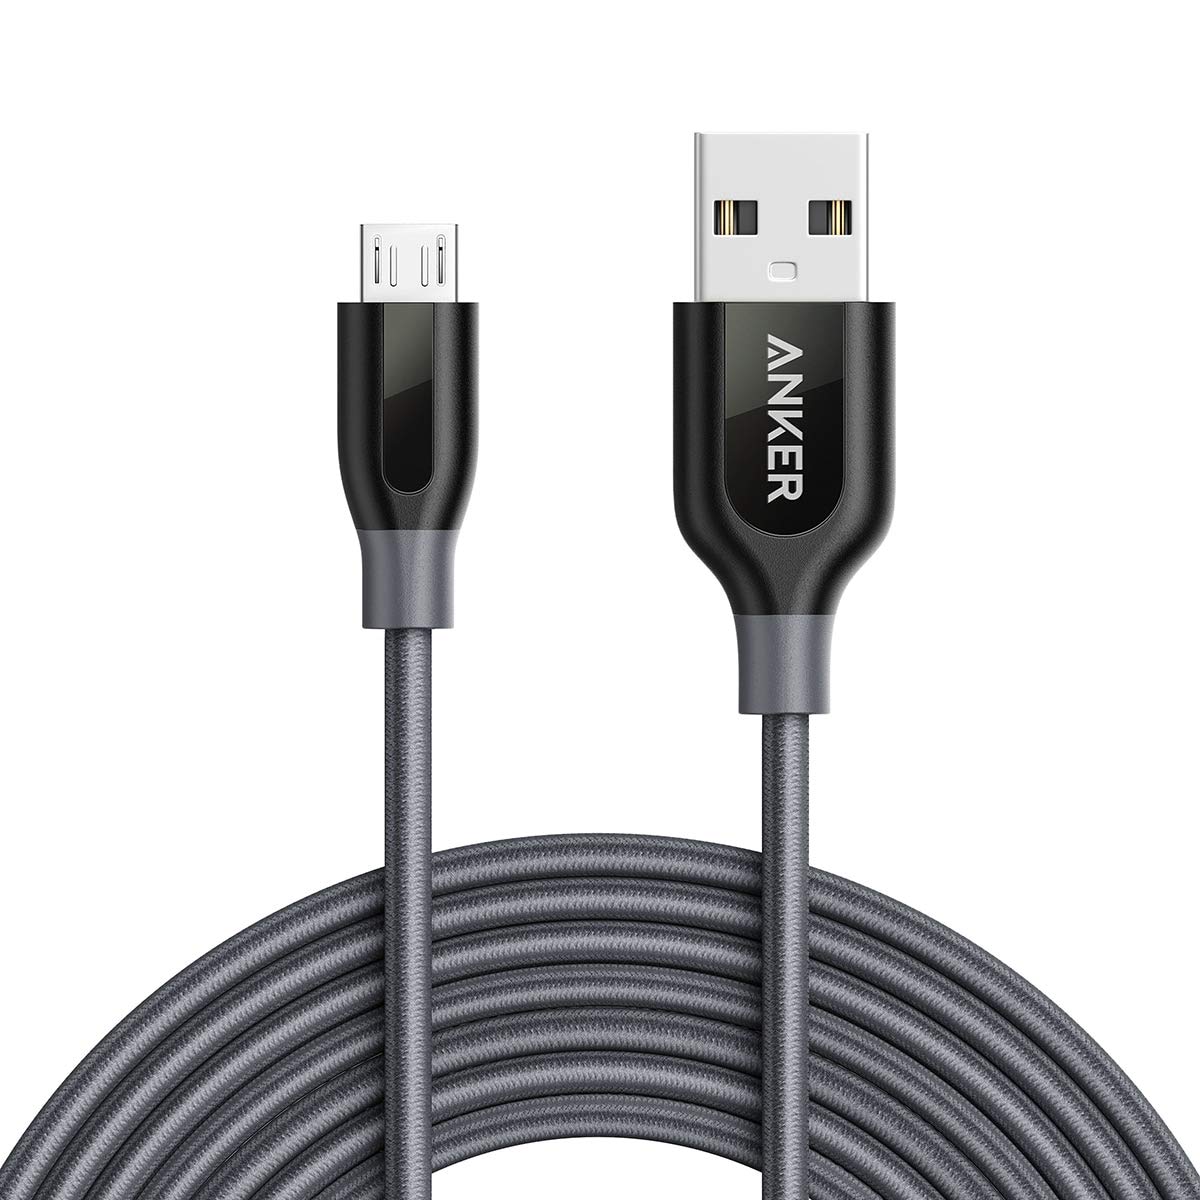
Anker 10ft Micro USB cable ($12 at Amazon)
The leads are never long enough on these classic consoles. Use this braided cable by Anker to move your console closer to you so you can have some slack on the controller cables.
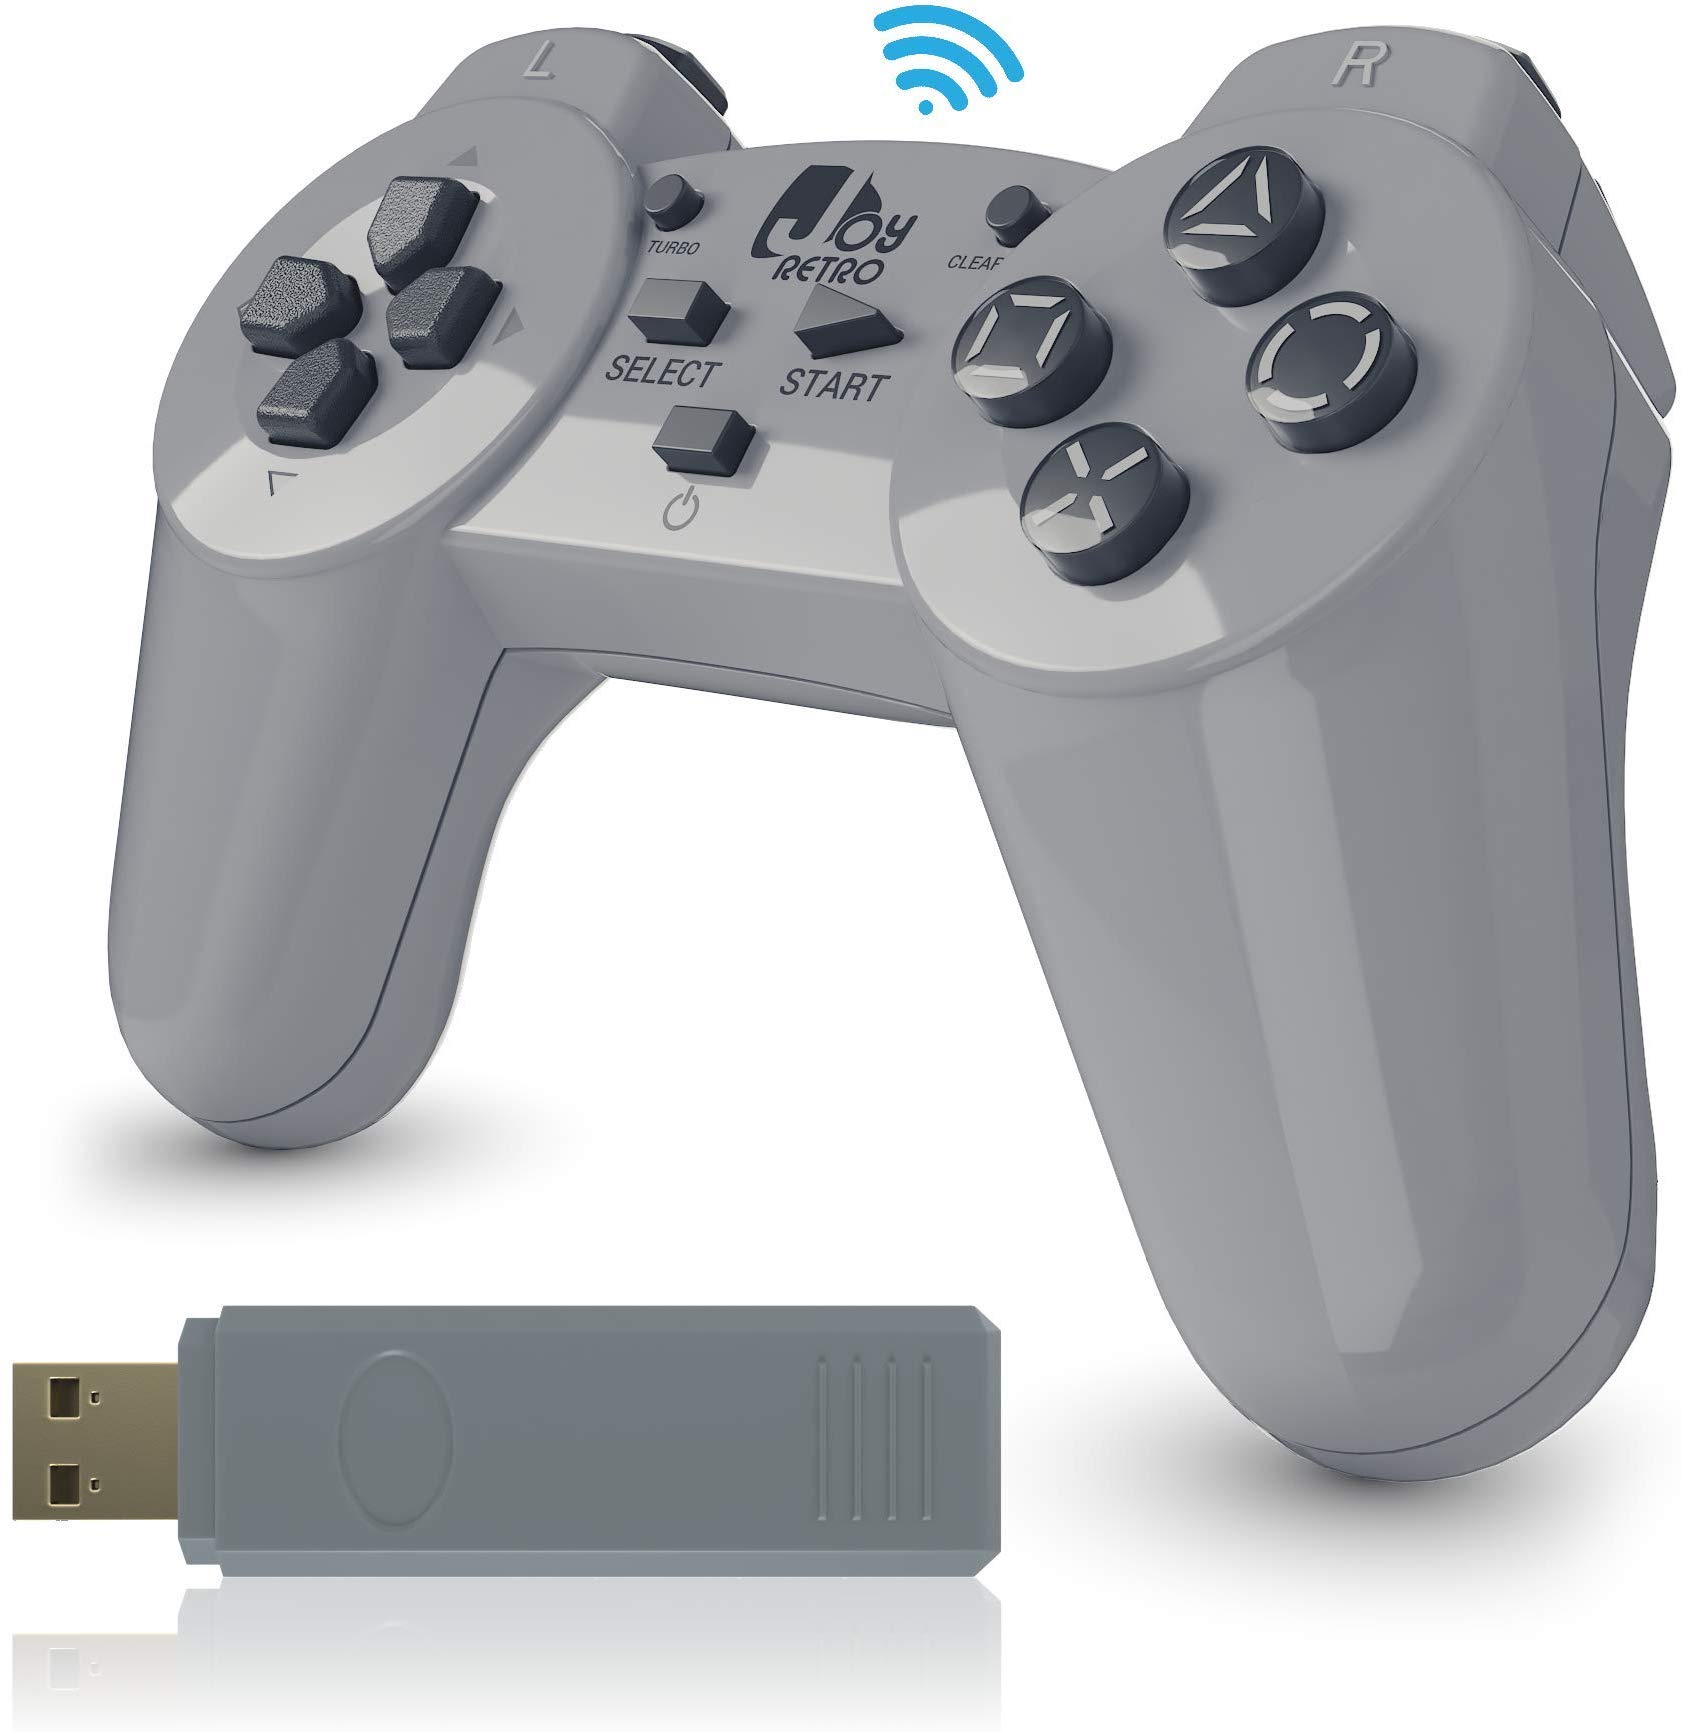
JoyRetro Wireless controller ($30 at Amazon)
The JoyRetro lets you use a Classic style controller wirelessly. Not having cables lying everywhere is so much nicer than you think. Wireless is the future, or technically, the present.
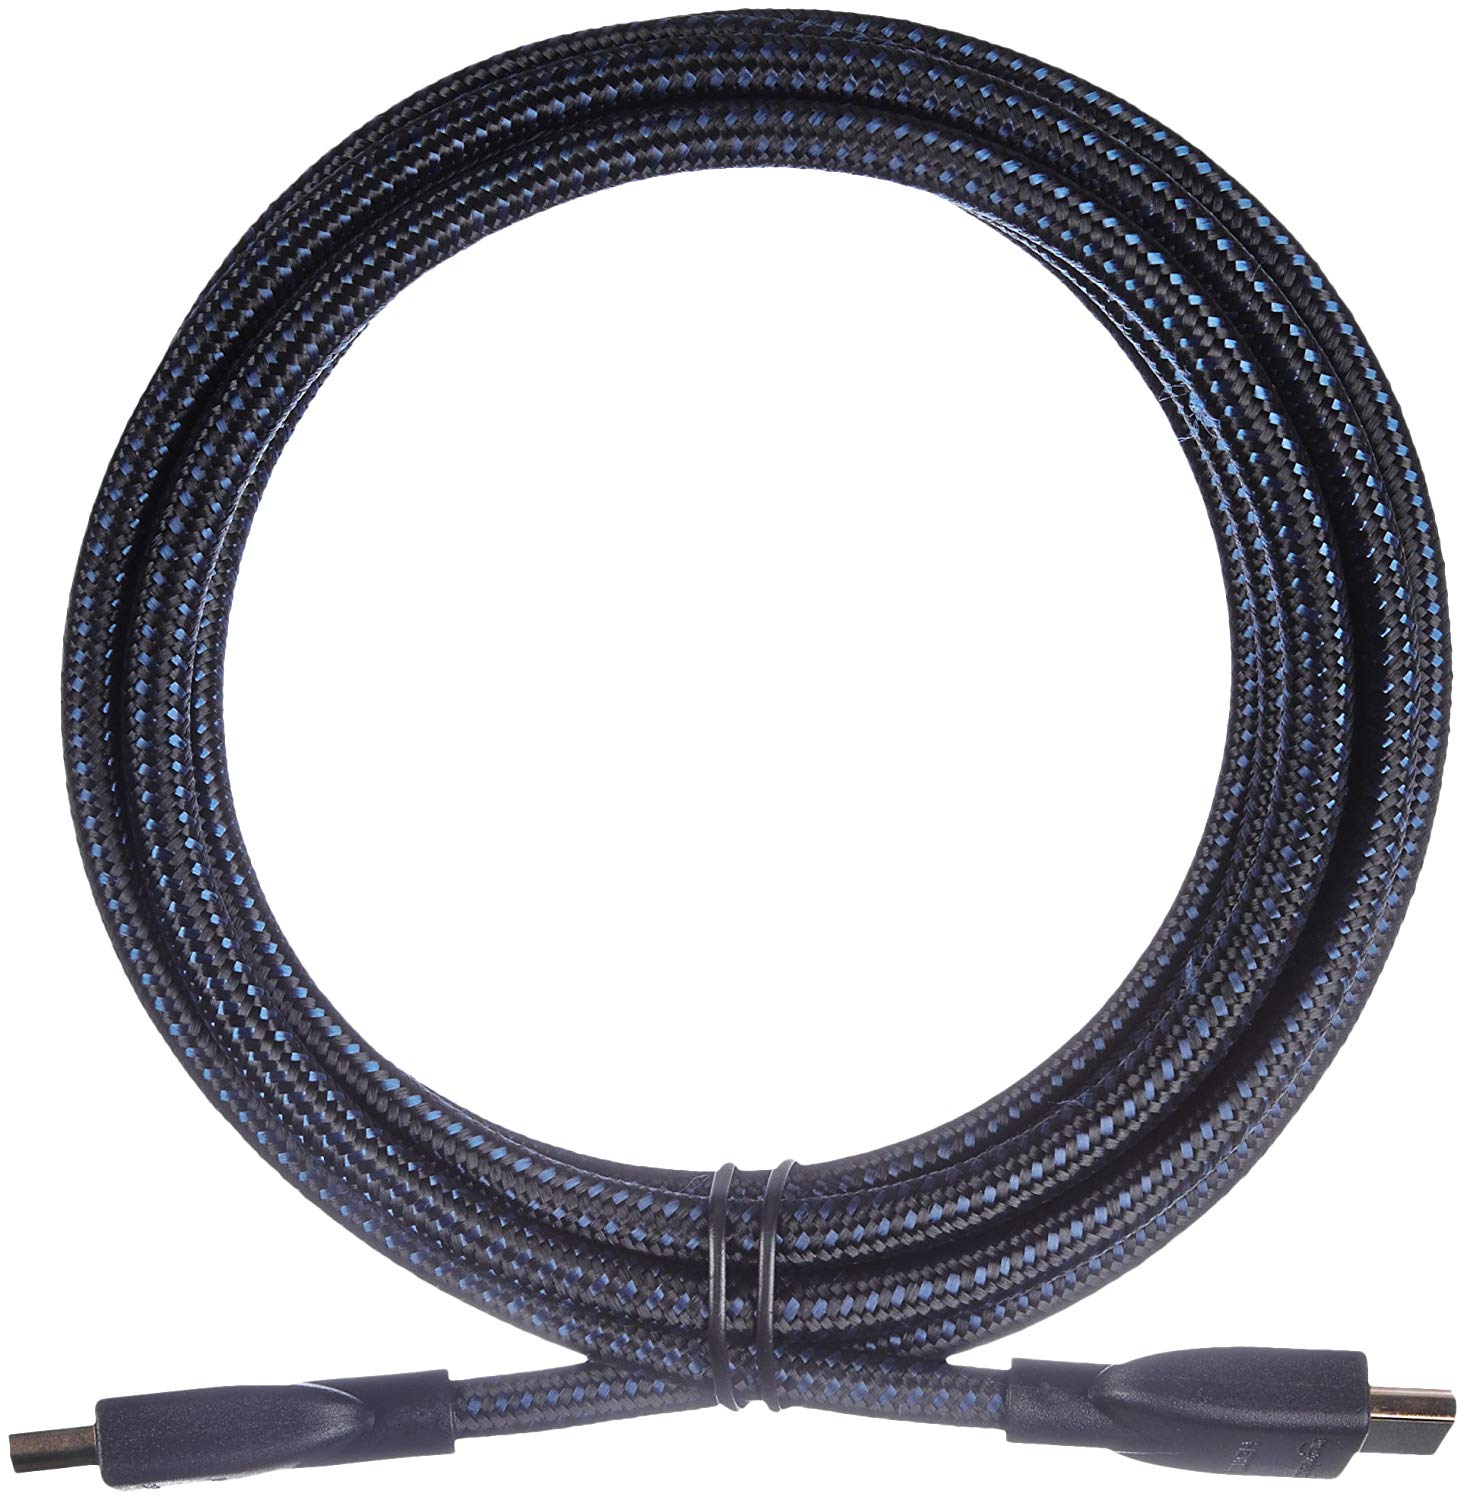
AmazonBasics 10ft HDMI ($9 at Amazon)
Linked with the 10ft Micro USB this HDMI will allow you to move the PlayStation Classic anywhere you want it. It's especially helpful if you want to use the original controllers.
