How to control notifications in Android Pie
Get the latest news from Android Central, your trusted companion in the world of Android
You are now subscribed
Your newsletter sign-up was successful
Android Pie brought some great new features for notifications and did so without breaking any of the old ones. That's tough to do!
One of my favorite things about notifications on Android is how well you can "adjust" things so that you know what you want or need to know but aren't bugged every time an app thinks you should be. It's your phone, You should be able to decide when it wants your attention. With Android Pie, you can do just that, and do it better than ever before.
Categories are key
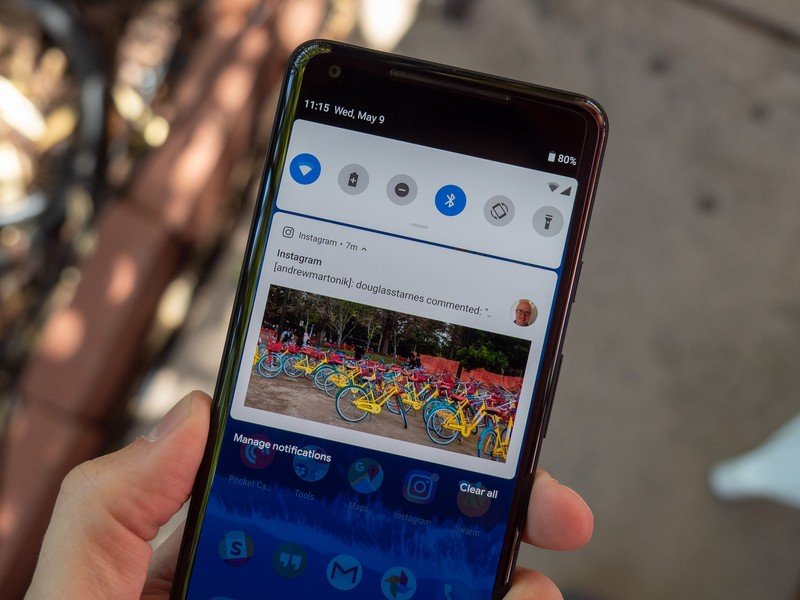
Android allows an app to define different categories when it comes to notifications. Think of a category as a type of notification, like a follow on Twitter or an alert from your security system, instead of a notification from a specific person or thing. This lets you decide which things are important enough to know about right away and which can wait until you open the app and take a look at what's happened since your last visit.
Each app may have different categories, even if the apps are similar in function. That means there's one more way to decide which app is best for you when you have a choice, and that's great. Since I mentioned security systems — and since security systems usually have one very important function in letting you know there's an alert — we'll use the Nest app as an example. But this works for any app that has set up useful categories for tis notifications. Here's what you need to know.
It's all in the settings
A quick note before we dive in is in order. There may be slight variations in the settings menu names, depending on your model of Android, but the overall process is the same no matter what type of phone you're using as long as it is running Android Pie.
- On some phones, you may need to look for Apps & Notifications on the list.
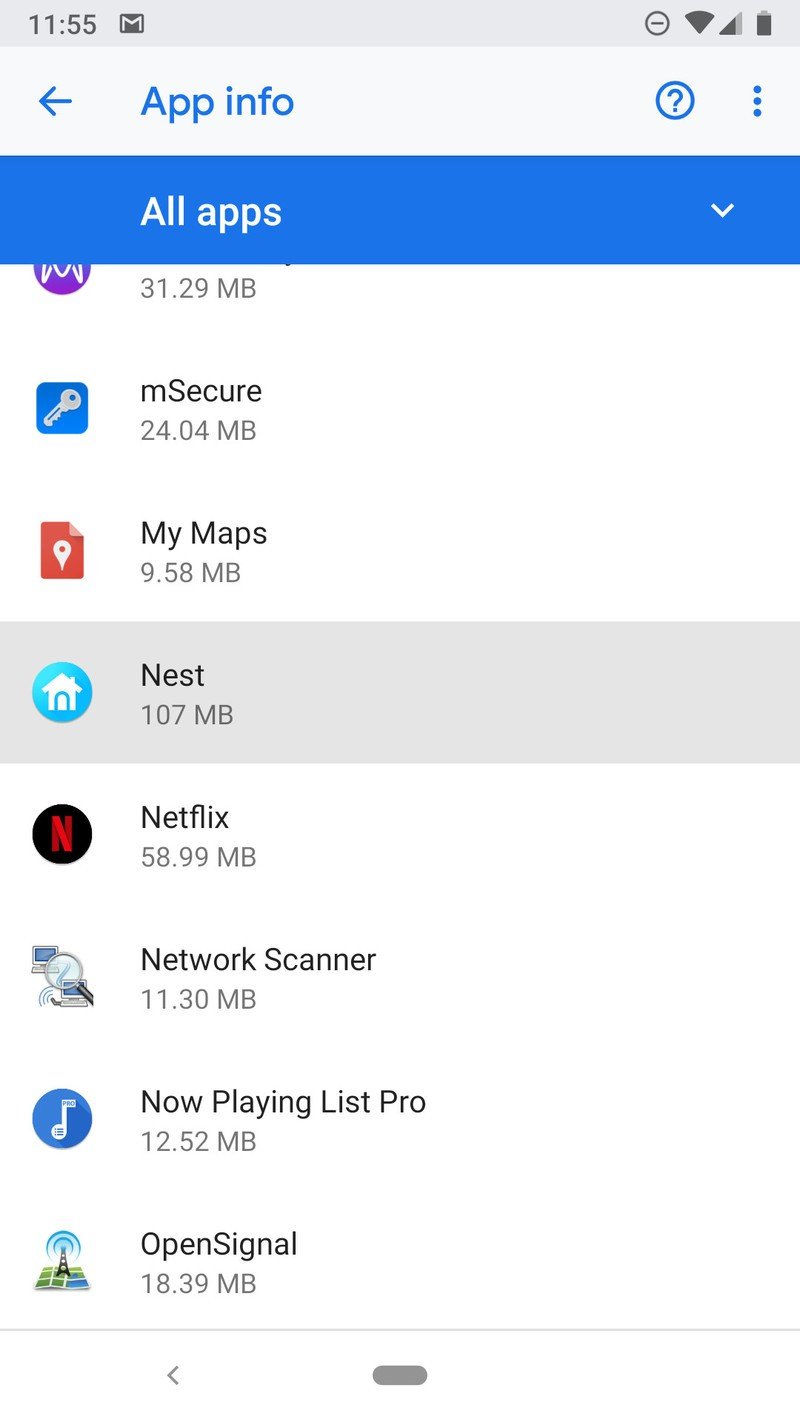
- If you see a list of Recently opened apps scroll down and open the link to See all of your apps.
- Find the app you want to set up in the list. In this case, it will be the Nest app. Tap it to open its settings.
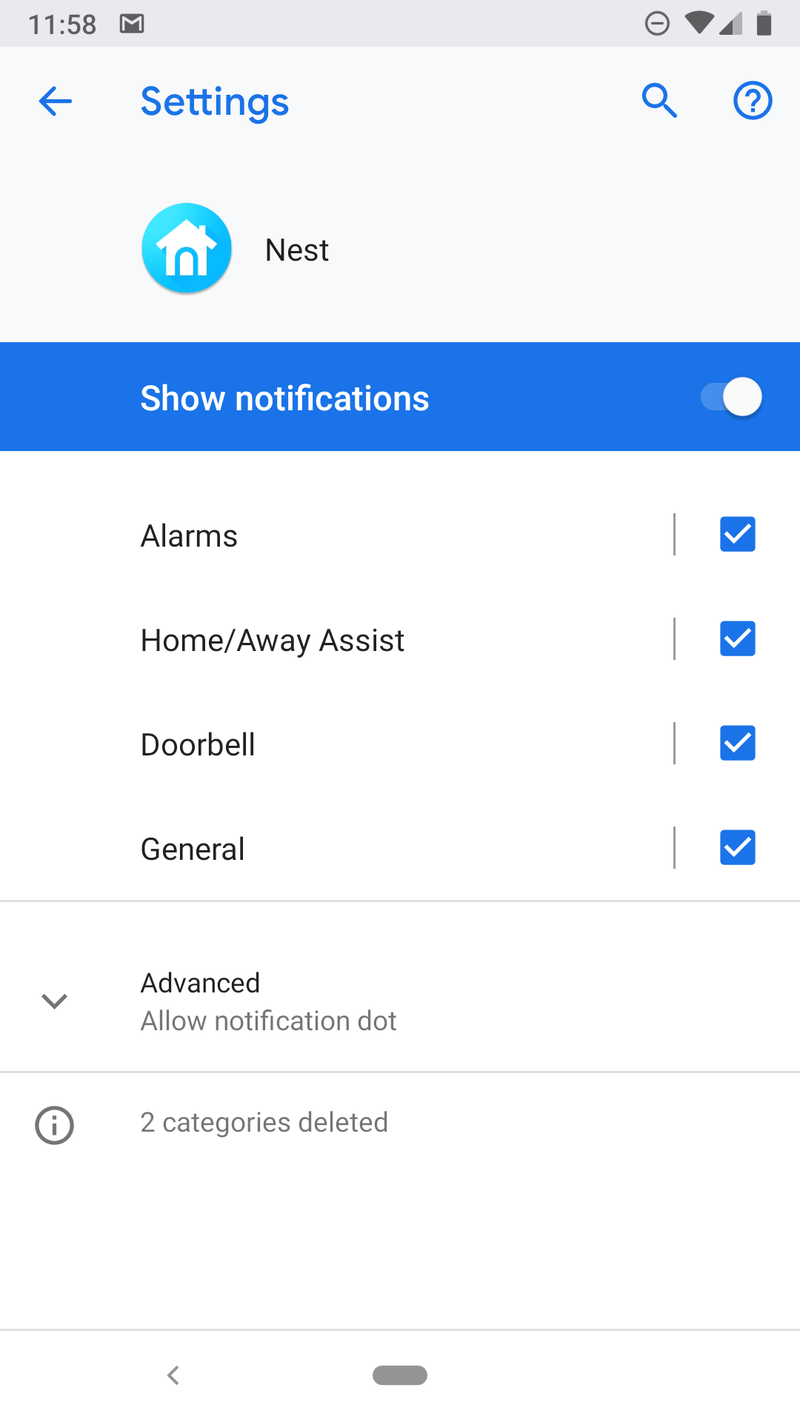
- In the next window, tap the section labeled Notifications to enter the app's notifications settings.
- You'll see all the different notification categories. Any change to a category affects every notification of that type, no matter where or from who it originates. An Alarm is an important thing so we'll look to make sure it's set up as our example. Tap the entry to open the Alarms notifications category settings.
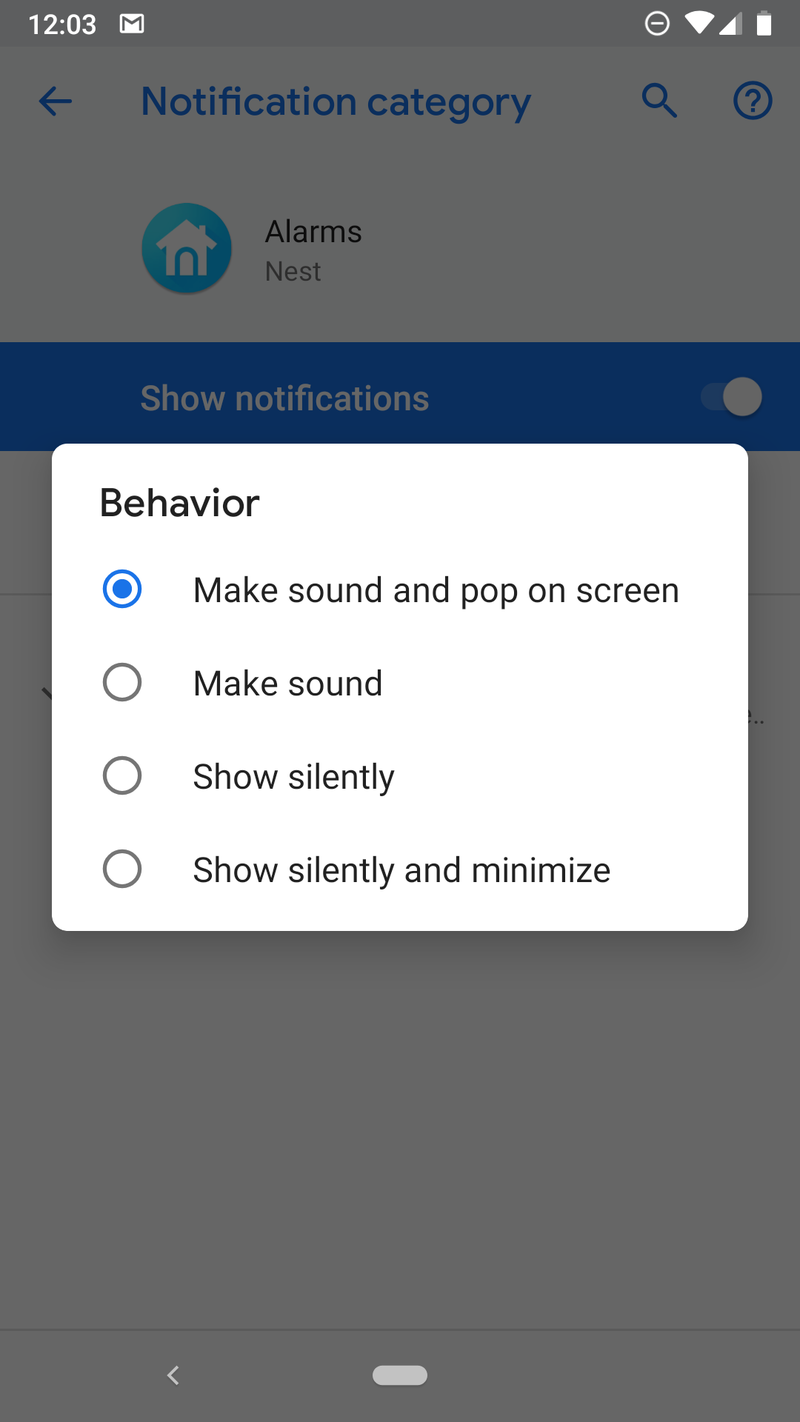
- A window titled Behavior will open. Here you can choose if you want to hear a sound or if you would like the notification to "peek" at you while you're doing something else.
- The window will close once you've made a selection.
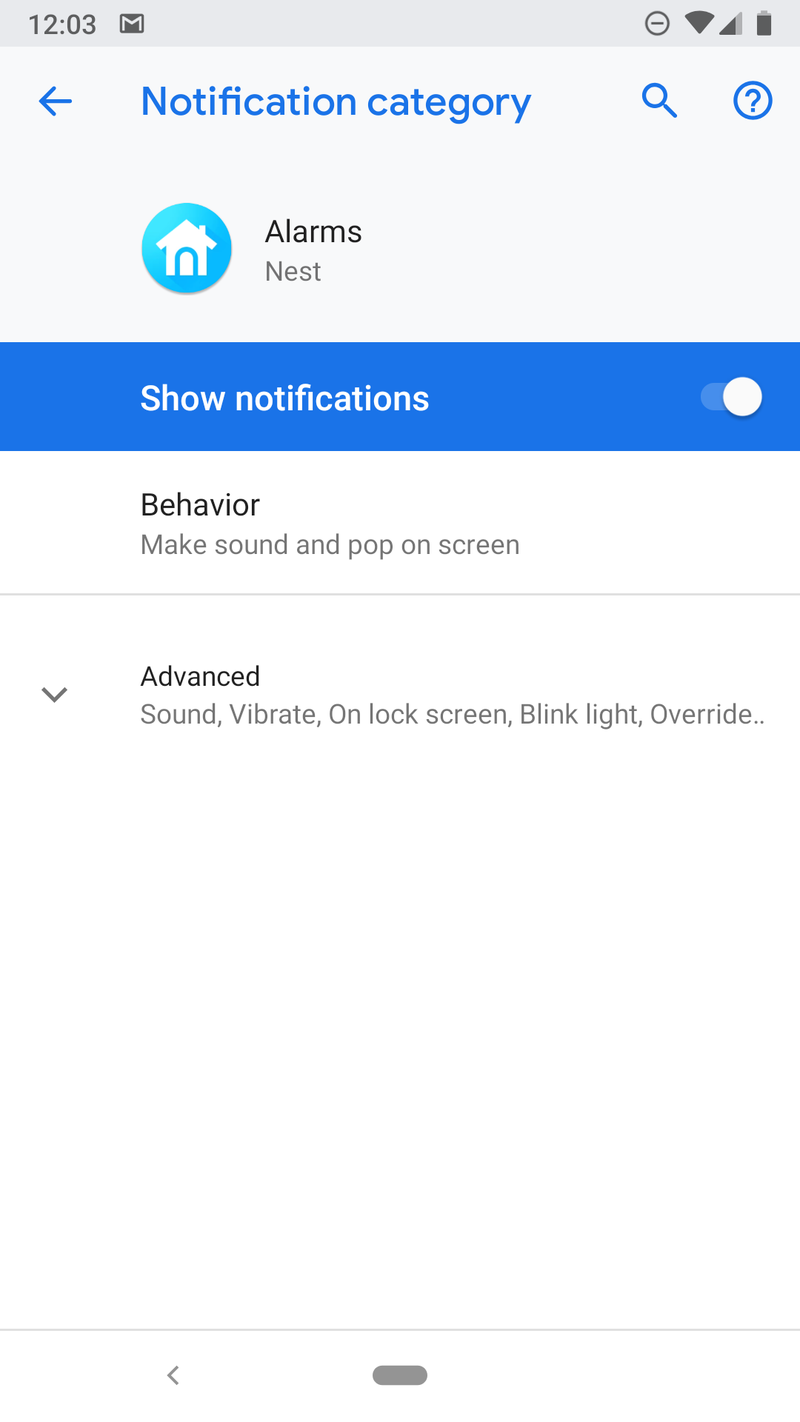
- Next, tap the field labeled Advanced and the page will expand.
- Here you can choose the notification's tone if you enabled sound, decide if your phone should vibrate when a notification of this type arrives, if any LED should blink or light up, if the notification should appear on your lock screen, and most importantly if it should override your Do Not Disturb settings. That's handy. You can mix and match these settings however you like to fit you best.
Notification overload is a real thing and it sucks. You get used to being alerted about petty things you might not care about so you may want to start ignoring the little beep, That can be a really bad thing if something important is happening. Use the tools in Android Pie to fine tune your way to the perfect mix of notifications.
Get the latest news from Android Central, your trusted companion in the world of Android

Jerry is an amateur woodworker and struggling shade tree mechanic. There's nothing he can't take apart, but many things he can't reassemble. You'll find him writing and speaking his loud opinion on Android Central and occasionally on Threads.
