

Join Namerah Saud Fatmi as she explores the cool, quirky, and sometimes downright odd world of smartphone accessories, gadgets, and other nerdy toys every week.
We no longer need expensive accessories or dedicated cameras to capture stunning shots of the world as we see it. Even the simplest, most mundane of things can be made to look stunning when photographed properly.
Back in the day, mobile photographers were laughed at, and understandably so. Technology wasn't at the point where lenses built into phones could dare to compete with the prowess of professional cameras.
However, rapid advancements in smartphone photography have made it possible for your average Joe to shoot some delightful pictures. Some of the best Android flagships can easily deliver professional-looking images. Powerful editing tools put the finishing touch. Even budget phones can get you unbelievably good photos — you just need to know the right angle.

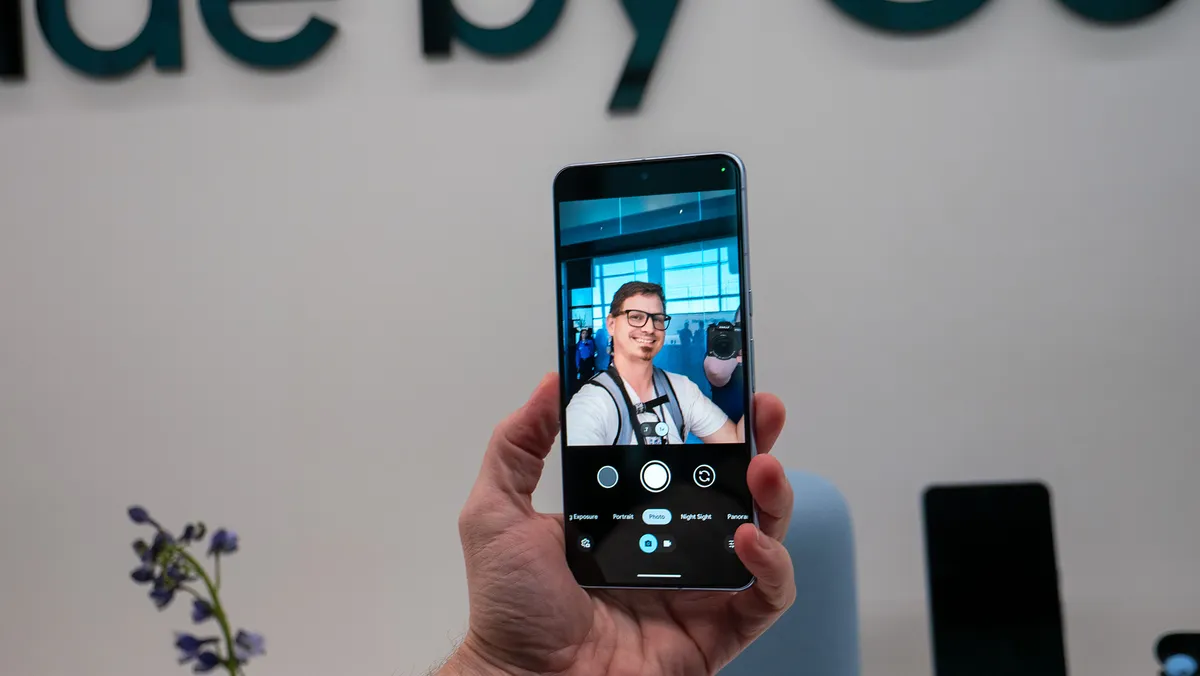
Believe it or not, I use my phone for almost every single one of my review images. If you're looking to level up your mobile photography game, let me share a few simple tips and tricks that I have picked up over the years. This guide avoids jargon and long, complicated words such as bifocal length or aperture for the sake of simplicity and ease. You don't even need to use the pro mode, just follow some of these tips and see where it takes you.
Lighting is everything

This one is fairly obvious, but it's the first rule of mobile photography. The light conditions can make or break your photo. Ideally, you want to capture images during the daytime with lots of natural light in the form of golden sunlight. This makes a world of difference and just makes it so easy to get a good shot.
Make sure that the light source is above your subject or in front of it. You don't want the light to be behind the subject because that casts ugly shadows which mess up the final image. This is why night photography is so tricky as opposed to the morning or afternoon, because the sun sheds light evenly across the land whereas the night has no natural light source save for the moon and man-made lamps.
At night or in poor low-light conditions, flash isn't always the way to go. Try to choose the constantly lit-up flash for a steady source of light. This can usually be done by tapping the flash option twice in the camera app. Even better, invest in a powerful ring light to spread light evenly in the direction that you want. I prefer to use lights with customizable warmth, so I can see which temperature of white light looks best for my low-light shot.
Anything looks good from the right angle

Pointing and shooting are not enough; you need to shoot from the right angle for a truly stunning shot. Don't just take a single picture or a couple of them. Try out different positions and angles. Move the subject around if you're not content. I also find that moving my phone around to find just the right angle helps a lot.
Choose a good focal point depending on what you like or what you're trying to highlight, and then tilt the phone and move it high or low to find the right placement. You never know which angle will deliver that perfect still!
The power of aspect ratios and orientation

When you whip out your phone and get ready to take a picture, think about the aspect ratio and orientation that will best suit the situation. Landscape images are more artistic and better suited for natural elements, whereas humans tend to look better in portrait images.
Selecting the aspect ratio can be a bit more challenging. Usually, the lens in use automatically changes based on the chosen aspect ratio. So, if you select a widescreen 16:9 ratio, the wide-angle lens will automatically be in use. Depending on the resolution of your phone's cameras, you might get a better or worse result.
In situations where your device has a terribly low-resolution lens, it is often smarter to capture the picture with the best lens and then crop it to your desired aspect ratio. For example, a cheap mid-range phone's 2MP macro lens will most definitely give you garbage results. Instead, use the primary camera to get as close to the subject as possible and then crop it out. I can guarantee you will be much more pleased with the outcome.
The golden ratio and rule of thirds
Symmetrical photos might sound nice, but it is, in fact, the asymmetry of a scene that gives it such striking beauty. Placing your subject dead center isn't going to look as nice as a strategic, asymmetrical position. This is the basic thought behind what is known as the golden ratio in photography.
If you're an amateur photographer, you may or may not be familiar with the golden ratio. I'm not going to give you an in-depth explanation of the Fibonacci sequence and where the ratio originates. That's why Google exists. All you need to know is that the spiral framework pictured below depicts the golden ratio. According to the golden ratio, your subject should be at the heart of the spiral for the optimal shot.
How can you ensure that your subject falls within the ideal spot when taking pictures with your phone? It's simple, just enable the grid option in your camera app. In some phones such as the OnePlus 12, you can can change the shape of the grid to the golden ratio within the camera app's settings.

Just because the golden ratio exists, it doesn't strictly mean that you should only stick with that one spot of the frame. And that's where the rule of thirds steps in. If you split your image up into nine equal-sized sections, the ideal placement of your subject should be somewhere along the two-thirds bit. You can change the exact position according to the shot at hand.

Once again, using the grid makes it a lot easier to achieve this. Simply enable the option from your camera app and choose the standard option that splits your viewfinder into nine equal parts. Align your subject accordingly and voila! You have your photo.
Don't underestimate stability and level

A stable and steady hand will photograph a million times better than a shaky, tilted one. You want your shots to be perfectly horizontal or vertical in relation to the ground. There are several tricks for this. Any cheap selfie stick or stand can ensure steadiness. You can minimize shaking by using phone grips as well.
Another great idea is to enable the level gradienter in your camera app. You will see a line in the center of the camera viewfinder, as well as an angle usually. Sometimes, it might be depicted as a plus sign. The goal is to have a line that is completely flat and a zero-degree tilt angle, which means your camera is perfectly level.
Bright contrasting colors and color theory
This mobile photography trick is usually applicable to inanimate objects like food and non-living things. However, it teaches an important lesson about colors and contrast which you could definitely apply across the board when taking pictures.
Let's say the subject is a dull, dreary object lacking any oomph or brightness. You can spice things up by using brightly contrasting colors. An example of this would be a black phone as your subject. Try using brightly colored backgrounds with color theory as your guide. Opposites attract, so pick colors that sit opposite to your subject's colors on the color wheel.

If you're unsure about complimentary colors, Canva offers a free color theory tool on its platform. Simply head to the Color wheel section on Canva's website or app, enter your color, and select the complementary option. The tool will spit out the right hues to pick. You can even use the Canva color tool to create graphics and palettes for your photography projects.
Want to see the magic of color theory in action? Check out these fabulous examples, courtesy of photographer Apoorva Bhardwaj for Android Central.


Once you have mastered the basics, you can play around with other factors like textures and patterns. Inspiration can be found all around you. You just need to know how to channel it and use the right mediums in your photography. Make the surroundings work in your favor.
I hope these tips and tricks equip you with the right tools and help you achieve impressive outcomes with your mobile photography. After you're comfortable with your skill level, you can start looking at companion accessories to kick things up another notch. Remember, the most important thing is to be creative and have fun!

