OnePlus 5 camera tips and tricks
Get the latest news from Android Central, your trusted companion in the world of Android
You are now subscribed
Your newsletter sign-up was successful
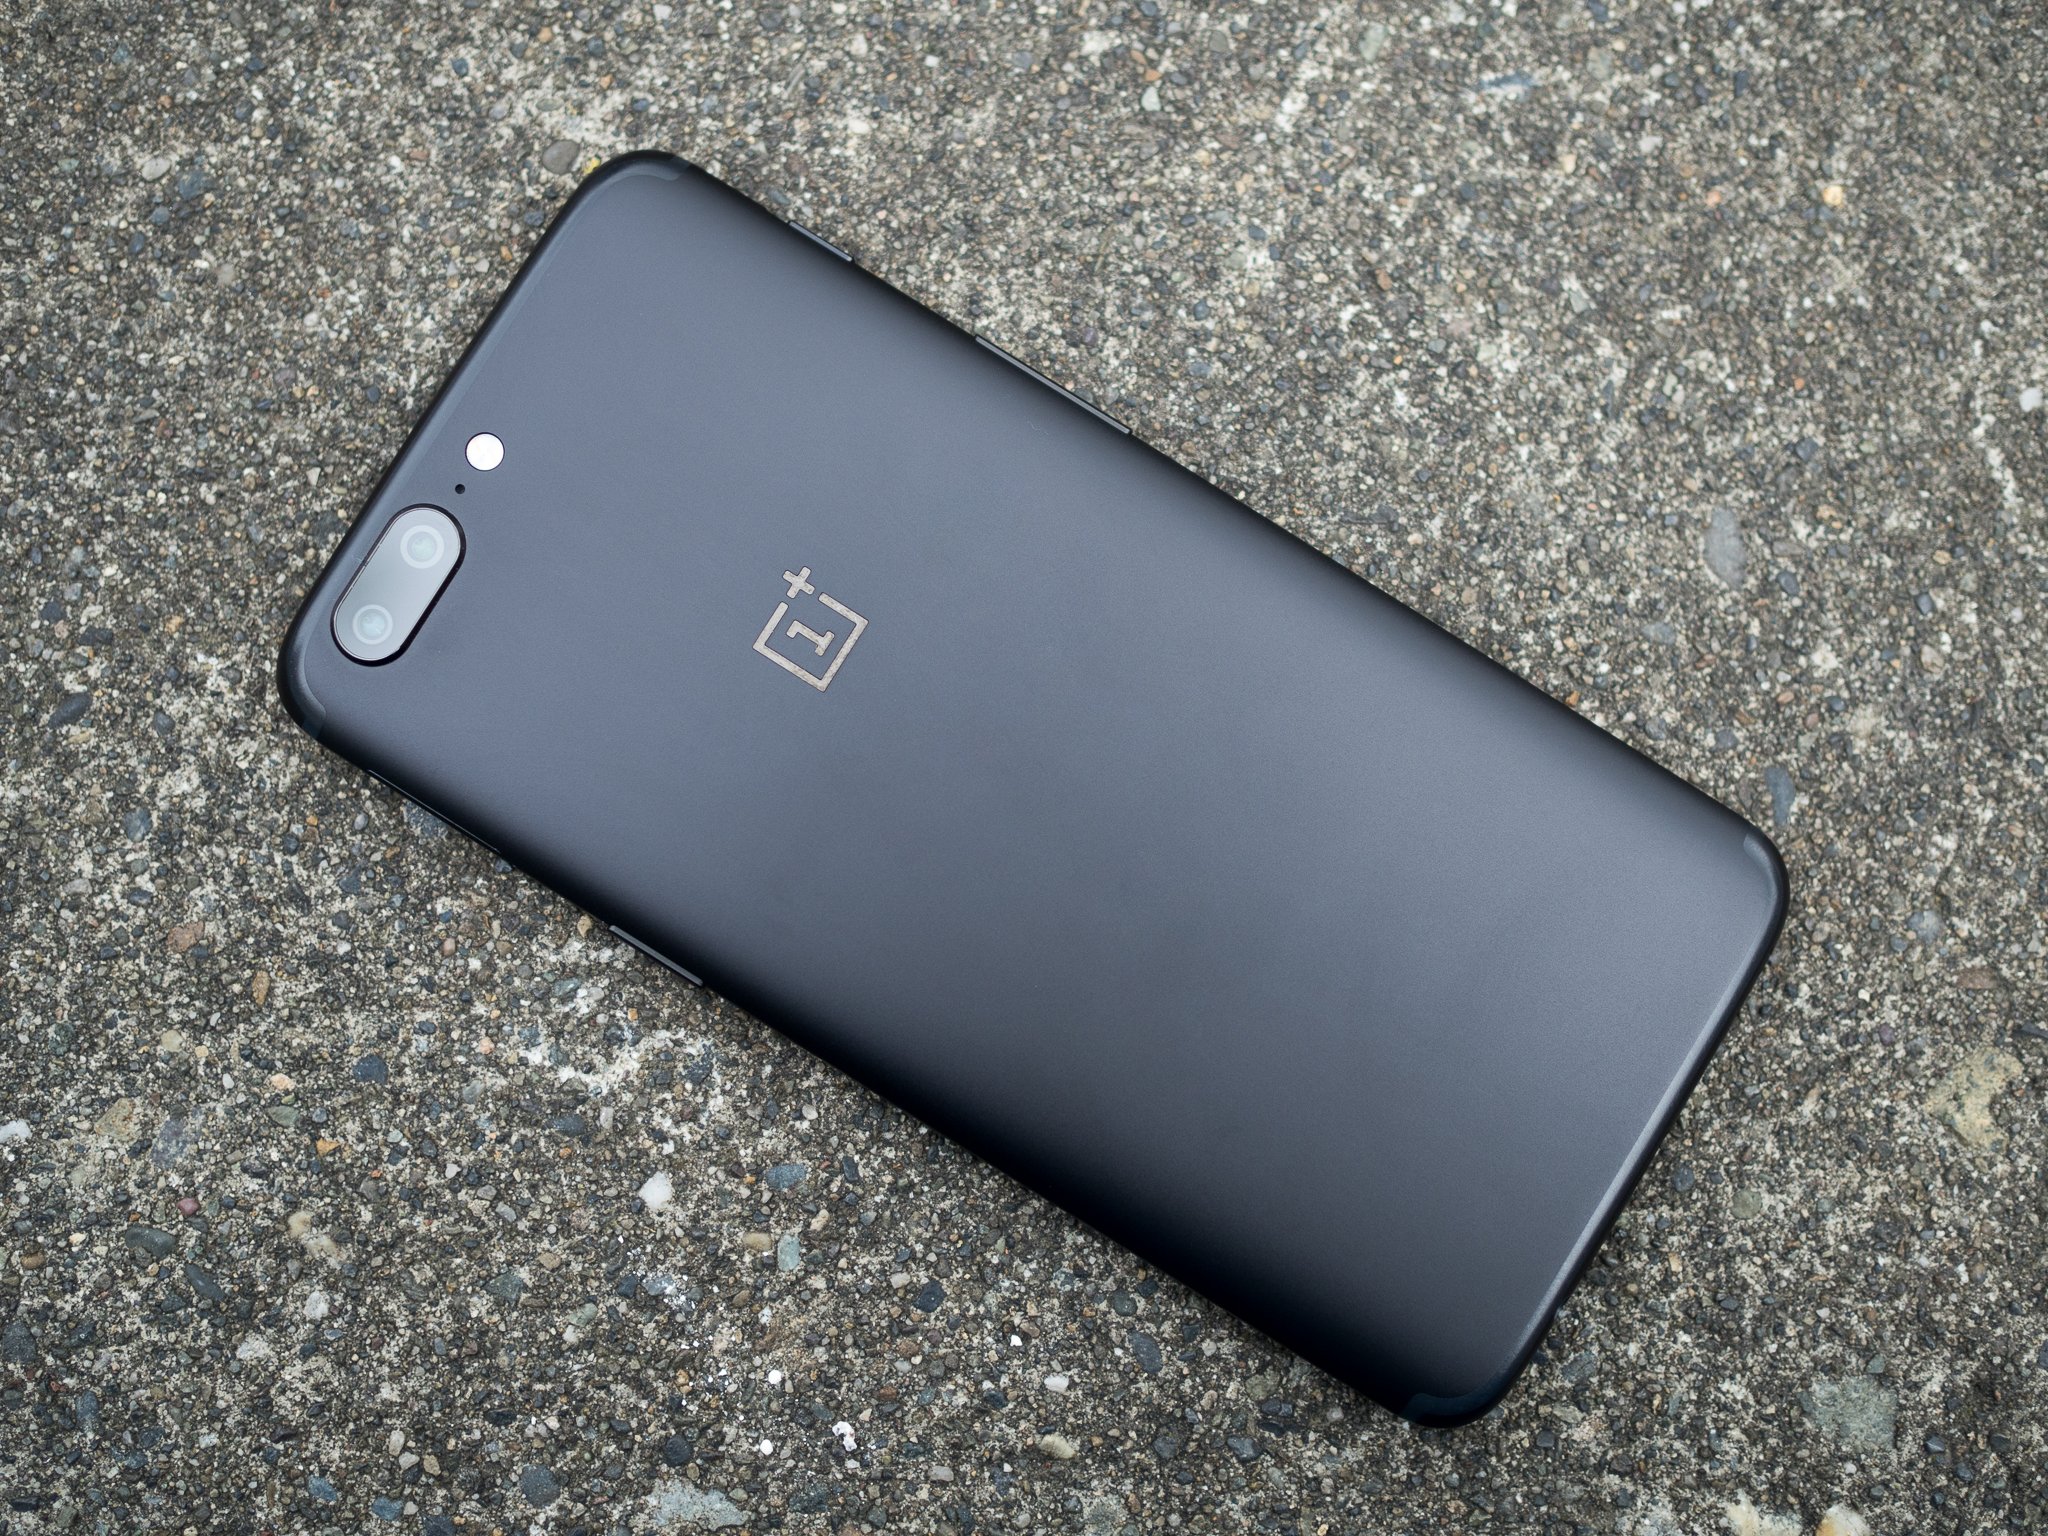
The OnePlus 5 has a capable camera, but as is the case with any other camera it can get better when you learn its quirks and features. Those possibilities are increased by its dual cameras that give you different resolutions, lens apertures and focal lengths — plus the software-enhanced Portrait Mode.
To get the most out of your OnePlus 5's camera, follow these tips and tricks.
Turn on the camera quick launch
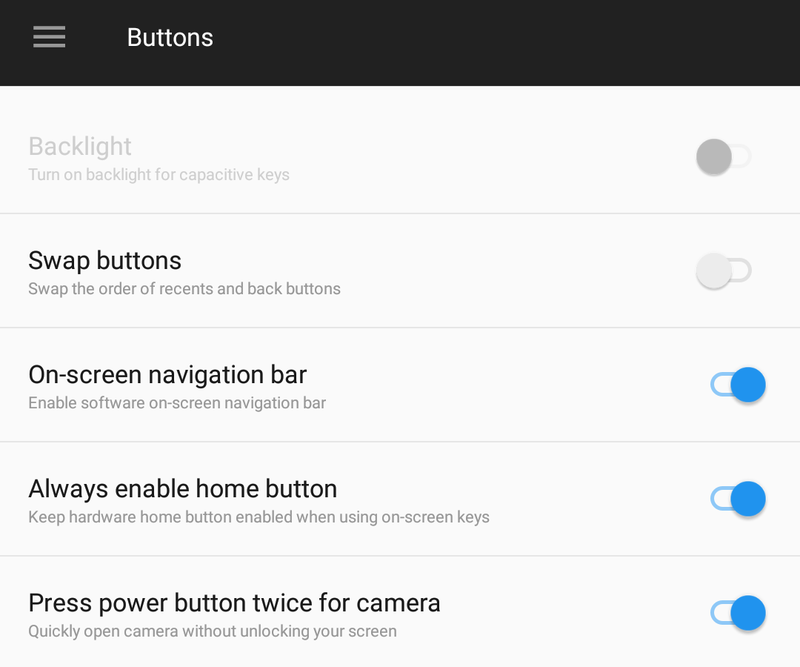
This is the simplest tip and one that every can benefit from: turning on the camera quick launch shortcut. Under Settings then Buttons you'll see an option to press the power button twice to launch the camera. With that enabled, you'll always have the camera to hand without having to unlock the phone and launch the app manually.
It's hardly a new thing, but we're happy to see it here. You should use it to make sure the camera is available at a moment's notice.
Mix it up with both lenses
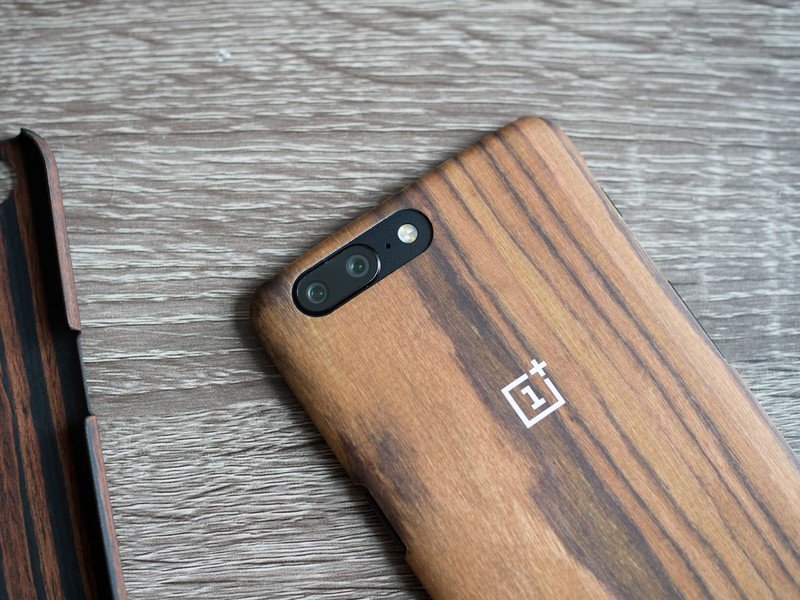
The simplest benefit of the OnePlus 5's dual cameras is that you have two different focal lengths to choose from with the tap of a button. But you shouldn't just think "am I shooting something near or far?" when choosing — both cameras have their benefits, and not just in terms of distance.
The main lens still takes the best overall photos, but the second lens gives a unique look.
Use the main lens when you want the highest-quality photo in general. The 16MP sensor has larger pixels and the lens has a faster aperture, letting in more light and giving you a crisper overall shot. This is particularly true for indoor or low-light shots, where the secondary camera just doesn't get the job done.
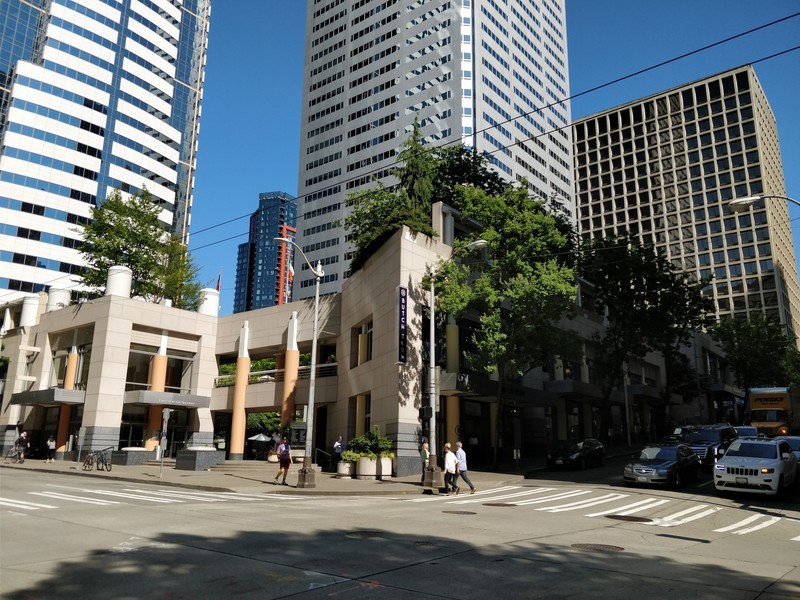
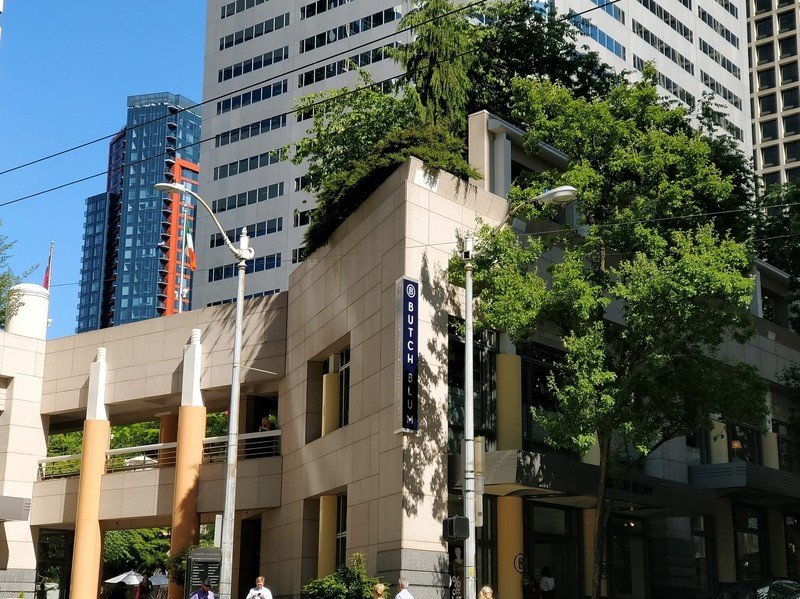
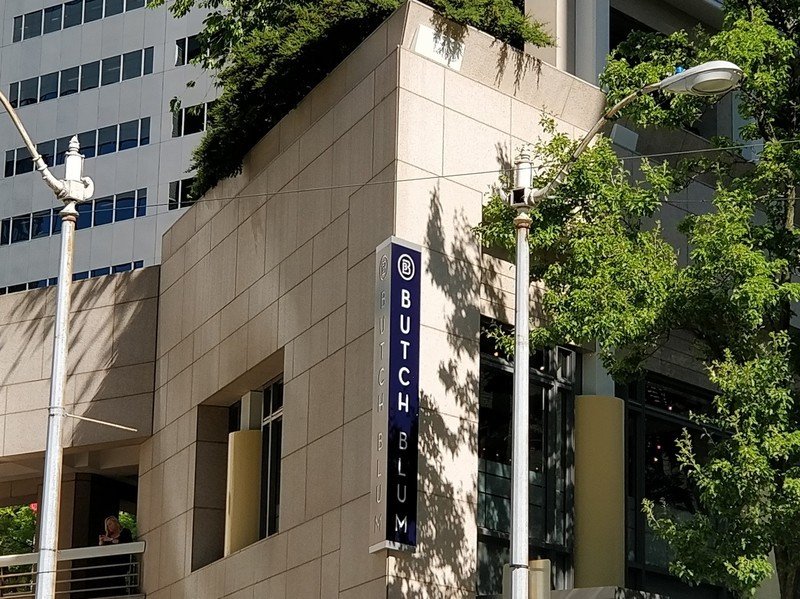
Use the long lens for a tighter field of view and unique perspective. The lens is about a 40mm equivalent, which is great for all sorts of shots because it's close to the human eye in terms of its field of view, without being so long that it feels like a telephoto lens. It's great for street scenes or shots where you want the focus more on an individual part of a photo rather than the whole view.
Get the latest news from Android Central, your trusted companion in the world of Android
Portrait Mode isn't for every type of scene
With Portrait Mode just a swipe away in the camera app, it may be enticing to start using it for every photo you take. For as fun as it is to play with, Portrait Mode just doesn't work for every type of scene — it's best used in specific scenarios to get the strongest effect. Here are some tips:
- Pick scenes with a clear, defined foreground object: Portrait Mode works best when there's a single object to focus on and blur the rest — like a person, or a flower, or a cup sitting on a table. It doesn't work well with a mixed scene with several potential primary focal points.
- Get close to your subject: Portrait Mode just looks weird when you take a shot of an open, expansive area. Step closer to your subject, preferably 2 to 4 feet away from the camera. This way the subject fills a large portion of the scene, leaving less to be blurred in the background.
- Try a few different shots: Portrait Mode is good, but it's not perfect. Try a few different shots with different focal points, and be sure to let the camera indicate "depth effect" in green in the viewfinder before shooting.
By choosing wisely when you use Portrait Mode, it'll give you the best effect and it won't feel forced or overused. Your Instagram followers will thank you.
The main lens is still good for macro
With both the long lens and Portrait Mode available, it may be enticing to use both of them to take those sharp, close macro-style shots. But oftentimes you'll find the primary camera is actually best for close-ups of delicate objects.
Don't just assume that Portrait Mode's faux bokeh is the best way to go.
With an f/1.7 aperture, the 16MP main camera can often provide the blurred background "bokeh" look common in macro shots better than Portrait Mode can do synthetically. And even though it has a 24mm equivalent focal length, its auto focus system is actually really good and capable of focusing even when you get in tight to an object — you can get within 4 or 5 inches.
The primary camera is also just downright sharper than the secondary lens, and that characteristic is even more on display when you're taking a macro photo that shows off the details of your subject. So next time you go to shoot a macro, consider trying the main camera first.
Resist the urge to digitally zoom
Having a roughly 40mm focal length on the secondary lens is nice because it gets you that much closer to a far-away subject than the main lens. But if you see something far away you need to reach out even further for, you may be enticed into thinking you should just digitally zoom. Even though the second camera has an ample 20 megapixels of resolution to work with, that's not that much runway for digitally zooming before things start to look bad.
The same scene at 1x, 2x, 4x and 8x zoom.
Things start to get pretty grainy and unsightly at about the 4x zoom level, even though the camera will technically let you slide all the way to 8x. So yes, the long lens and 20MP resolution give you some wiggle room — but this is still a small sensor with limited capabilities, and you should respect that. You'll always get better results by zooming with your feet; just walk toward your subject whenever possible!
Dabble in Pro Mode
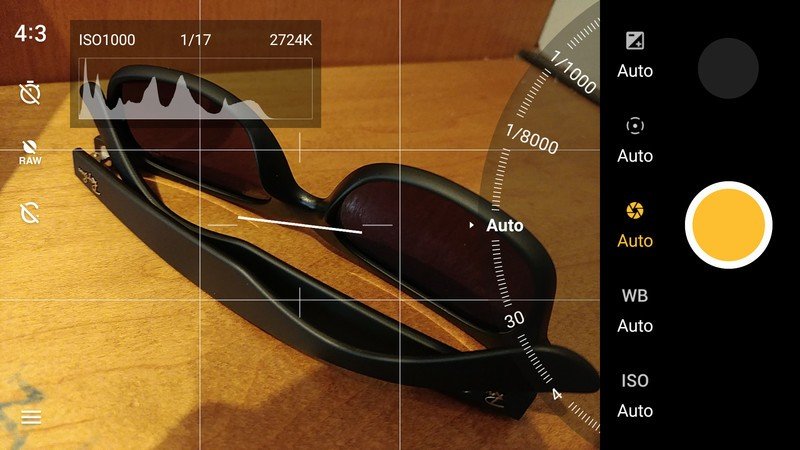
Most of us will just shoot in auto mode and be happy with the results, but it's worth noting that the "Pro Mode" is just two taps away in the camera app. With Pro Mode turned on, you'll be able to tweak everything imaginable, not unlike the DSLR or mirrorless camera you may be familiar with. Even the interface changes, giving you more advanced options like a horizon line and histogram.
In Pro Mode you can manually set your exposure, focal point, shutter speed, white balance and ISO — and if you know how these work, you can get some great results. Once you lock in some settings that you expect to use often, you can save them as a preset to jump back to later. The camera app also saves RAW files if you choose, which can take things to another level when it comes to editing after the fact. Pair Pro Mode with a tripod, and you could get next-level photos out of this thing.
Andrew was an Executive Editor, U.S. at Android Central between 2012 and 2020.
