
When you log into your Google account within Chrome on any platform, Google syncs your history, bookmarks, settings, and almost all information saved within your previous browser sessions. (Assuming you've told it to, of course.) While it can be handy to have your previous history or bookmarks always up to date on all of your devices, Chrome also tries to assist you in tedious tasks such as filling out forms that involve your name, address, and much more information about yourself.
Chrome does this by auto saving your form history and includes it with the data that is synced between all of your browsers. In Chrome for mobile, Google allows the user to not only turn on this feature but to also browse saved autofill form data, create new profiles for future forms, edit what has been saved, and to add credit cards to make purchases easier.
How to enable/disable autofill forms
When you first install Chrome onto your computer and sign into your Google account, the web browser is already collecting any data that you enter into forms. When you start to use Chrome on your mobile device, this option might be turned. But turning it back on is easy.


- Click on the overflow menu button in the upper right side of the screen
- Click on the Settings button located near the bottom of the drop down menu
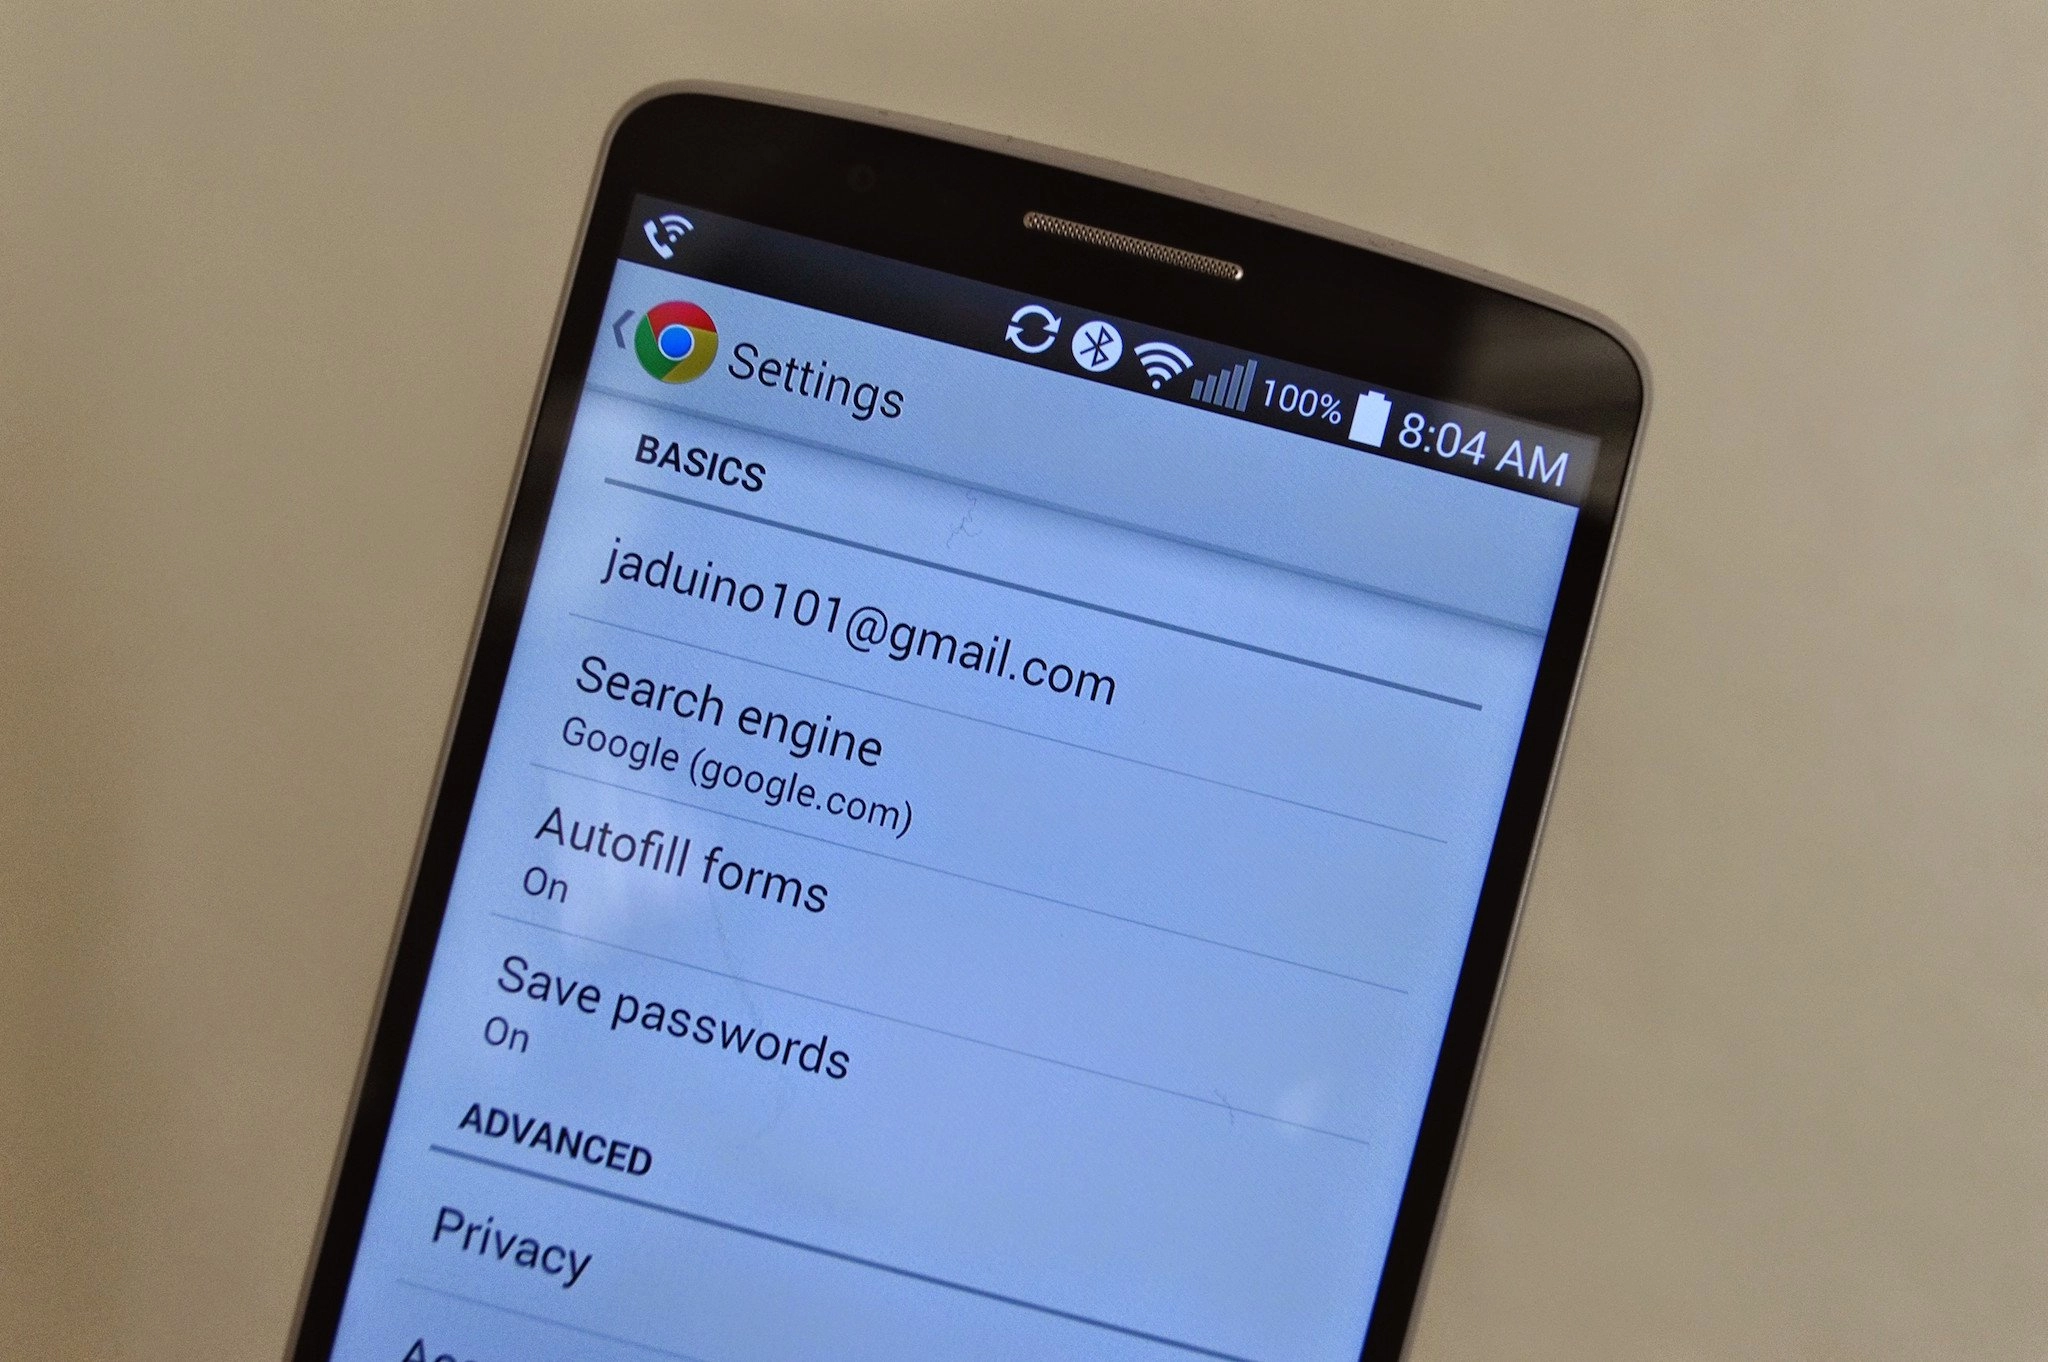
- Under basics, click on Autofill forms — you will know if the feature is turned on or off by looking at the dialog under the button title
- In the upper right click on the toggle which will tell you if autofill is turned on or off
How to add profiles and credit cards
When looking inside of the autofill forms menu, you will see two separate groups. These two groups are for profiles and credit cards.

- To add a profile to your Chrome autofill forms click on the Add profile button
- Enter your personal data (i.e. name, address, phone number, ect.) in which you would want Chrome to autofill and click on save at the bottom of the form
- To add a credit card to your Chrome autofill forms click on the Add credit card button
- Enter your name, credit card number, and expiration date into the form and the next time you are making a purchase, you will be able to quickly select your credit card and have its information inputted into your form. For security reasons, Chrome does not store your three digit CVV/CVC security code located on the back of your card so you will have to enter that manually
How to edit broken or incorrect autofill data
Every now and then Chrome tries to automatically save the data you have entered into forms while browsing the internet and it likely stored your information incorrectly or did not store enough of it. Additionally, if you ever move or the data stored for autofilling is outdated, it is possible to quickly edit these mistakes within the same autofill forms menu.

- Select the autofill profile that is storing the incorrect information
- Find the exact section with the wrong data and correct it
- Scroll to the bottom of the form and click Save to keep the changes you have made
- If you want to completely remove a profile or credit card, select the profile or credit card, scroll to the bottom of the form, and select delete
And if you don't want Chrome to autofill forms? Simply turn off the toggle in the settings.

