How to use FolderSync to manage all of your media
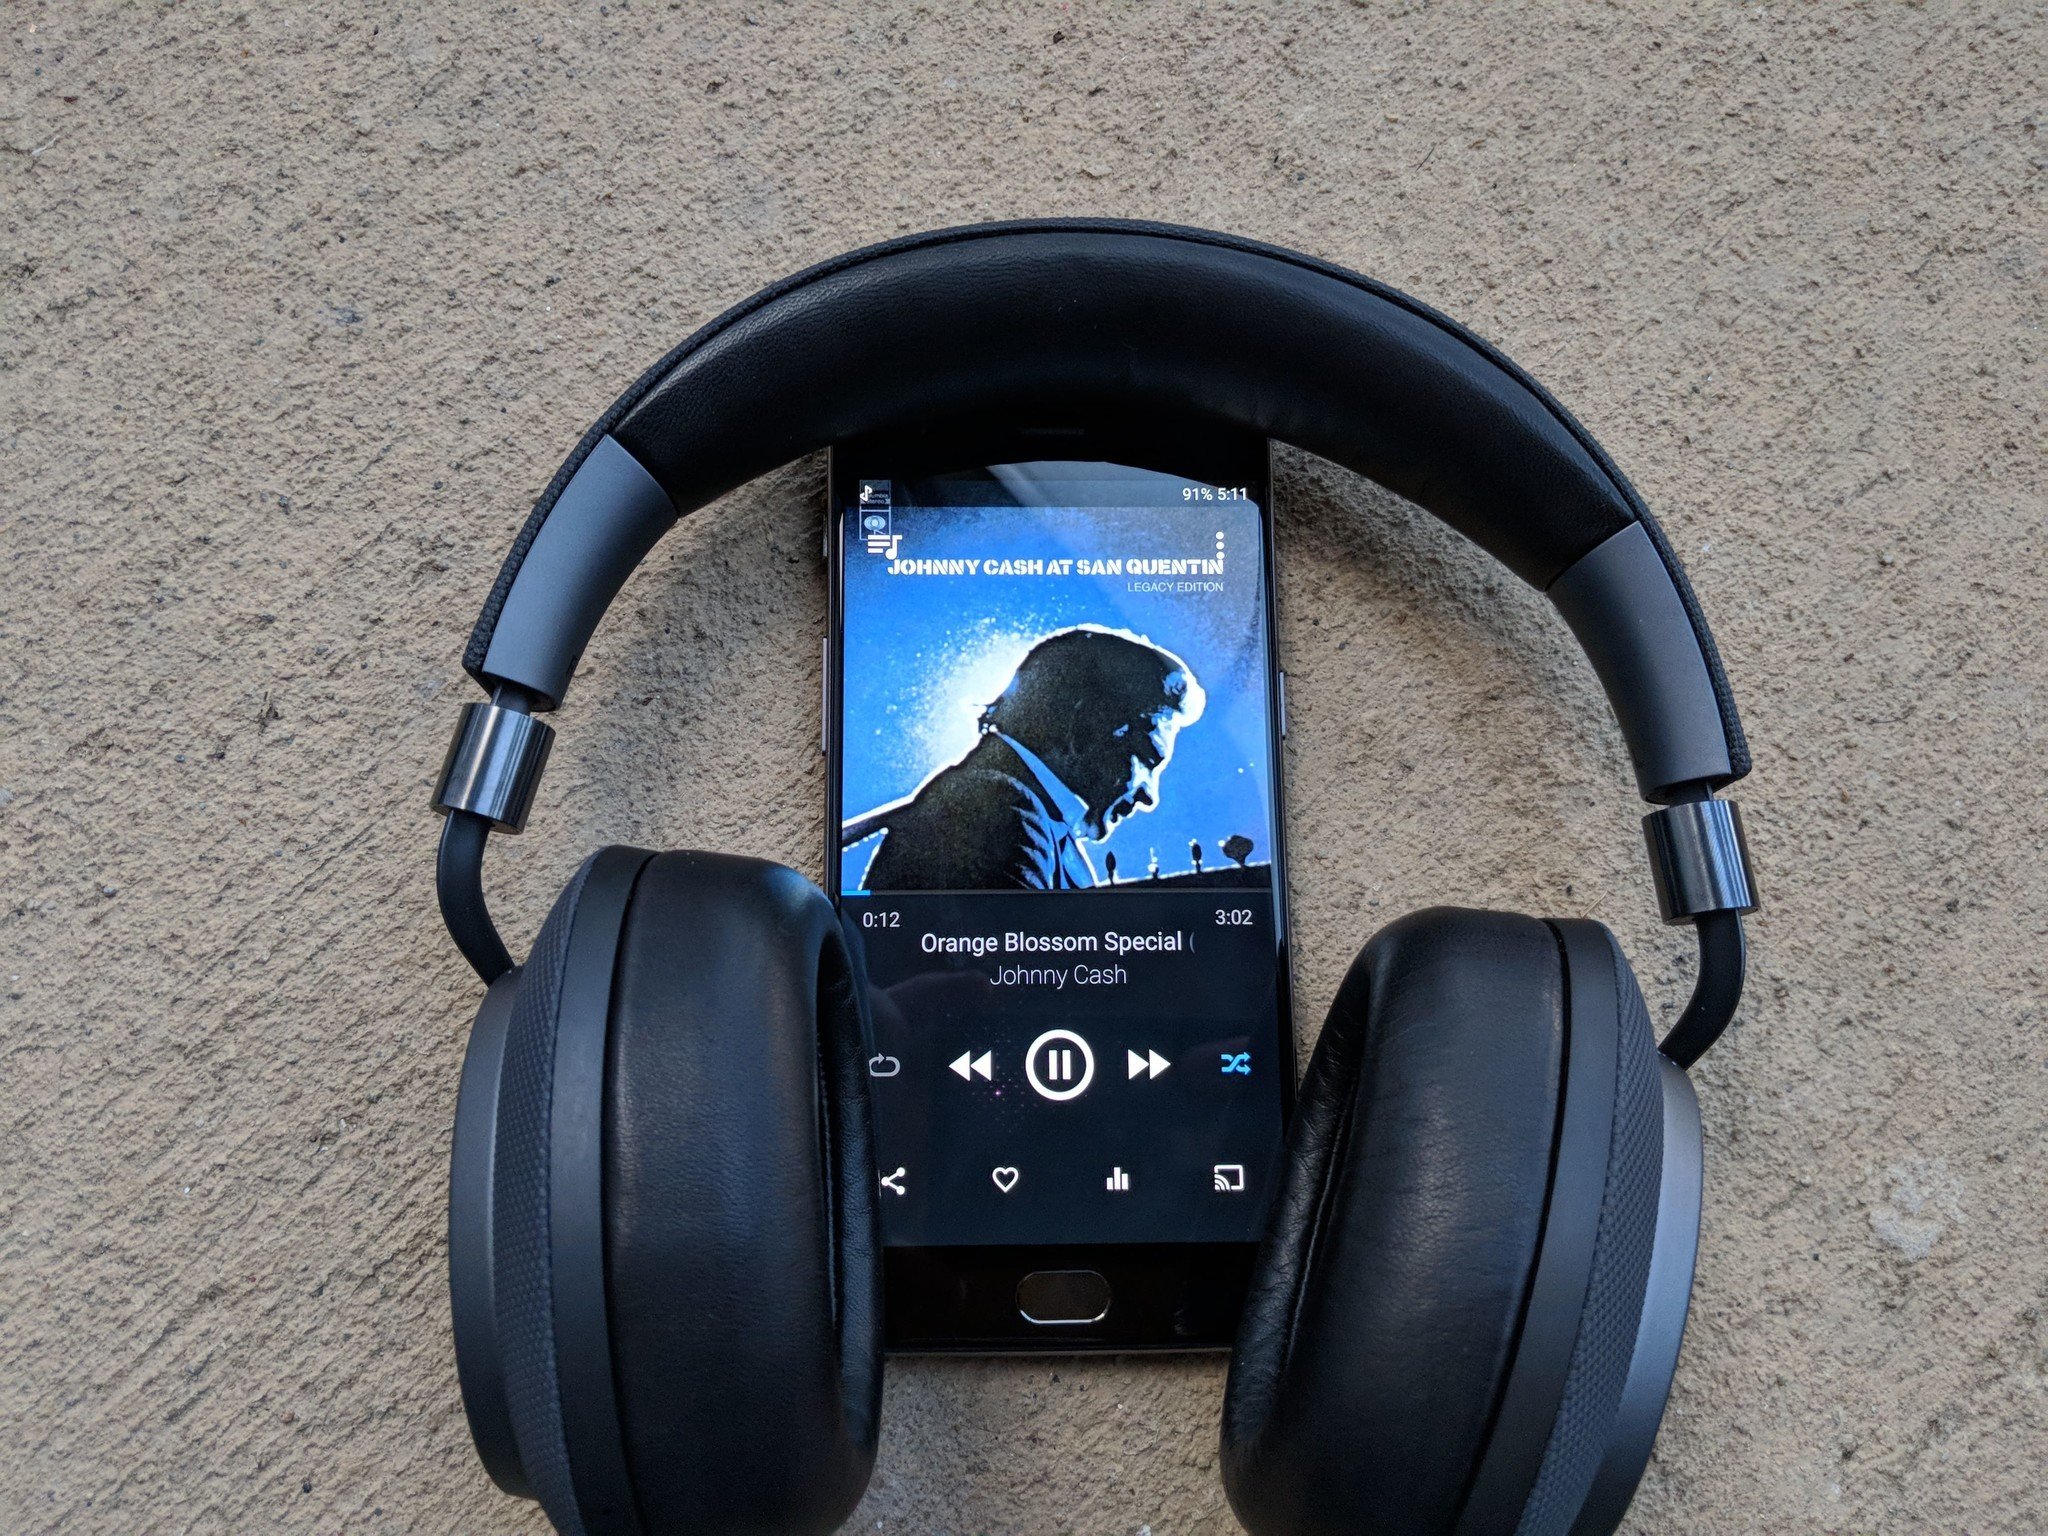
The way I consume music and other media is a little unusual. I share a Google Play Music and a Hulu subscription with a friend, as well as my own Netflix account. I have a rule when it comes to music; I will buy an MP3 of a song or album if I listen to it more than three times within a week. I maintain a Plex server on my home desktop to help wit this. There are some shows and movies I enjoy that streaming services don't carry, but a much bigger part is that I'm a bit obsessive when it comes to the media I consume.
My most used application on any device is the music player. I listen to music at almost every hour, from a few minutes in the shower every morning to a playlist of specific songs I listen to when I sleep. I'm really picky about the way my music player looks and operates, and there are a few things about the Google Play Music app that bug me enough that I don't want to use it.
I'm not in love with the idea of manually plugging my phone into my computer to transfer music because we're not in 2009 anymore, so I was happy to find a way where I could easily get my music on any device — while still being able to use any music player I choose. That magical solution is an app called FolderSync.
FolderSync works by connecting to your cloud service of choice — Google Drive, OneDrive, Dropbox and a bunch more — and connecting to a given folder on your phone. You get to choose exactly which folders on your cloud storage sync to your phone, giving you the freedom to use whatever cloud storage and music player you use. CloudPlayer is a music player that also connects to cloud storage, but pulls in every MP3 file in your drive. This is a deal breaker for me, because it means my personal recordings get pulled in with my music library.
Here's how to set up FolderSync to synchronize your music and other files!
Connecting your cloud storage
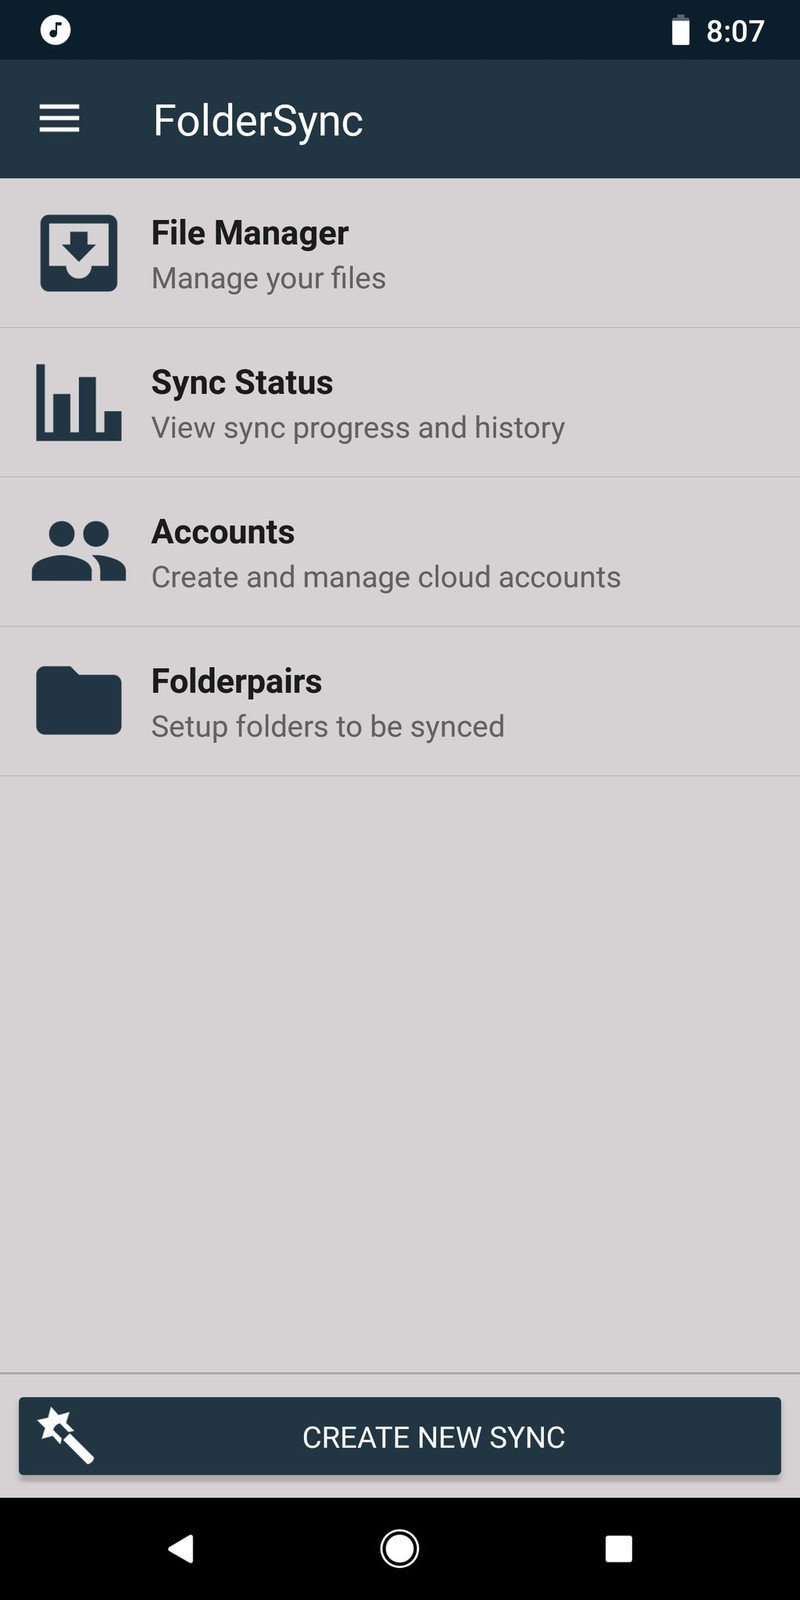
- Launch FolderSync. You will need to allow the app access to your storage so it can properly synchronize your files.
- Tap Accounts.
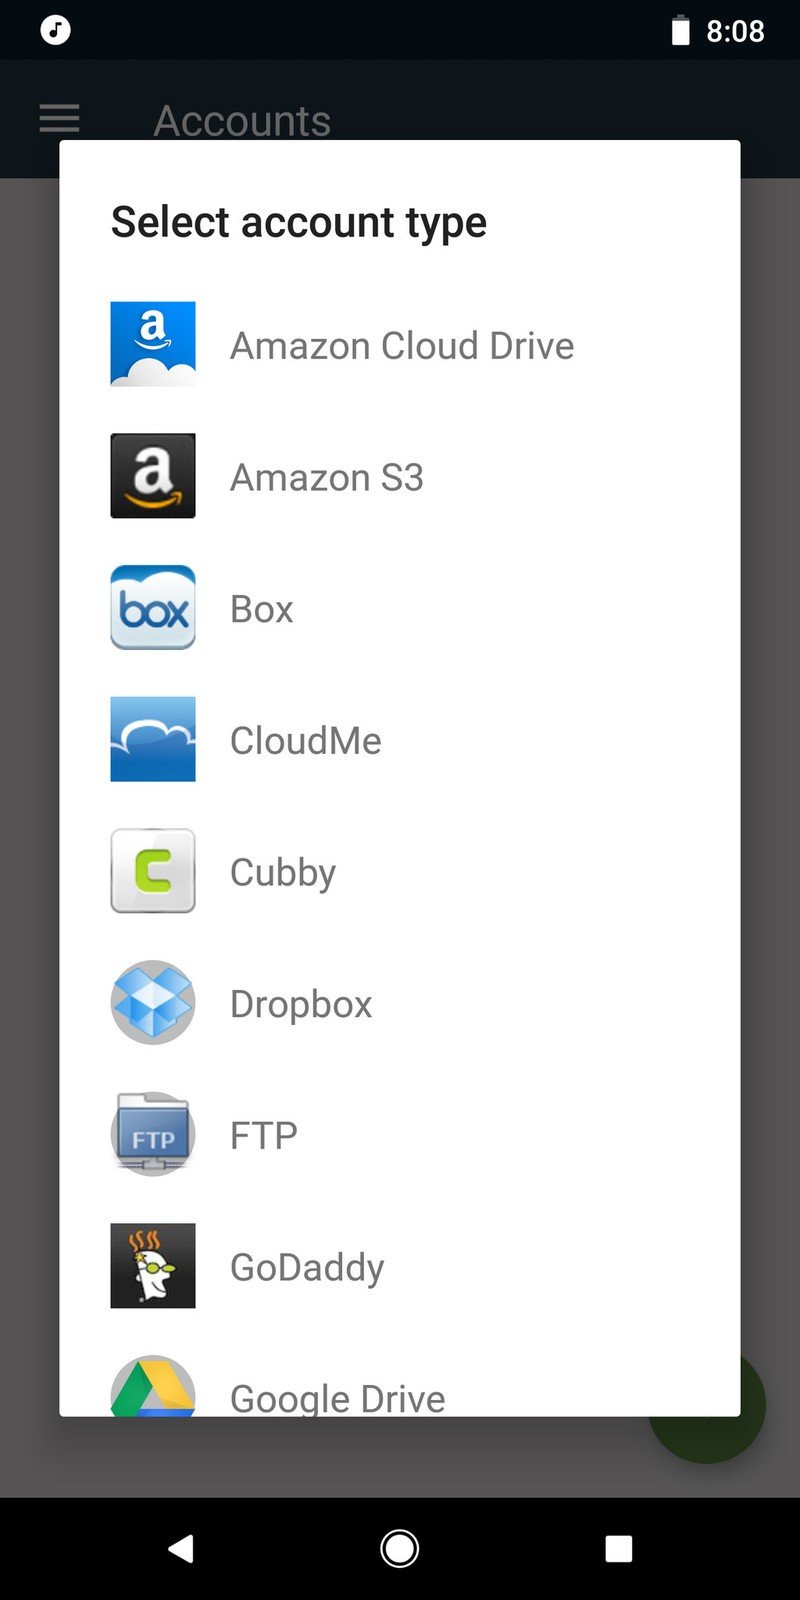
- Tap the + button in the lower right corner of the screen, and select your cloud storage provider.
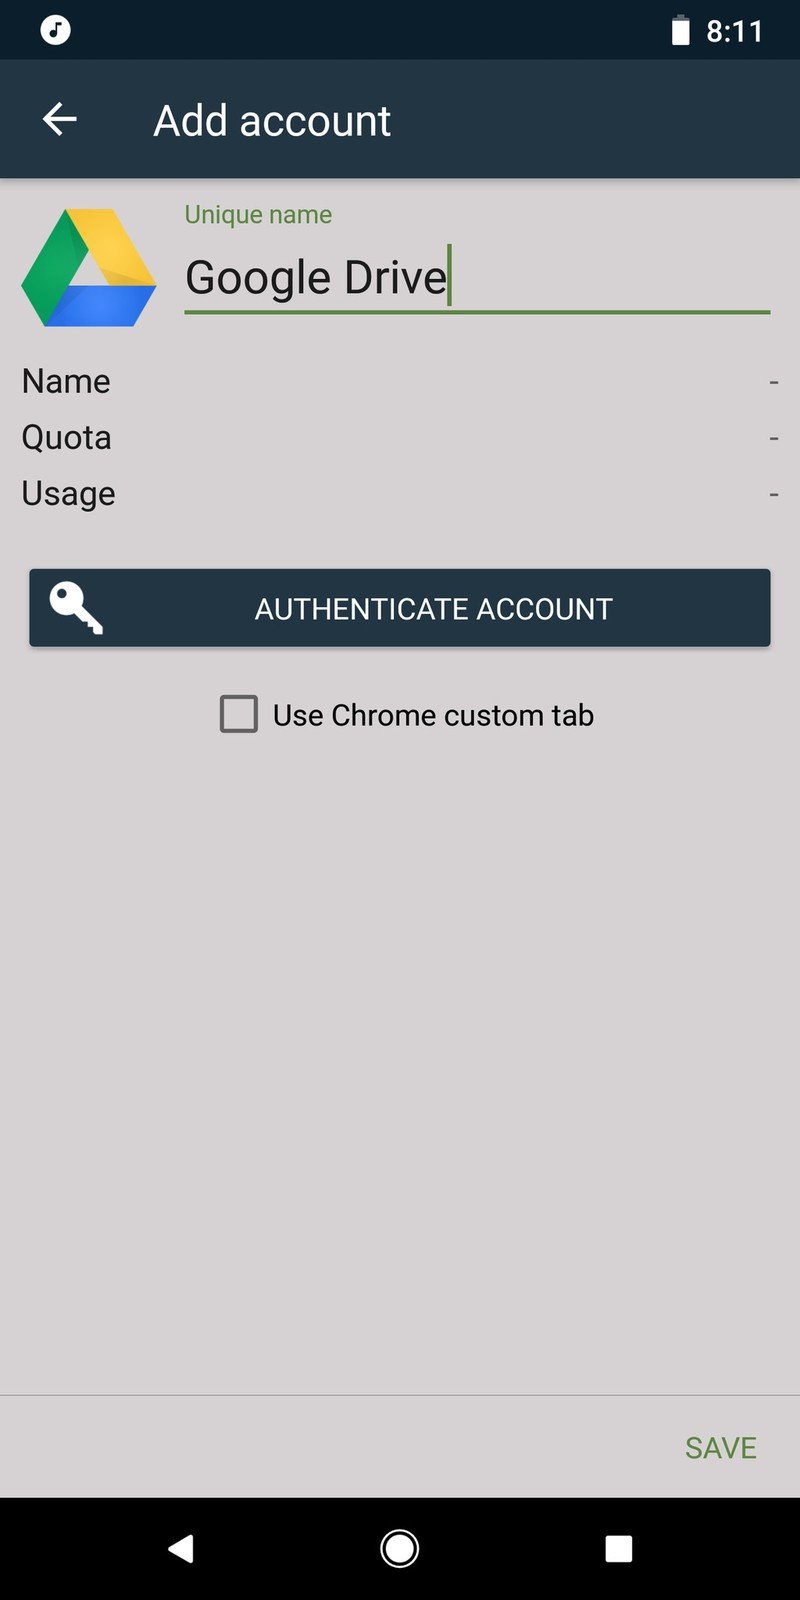
- Name the account whatever you'd like — I just name mine Google Drive since that's the service I use — and tap the Authenticate Account button.
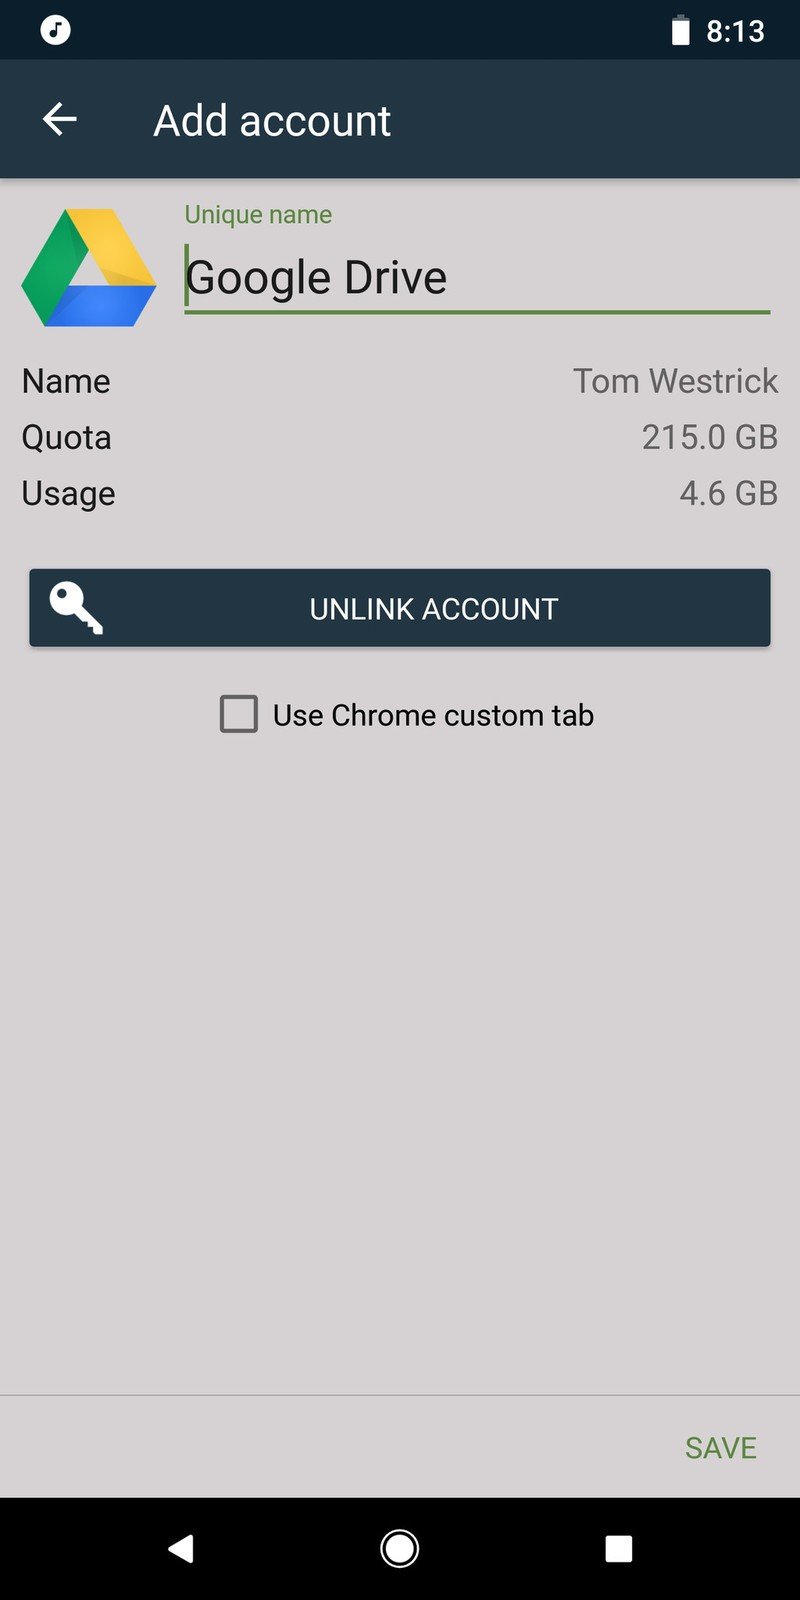
- Your default web browser will launch, and you'll be asked to sign into the cloud service you selected.
- After you authenticate the account, tap Save in the lower right corner.
Sync to your phone
The next step is choosing which folders to synchronize, and where you want those files to go on your phone.
- Tap Create New Sync on FolderSync's main page.
- Since you can have more than one synchronization set up, you'll need to enter a unique name for each sync. I have mine labeled "Music."
- Select which cloud service you want to use for this synchronization.
- Choose the sync type. The files can sync to the local folder, to the remote (cloud) folder and both ways.
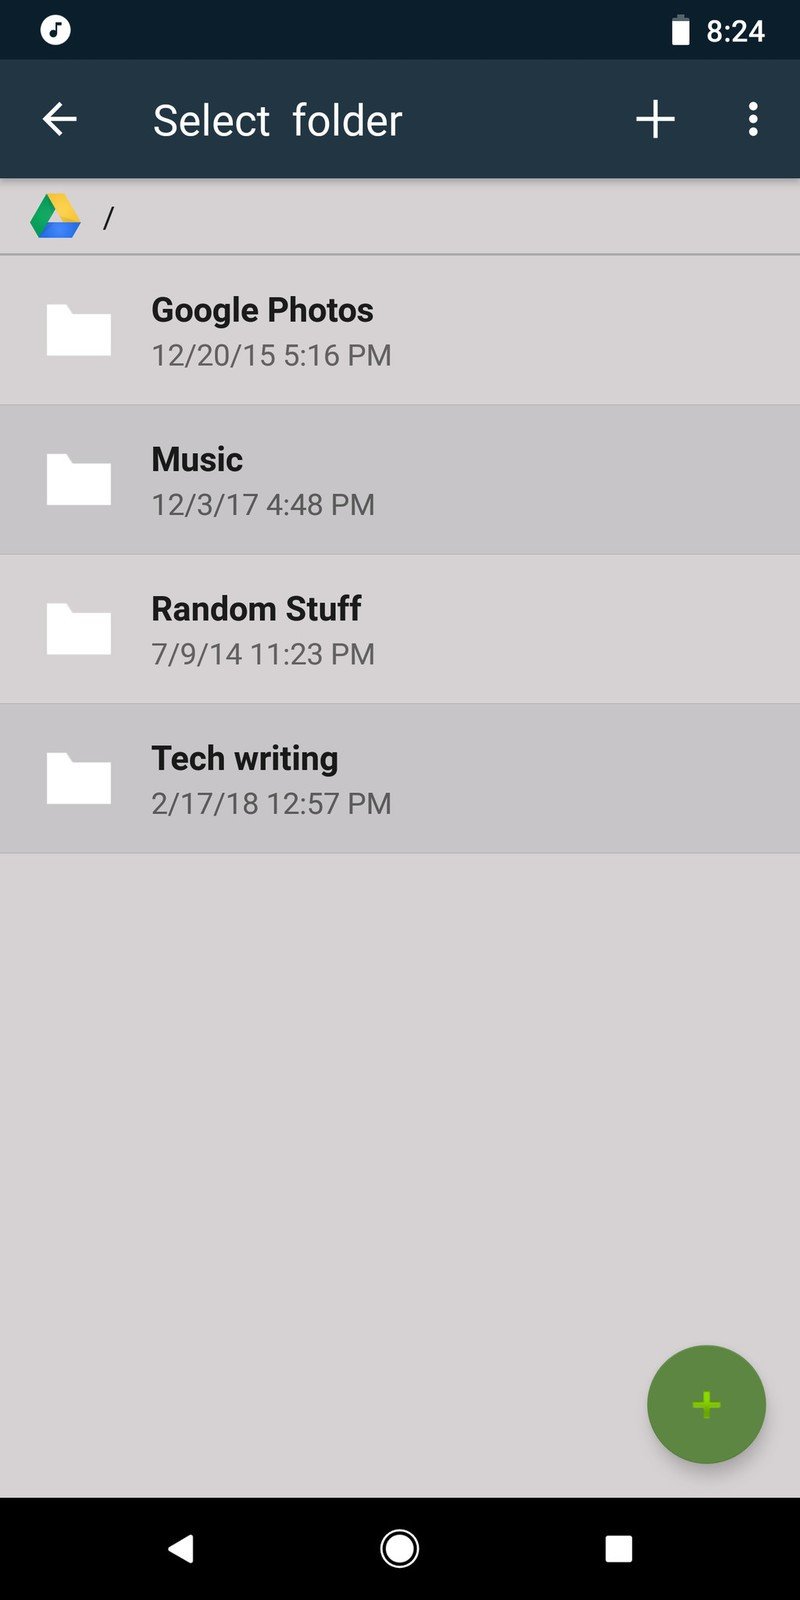
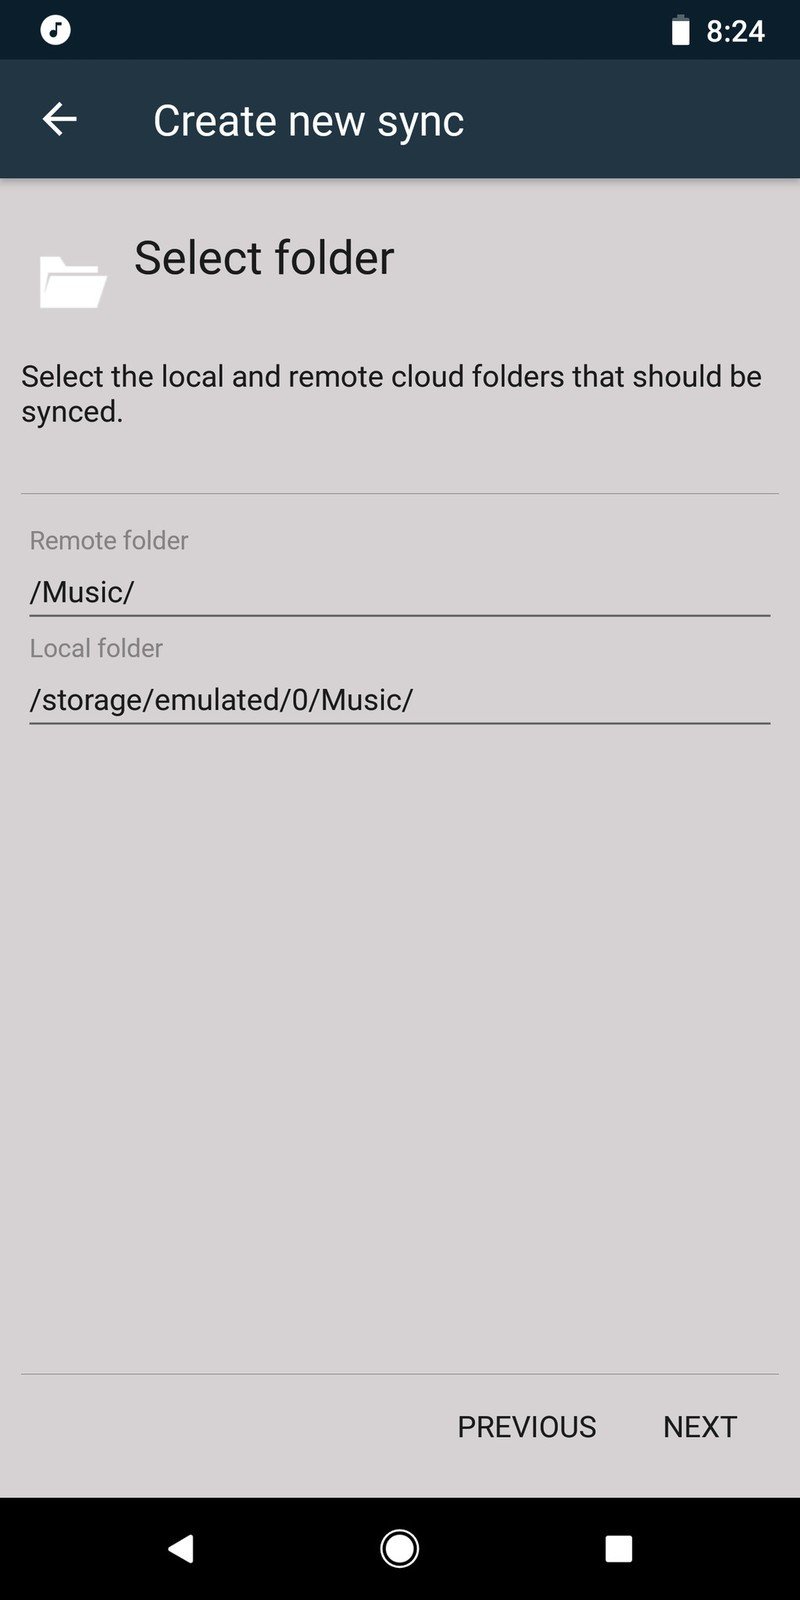
- Select the cloud and local folders you would like to synchronize from or to.
- Set up a schedule to decide when the files synchronize. The schedule can be as often as every five minutes, or as seldom as every month — if you want a schedule at all. You can always choose to manually synchronize as well. With that done, your files will begin syncing!
I use this to sync my music between a folder on my Google Drive and the "Music" folder on my phone,, but it can be used for literally any type of file: photos, application files, voice memos, and more. If you need to keep your files moving between your phone and the cloud, give FolderSync a shot!
Get the latest news from Android Central, your trusted companion in the world of Android
How often do you backup important files? Let us know down below!
