How to submit your own Street View images to Google Maps
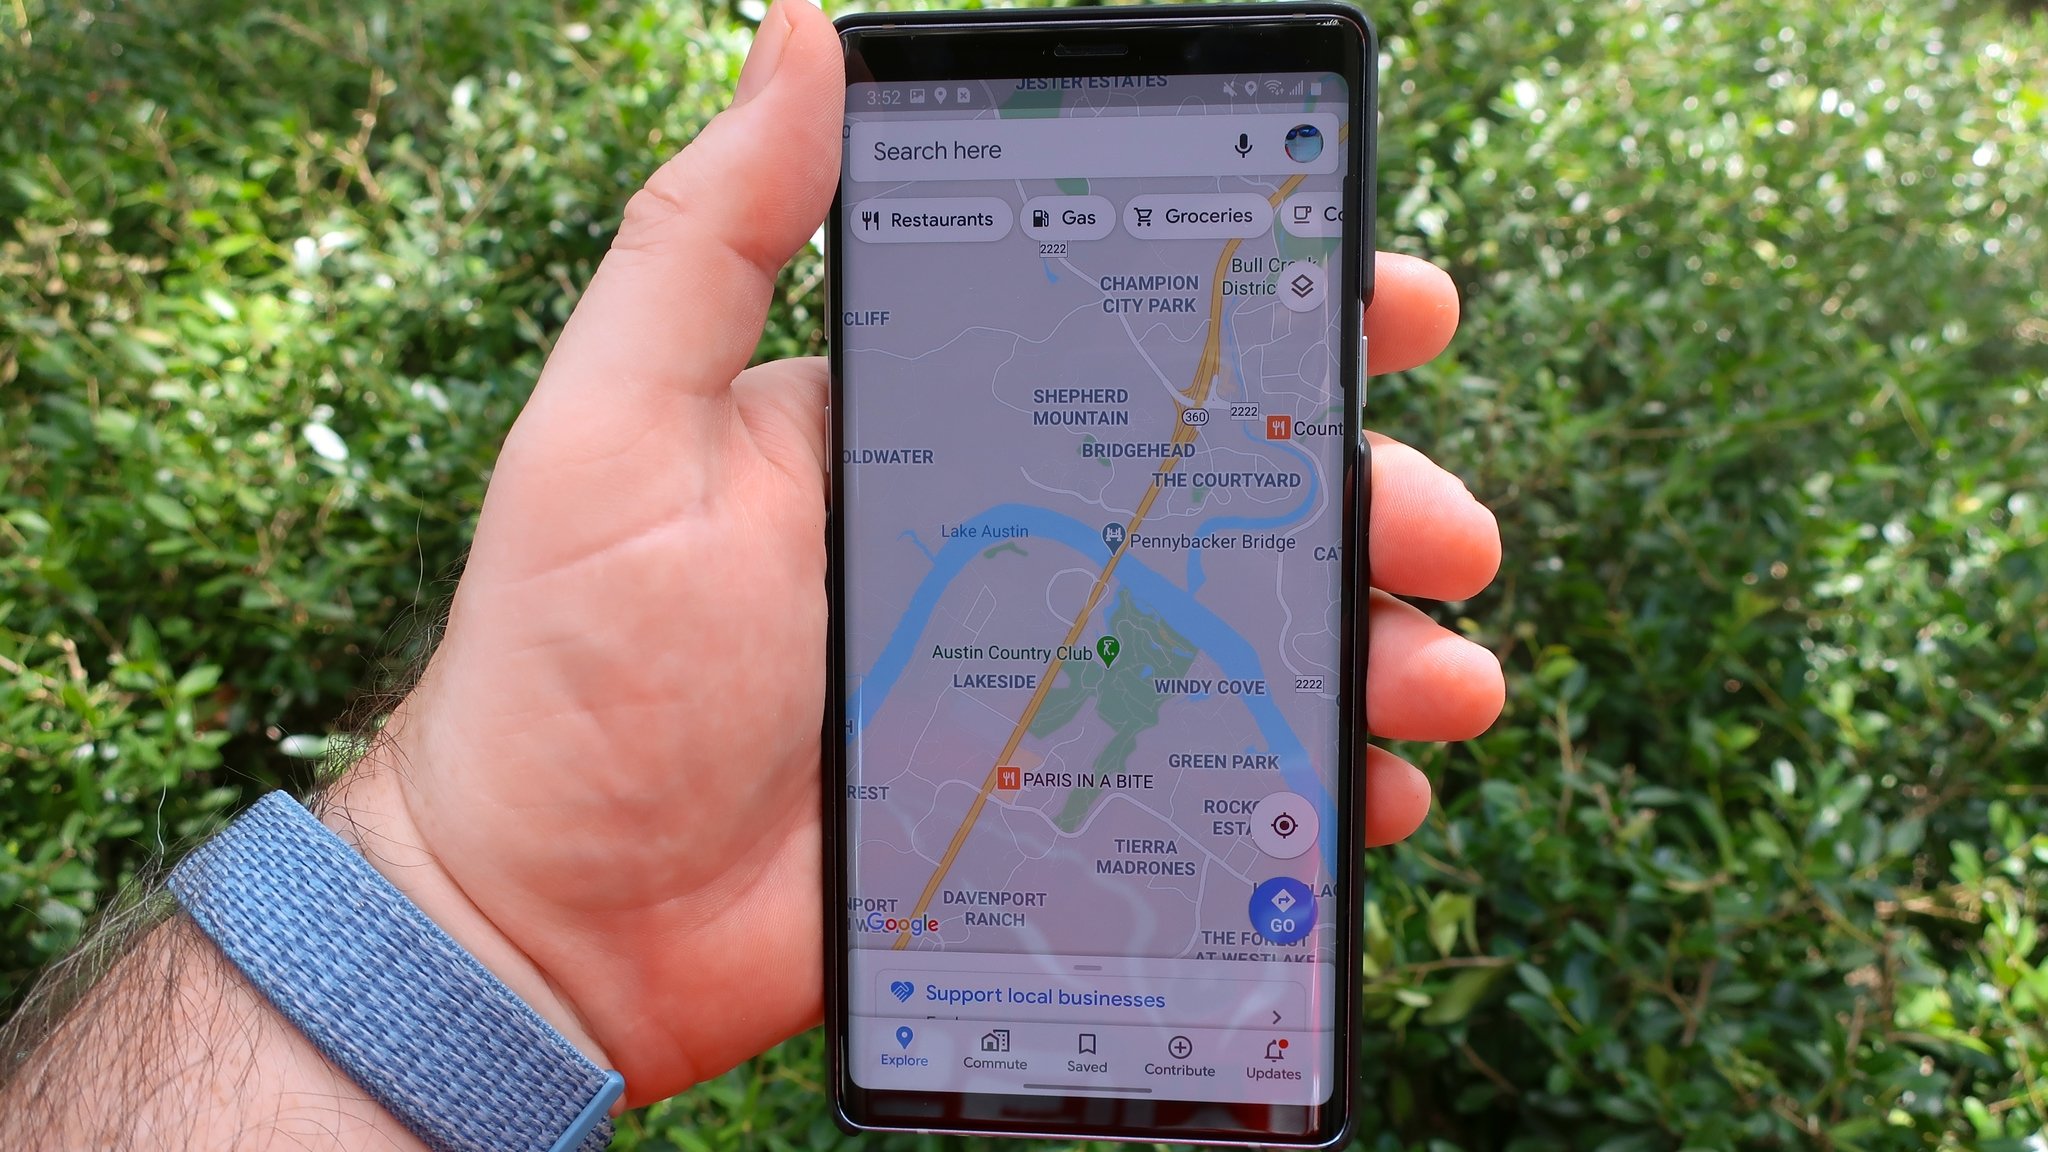
Google Street View is one of our favorite parts of Google maps. You may have seen one of the Street View cars driving around taking 360-degree photos of the streets in your town, but did you know it's possible to submit your photos to Google maps? There are two ways to do it, one of which is a lot easier than the next.
Submitting a photo sphere is the best way to contribute to Google Maps. They're exactly how they sound. Photospheres are 360-degree views of an area. You can use a 360-degree camera to create one or use the specially built camera app in the Street View app. For some phones, this is the only way to capture 360-degree photos. Phones like the Pixel have a photosphere mode in the built-in camera app.
You can create a photosphere with your Pixel phone camera app, like the Google Pixel 5a. You can also create a photosphere with any of the best Android phones using the Google Street View app.
How to submit your own Street View images to Google Maps (the easy way)
The easiest way (and for some phones, the only way) to submit a photosphere to Google maps is to go to the location and submit the photosphere as you make it. To start, go to the area where you want to take your photosphere.
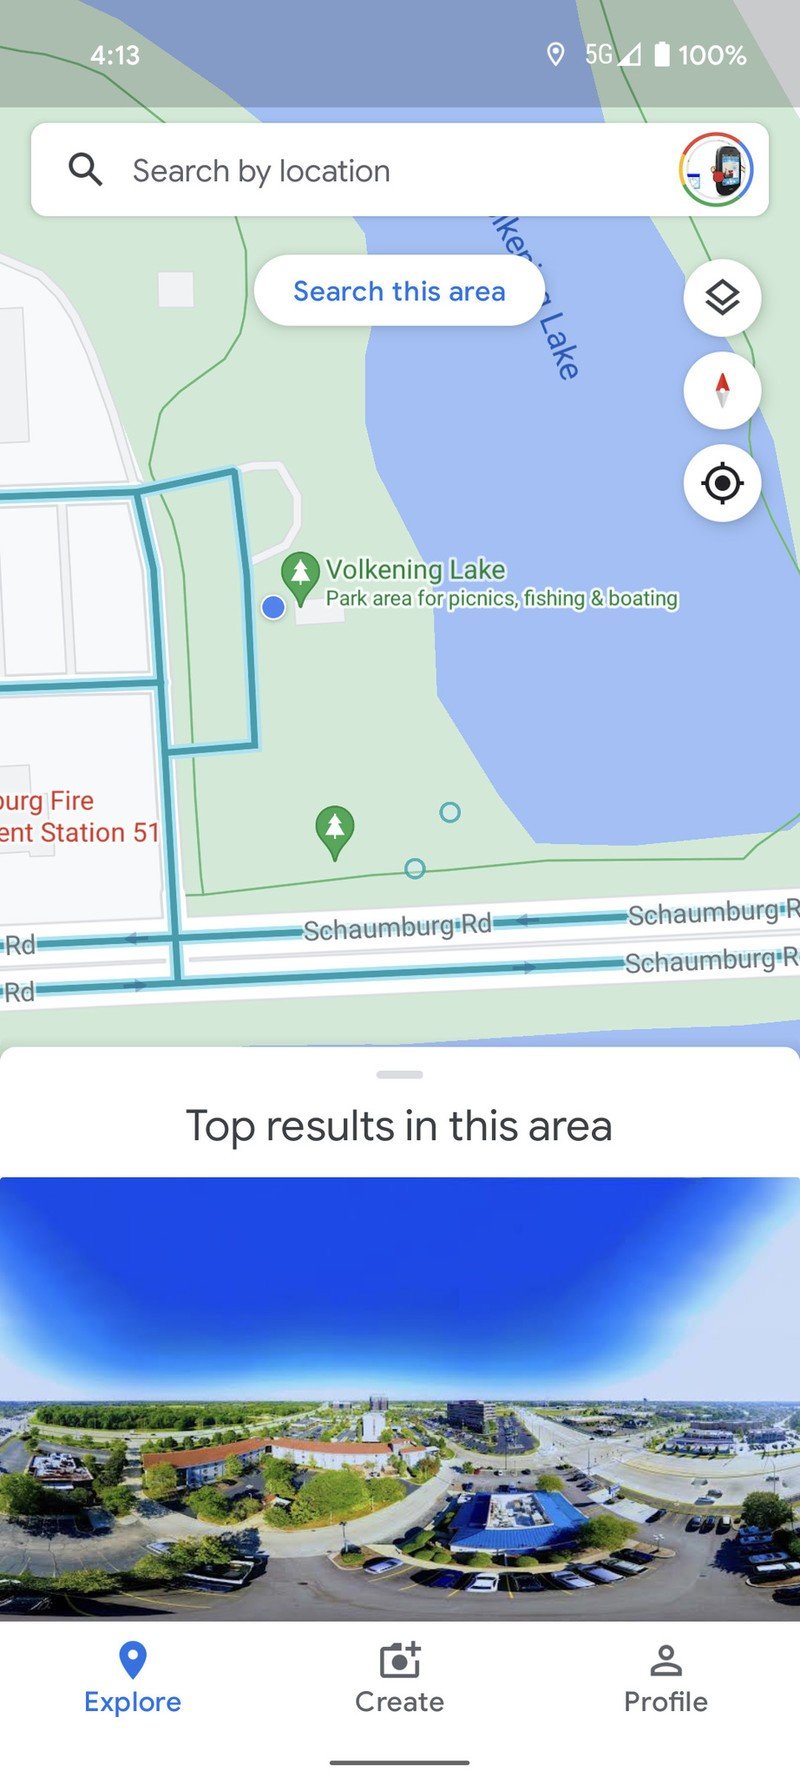
- Open the Google Street View app. You'll see small blue circles showing you where photospheres already exist. No sense in duplicating work, after all.
- Walk to the place where you want to take the photosphere.
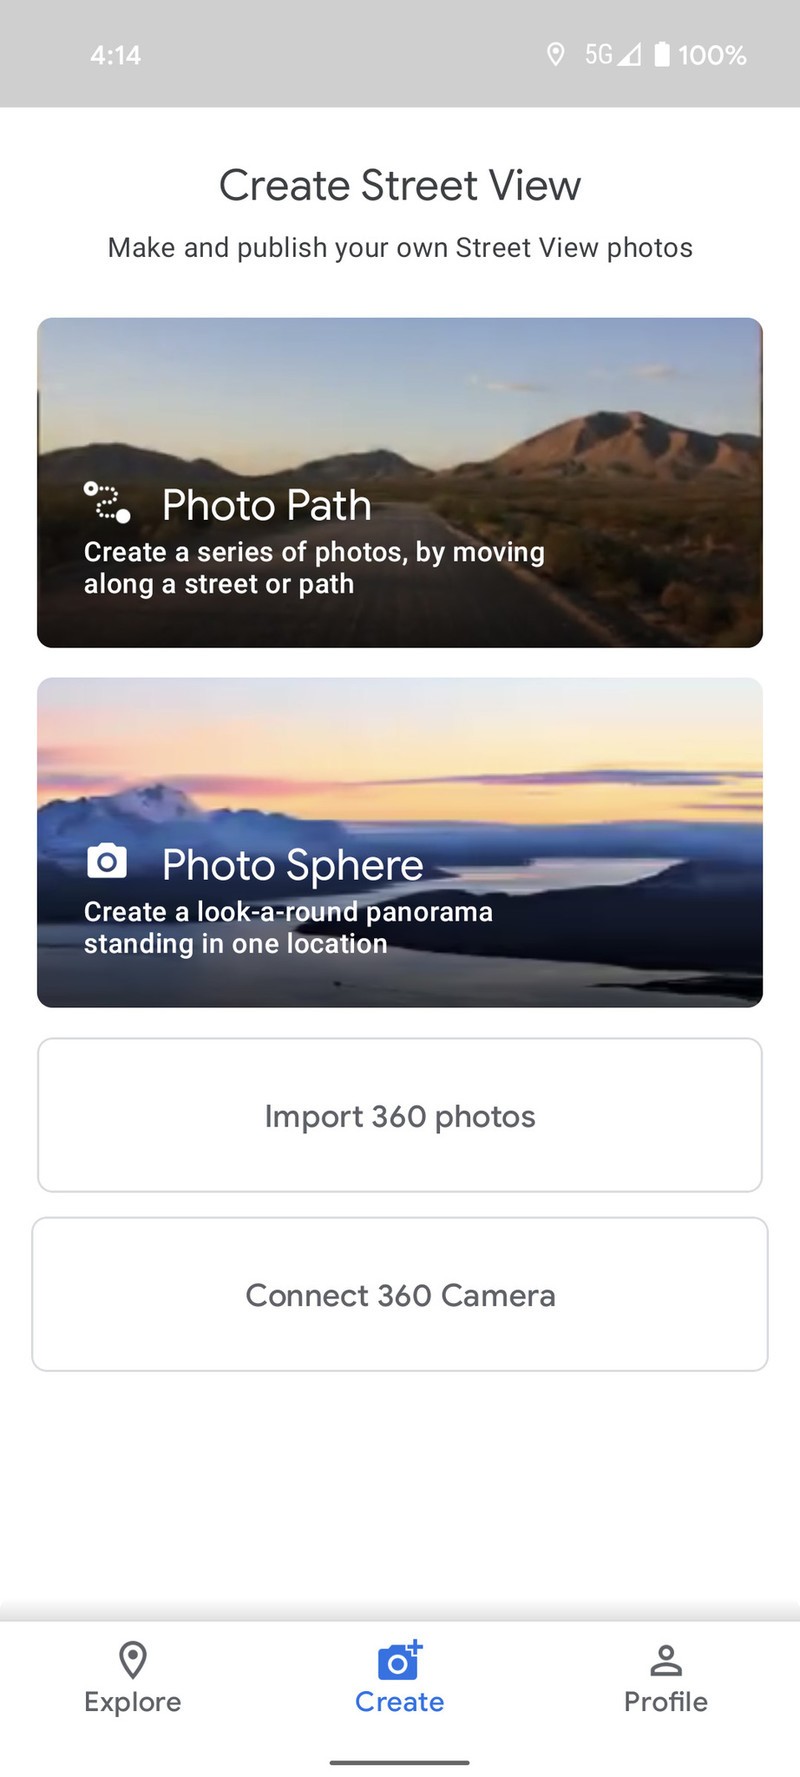
- Tap Create.
- Tap Photo Sphere.
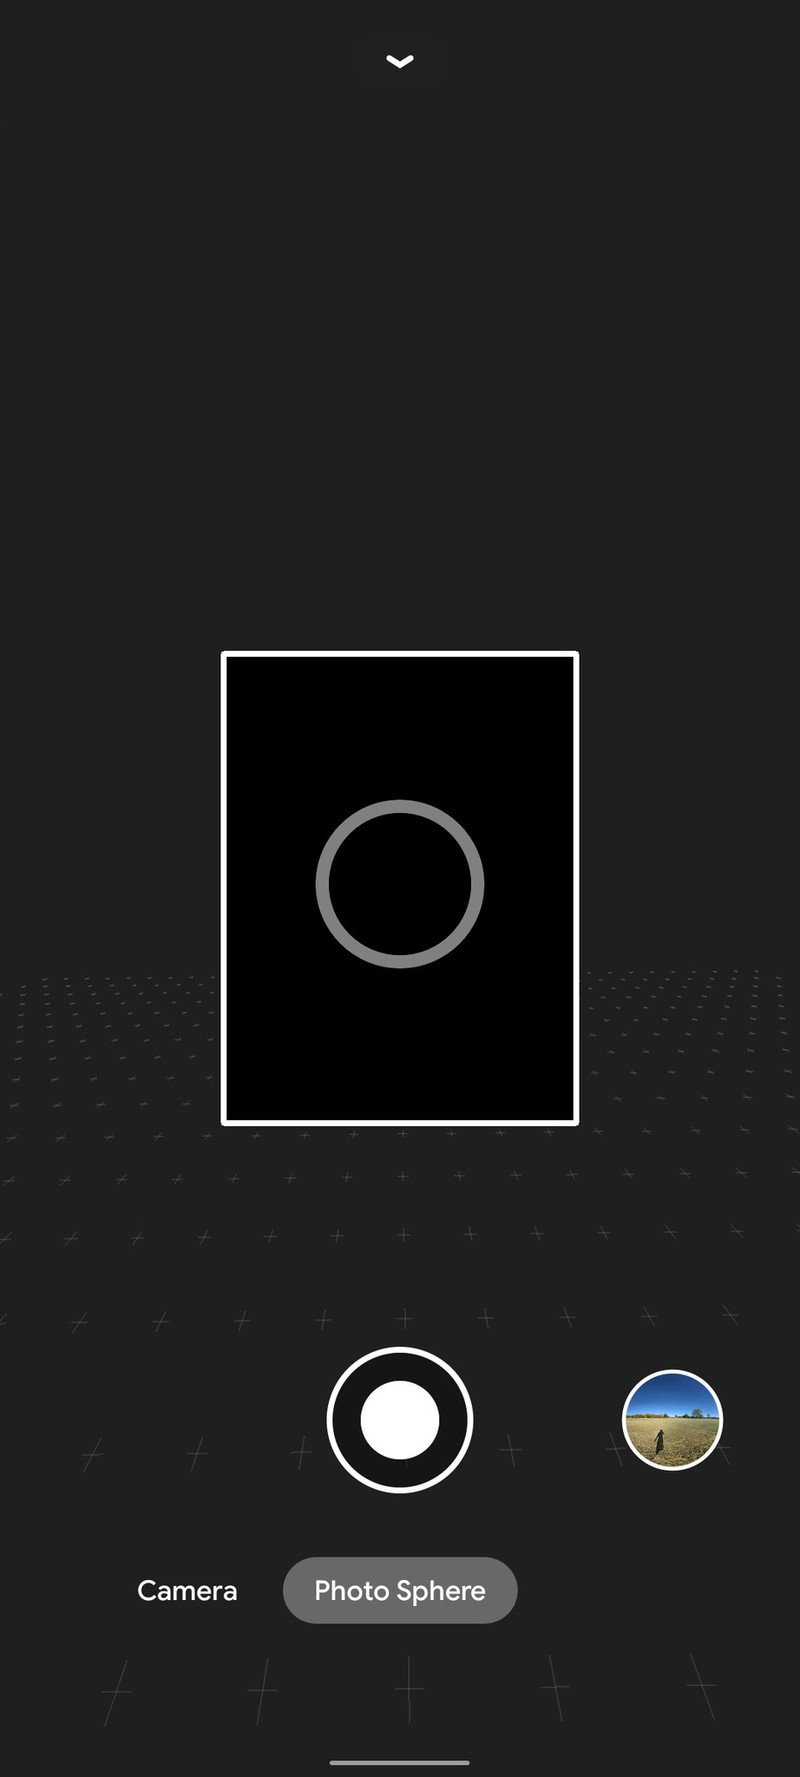
- Your camera will open and display a small field of view and a circle in the middle of the display. Take your first photo.Source: Adam Doud/Android Central
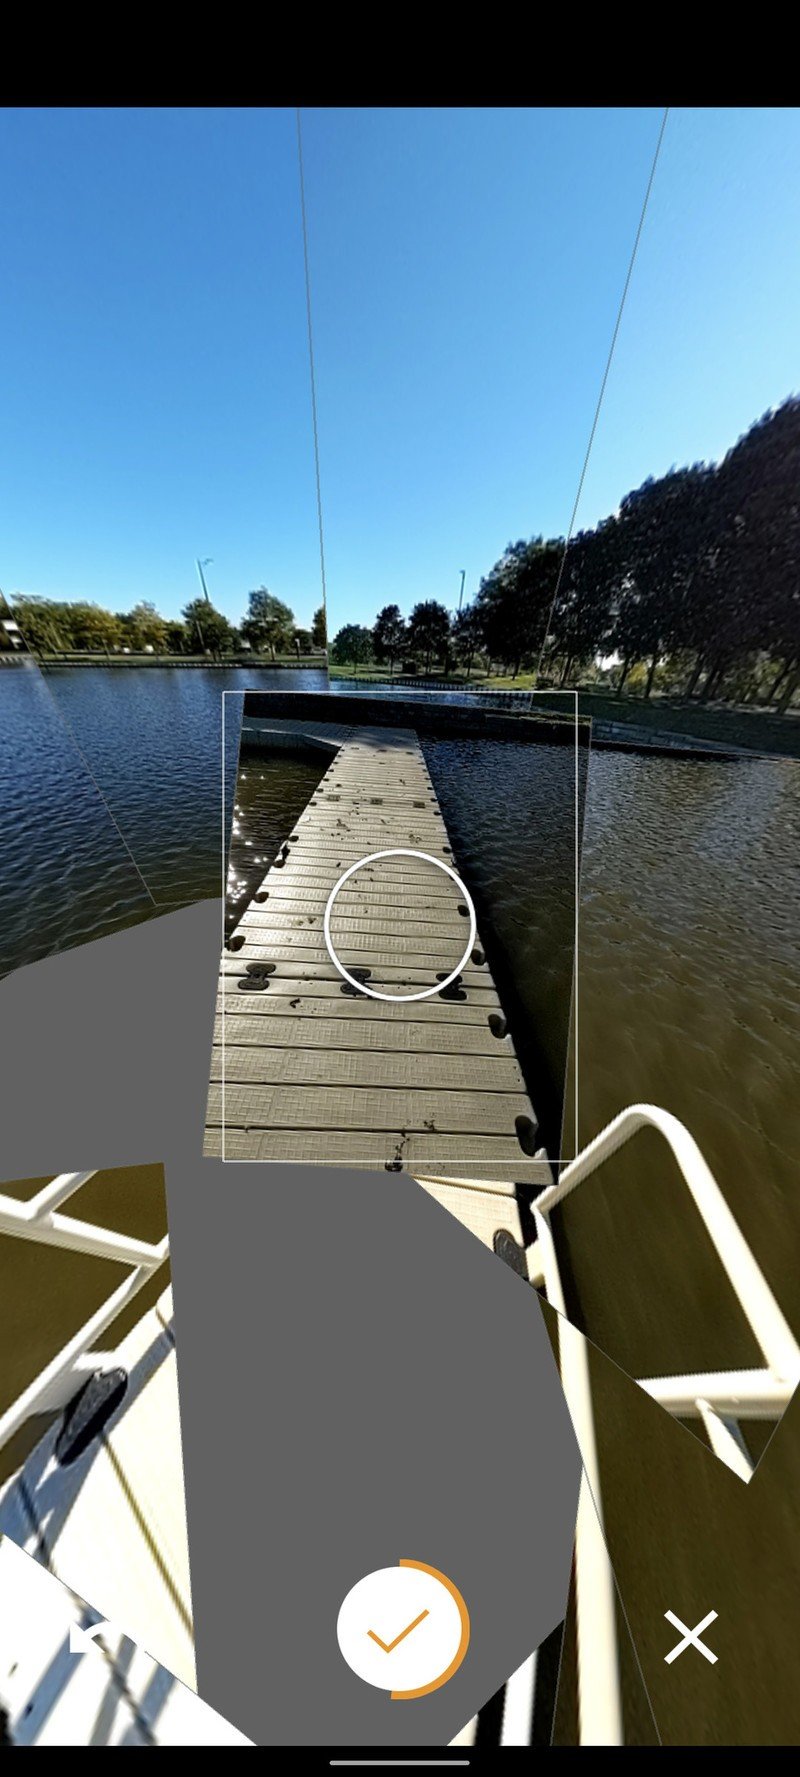
- From there, you'll need to rotate your camera around and take photos of everything around you. To help, your camera viewfinder will place dots where you should aim your camera. Position the circle in the viewfinder around those dots, and the camera will automatically snap the photo. Then just move on to the next dot.
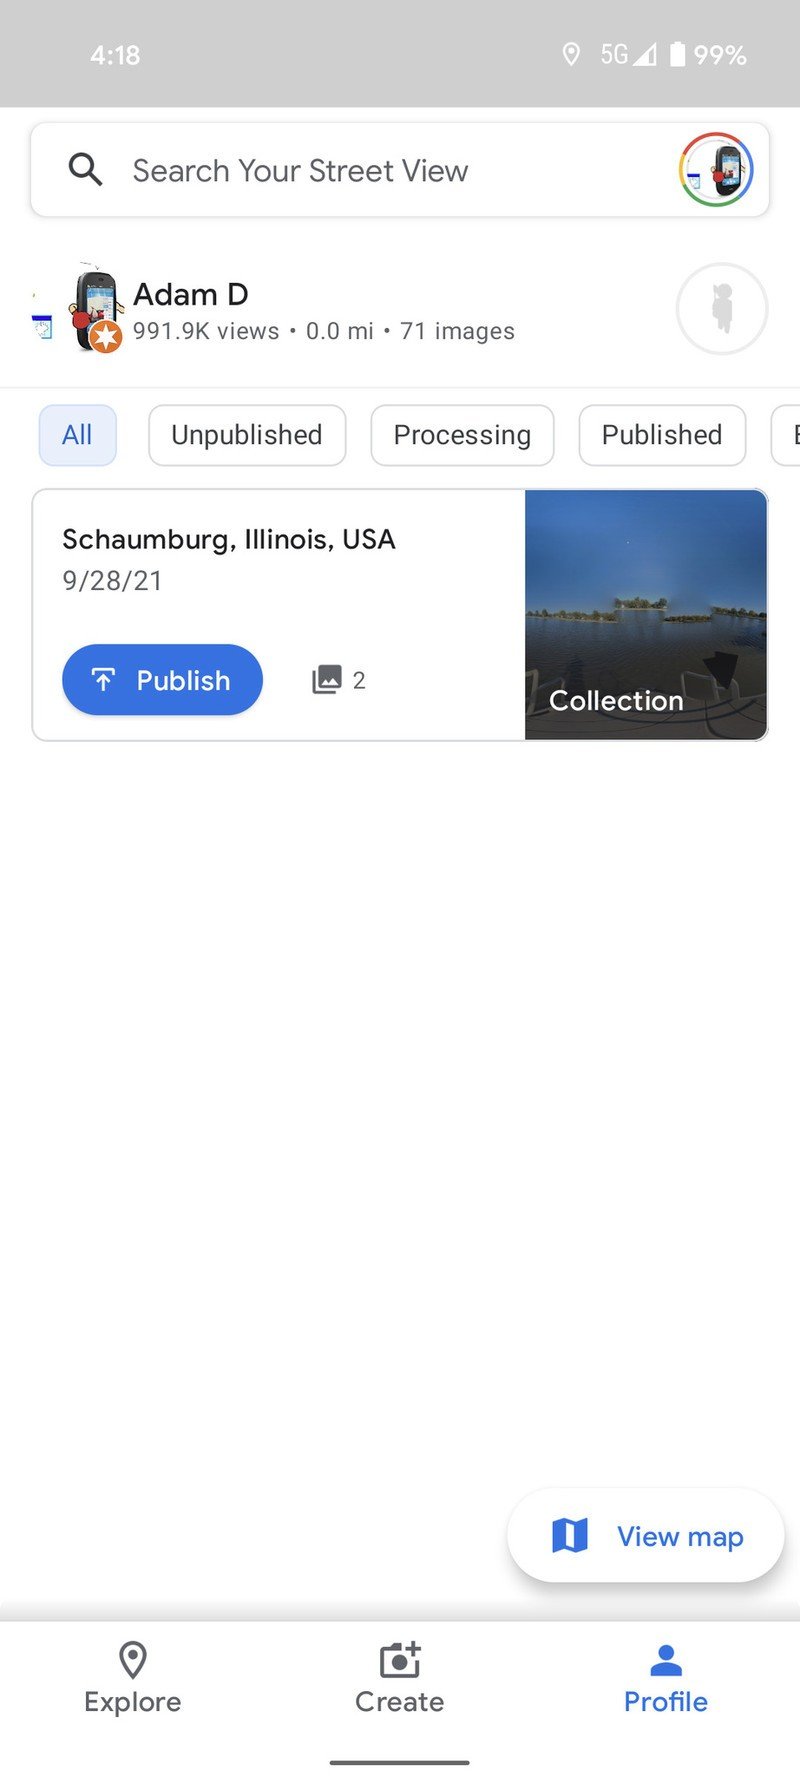
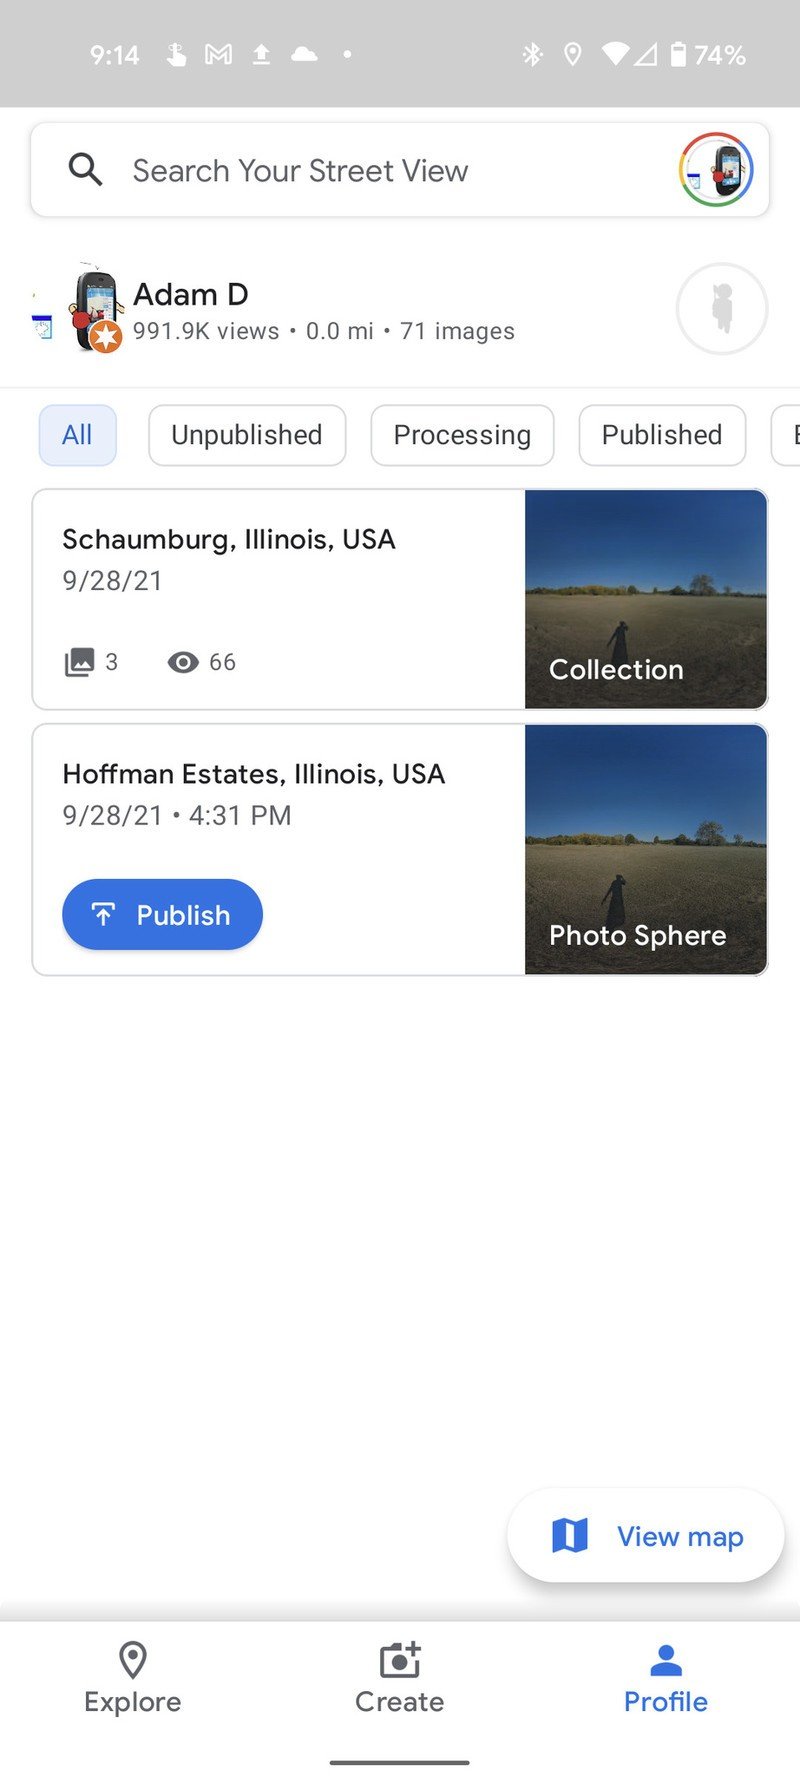
- When you're done, the app will take you to your profile. There, you can see the photosphere being prepped for upload. Tap Publish. By default, your phone will wait until you connect to Wi-Fi to upload.
Source: Adam Doud/Android Central
That's it. The photosphere will be geotagged and placed into Google maps at the location where it was taken.
How to submit your own Street View images to Google Maps (the not-so-easy way)
You may already have a photosphere that you've taken in the past that you want to submit to Google Street View, but alas, you've already left. Alternatively, you may be in a location and want to take a photosphere and only later remember that it might be a good addition. Whatever the case, you did not take the photosphere through the Street View app. You can still add it.
Get the latest news from Android Central, your trusted companion in the world of Android
- Open Google Street View and tap Create.
- Tap Import 360 photos.
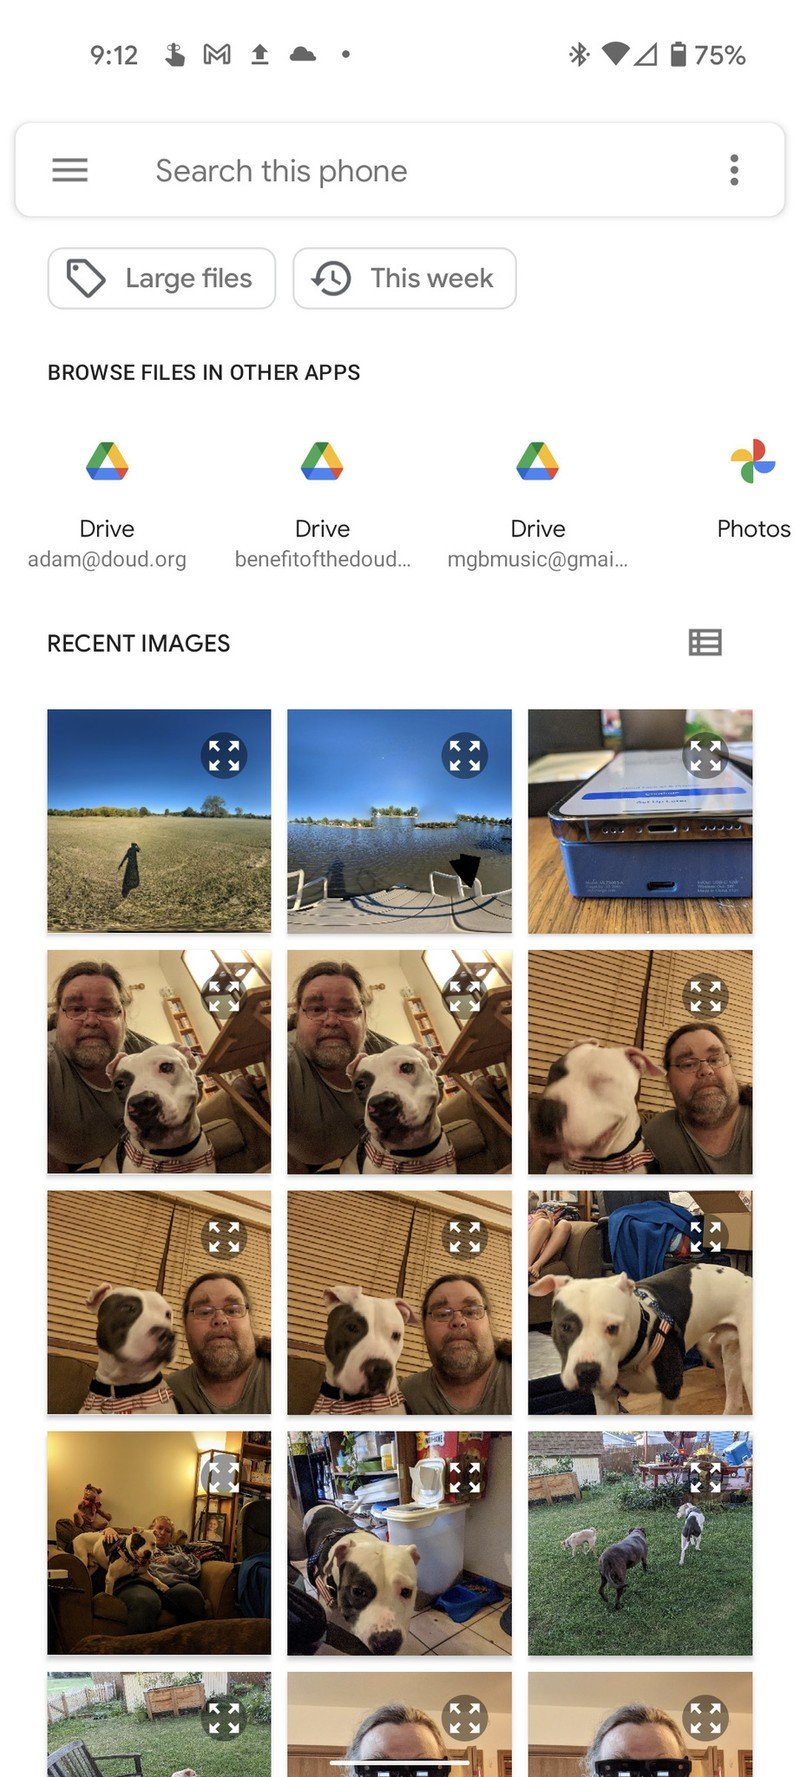
- Navigate to where you have the photosphere saved and tap on it.Source: Adam Doud/Android Central
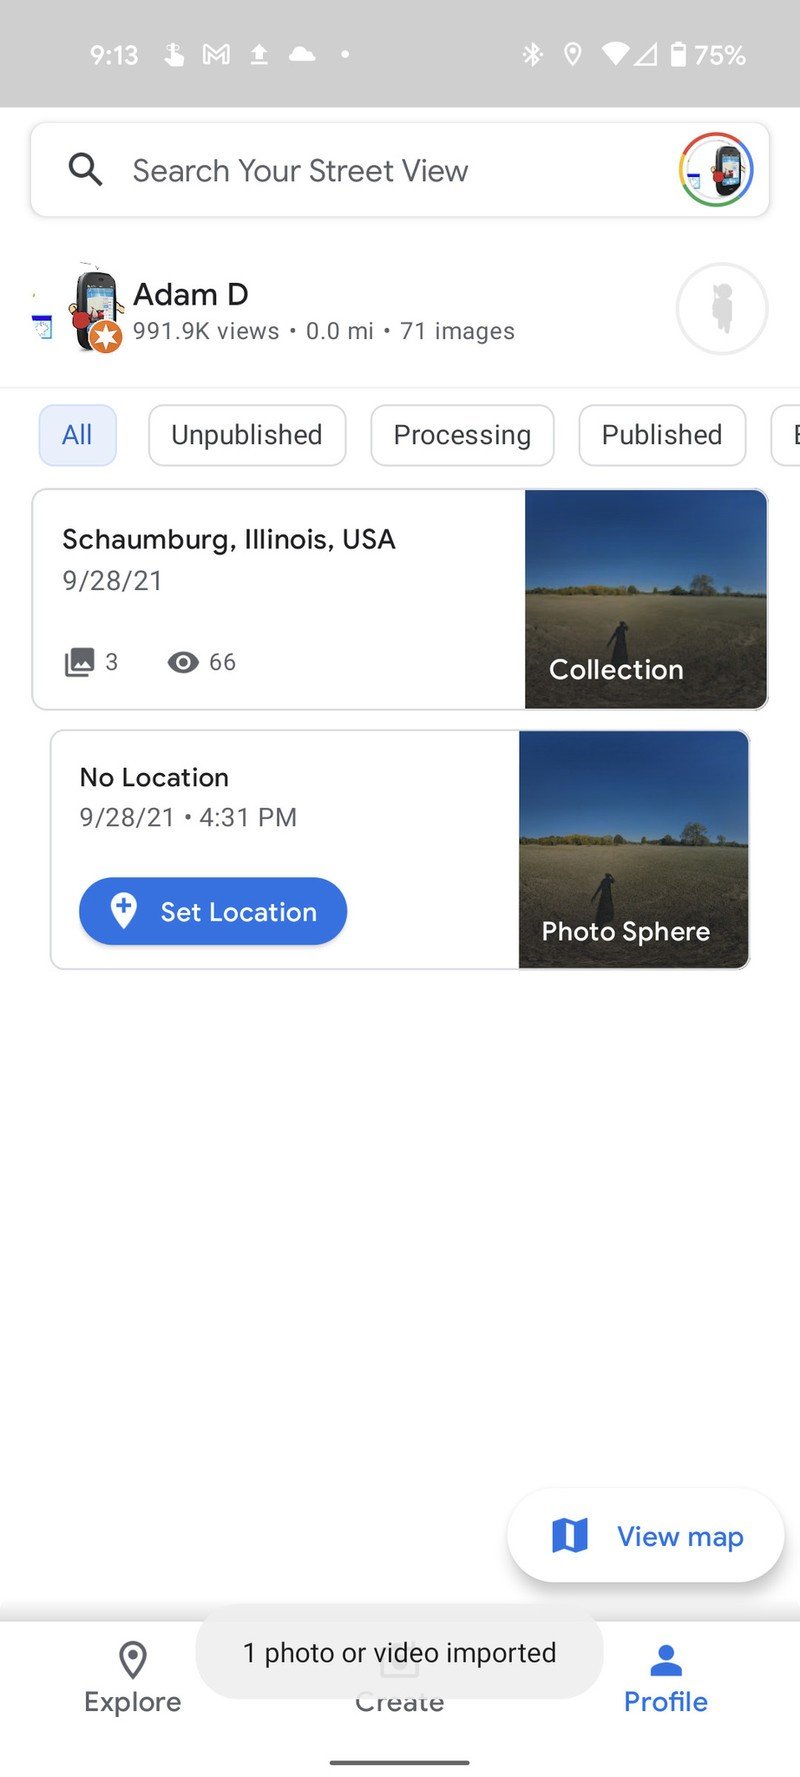
- You'll be taken to your profile with a preview of the photosphere. Tap Set Location.
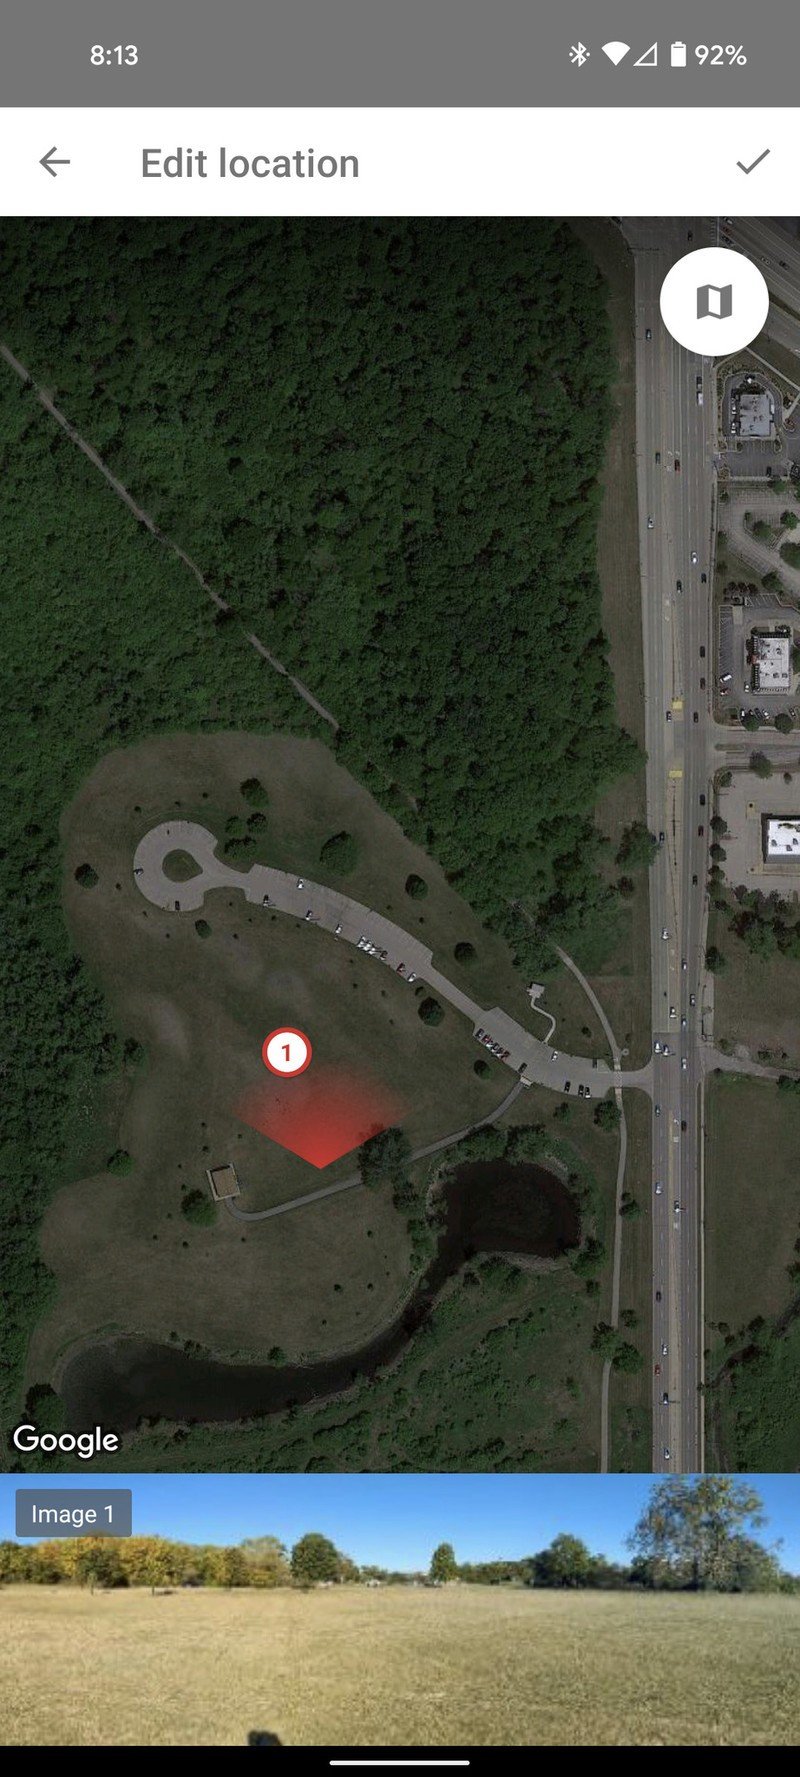
- This is the not-so-easy part. By default, Google will place you wherever you are, and you'll need to drag the little 1 to the location where the photosphere was taken. If you are nearby, that's not so hard. If you're at home, miles away, it's a bit harder. You can pinch to zoom in and out like a normal map, which will help you considerably.
- Once you have the location, tap the checkmark.
- You'll be taken back to your profile. Tap Publish. Again, by default, your phone will wait for Wi-Fi.
Source: Adam Doud/Android Central
Photosphere tips and other test notes
To start, we'd like to acknowledge user ThatAdamGuy in our forums. He submitted some tips for taking great photo spheres. When you're taking your photosphere, rather than rotate your body, it's best to try to pivot your phone while keeping it in as close to the same place as possible. That's not always realistic since you need to see what you're pointing at, but the less you move your phone in 3D space, the better.
Cloudy days work better for photospheres than sunny days. That's often said in photography in general, but harsh sunlight can be rough on your surroundings, as can pointing your phone directly at the sun for one of those photos in the sphere. Diffused light is always better.
Google doesn't do a whole lot (if any) QA before it publishes these photo spheres to the public. That is evidenced by the comically terrible photo sphere we took as part of this how-to article. Remember above when we talked about not moving your phone in 3D space? Piers in the water are not friendly to that.
Finally, locations of photospheres can be edited. If you place a sphere and later realize it looks a little off, long-tap it in your profile and tap the three dots > Set Location. You can then fine-tune the location as needed.

Adam has been writing and podcasting the mobile tech space for almost a decade. When he's not writing, he hosts the Benefit of the Doud podcast, spends way too much time on Twitter, and redesigns his office space over and over.
