How to connect Oculus Quest to your computer
Get the latest news from Android Central, your trusted companion in the world of Android
You are now subscribed
Your newsletter sign-up was successful
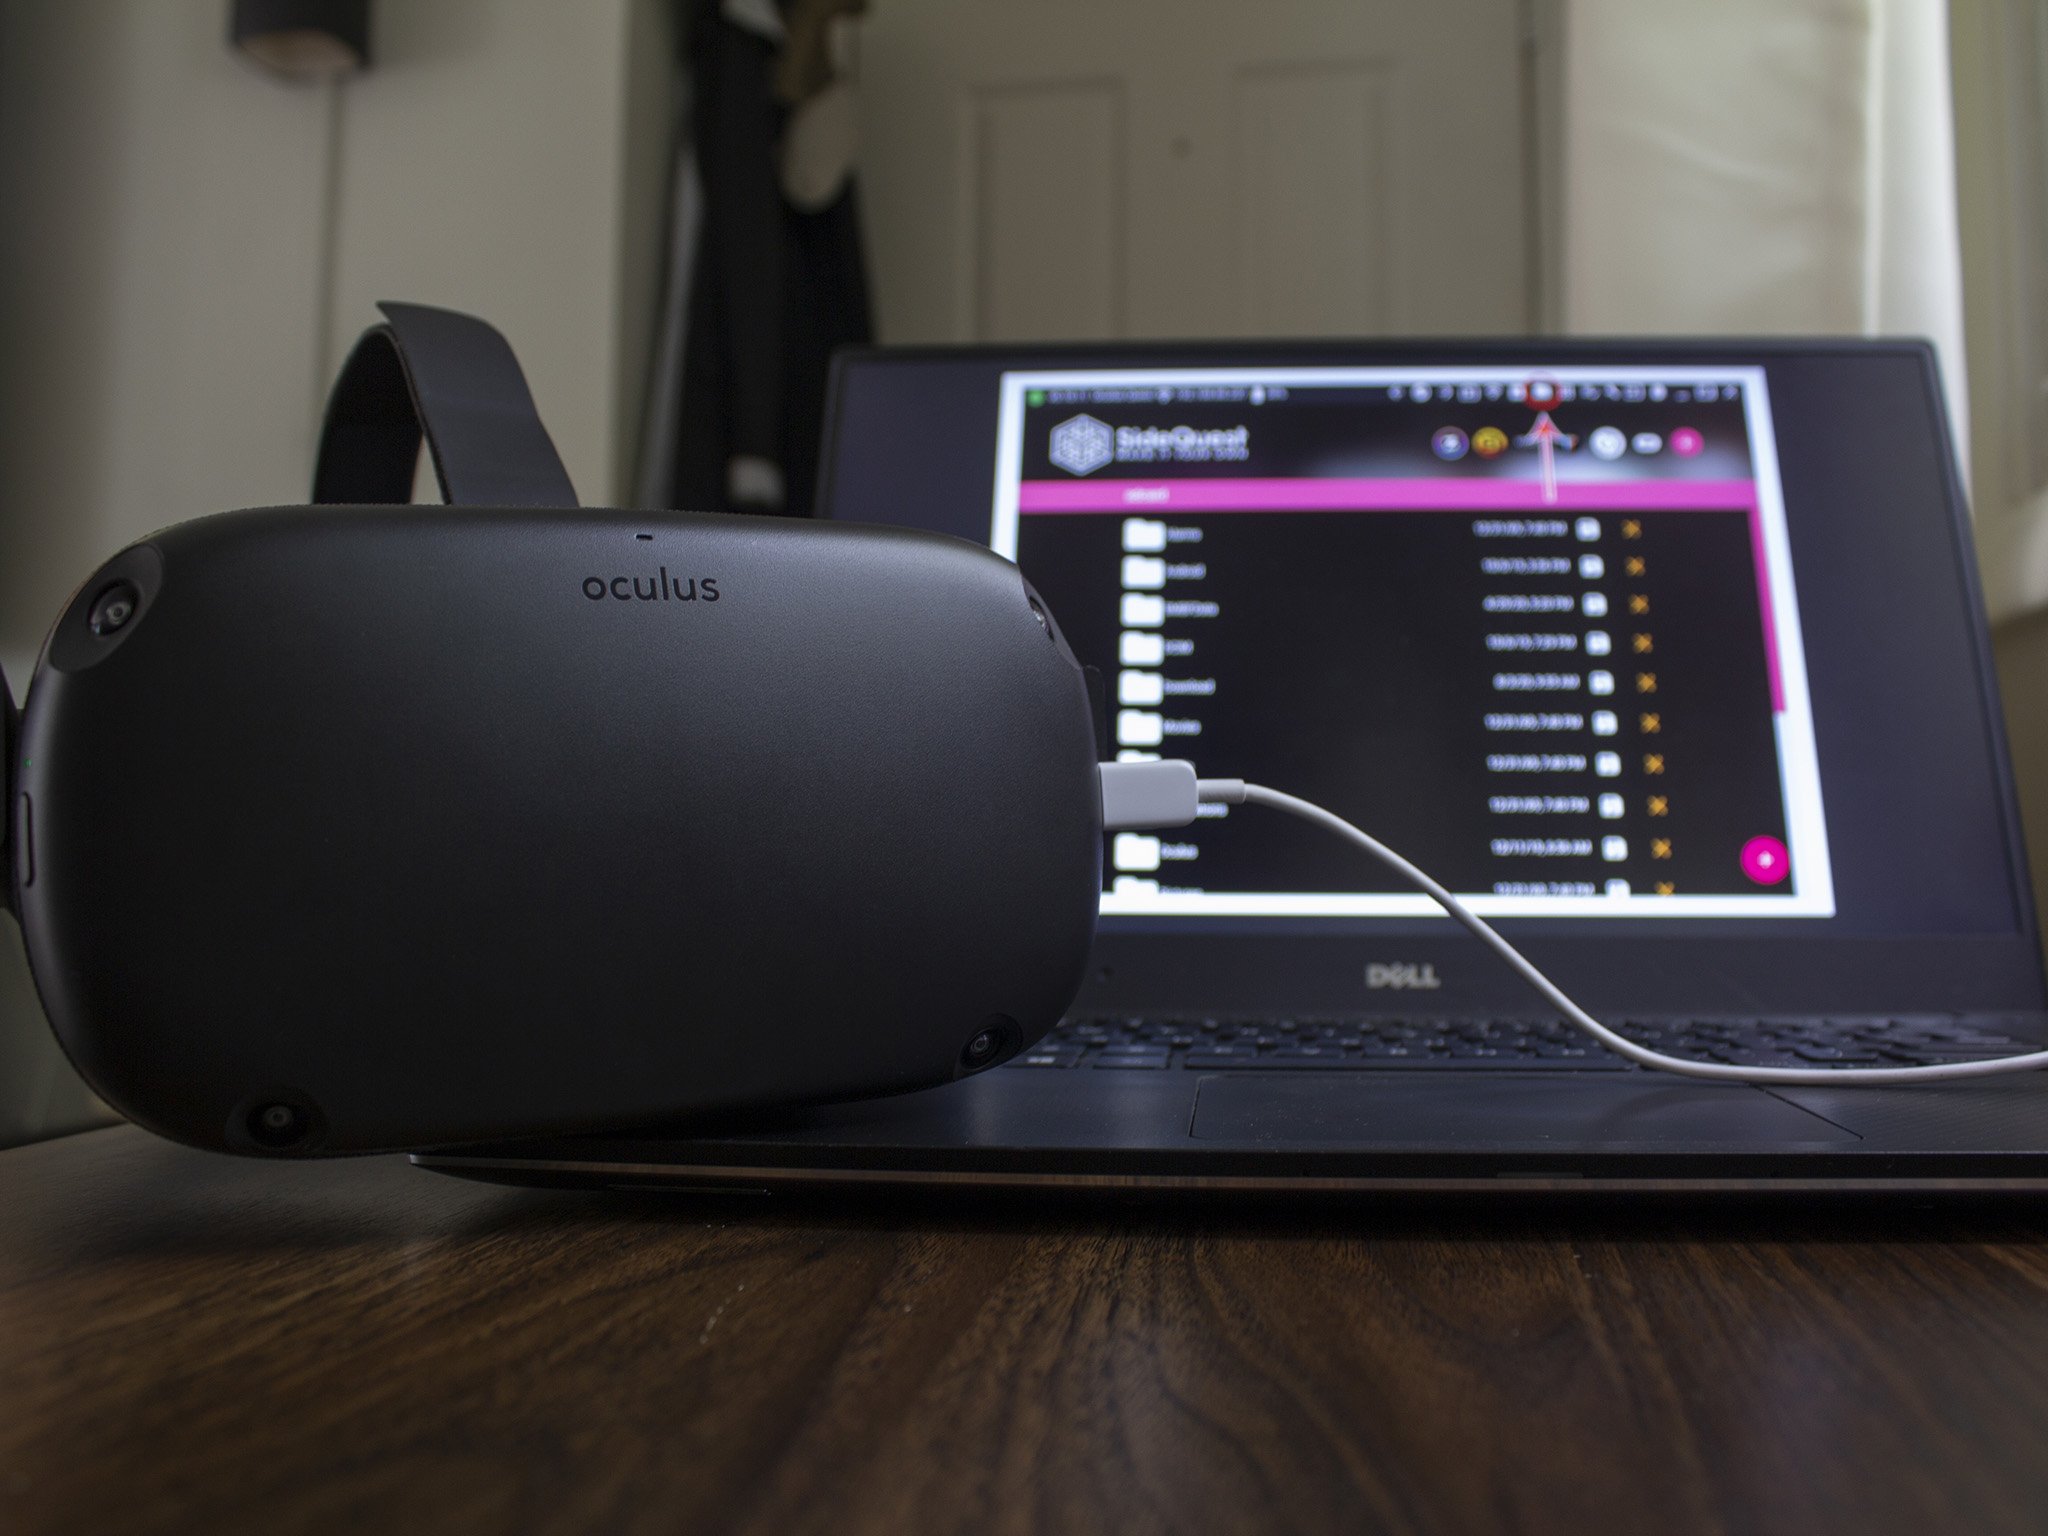
Most Oculus Quest owners know you connect your Quest to your PC to play PCVR games. However, you may not know that linking up to your PC also lets you transfer files back and forth between your headset and computer. Doing so enables you to download films, music, pictures, game mods, and other content to your device. Below, we walk you through the process of transferring files to (and from) your Quest.
How to connect your Quest to your PC
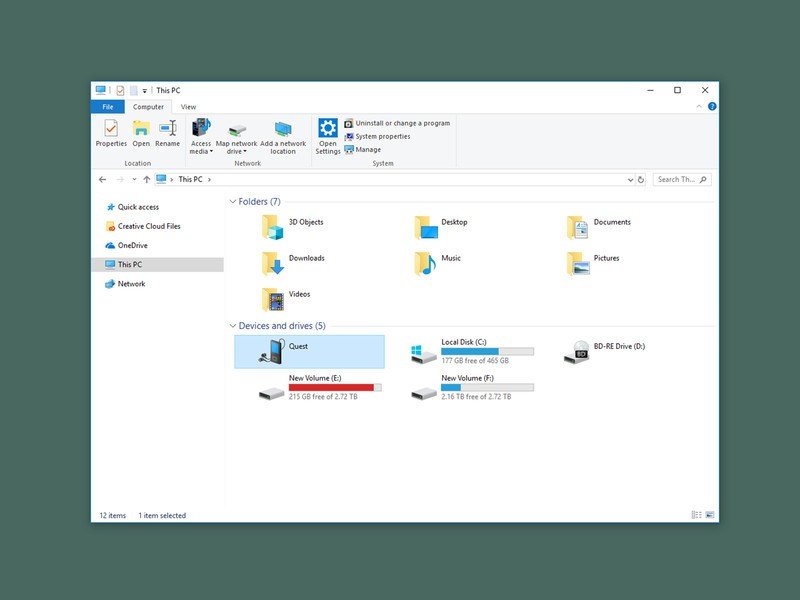
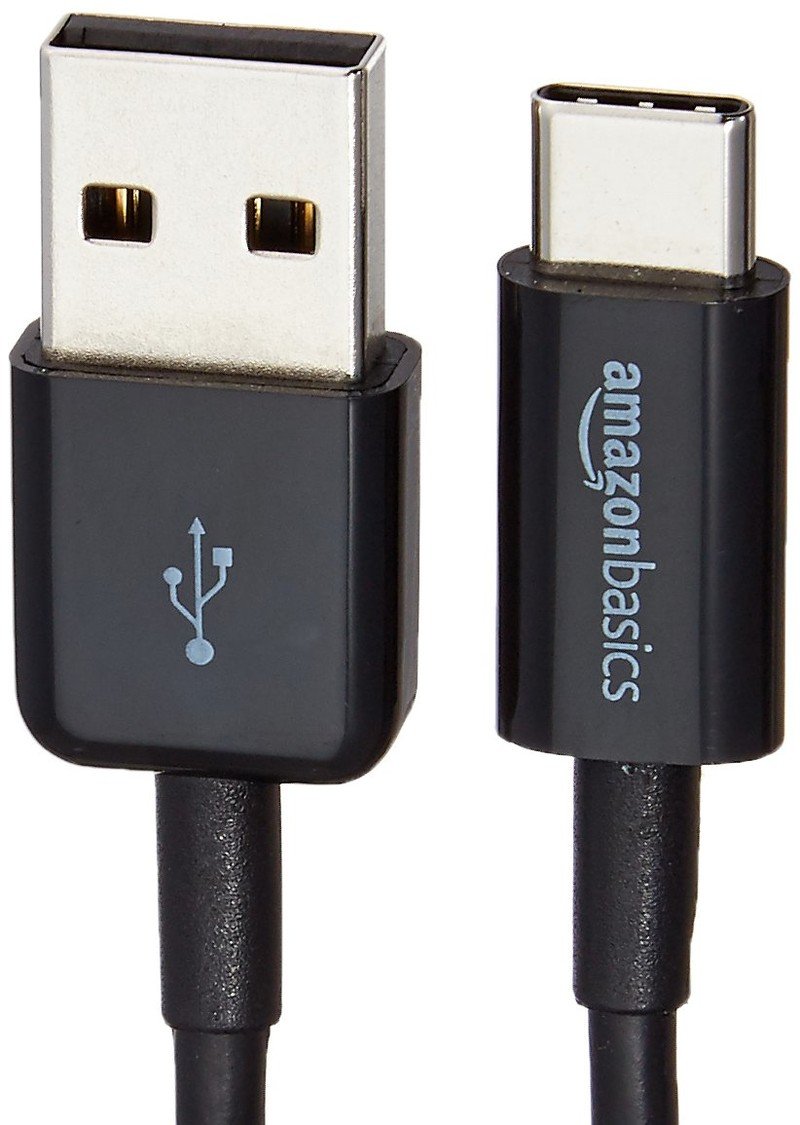
- Connect your Quest to your PC with a USB-C cable. If your PC has its own USB-C port, you can use the USB-C cable that comes with the Quest itself. You will see the Quest pop up on your explorer.
- Put your Quest on your head.
- Within the Quest, you will be prompted whether you want your PC to be able to access your Quest files. Confirm yes.
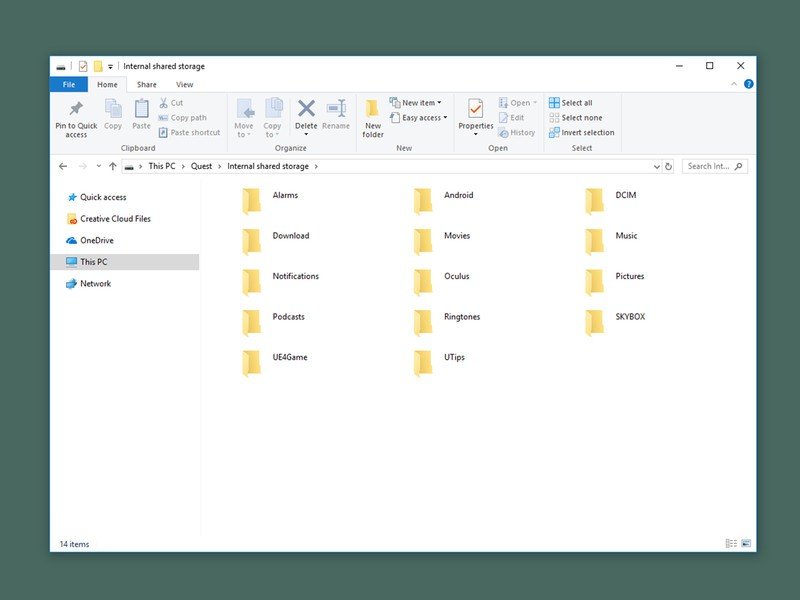
- On your Windows PC, you will now have access to explore your Quest as if it were a drive. Transfer any files to the appropriate folder by dragging and dropping them.
If you use a Mac
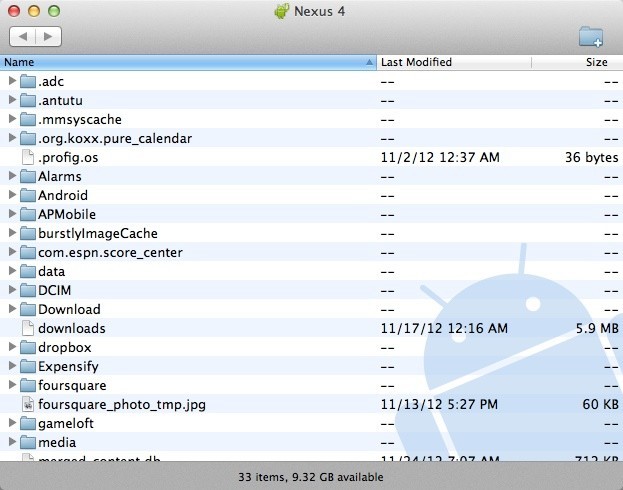
You will need to use a particular app to access your files, as Apple doesn't play nice with Android devices.
- Download the Android File Transfer app.
- Open the dmg file.
- Move Android File Transfer into your Applications folder.
- Connect your Quest to your Apple computer.
- Open the application, which should detect and display your files as a drive.
If the "access files" prompt doesn't appear
Make sure your Quest isn't in developer mode, which can prevent the file transfer option from appearing. Unplug your Quest from your PC and try the following steps:
- Open your Oculus Quest mobile app.
- Open the Settings menu.
- Tap the picture of your connected Quest device.
- Select More Settings.
- Select Developer Mode.
- Untoggle the mode.
- Put on the Quest headset.
- Press and hold the power button, then select Restart.
- Reconnect your Quest to your PC.
Downloads and uploads
While connecting your Quest to your PC is a fairly simple task, it unlocks so much potential for the Quest. Once you have uploaded your pictures, movies, or podcasts to your Quest, you can easily access them on the device. You'll simply select the Library tab, click the Oculus Gallery app, and select Internal Storage. Now you'll be able to view whatever you've added to your Quest via the PC.
You can also upload your VR highlights from your Quest to your PC. Take a screenshot or record footage to show your friends or post online, and then simply connect to your PC and transfer the files from your Quest library to your desktop. Plus, having direct control over storage space makes it much easier to delete old files and free up space for new games and content.
Get the latest news from Android Central, your trusted companion in the world of Android
Our top equipment picks
For this guide, any USB-C cable will do, but you do not require anything flashy or fancy. If you do not already have a USB-C cable, the AmazonBasics brand will be more than sufficient for connecting your Quest to your PC.
Additional Equipment
Want to enhance your VR experience? Here are a few things to help you enjoy your headset further.
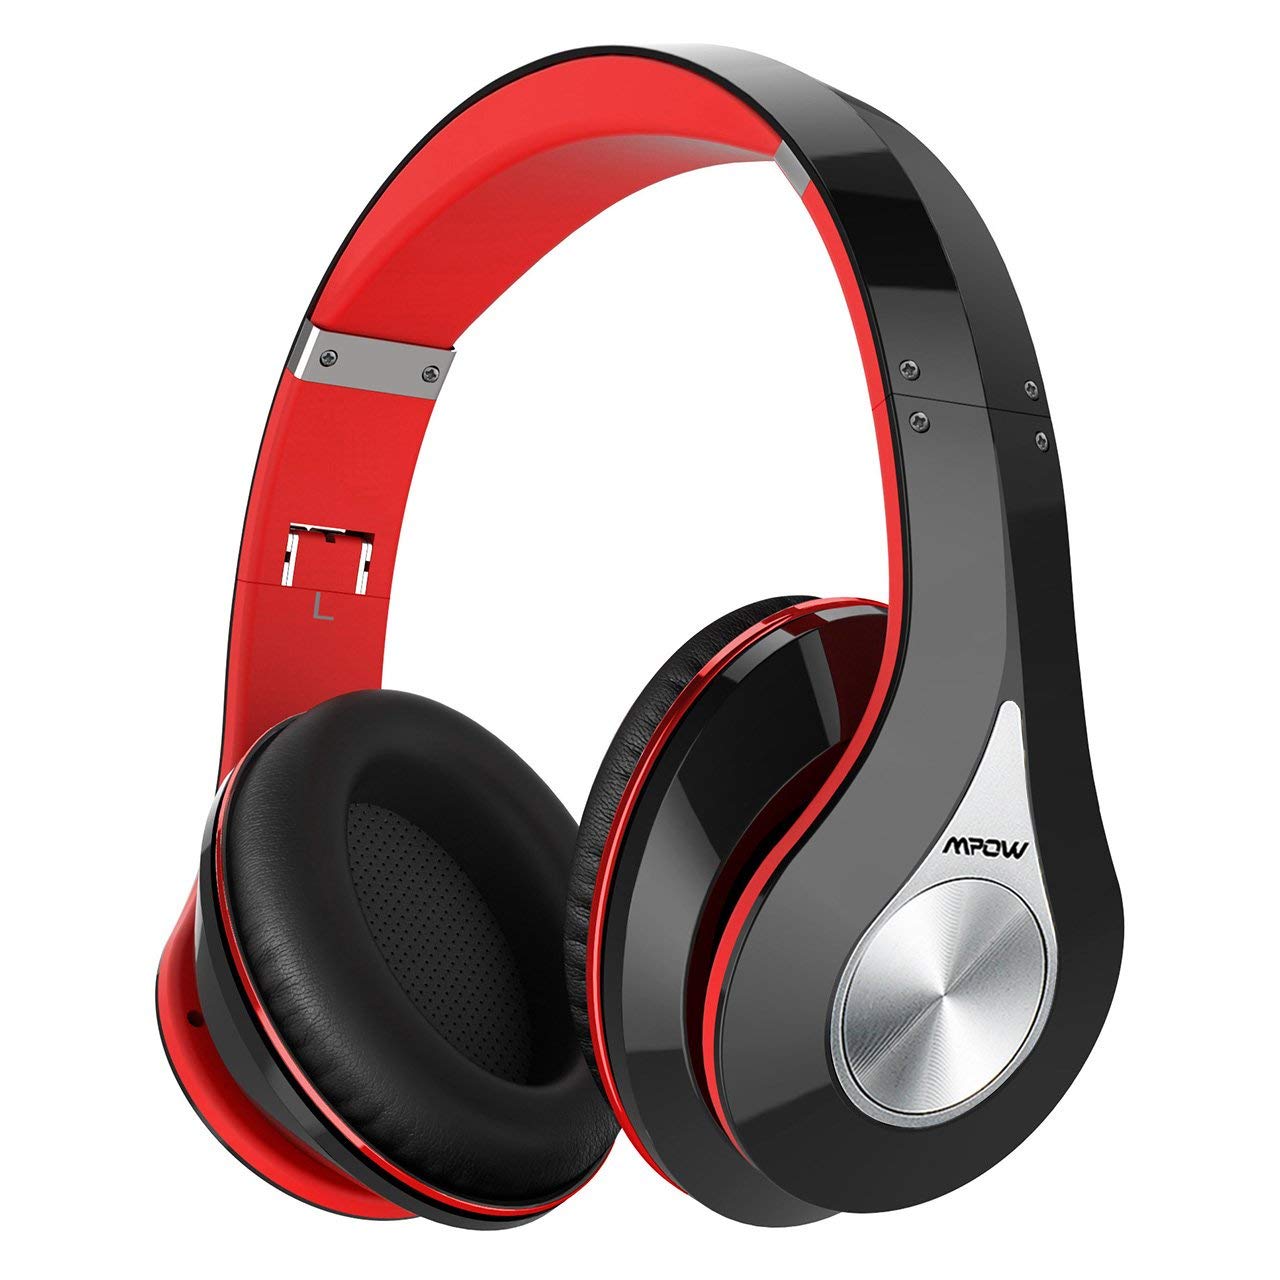
MPOW Foldable Headphones ($31 on Amazon)
These over-the-ear headphones will enhance your VR experience by delivering hi-fi sound quality. It connects by auxiliary cable or Bluetooth.
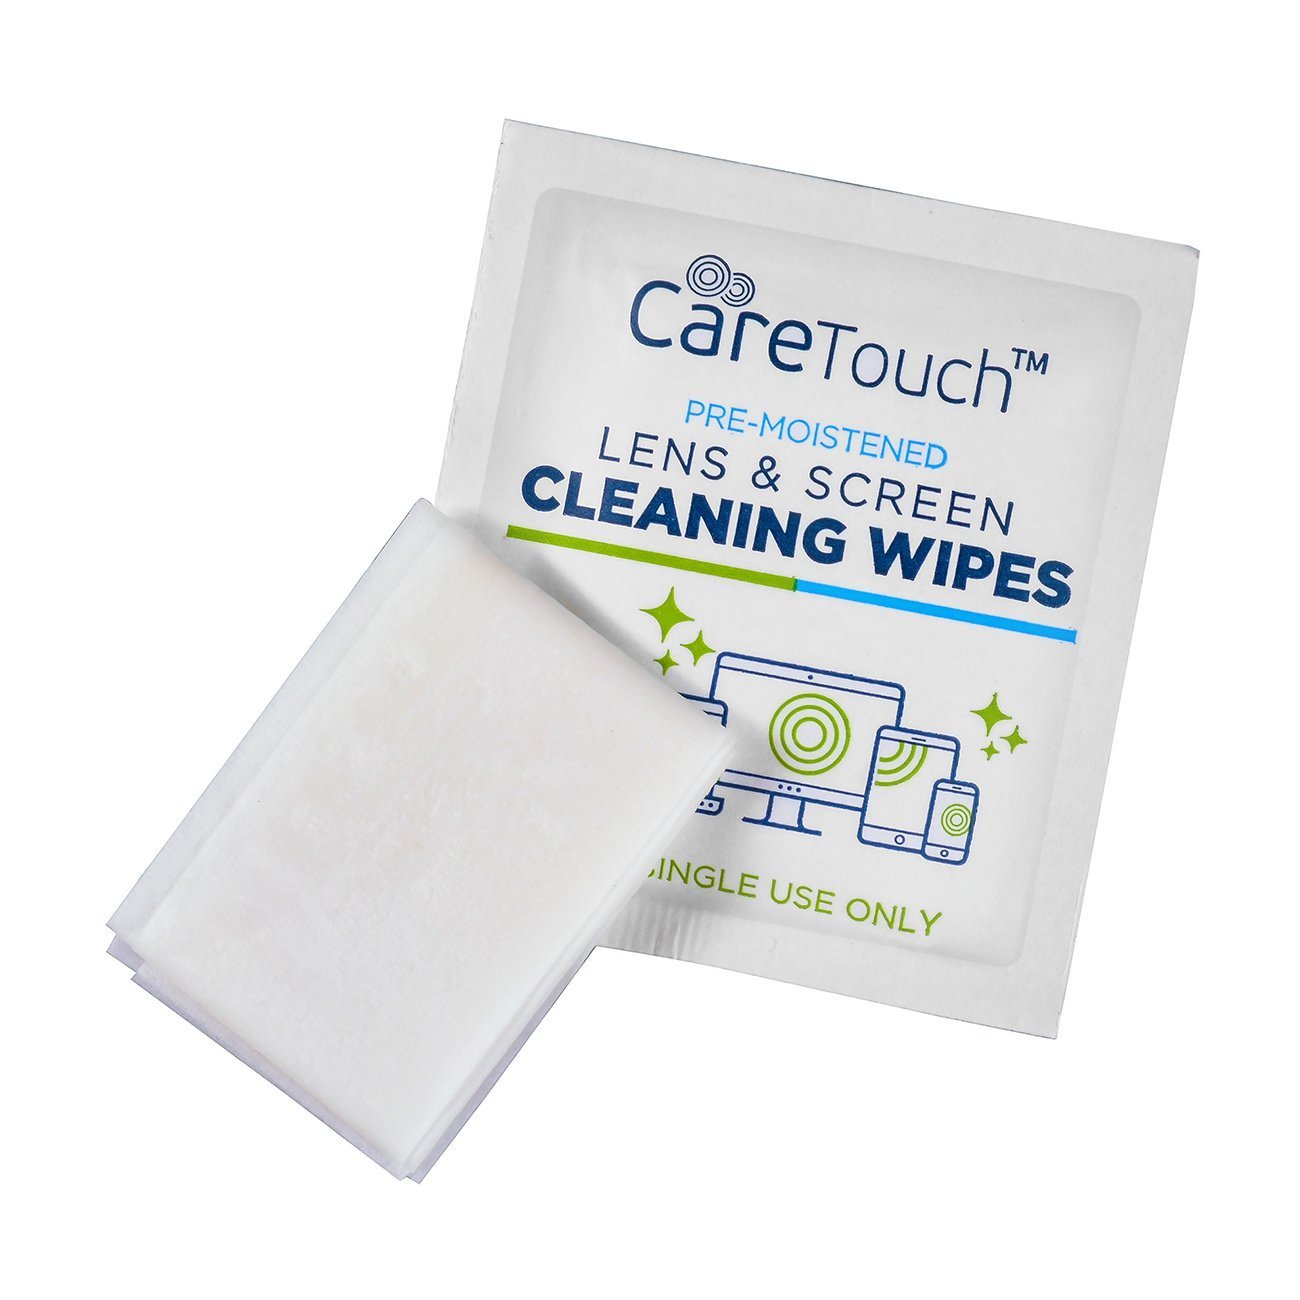
Care Touch Lens Cleaning Wipes ($17 on Amazon)
To keep your headset and lenses clean from dust and debris, use these pre-moistened wipes. These will ensure your headset stays clean, even with multiple users.
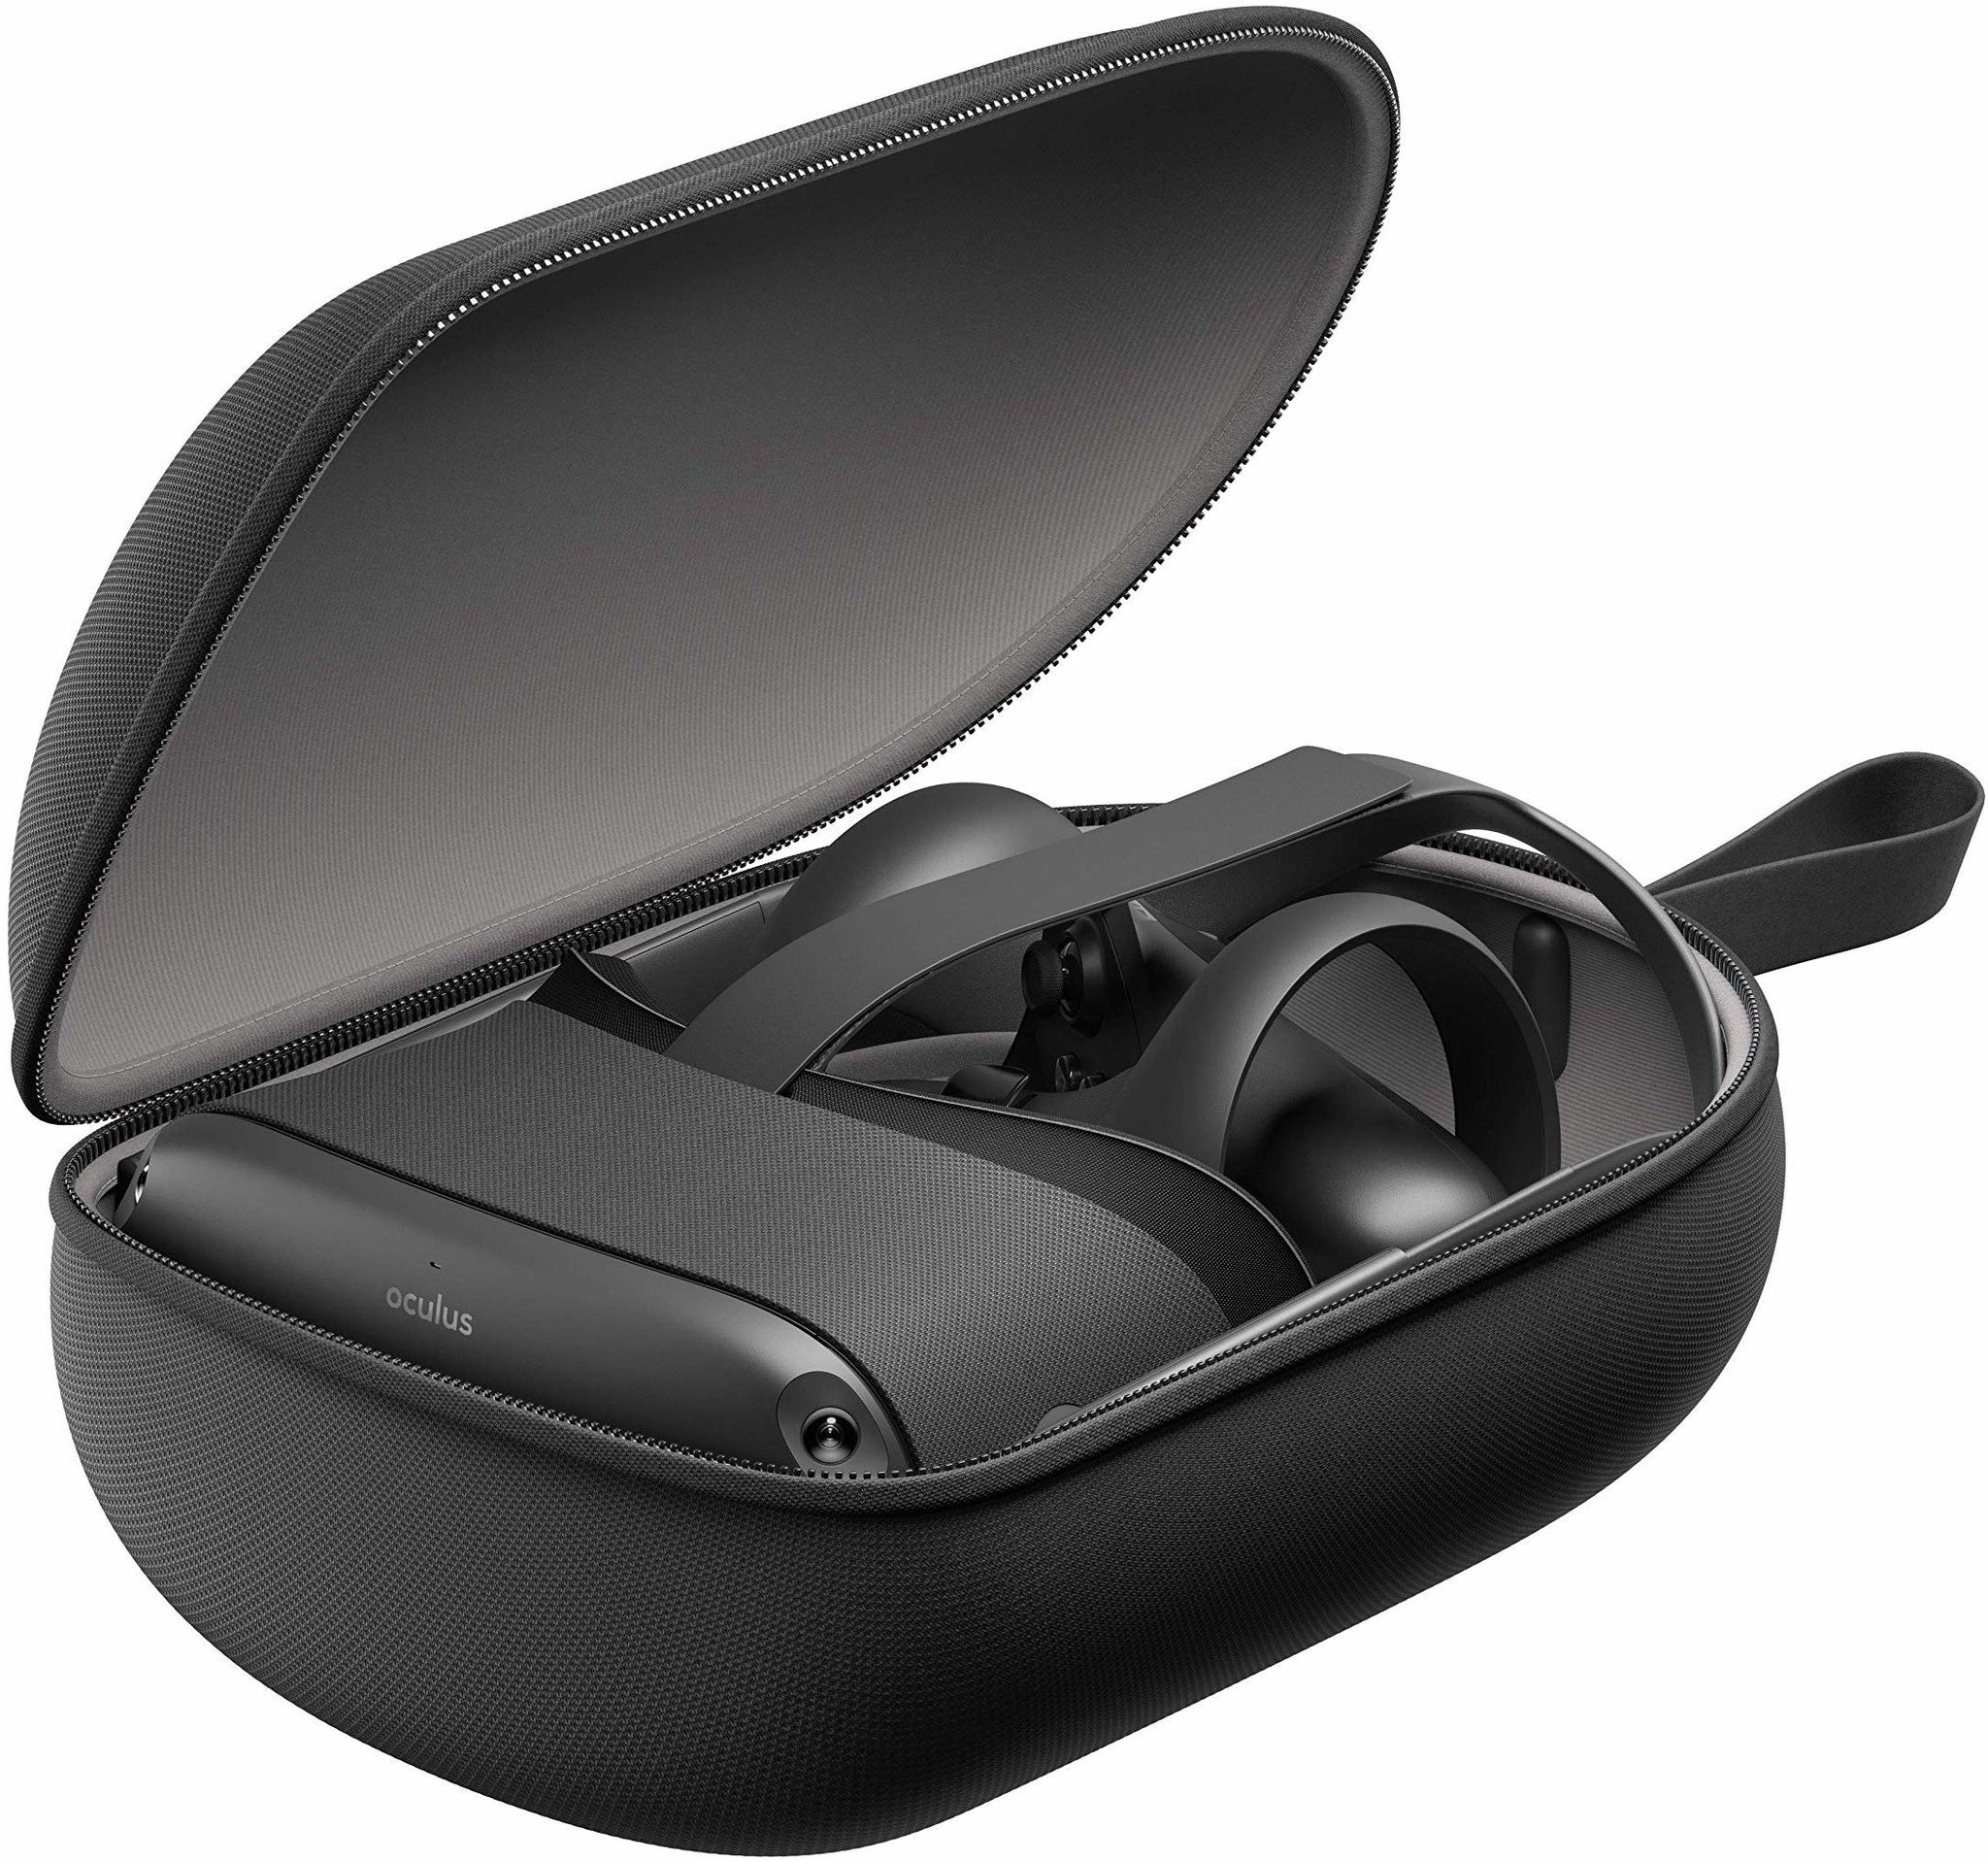
Oculus Quest Travel Case ($40 on Amazon)
This case will store your Quest along with the controllers and still have plenty of room for other accessories. The rigid case structure will protect your device when you're on the go.

Michael is Android Central's resident expert on wearables and fitness. Before joining Android Central, he freelanced for years at Techradar, Wareable, Windows Central, and Digital Trends. Channeling his love of running, he established himself as an expert on fitness watches, testing and reviewing models from Garmin, Fitbit, Samsung, Apple, COROS, Polar, Amazfit, Suunto, and more.
