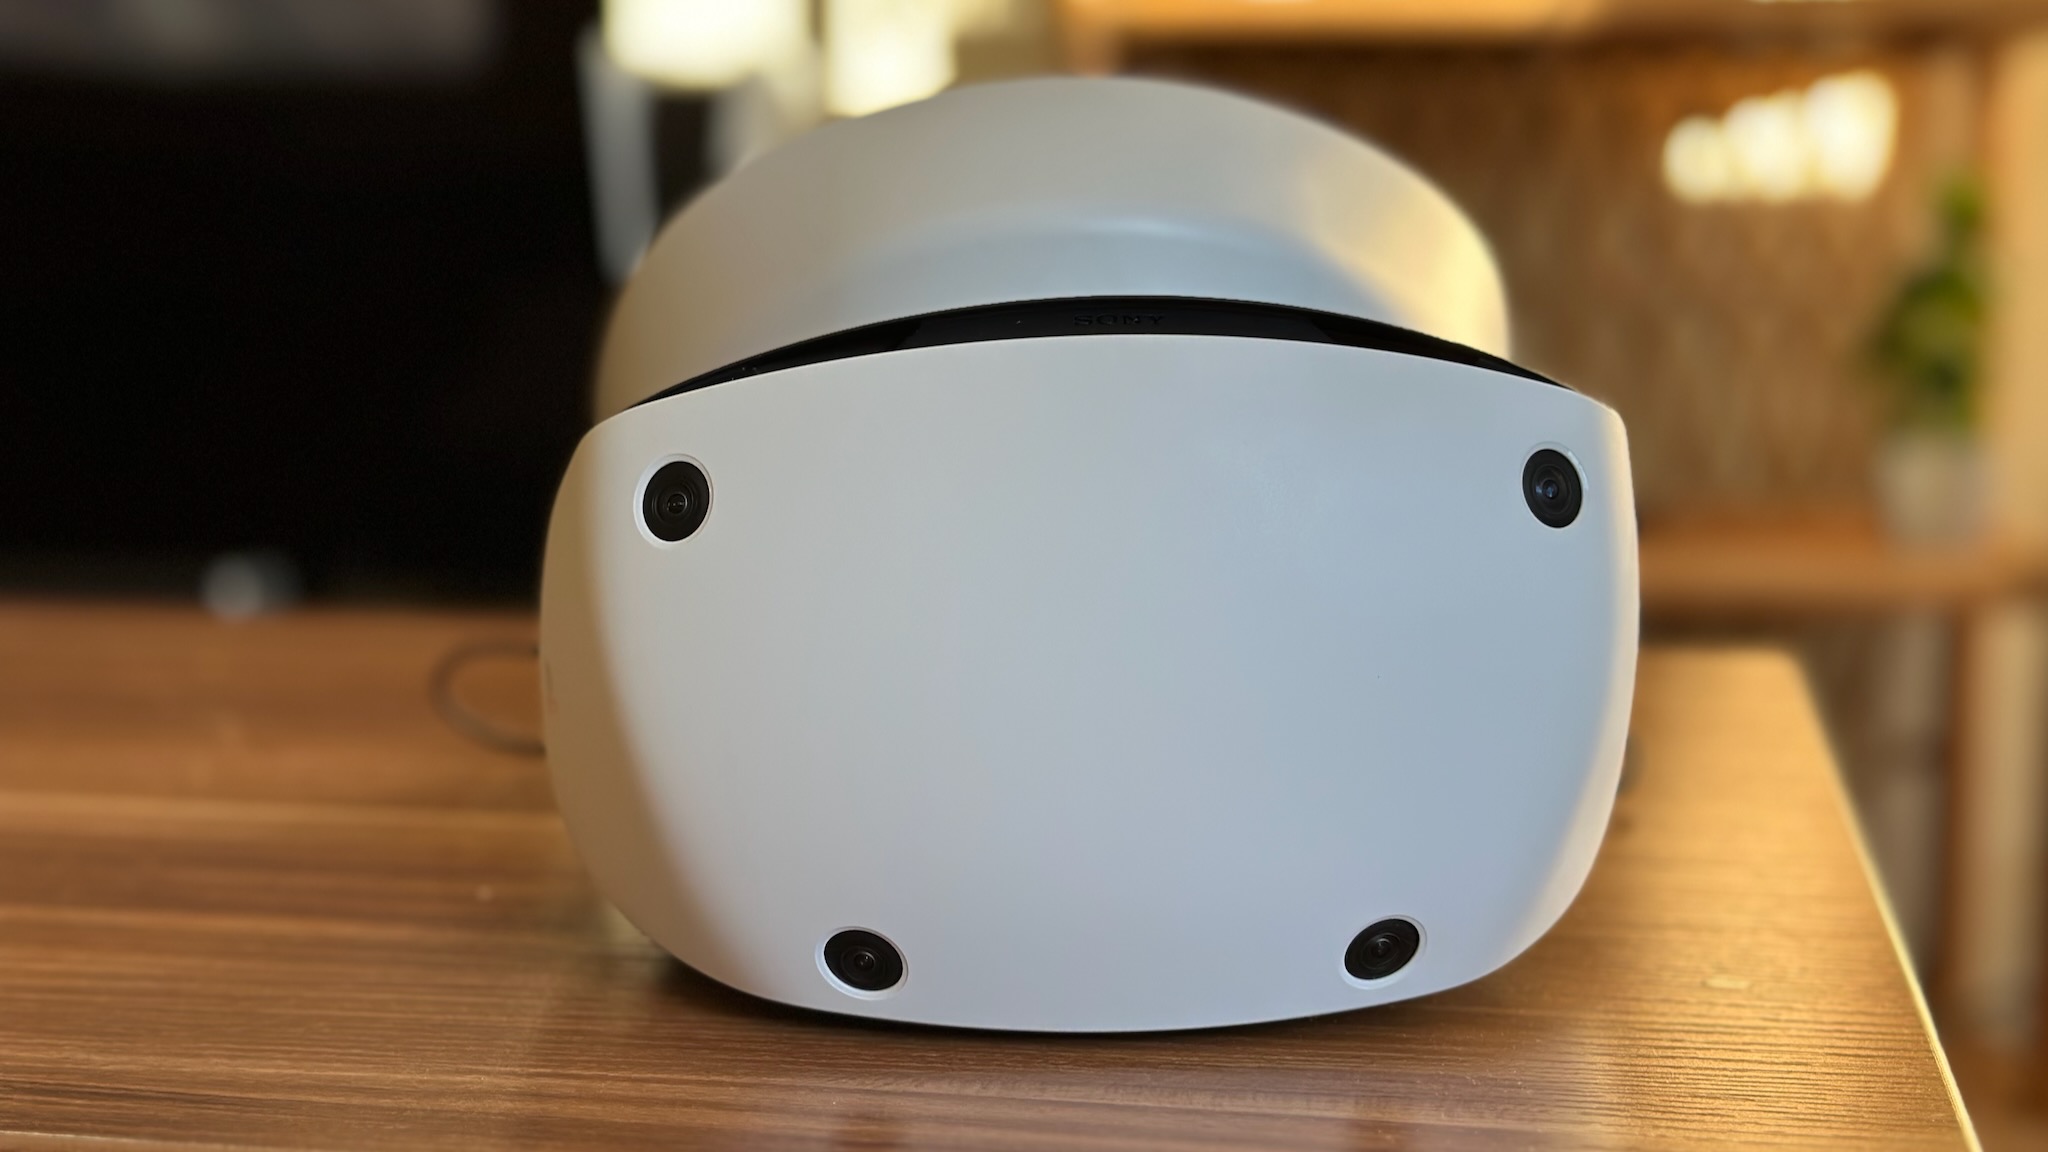
8 PS VR2 tips, tricks, and settings for new owners
Although the PlayStation VR2 lets you plug-and-play games effortlessly, a few hidden settings really improve your experience.
Get the latest news from Android Central, your trusted companion in the world of Android
You are now subscribed
Your newsletter sign-up was successful
The PlayStation VR2 arrives today (February 22), which means plenty of you will be eagerly unboxing the headset, setting it up, and diving straight into games — just like I did. It's designed to work pretty effortlessly out of the box without having to tweak settings or mod the device.
Since I've had the headset for a couple of weeks for my PS VR2 review, I've had enough time with it to find some hidden settings that make the overall experience a little better — as well as found some potential pitfalls to avoid. With that in mind, here are my PS VR2 tips and tricks for the best possible VR experience, along with the PS VR2 settings you should change!
Buy a cable adapter to free up the front slot
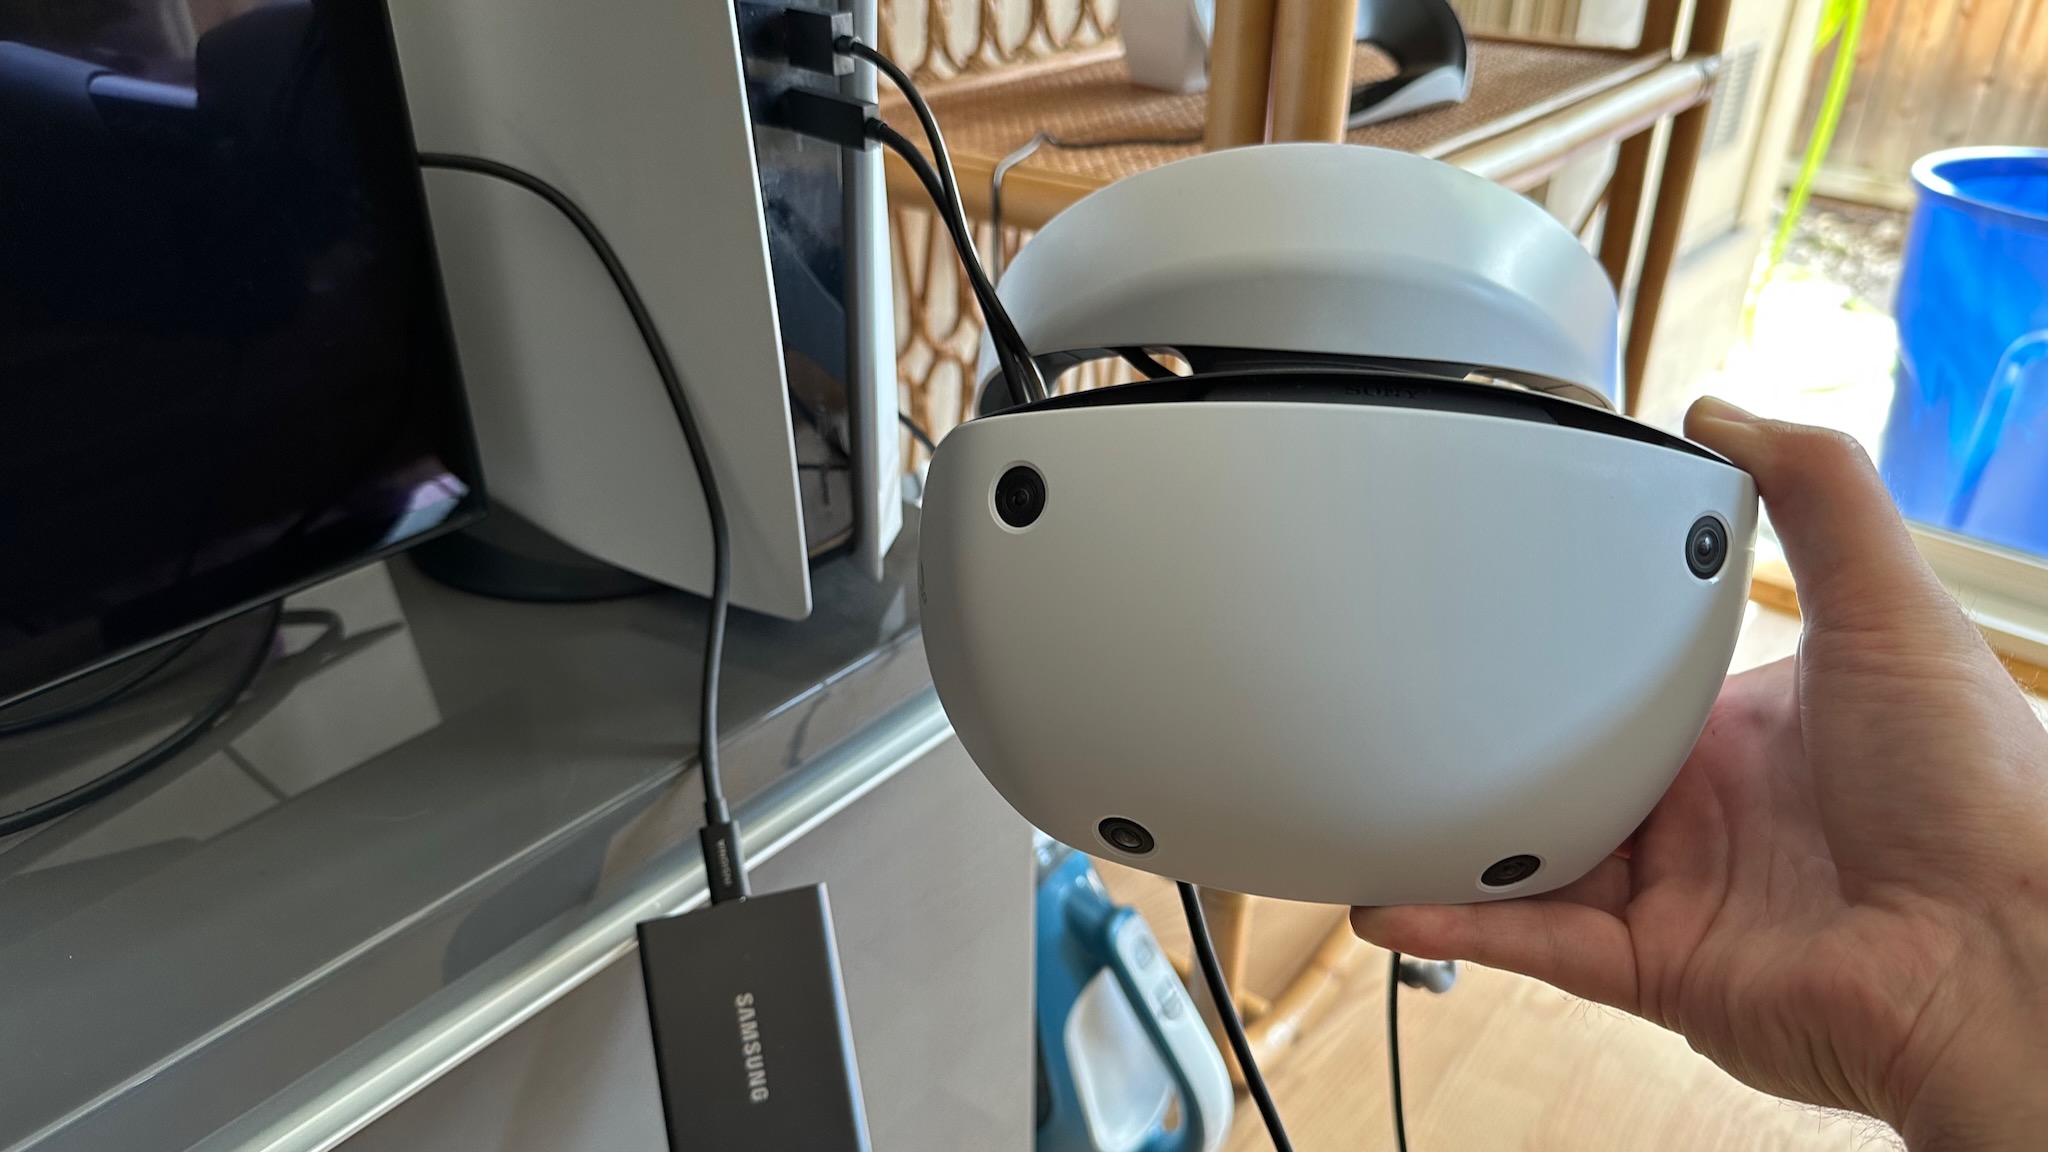
This may be a niche problem, but when I upgraded my PS5 storage, I bought a USB-C external hard drive that slotted into the front USB-C port with 10Gbps data transfer. The PS VR2 needs that USB-C port to work, and the only other fast-data ports are the two USB-A slots on the back of the PS5.
I ended up running to Best Buy and picking up an Insignia USB to USB-C 3.2 Gen 2 10Gbps adapter so I could plug my USB-C hard drive into a rear USB-A port without losing data speed for my terabyte of PS5 storage — leaving me plenty of room on the main drive for my new PS5 games.
If you also need an adapter cable, just make sure it hits 10Gbps so you get the same fast loading times you've come to expect for PS5 gaming. The more common 480Mbps standard won't cut it.
Keep your headset away from sunlight and hot areas
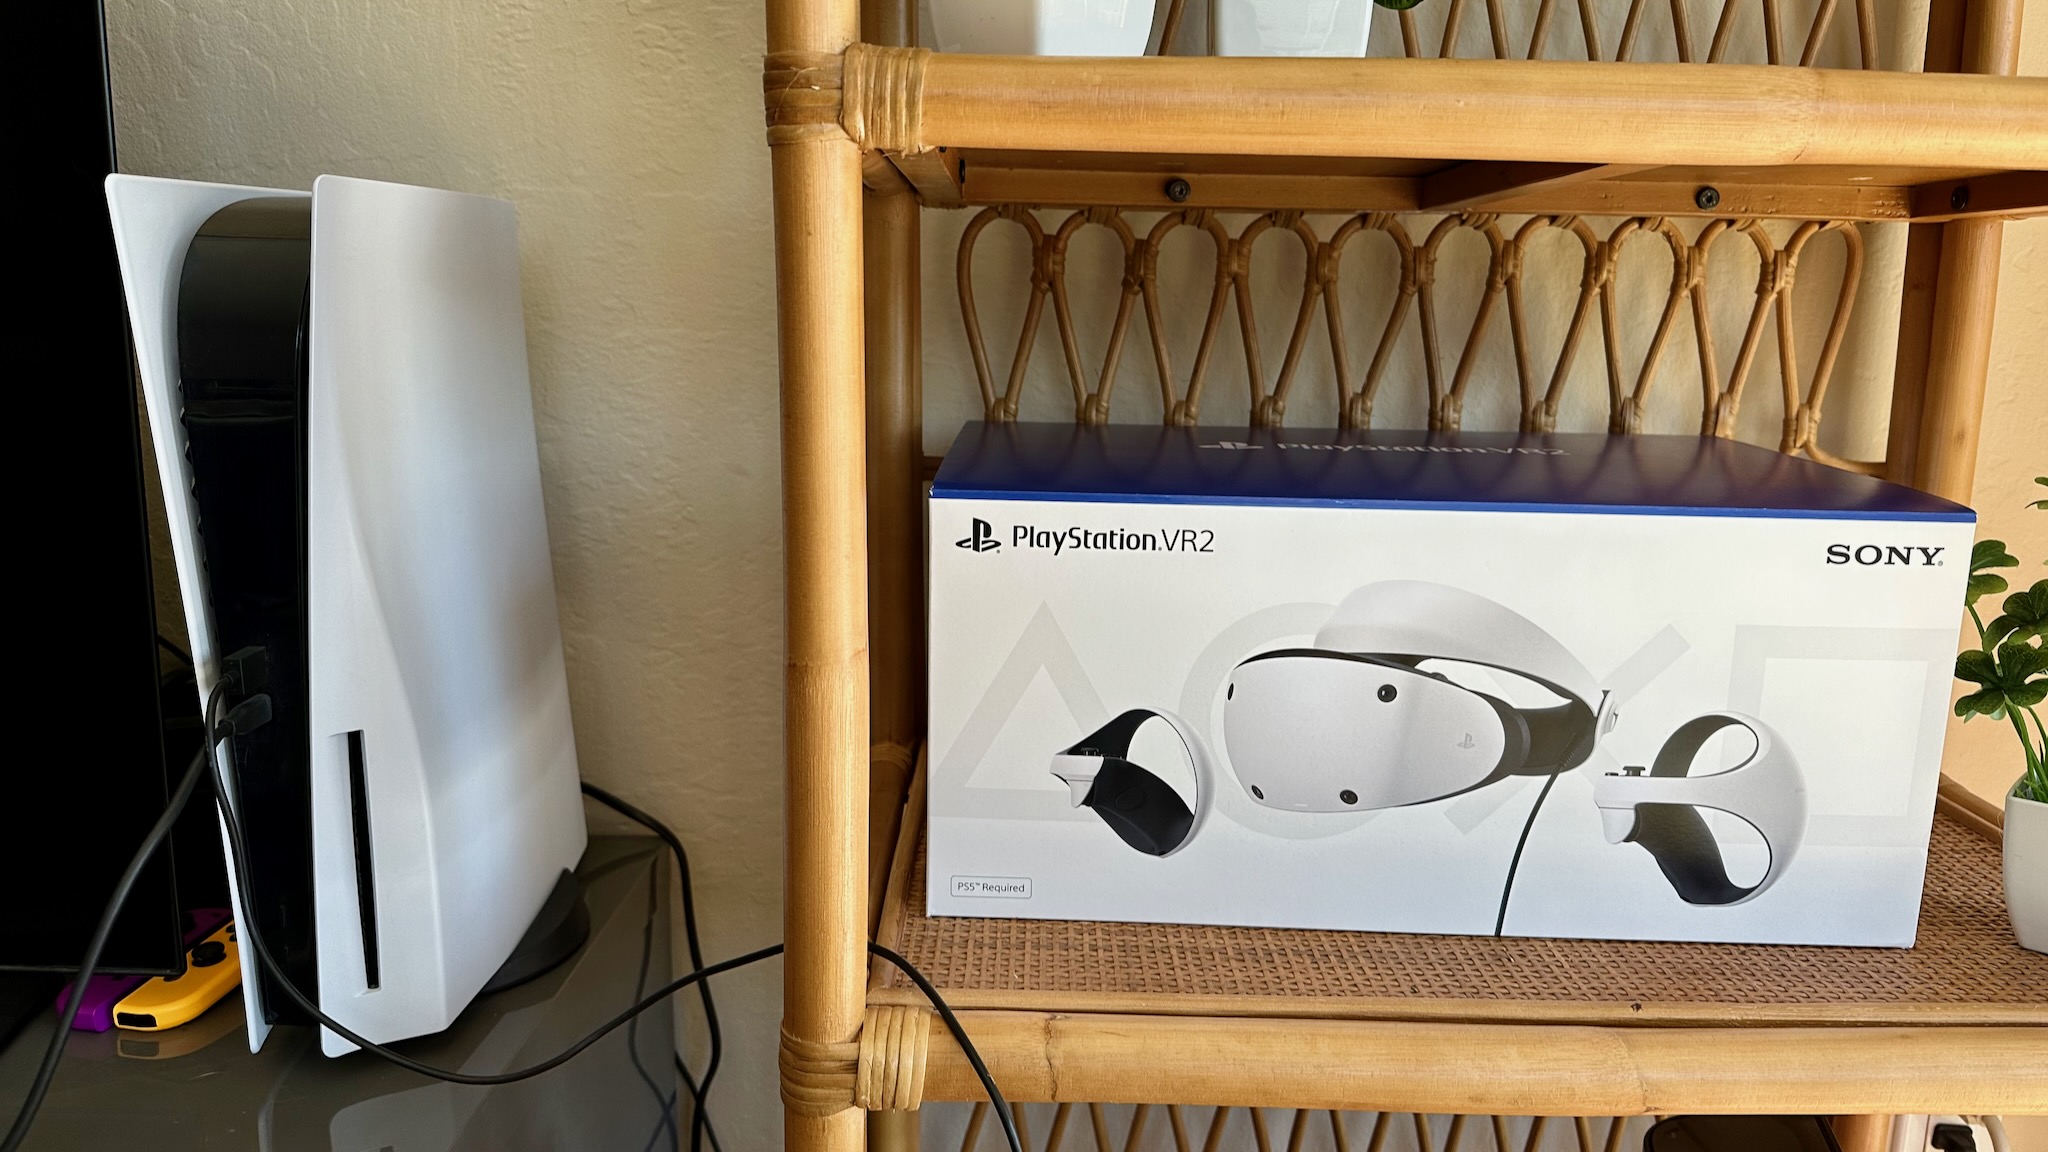
I wrote this warning post explaining the dangers of PS VR2 sun damage already, so I won't belabor the point too much. But in case you missed my PSA and haven't heard of the issue before, keep your PS VR2 away from direct sunlight, especially the lenses.
That link goes into greater detail, but essentially, any VR headset has lenses that magnify the display beneath them. Those lenses will capture and focus sun rays onto the display with dangerous intensity, permanently burning it with spots or streaks that can't be repaired — even after just a minute in the sunlight.
Get the latest news from Android Central, your trusted companion in the world of Android
So if you're unboxing your PS VR2 today, keep your headset away from windows and warn everyone else in the house not to move it somewhere where sun can touch it!
Lenses aside, Sony does warn you to keep the headset away from "heating appliances...direct sunlight, or areas that retain heat" because it can overheat the headset itself. You'll then have to turn off the headset, let it cool down, and try to provide "better ventilation" in you living room.
Adjusting your IPD and fit after set-up
During the initial set-up, the PS VR2 does an excellent job of guiding you on how to properly fit the halo strap to your head and then tuning the interpupillary distance (IPD) to match your eyes. If you switch profiles, it'll take the other person through the same guiding process.
After that, unless every user has the same IPD, you'd have to readjust the distance every time you switch users. Even with a consistent IPD, it's not always clear whether you have the right viewing angle on the lens itself; it's easy to have the headset slanted or tilted incorrectly without realizing it.
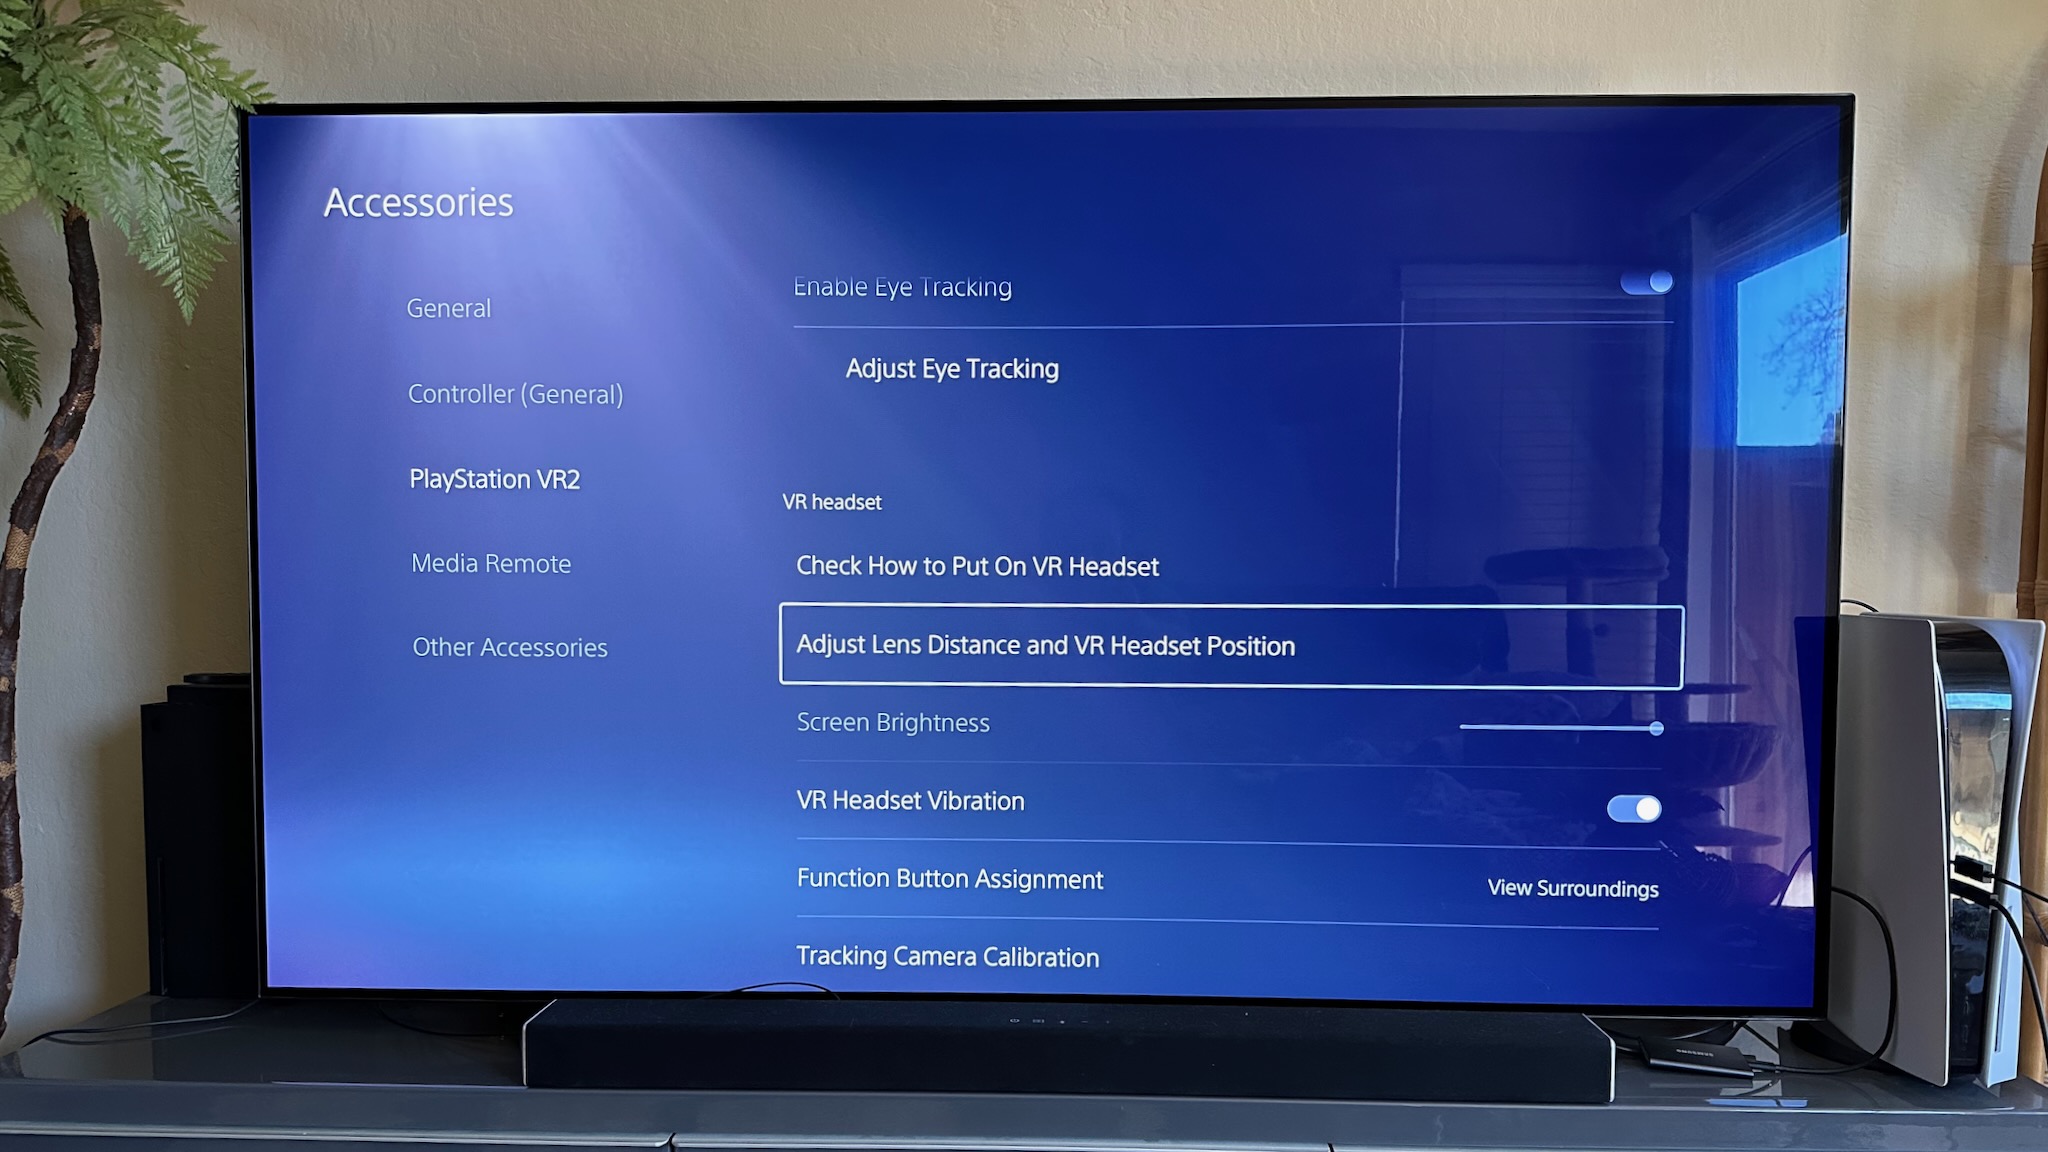
My recommendation is before every play session, go to Settings > Accessories > PS VR2 > Adjust lens distance and VR headset position. This will bring back the initial graphic showing if your eyes fall dead center in the lenses or not, as well as if the headset itself is off-center.
In that same menu, you'll find Check how to put on VR headset if you need a refresher on Sony's recommendations. Generally speaking, I aim to slide the rear support on my head's base for support, then slide the headset inwards and push it up or down for the right angle before tightening it to the correct fit.
Edit: After publishing this guide, I read Road To VR's tips and tricks guide and discovered you could pull up this same menu in the Quick Menu by double-tapping the PlayStation button and selecting Adjust visibility from this menu!
Turn on power saver settings
Unlike most VR headsets, the wired PS VR2 won't waste any battery life if you leave it idle along with the PS5. So you can have the headset shut down quickly or stay in standby mode as long as the console is on.
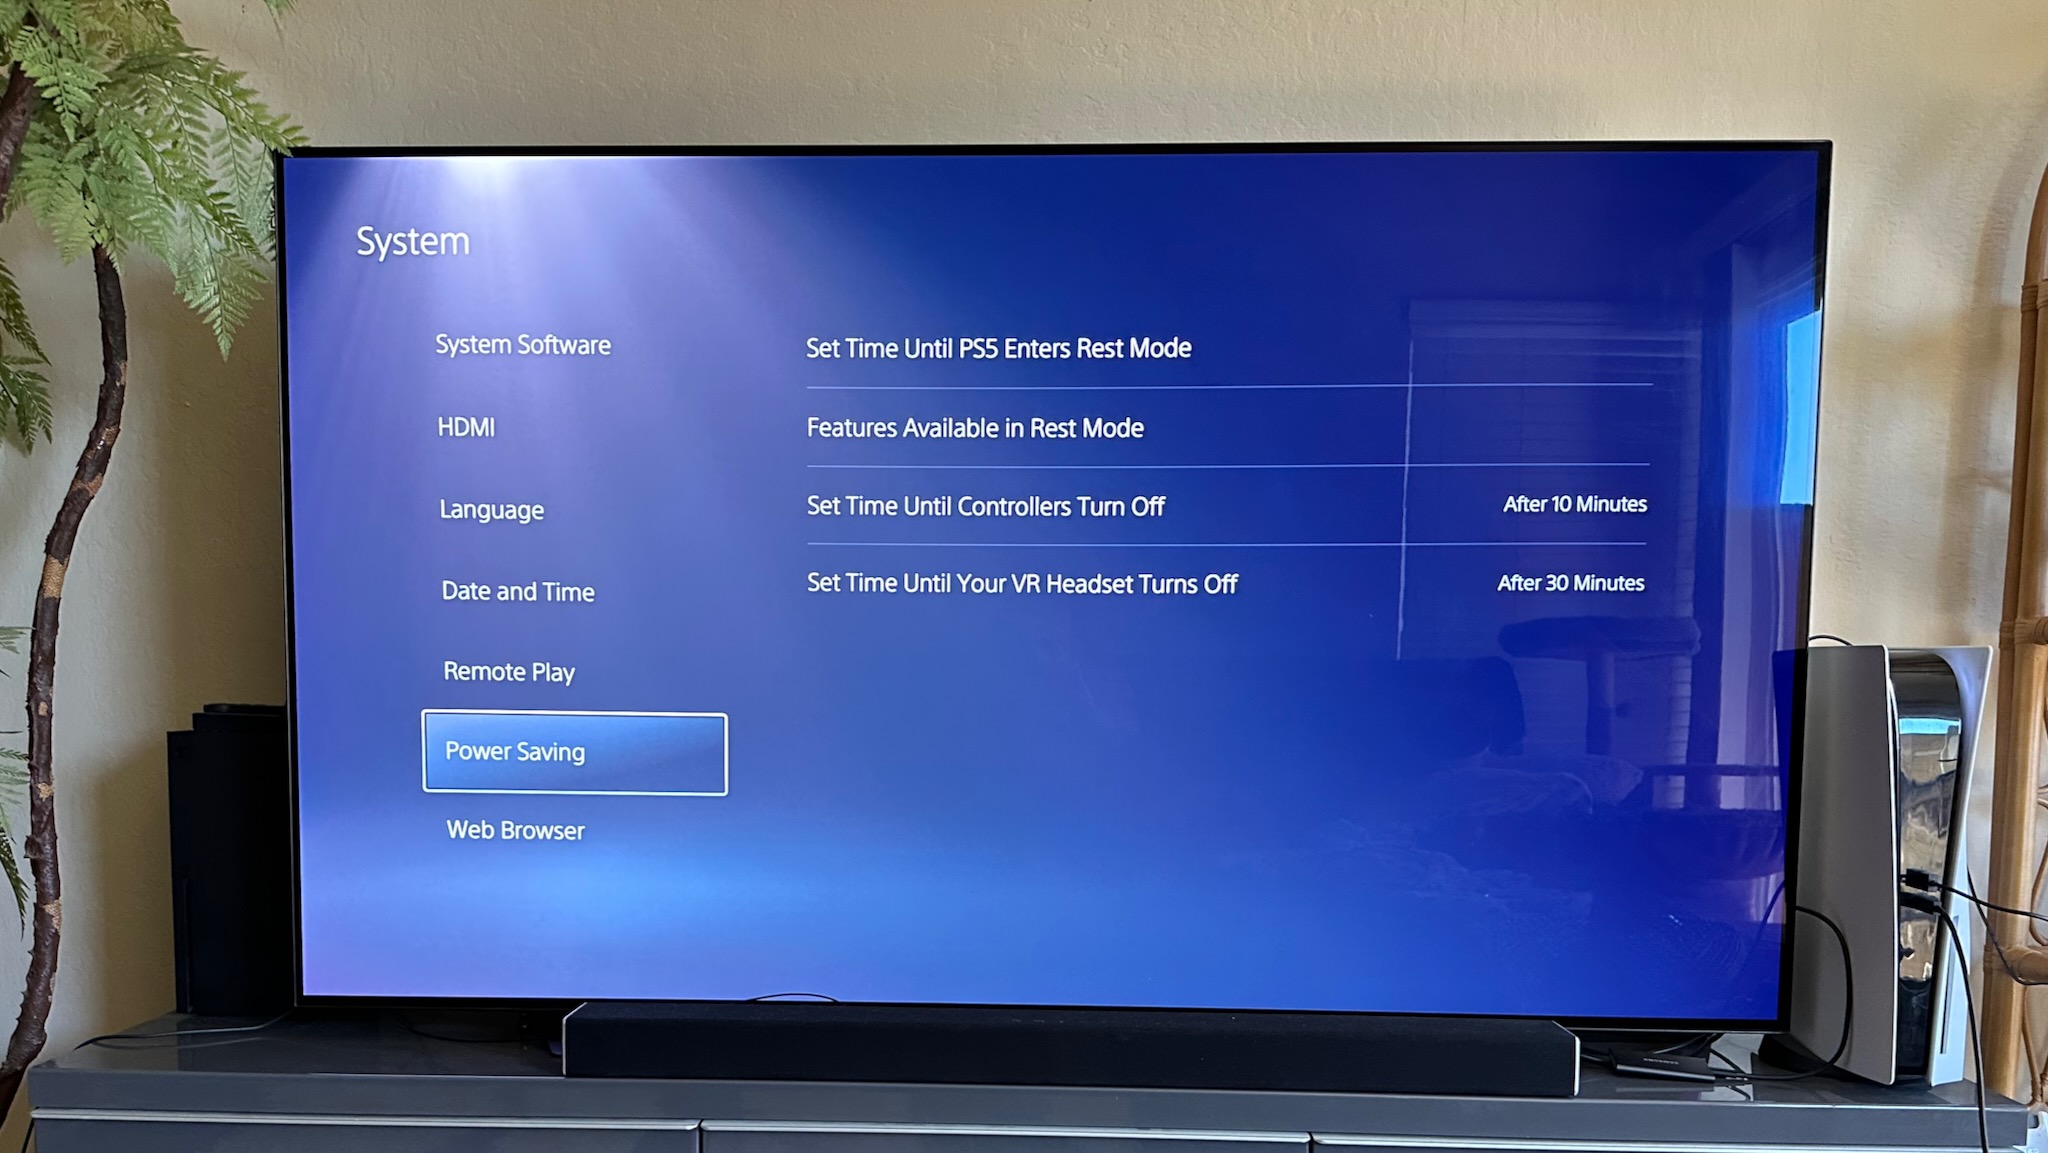
Go to Settings > Power Saving and you'll find options to Set time until your VR headset turns off or Until controllers turn off. You can choose 10, 30, or 60 minutes before shut-down, or set them to never turn off unless you manually press the PS VR2 power button or shut down the PS5.
Whatever you do with the headset, we recommend setting the Sense controllers to a 10-minute shutdown limit. The built-in lithium batteries only last about 3–5 hours per charge, and once on, the controllers stay on even when the headset shuts down because they're connected to the console. By putting them on a timer, you'll preserve battery life if you leave your headset idle for an hour, and also make sure your DualSense turns off if you used it to turn the console on.
As a side note, you can also check out the controller settings in Accessories > Controller (General) and choose to downgrade the Vibration Intensity or Trigger Effect Intensity, since using the haptic motor less could theoretically help your controllers last longer. Personally, I'm sticking to Strong for the best immersion, but I just wanted to point out the option.
Clean your PS VR2 headset safely
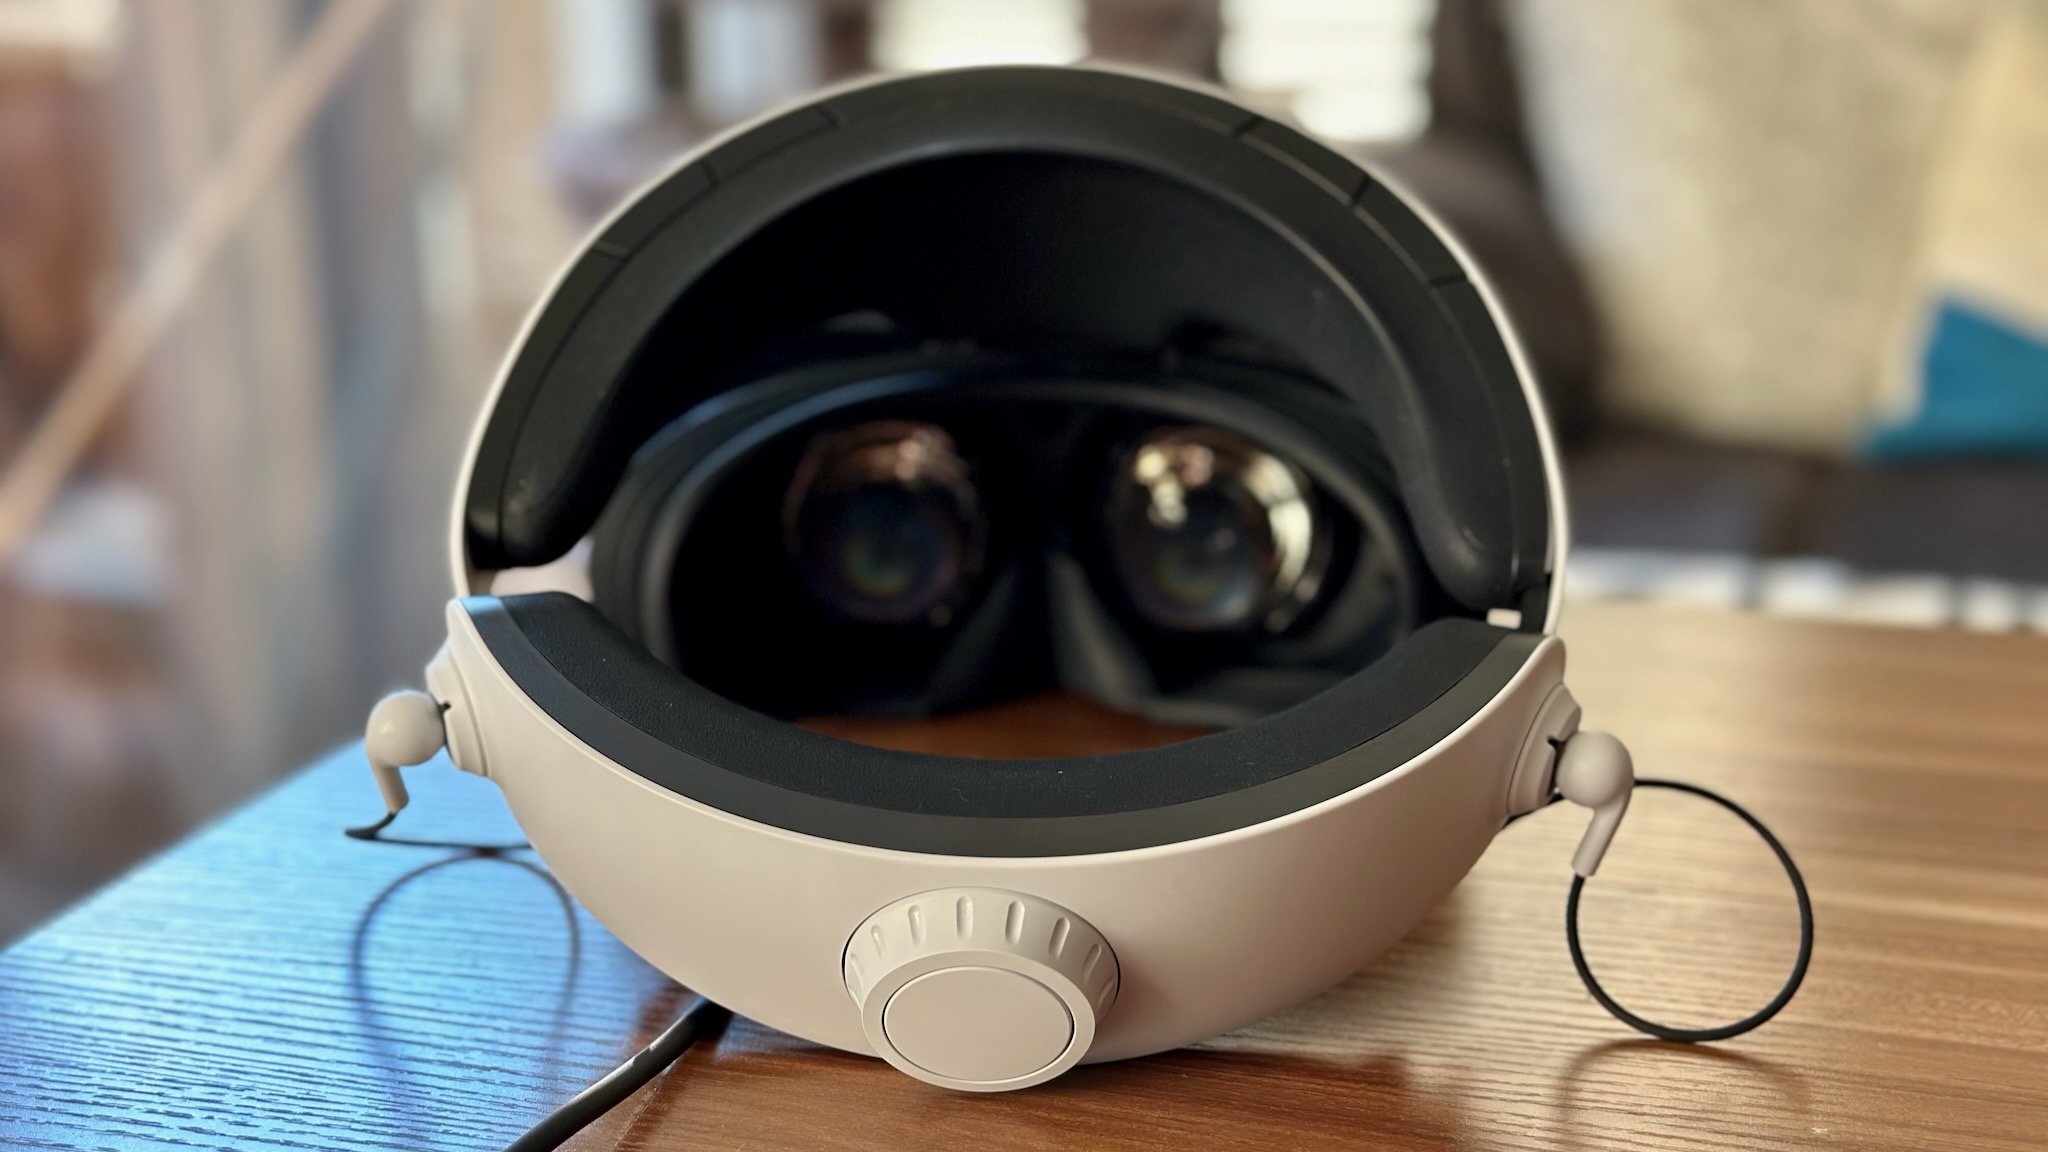
You'll find these instructions on page 18 of the PlayStation VR2 instruction manual, but in case you skipped past this section to start gaming — we all know you did — make sure not to clean the headset (especially the lenses) with alcohol, paper towels, tissues, or any cleaning wipes with chemicals. They'll damage the lenses and trap your face inside an enclosed space so your eyes and nose are exposed to those chemicals.
PlayStation says to use "a soft, dry cloth made specifically for cleaning lenses." It warns that "water droplets or direct on the lenses may cause deterioration or degradation." That's why you shouldn't clean with a wet cloth, but also why you should try to regularly wipe the lenses to remove whatever sweat and grime has appeared there over time.
It also recommends you clean the headset and ports with a dry cloth and remove dust from the vents with a handheld vacuum cleaner. You can clean the light shield with water, but only after removing it from the headset entirely first. You can then reattach it after it's cleaned and dried.
Finding and organizing your PS VR2 games
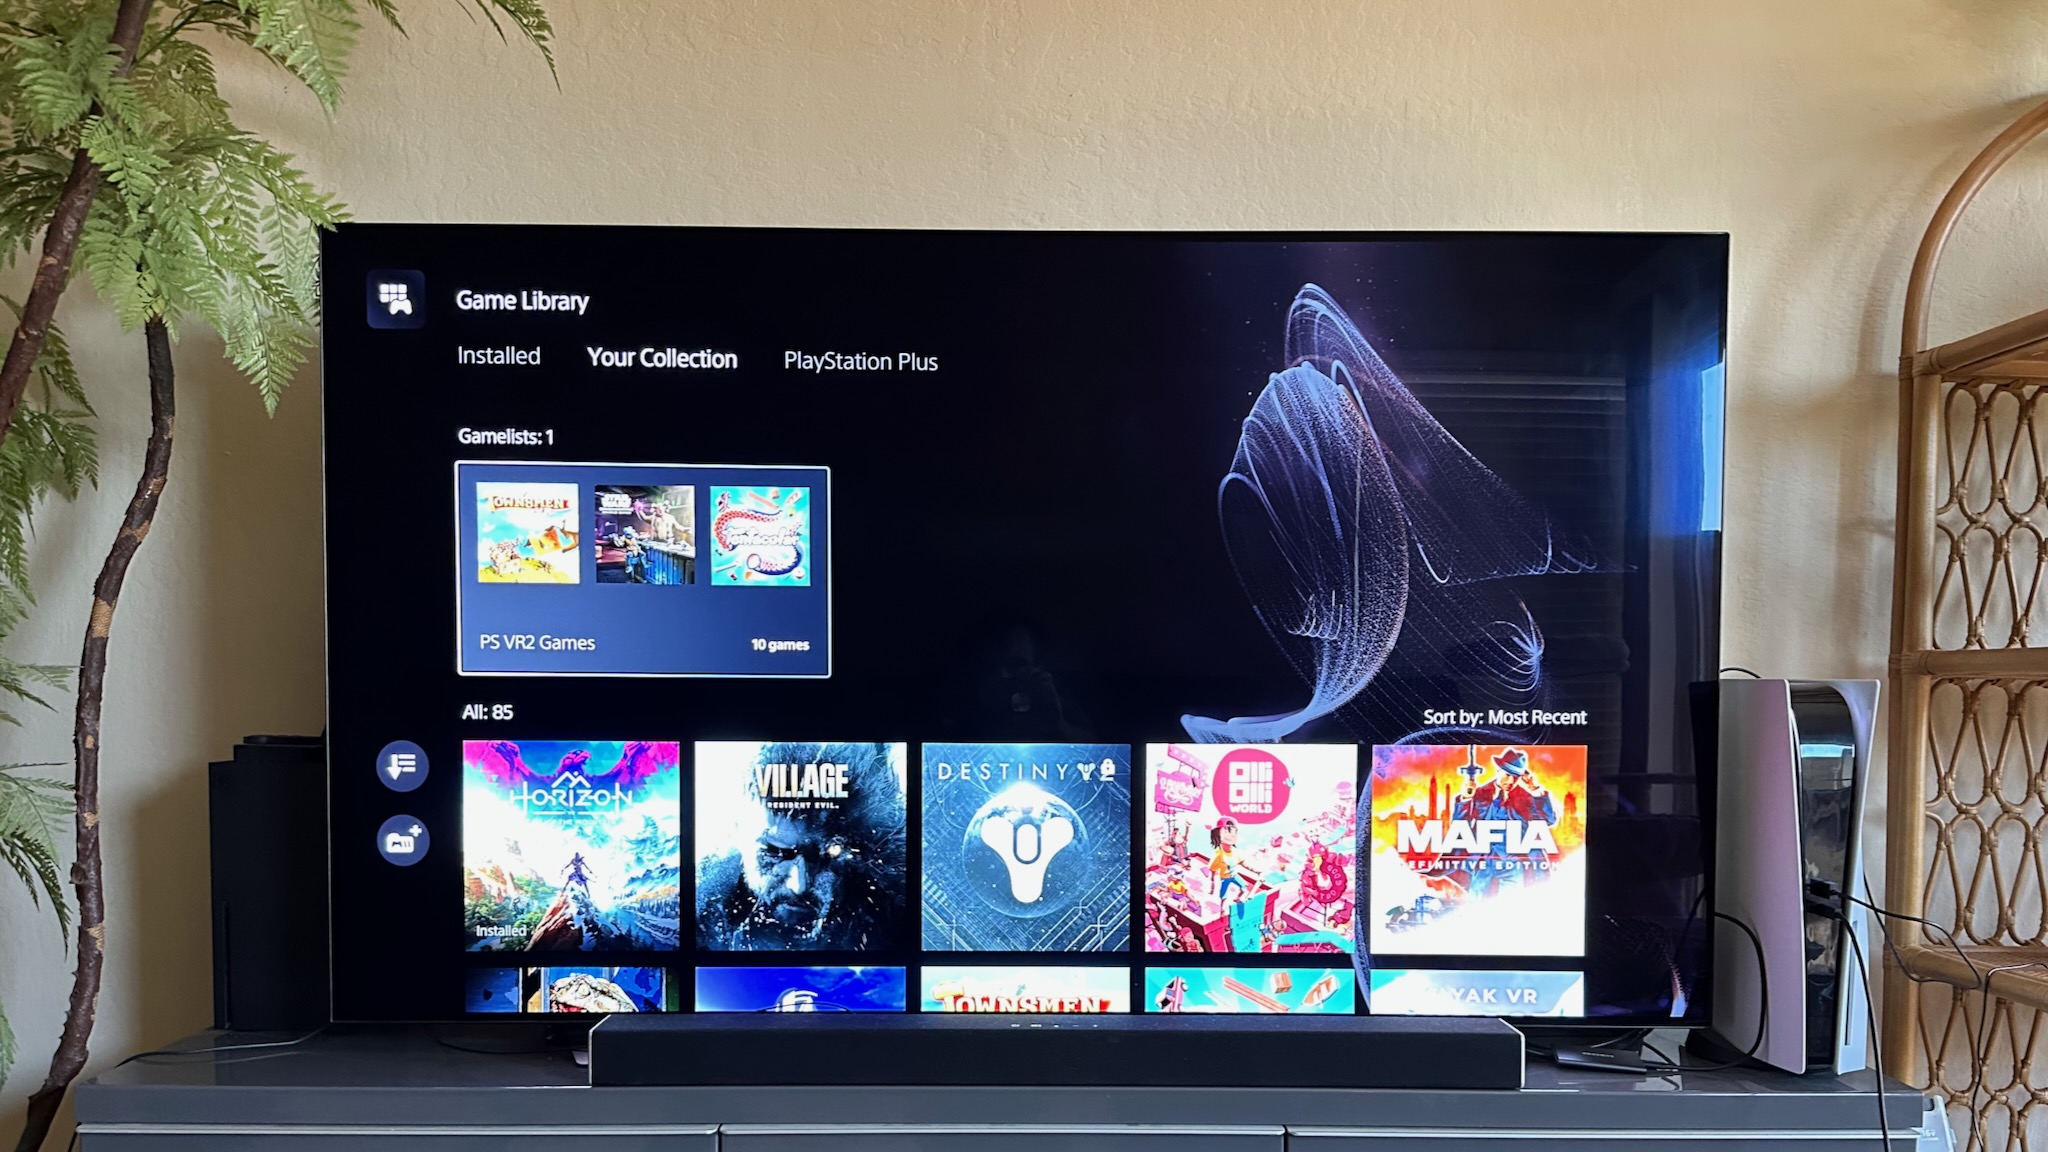
The PlayStation Store is chock-full of PSVR 1 games, some of which have free PS VR 2 upgrades, but most of which are definitely last-generation only. Beyond the obvious games like Horizon Call of the Mountain, Gran Turismo 7, and Resident Evil Village, you may not be sure how to find other options beyond searching for them by name.
Go to the PlayStation Store on your console, scroll up once and right to Browse, and select the Sort and Filter icon on the left-hand column. Select the VR option, then PS VR2. DON'T get fooled by any games labeled "PSVR."
As of publication, there are already 45 PS VR2 games to buy, and no doubt that number will skyrocket in the coming weeks as more developers port their Quest games over to this new, more powerful console.
Because the PS VR2 uses the same PS5 UI as always, you'll see "2D" games next to your VR games on the home screen. Any actual VR games show a white headset icon next to the name; the rest will open in Cinematic Mode: a 2D window inside the headset (more on that next).
If you want to keep your VR-only games organized, I recommend creating a Gamelist in Game Library > Your Collection and adding any new VR games you buy to it. That way, when you put on your headset, you don't have to search through your whole library every time you're looking for something new to play!
Cinematic Mode tips
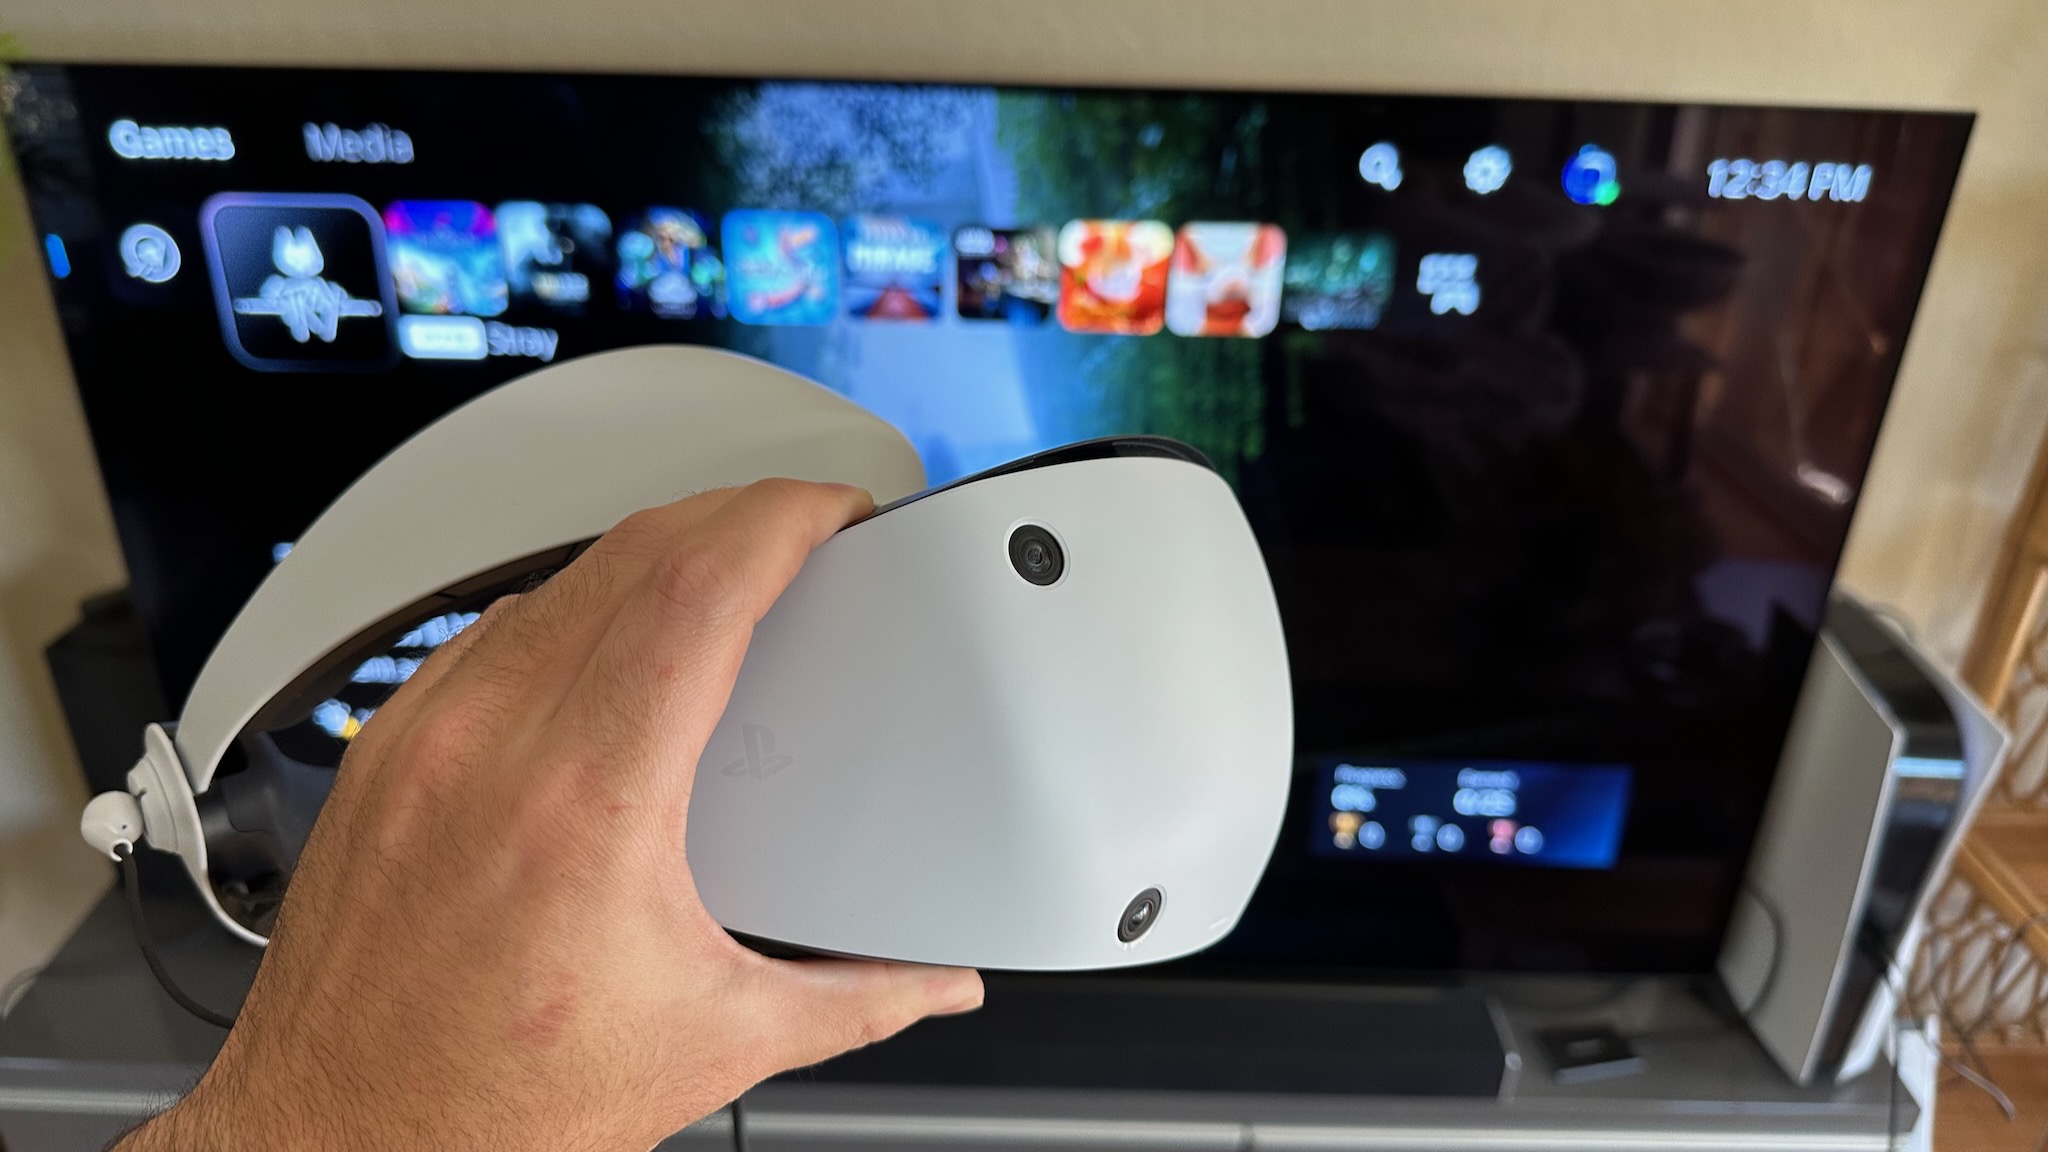
One unexpected perk of the PS VR2 is that you can essentially use it as a 120Hz monitor for your favorite non-VR PS5 games. Just put on your headset, select a game, and play using the DualSense controller. If you share a living room space, you can enjoy some PS5 gaming while your roommate or family member watches TV or plays something on another console.
Go to the Accessories > PS VR2 settings and Adjust screen size for Cinematic Mode. By default it's relatively compact so you can see everything in the lenses' center "sweet spot," but you can widen it for a more immersive experience if you prefer!
There is a bit of controversy and confusion on Reddit about the 120Hz cinematic mode setting, which appears to be disabled by default. In truth, as far as I can tell, 120Hz should work so long as your TV supports 120Hz. But I might be mistaken about this, so I'll show the steps for "fixing" the problem, which especially applies if you don't have a 120Hz TV.
In Settings, go to Screen and Video > Video Output > 120 Hz Output and switch from Automatic to Off. Then, go to Accessories > PS VR2 > Video Output > Output 120Hz Mode to VR Headset, which is grayed out unless you turn off that first setting, and toggle it on.
This setting notes that this setting "outputs 120Hz video to your headset even if the HDMI device that your PS5 is connected to doesn’t support output," and that if you enable it, "the video won’t output to your HDMI device even if you take off your headset while outputting 120Hz video."
So it seems clear this setting is specifically for older sets that aren't 4K 120Hz TVs, and that it could mess up your standard output once you're done with VR gaming. But if you're not getting 120Hz performance even with a compatible TV, you can try this setting to see if it helps.
Buy the Sense Controller Charging Station
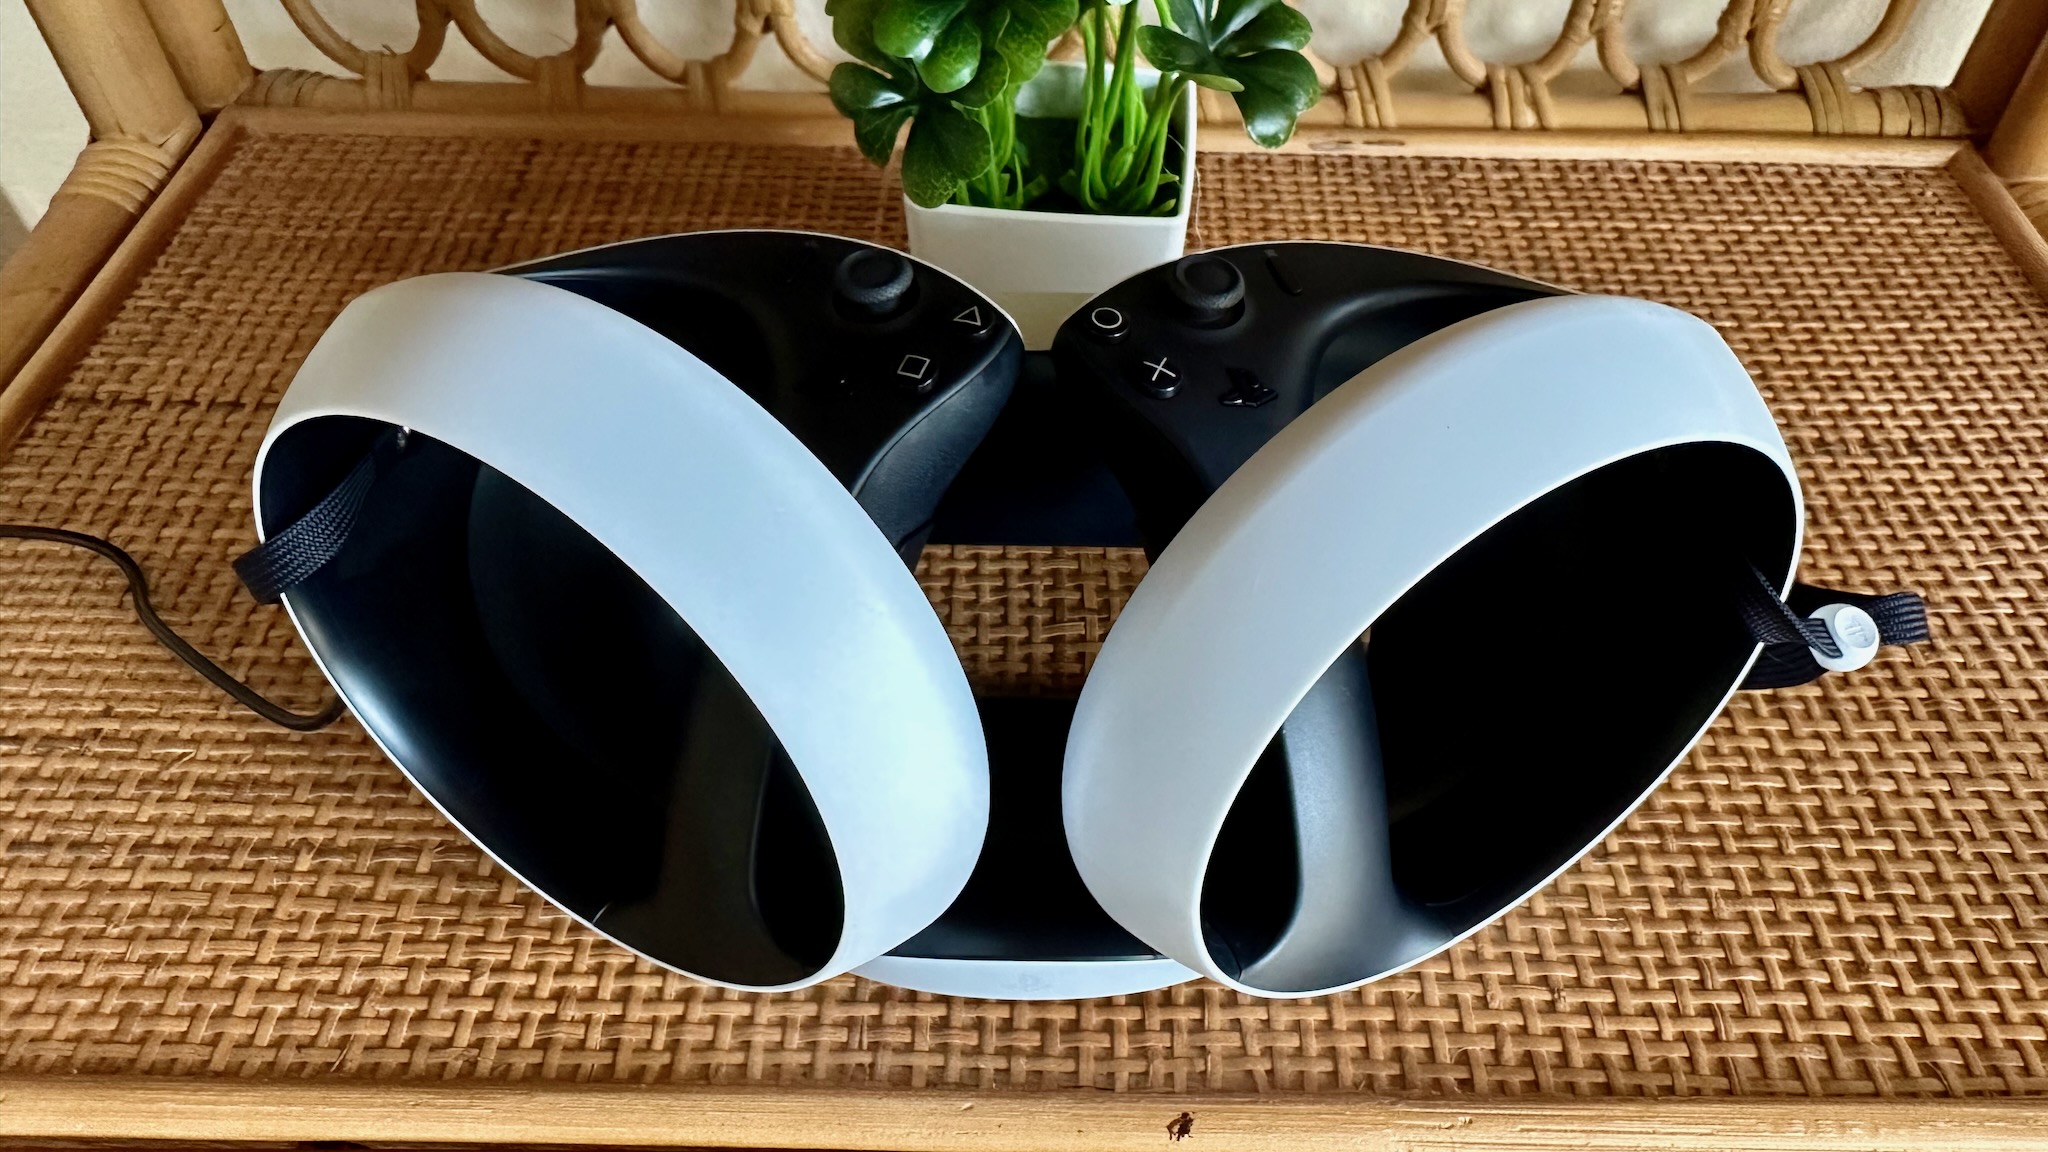
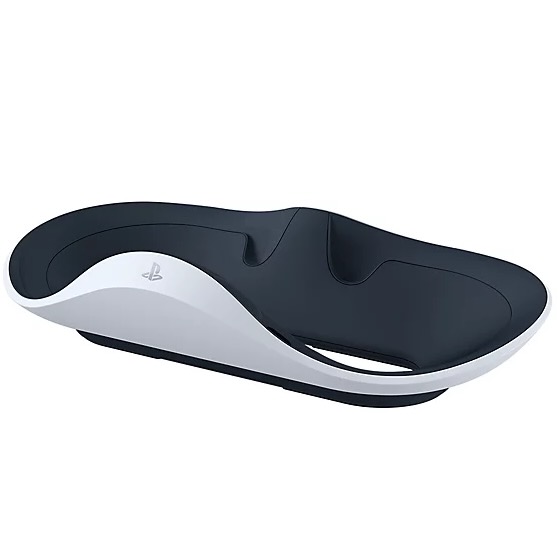
I promise I'm not just trying to sell you something here. The Sense Controller Charging Station is a $50 dock that lets you charge both controllers simultaneously, and it's arguably pretty vital to a painless PS VR2 experience.
Without it, the controllers — which last about 3 to 5 hours, give or take — need to be charged separately by two USB cables with the correct 9V power, most likely via two USB ports on the PS5 itself. That means ensuring you leave your PS5 in rest mode every time you finish a play session so they'll recharge, and leaving your controllers and meters-long cables just sitting around on your entertainment center for 90 minutes. You'll drive any neat-freak roommates or loved ones batty that way.
With the dock, you attach charging adaptors to the controllers' slots and simply place them onto the charging ports of the Station. Both charge simultaneously from one outlet, and then sit there neatly after the recharge is complete. Now you only have one PS5-to-PS VR2 cable to worry about, and you can save your charging cable for your DualSense controllers when they need the boost.
You're ready to dive in!
There are a couple other common-sense PS VR2 tips and tricks I can recommend. Take very good care of the cable: avoid bending, stepping on, or yanking it whenever possible. It's a proprietary cable that attaches directly into the headset, and the PS VR2 literally can't work without it. I've asked Sony what repair options will be available, but have yet to hear back; for now, just err on the side of caution!
Plus, you may want to upgrade the somewhat-uncomfortable packaged earbuds for some proper PS5 headphones or earbuds, assuming you can afford it and don't mind the extra weight. But I didn't want two of my tips to be about buying things, and this is definitely less vital than the Charging Station.
Lastly, in case you missed it, the function button on the headset bottom is incredibly useful for enabling passthrough at any time, so you can check your surroundings without removing the headset. But if, for some reason, you want to remap it as a "mute microphone" button for your multiplayer games, you'll find that option in the Accessories > PS VR2 settings too.
Otherwise, you're hopefully on a great path to make your PS VR2 experience even better! Now dive into the best PS VR2 launch games and have fun!
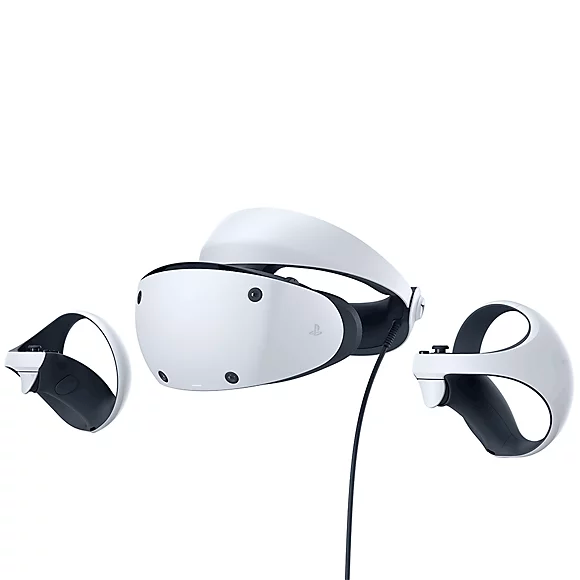
With a wide OLED display, highly accurate controllers, snug design, and its exciting new eye-tracking tech, the PS VR2 employs the power of the PS5 hardware to tremendous effect.

Michael is Android Central's resident expert on wearables and fitness. Before joining Android Central, he freelanced for years at Techradar, Wareable, Windows Central, and Digital Trends. Channeling his love of running, he established himself as an expert on fitness watches, testing and reviewing models from Garmin, Fitbit, Samsung, Apple, COROS, Polar, Amazfit, Suunto, and more.
