How to control your privacy settings on Strava
Strava's privacy controls ensure that only people you trust see your activity and that your maps don't lead to where you live.

Get the latest news from Android Central, your trusted companion in the world of Android
You are now subscribed
Your newsletter sign-up was successful
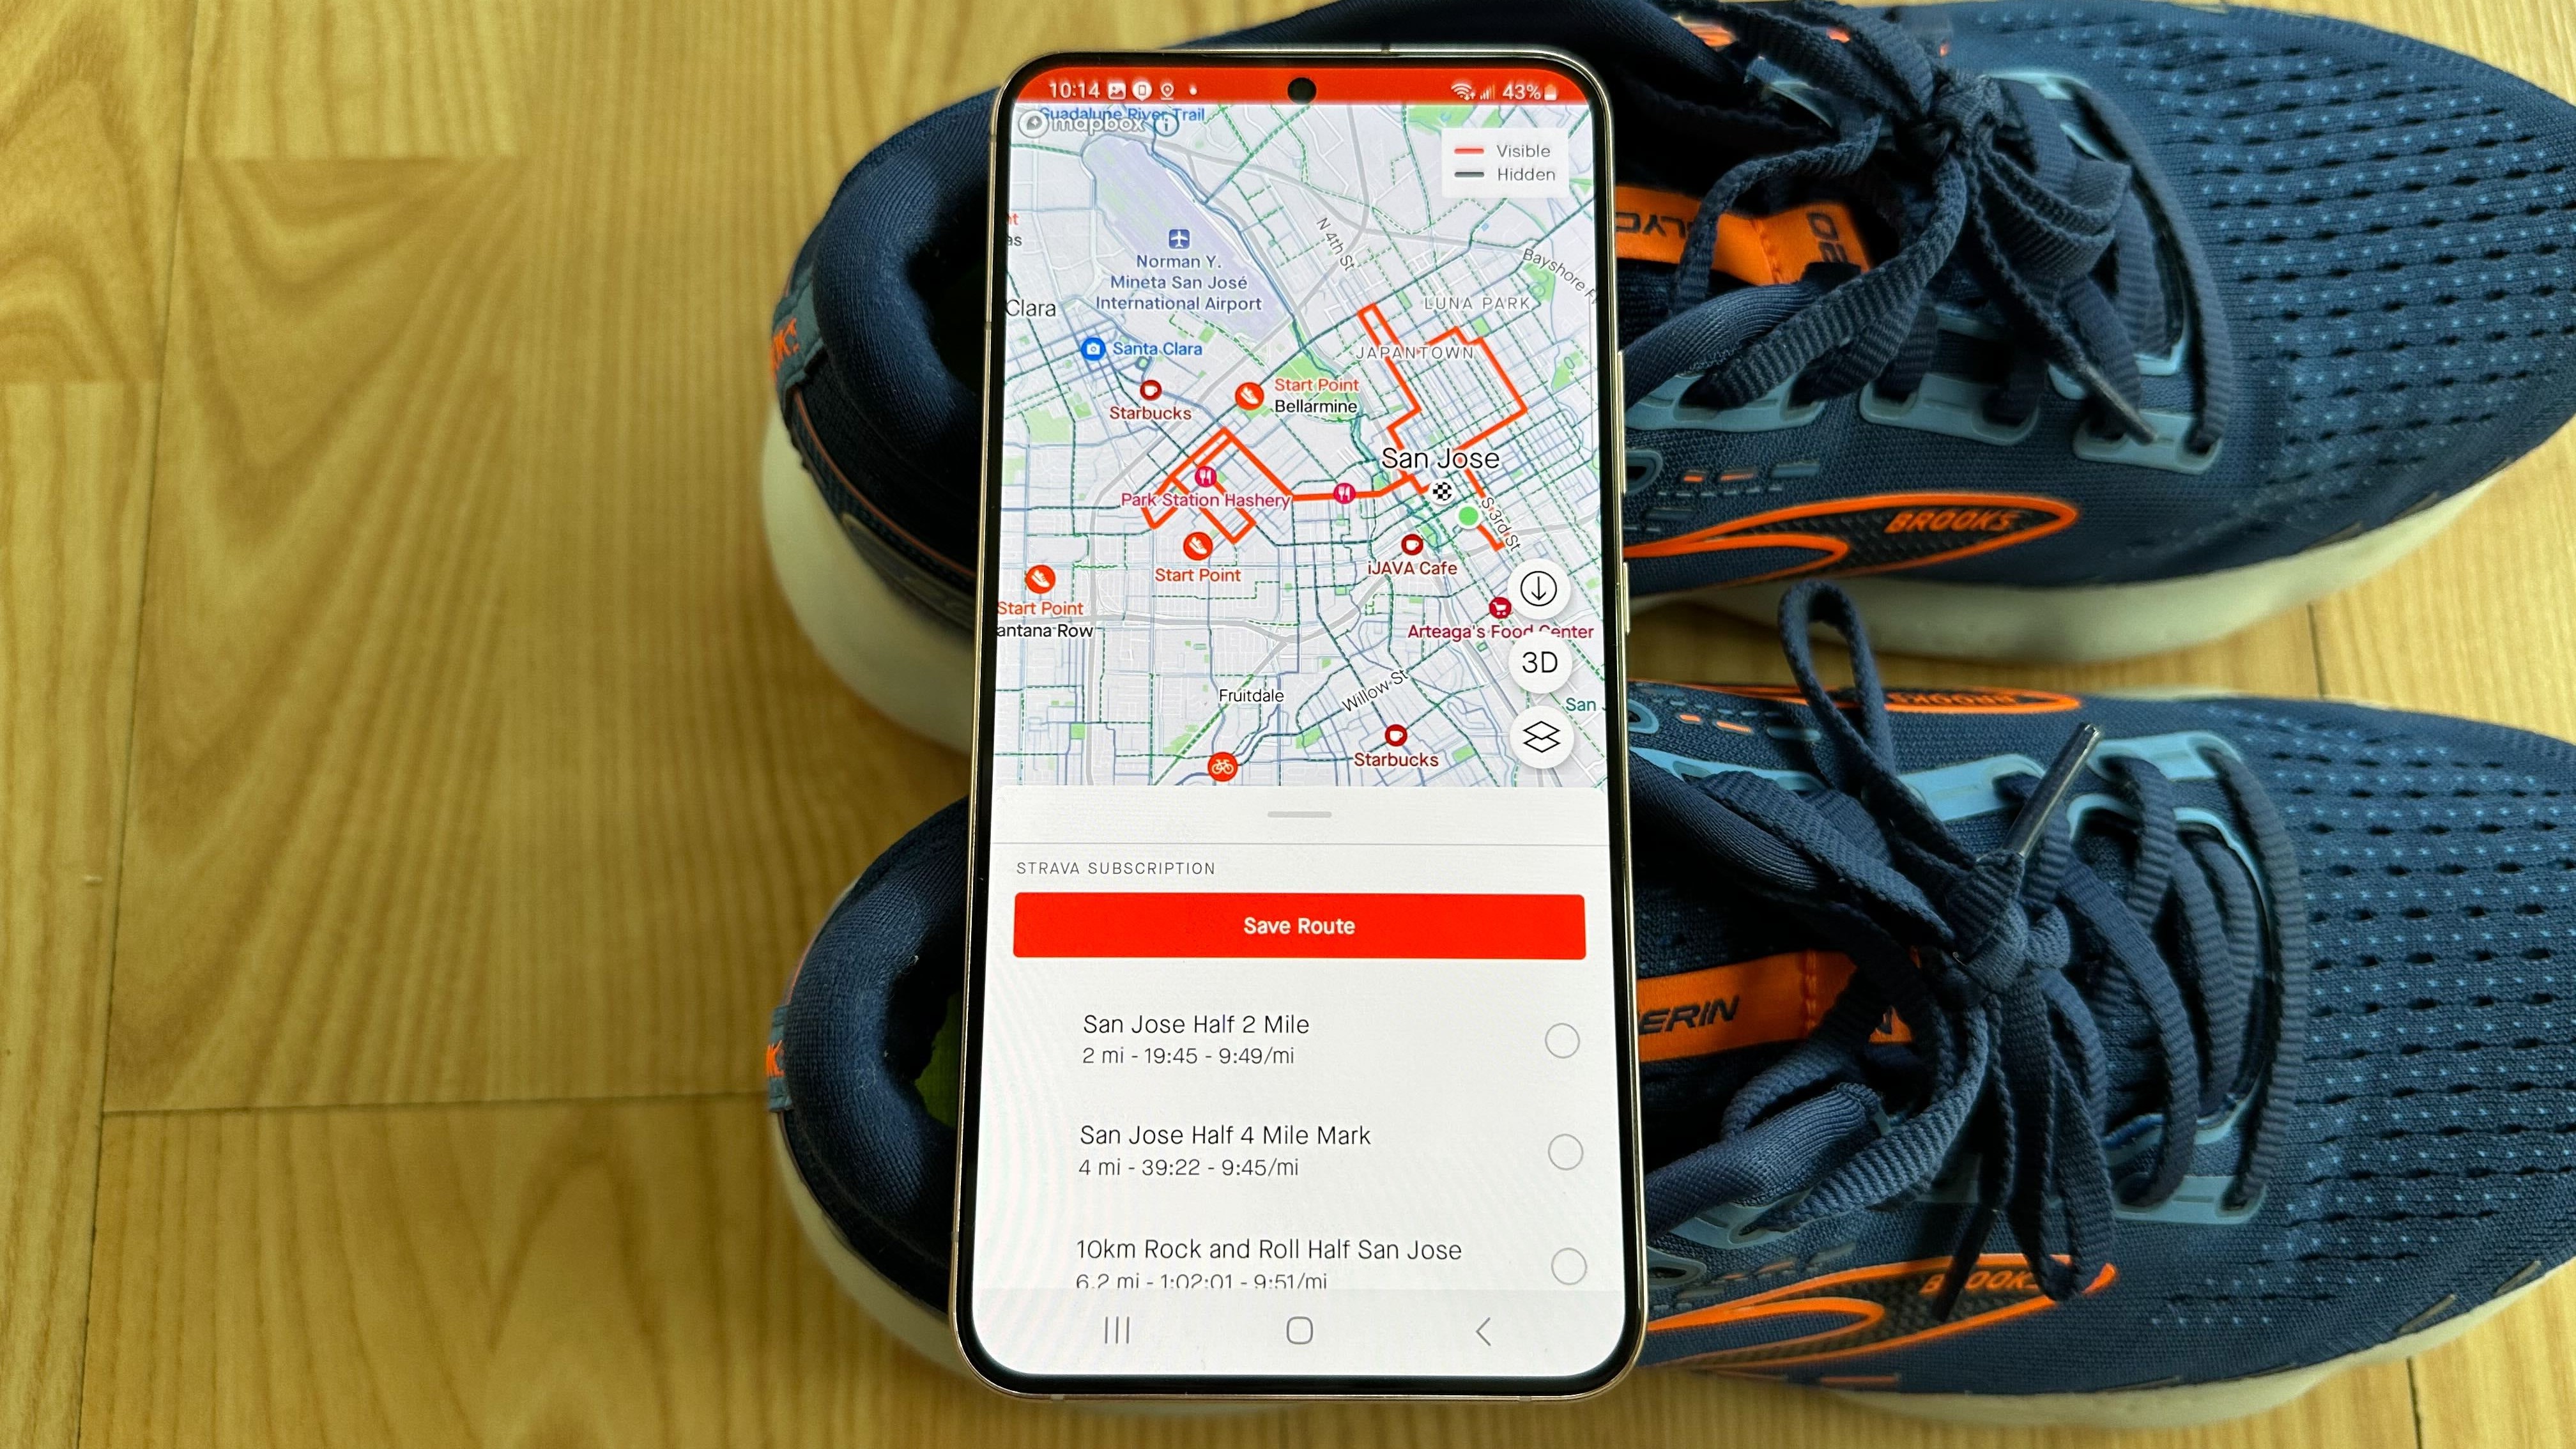
Strava is one of our favorite apps for tracking our fitness progress, giving kudos to fellow runners striving towards PRs, and racing against your previous segments. But because Strava makes your GPS data public by default — which it needs to enable segments and leaderboards — someone could figure out where to find you or where you live, based on publicly posted information.
Don't believe us? Researchers at North Carolina State University Raleigh found that Strava's anonymous heatmap feature, coupled with publicly available Strava data, let them discover runners' home addresses about 37.5% of the time (as per Connect the Watts).
For many runners, the privacy risks outweigh Strava's public benefits. But thanks to its easily available privacy controls, Strava can become much safer and more anonymous to use with just a few taps. Let's dive into how to control your privacy settings on Strava!
Strava Privacy Controls: How and what to change

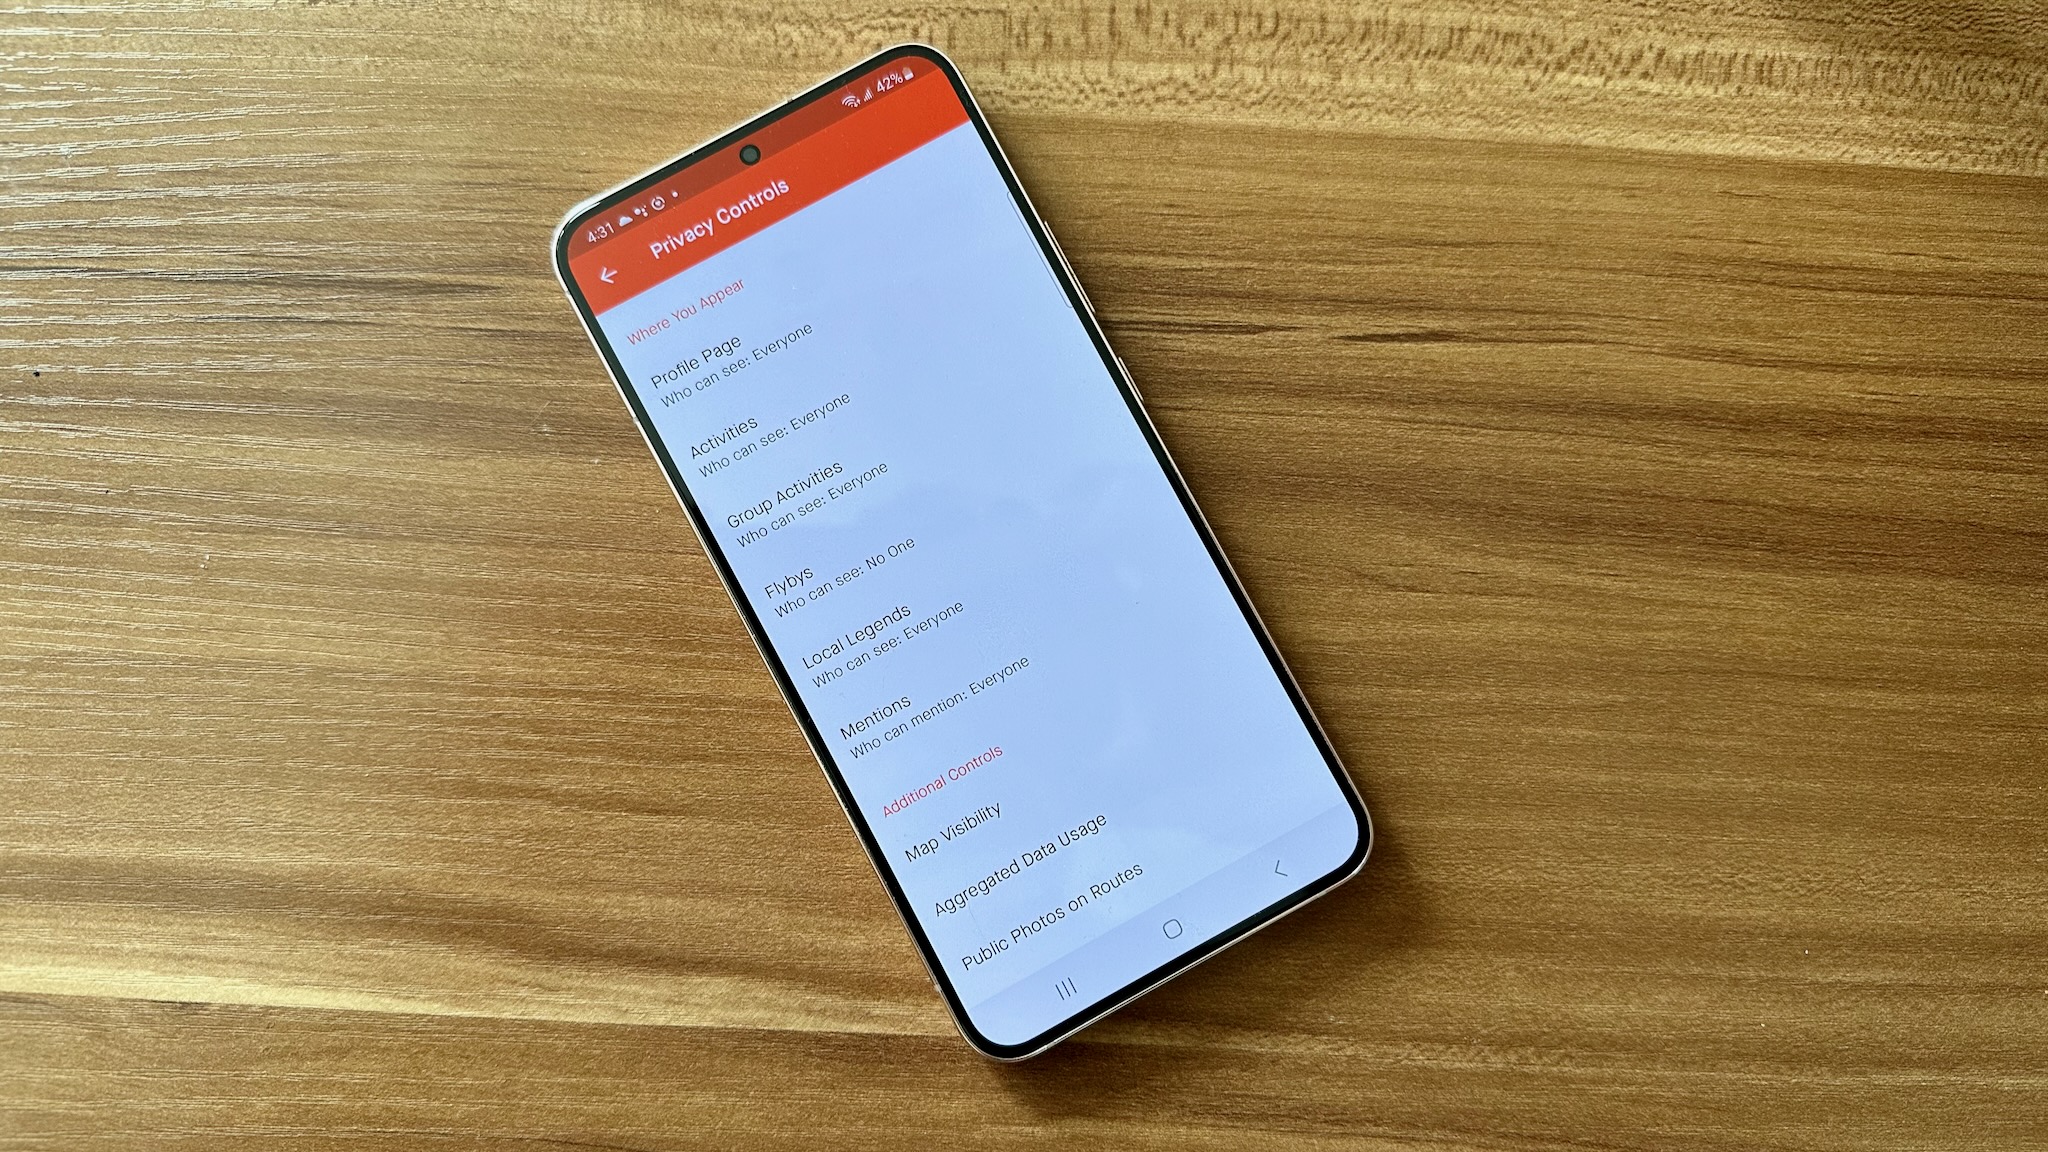
Finding Strava's Privacy Controls is simple: Just tap the Cog icon in the top-right of any tab, then Privacy Controls under Preferences. From there, you'll see every modifiable privacy option available in the app.
Or, on the Strava web app, you'll find Settings when you hover over your profile picture; you can also go directly to this privacy link.
With that out of the way, let's focus on what settings you'll actually want to change.
Profile page: By default, anyone can search for your name and see all of your activities, followers, photos, and stats. By switching to Followers Only, only a little data will be publicly available; you'll have to approve a follower request before someone can see the rest.
Get the latest news from Android Central, your trusted companion in the world of Android
Activities: If you switch your activities to Followers Only, you won't appear in public leaderboards for segments or challenges. Choose Only You, and the only public evidence of your effort will be on challenge progress. You can separately modify Group Activities if you want those to be visible, but not individual activities.
You can also choose if you want anyone to see your minute-by-minute Flybys, if you want to have the option to be a Local legend for a specific segment, or if you want anyone or followers to have the option to tag you with Mentions.
As a side note, you must add a birthday when you create a Strava account, and anyone under 18 will default to Followers Only for most settings; plus, certain tools like Flyby will be stuck at Only You.
Strava map privacy tools

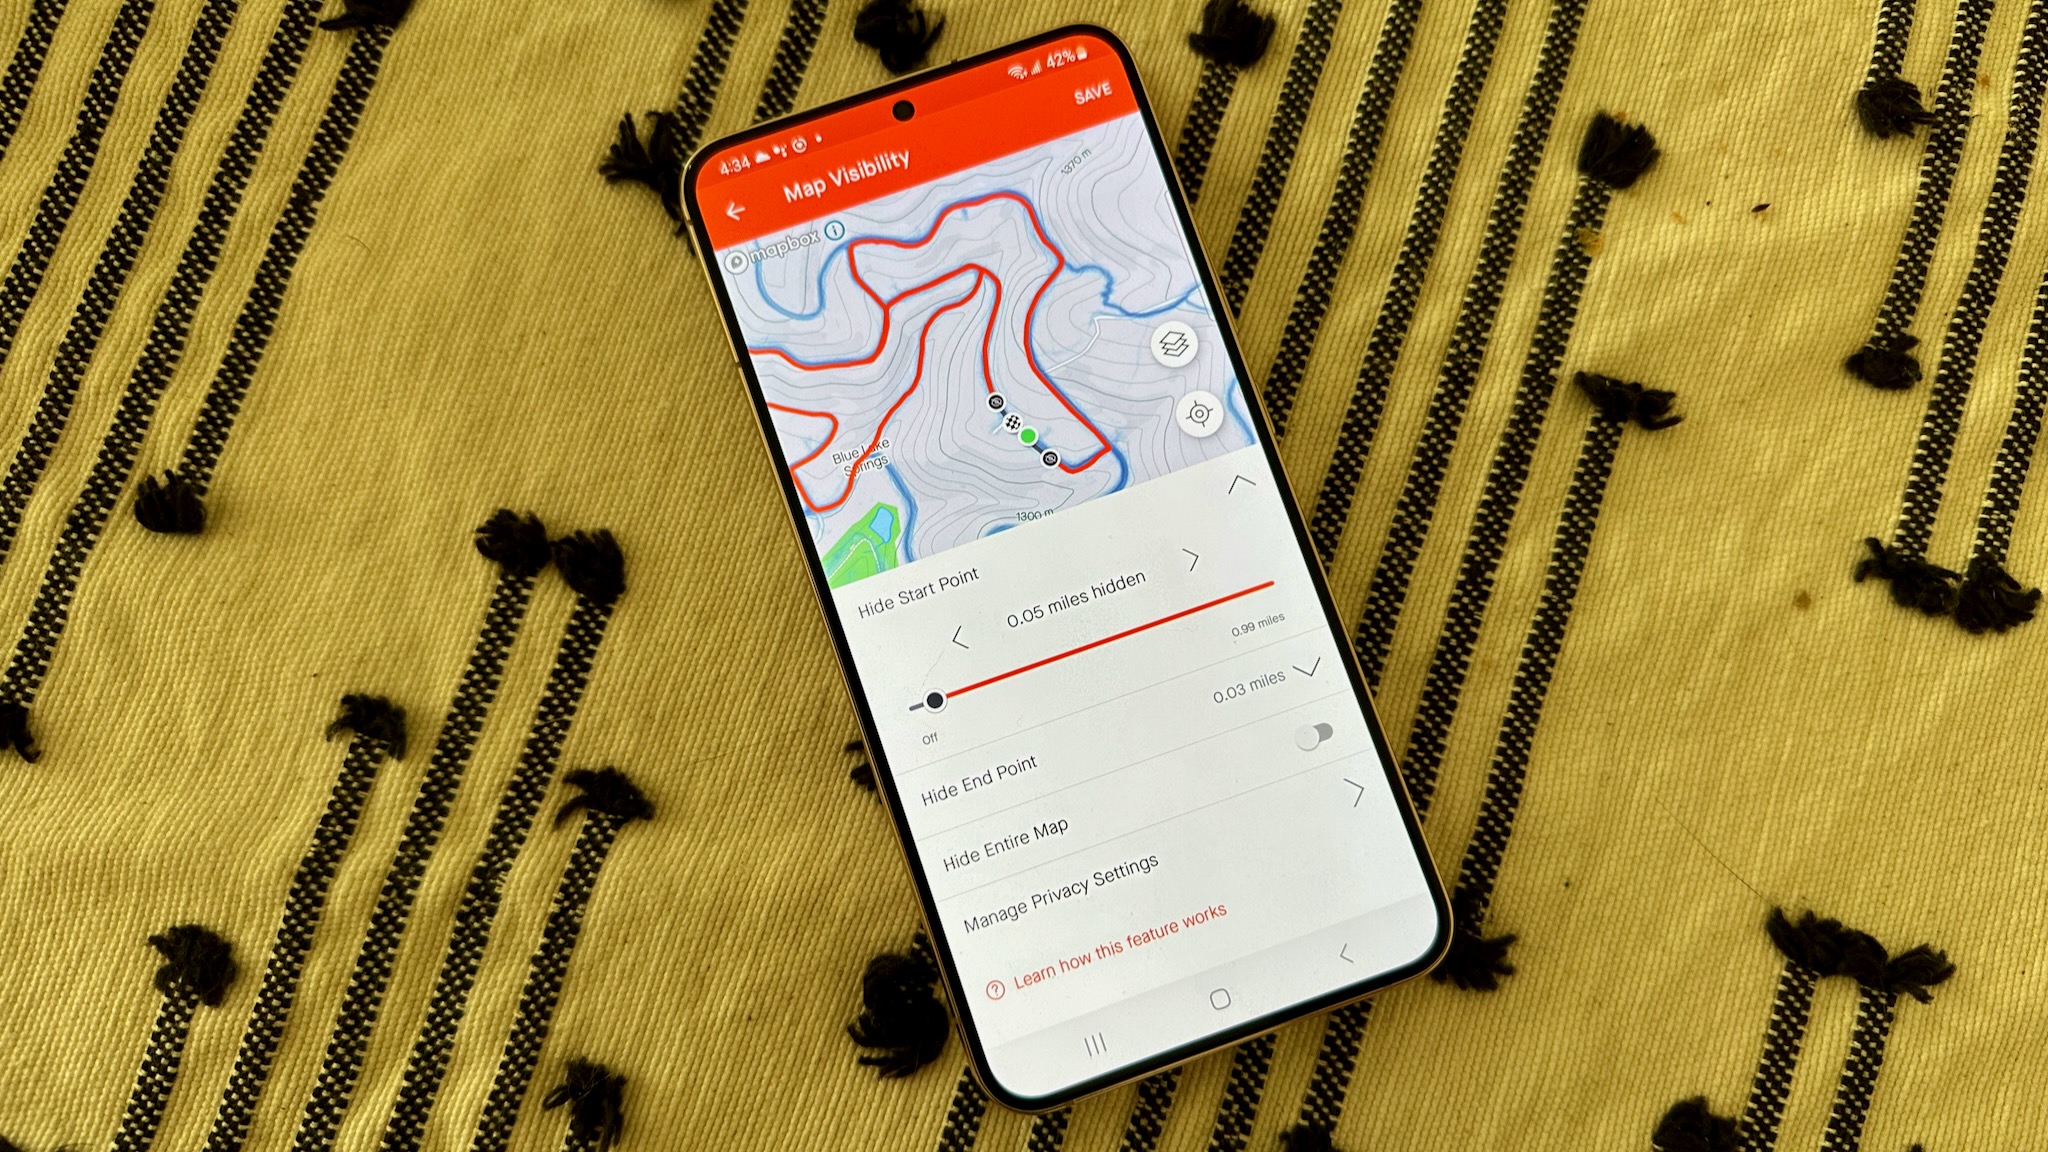
Perhaps the most important way to protect yourself with Strava is to use its Map Visibility tools, especially if you often start tracked runs directly from your house. Otherwise, the "anonymous" Strava heatmap can still point to your address without you realizing it.
Your nuclear option is to Hide All Maps, removing any visual data related to your location and preventing you from appearing in segments. Of course, this option is a bit drastic if you want to share your activities with others; instead, you may want to simply obscure where your runs start (and end) so they don't point directly to your house.
Under Map Visibility, the first option is to "hide the start and end points of activities that happen at a specific address." Tap this option and Add an address, then choose how much of your mapped route you want hidden ranging from 1/8 to 1 mile.
You can also choose this option "no matter where they happen," with a 1/8- to 1-mile range. If you don't enable this but use the first option, it ensures your runs look correct if you start your run in a public area but hide any part of your run that enters a certain zone near your house.
Lastly, you can tap a specific activity and choose Edit Map Visibility. This lets you tweak the beginning and end points of a run down to a hundredth of a mile, making your map neater or safer if the automatic options above didn't work as intended.
Retroactively make some activities more private

In Additional Controls, you'll find an Edit Past Activities option. Hit Get Started and choose Activity Visibility. This allows you to change every previous activity to one of the three standard settings: Everyone, Followers, or Only You. You could use this method to make your old activities invisible while keeping new activities available to followers (or everyone), for instance.
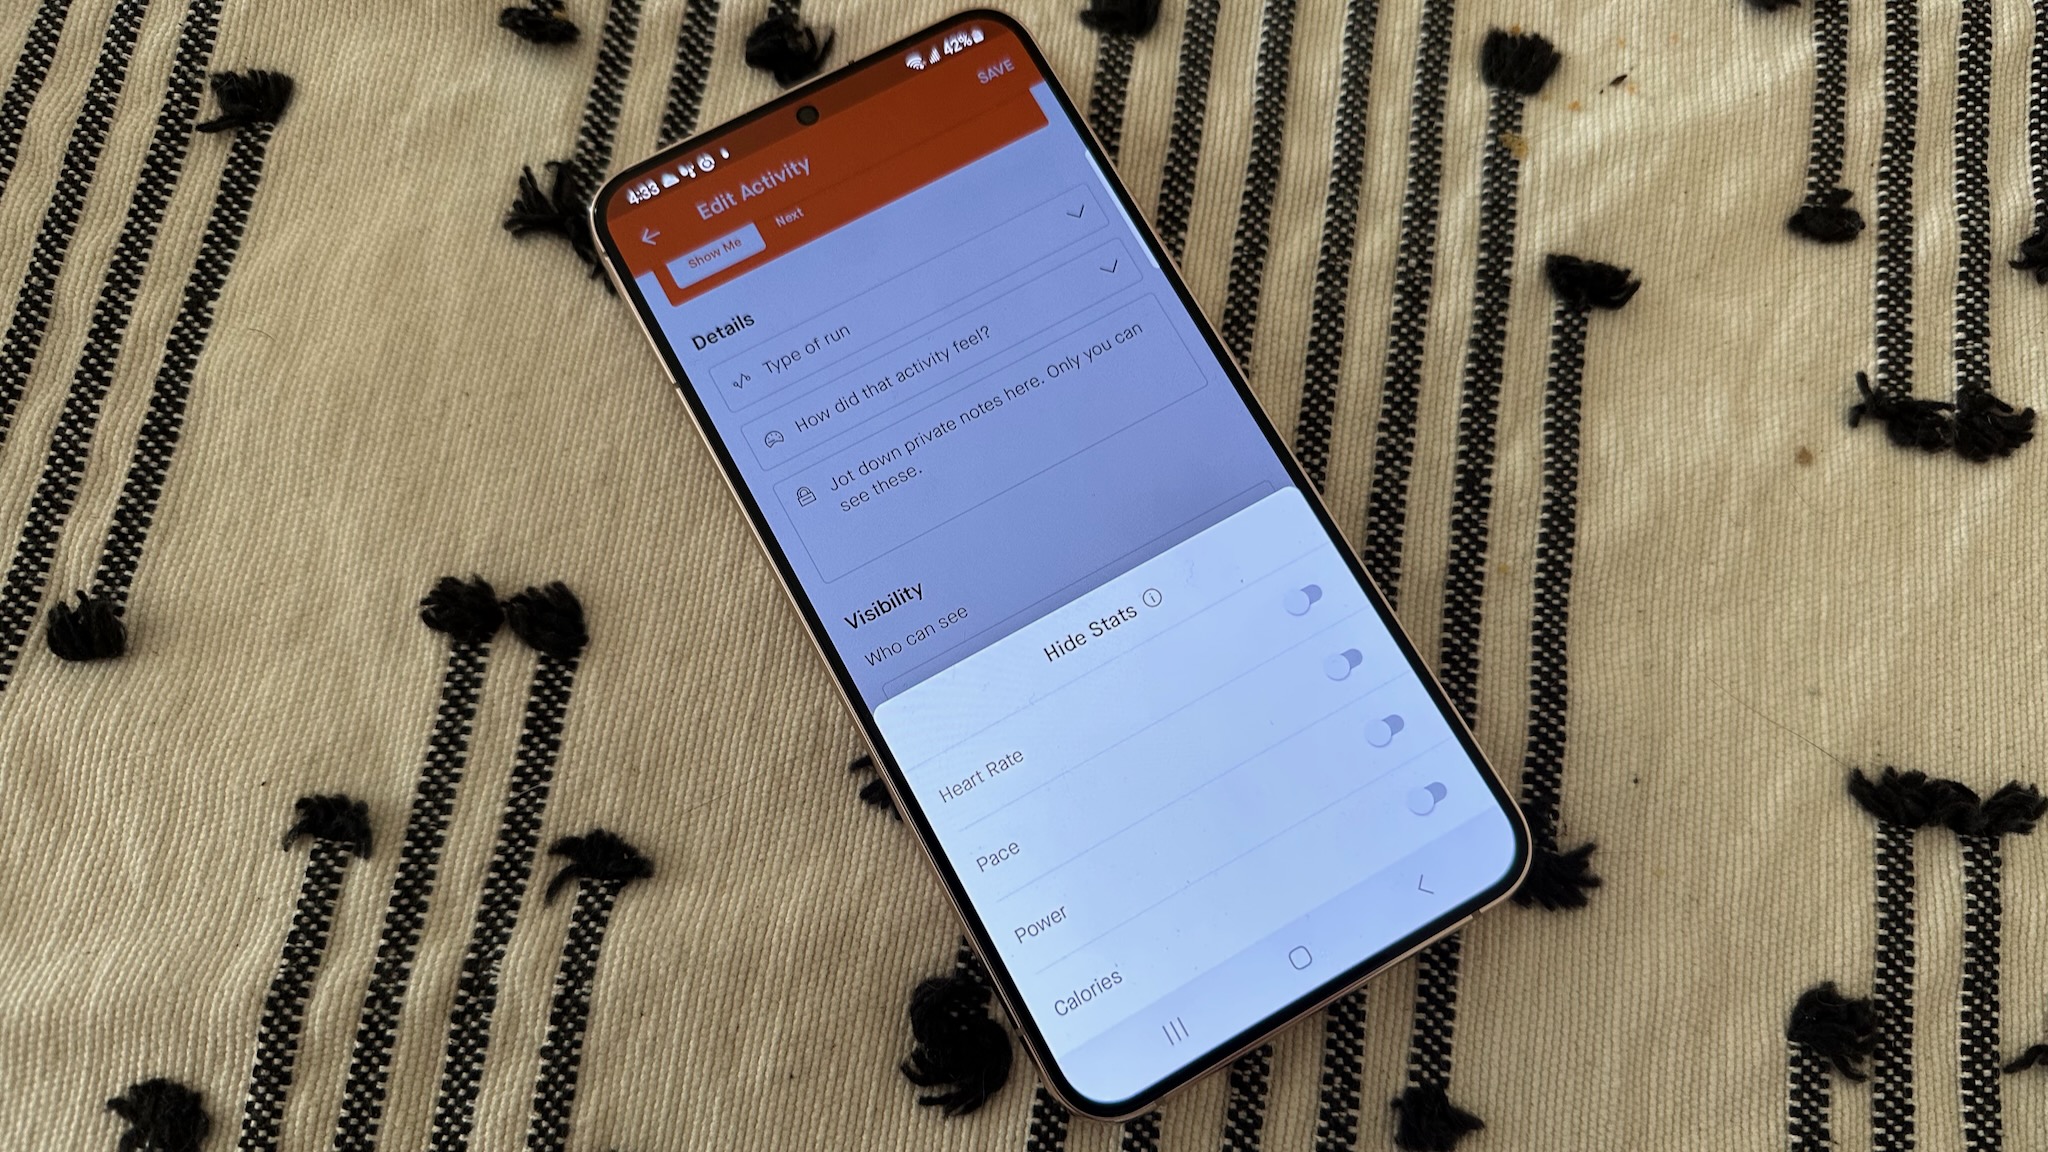
You may also decide to hide an individual activity for whatever reason; in that case, select the activity from your Home feed, tap the ellipsis icon in the top-right, and select Edit Activity. Scroll down to Visibility and choose who can view it, or hide stats like calories or heart rate. Unfortunately, you can't hide these stats by default; you have to do so on every activity.
Nearly all of the best fitness watches either export to Strava or support the app directly through Wear OS or watchOS. Now that you know how to control your privacy settings on Strava, you can ensure that you can safely use our favorite running app while only your good friends can see your activities.
It's a good idea to look for these kinds of privacy settings in your other fitness apps, too; we have a guide on making AllTrails more private and safer, for instance. And if you have an Android phone, you may want to access the new Privacy Dashboard to check which of your other apps might be tracking you, fitness-related or otherwise.

Michael is Android Central's resident expert on wearables and fitness. Before joining Android Central, he freelanced for years at Techradar, Wareable, Windows Central, and Digital Trends. Channeling his love of running, he established himself as an expert on fitness watches, testing and reviewing models from Garmin, Fitbit, Samsung, Apple, COROS, Polar, Amazfit, Suunto, and more.
