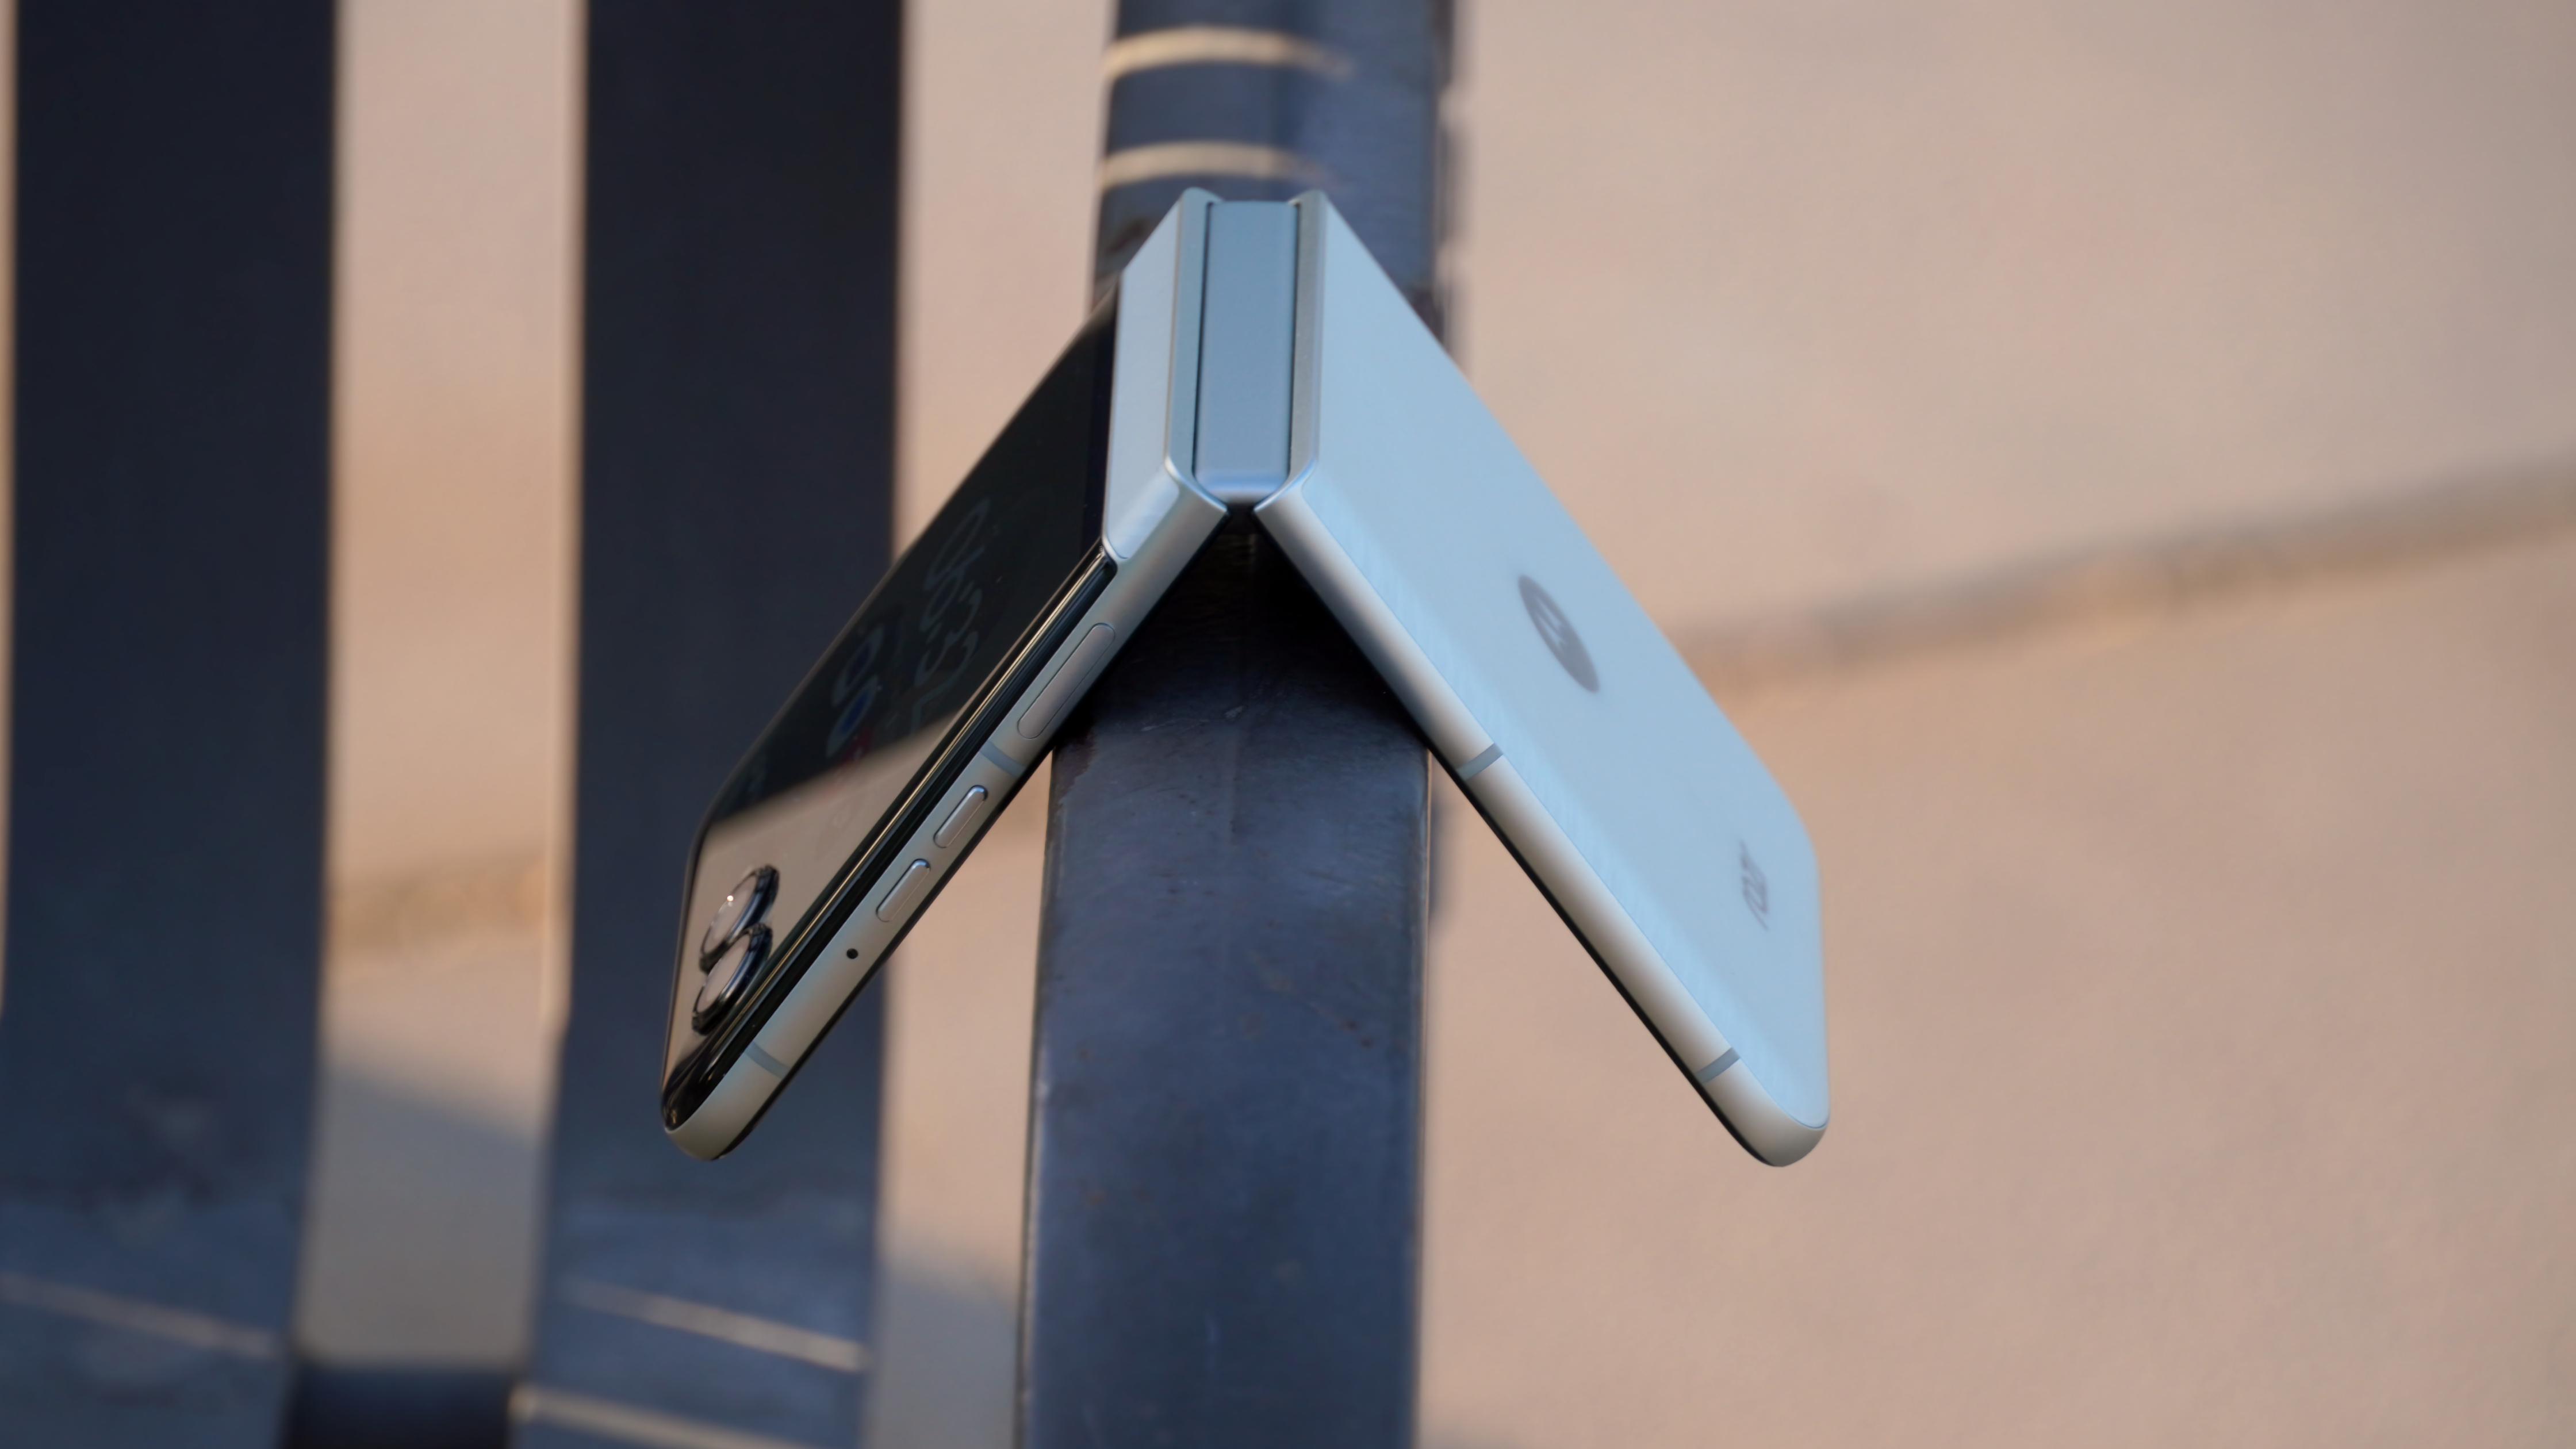
How to properly stabilize your phone when taking photos and videos
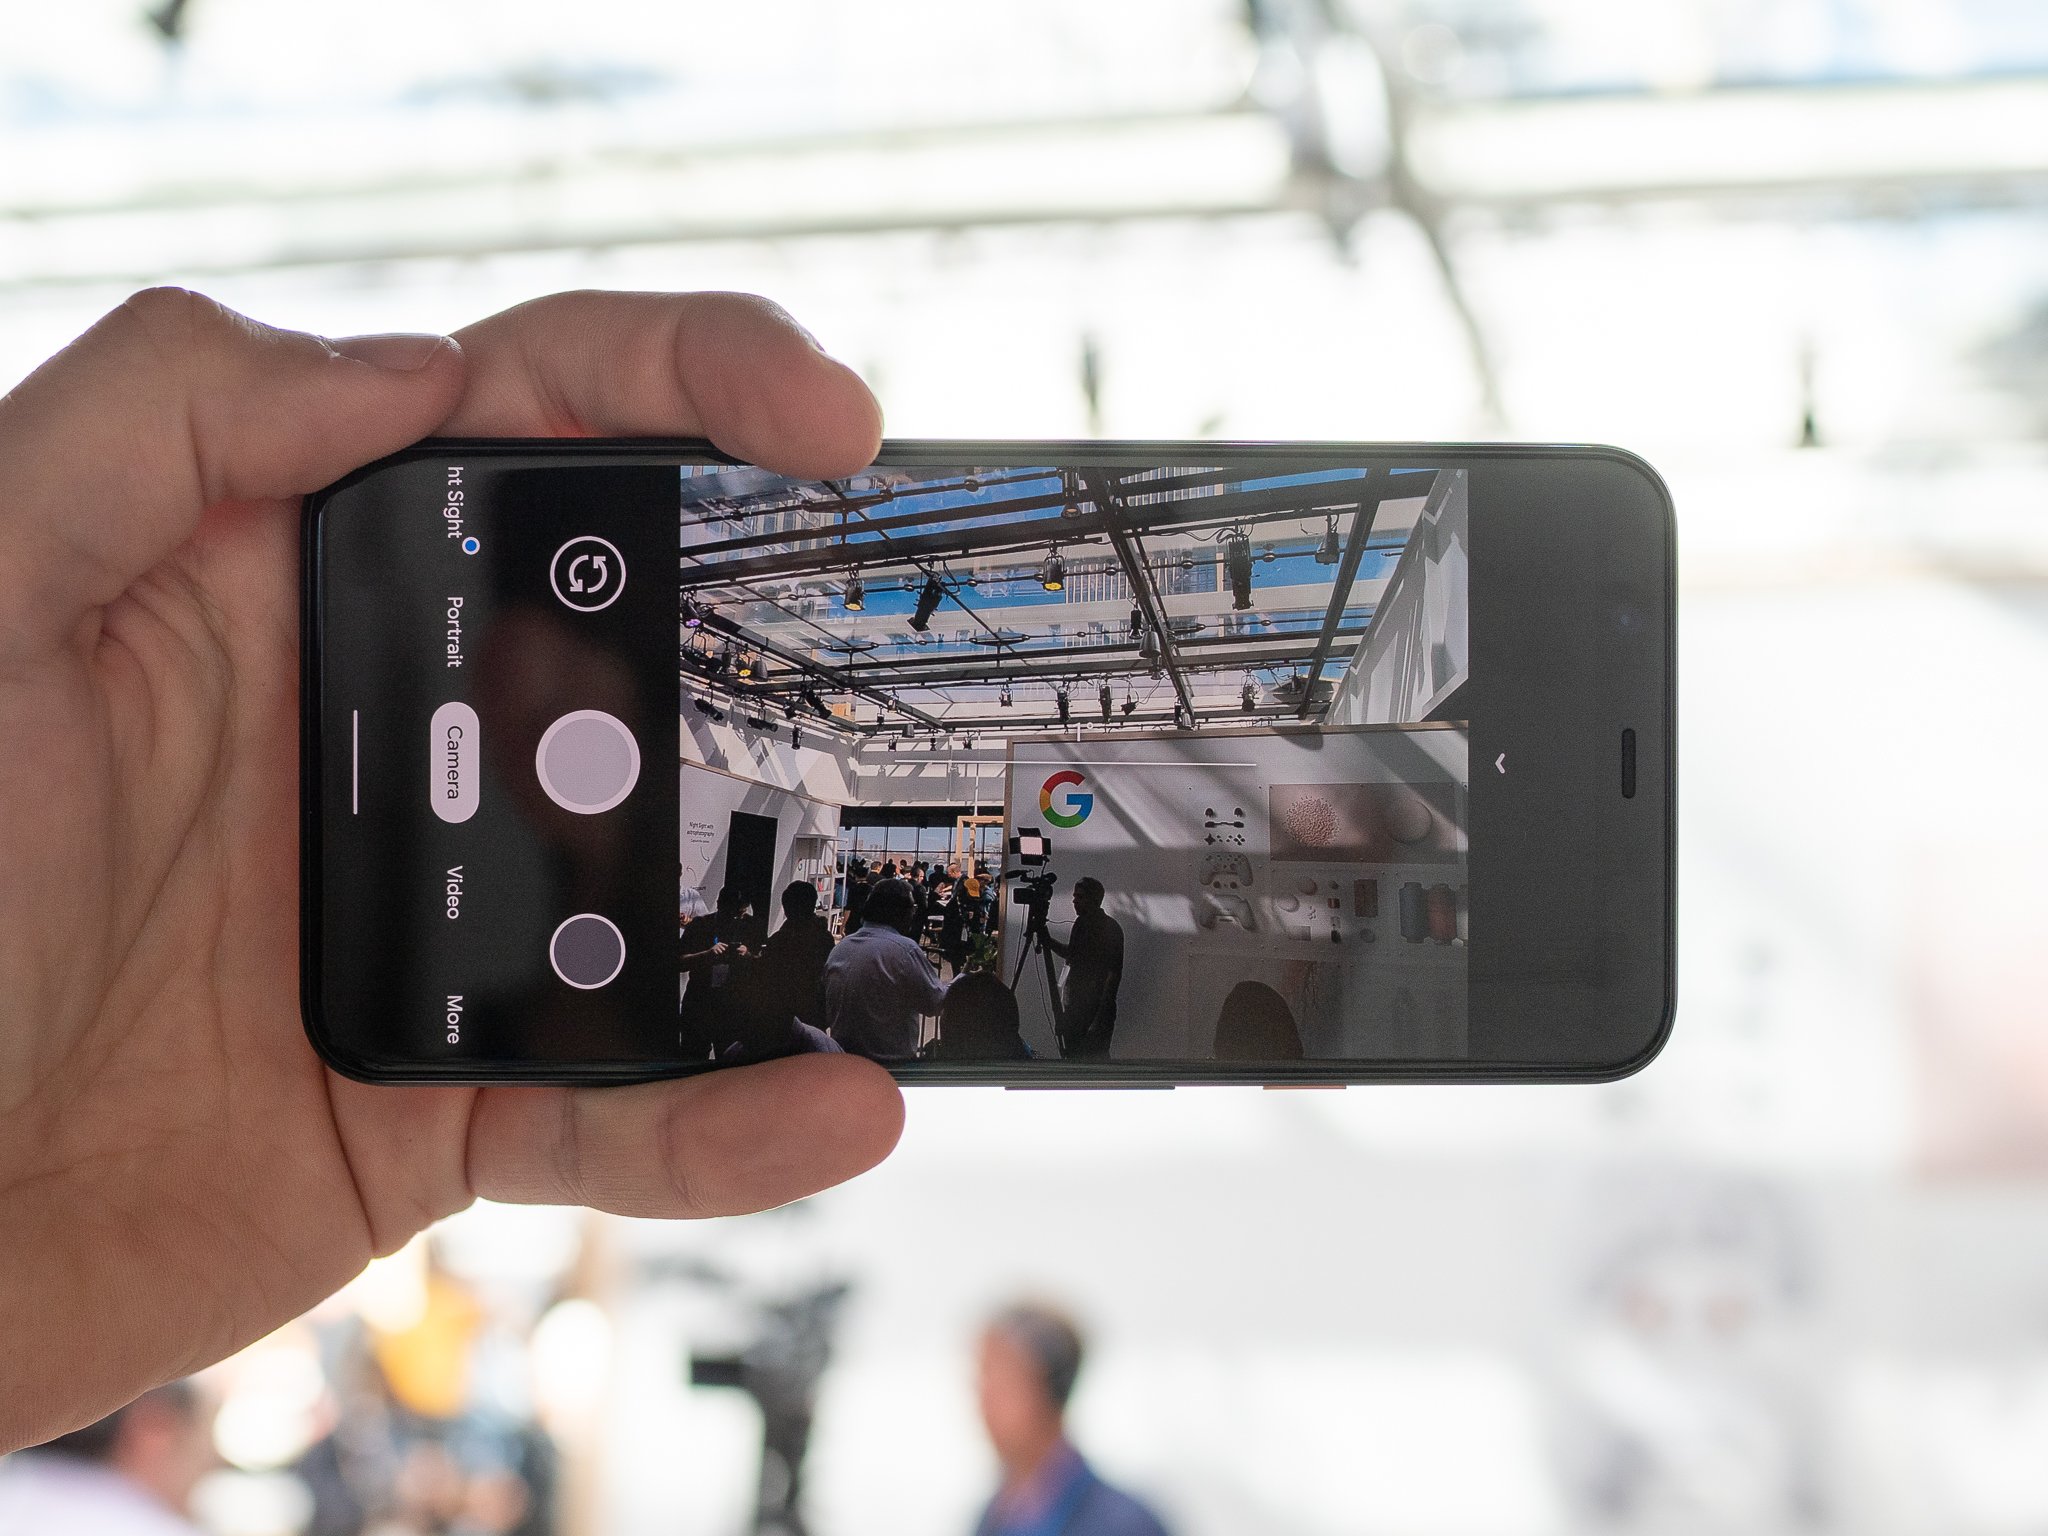
No one likes a photo that comes out blurry, terribly crooked, or, worst of all, with part of a finger blocking it. Stability is essential in photography, and with a smartphone, it's arguably all the more important. Stabilizing photos comes in many different forms — some within the phone itself through optical or digital stabilization and others that are up to you. Here are keys to remember as you go about lining up your best photos and video.
How to use your hands wisely
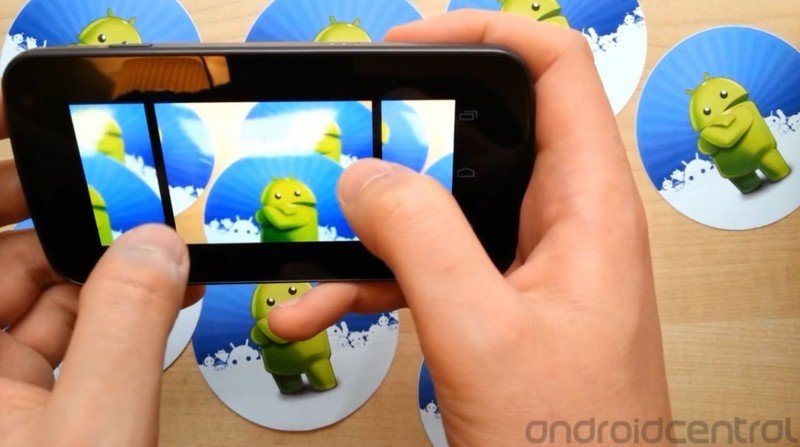
One of the consequences of thinner phones and curved displays is slippery handling. Disappearing bezels increase the chances of accidental taps, forcing you to maintain a better grip on your device, lest it fall and suffer serious damage. The best way to shoot a stable photo is with two hands. That might seem like a no-brainer, but you'd be surprised how often people don't do that.
Why two hands? The most obvious reason is for balance, but it's also because it makes it ergonomically easier to actually tap the shutter. Unless you're left-handed, you likely tilt the phone toward the left when shooting in landscape, so that your right thumb can reach the shutter. If you're shooting at more of an awkward angle, you can use one of the volume buttons to snap the photo or video, or you can hold your finger on what you want to focus on, and use the timer (it's the icon that looks like a clock) to take the shot so you don't have to contort your fingers.
When you're trying to capture a scene in low-light or at night, try the "T-Rex" method. When holding up the phone, press your elbows into your torso and try not to move when shooting. Jitter and shake will cause low-light or night shots to come out blurry or out of focus, and this statuesque pose helps stabilize the phone to reduce that instead of a tripod.
How to use surfaces to your advantage
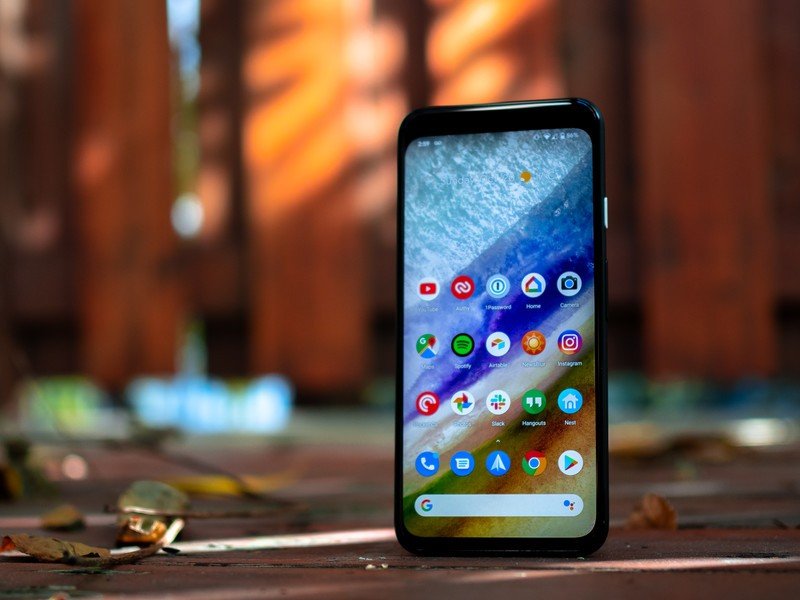
One of the best things about mobile photography is the abundant helpful tools available, the most common of which are flat surfaces. It can be anything from a ledge, railing, shelf, table, chair — anything flat and within arm's reach. These surfaces can act as great stabilizers for two primary reasons. You can use them as great stabilizers to keep phones steady and also to simplify lining up a scene so that it's not crooked.
This can be especially useful when trying to capture a night scene, especially when using Pro or Manual mode. Since you would be lowering the shutter speed in that case, the phone needs to be as steady as possible. Bear in mind that even in Auto Mode, the phone's software is automatically lowering the shutter speed as well, so you still need to be steady. A way to make this easier is to set a timer, so after you tap to focus and press the shutter to shoot, you can then focus solely on keeping the phone still.
Perspective matters, too. Flat surfaces make it easier to tilt a phone up or down for a bird's-eye or worm's-eye view of a subject. It may not be easy to get down that low, but there is another way around that. If you have a selfie stick, place the phone upside down so that the lenses are at the bottom. Now flip the stick upside down with the phone side toward the ground, and when you're ready to take the photo, lean it against your leg or something else to support its weight and keep it steady. If you have no stick on you, try leaning it against something, like your shoe, for example.
Get the latest news from Android Central, your trusted companion in the world of Android
Remember to lock in the focus (hold your finger onscreen or tap the lock icon, depending on the phone) and have a timer already set. This, and other improvised methods, could help you capture interesting angles and perspectives that you wouldn't have otherwise thought of. I find this is especially true of ultra-wide lenses, where the fish-eye effect is more pronounced at extreme angles.
How to utilize tripods, mounts, and gimbals
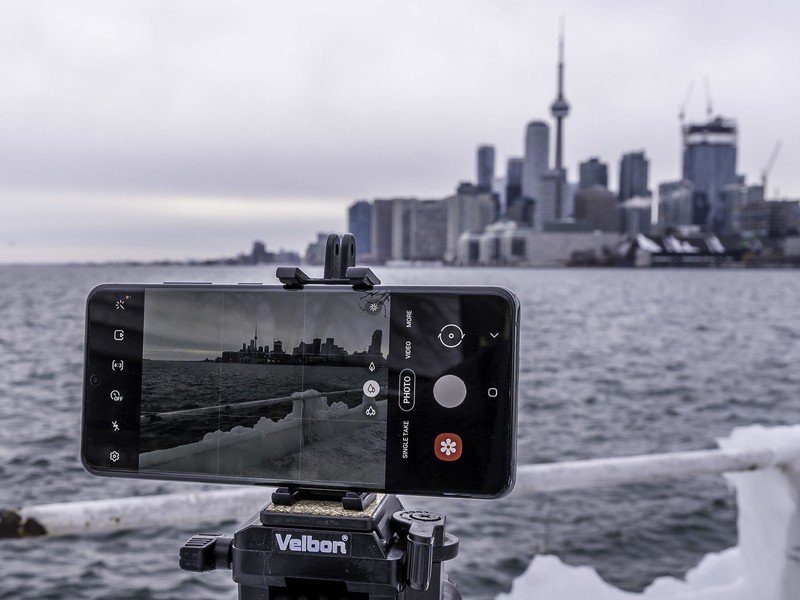
Tripods have been around since the dawn of photography, so their usefulness probably doesn't need much of an explanation. The beauty of tripods for phones is that they come in different varieties, whether it's based on height or irregular surfaces to latch onto. No matter what they can do, the key is that they stabilize the phone.
Tripods with flexible legs can wrap around various objects, like branches, poles, railings and more. They are neat in that they can offer more angles to shoot from, so utilize them and get creative with where they can go.
Much like you would with your hands, many of the same principles apply when using a tripod.
- Ensure you have a suitable surface to rest it on (test it with the tripod alone first before attaching the phone).
- Make sure the phone is securely in place on the mount.
- Launch the camera app and select the mode or settings you want to shoot with.
- If it's a little windy, use a timer and then hold two of the tripod's legs with your hands to keep it from jittering in the air.
- Always hold the tripod with one hand when adjusting settings or using the phone to keep it stable.
- If you're doing a long exposure photo through Pro or Manual mode, always use a timer to negate all movement.
- Never use the phone's built-in LED flash, even if you feel you should.
Gimbals are great for video capture because their mechanics do things you can't. They usually run on 3-axis systems that cover pitch, yaw, and roll, meaning it can keep steady and unmoving while you move. They usually come with their own dedicated apps for tighter integration, but you could shoot clips with your favorite apps, too.
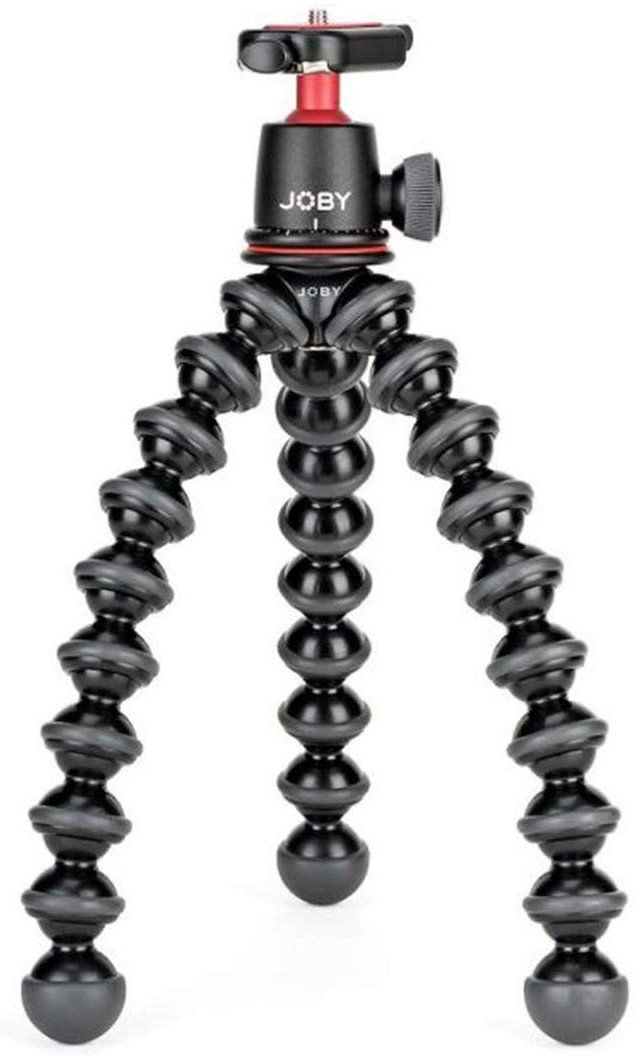
Joby GorillaPod 3K Kit ($50 at Amazon)
This tripod is rugged and sturdy enough to handle most mirrorless and DSLR cameras, but with the right mount, it can do the trick for smartphones, too. It includes the flexible legs Joby is known for, providing a level of stability not typically seen in "non-Pro" tripods. If you're serious about your mobile photography, this is a good place to start.
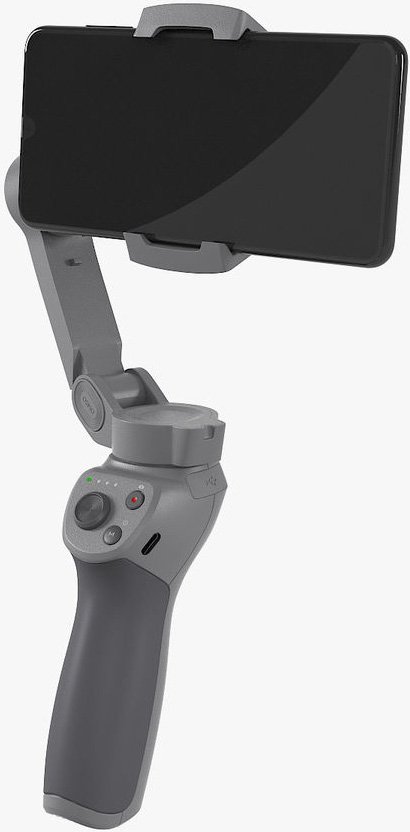
DJI Osmo Mobile 3 ($140 at Best Buy)
DJI's latest model, which provides a 3-axis gimbal made for smartphones that reduces shake in all footage, can handle a wide range of devices. It's lightweight, so easy to wield handheld for capturing footage in a variety of settings and situations, though also has a mount underneath to mount onto any tripod. You can shoot in portrait or landscape, and DJI's Mimo app offers many different shooting modes to work with.
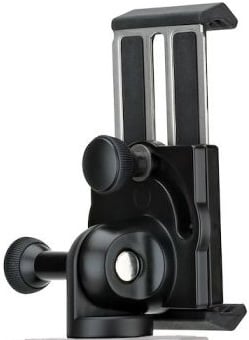
Joby GripTight Pro Phone ($30 from Best Buy)
A tougher smartphone mount, this one can maintain a nice firm grip each time you put your phone in it. It can accommodate a wide range of devices, though fits them better when they don't have thick cases. It mounts on any tripod with a screw mount and can flip 90 degrees or tilt 150 degrees for a wide range of motion.
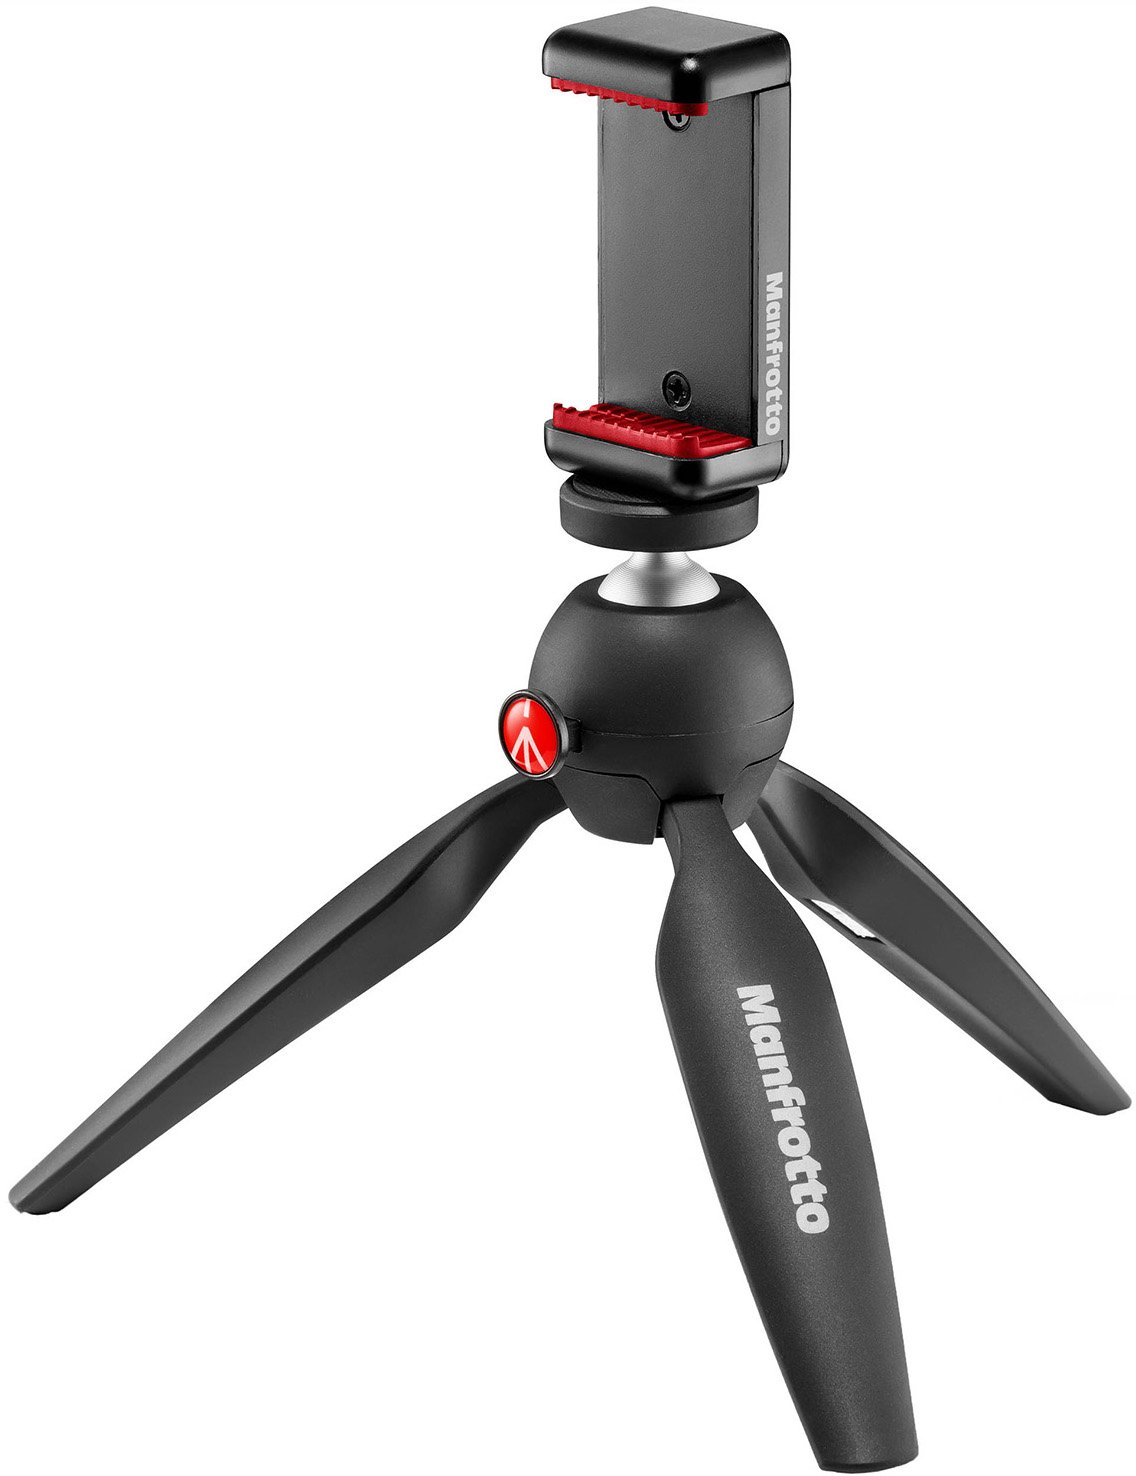
Manfrotto PIXI Mini ($37 from Manfrotto)
This tripod comes together with Manfrotto's Universal Smartphone Clamp for an effective package compatible with many phone sizes. The ball-locking head articulates at 35-degree angles, adding some flexibility on what perspective to shoot from. The tripod can also handle up to 2.2 lbs. making it capable of also mounting DSLR and mirrorless cameras.
How to read between the lines
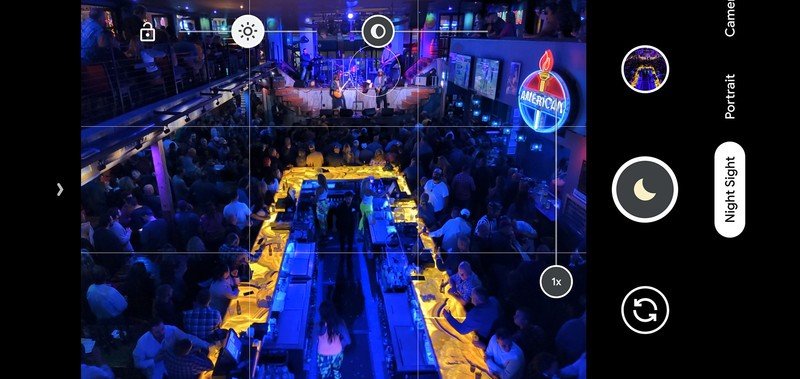
Do you hate crooked photos? Use the guides camera apps make available to you. Some phones may have them on by default, though you may have to turn the feature on in the settings. Guides are basically a grid that helps level a scene so that you know how straight it is when you shoot it.
If you're shooting a vista or horizon, the guides can be very helpful in not only leveling a shot but also making it symmetrical. I like the guides for both reasons and find the grid especially useful in the latter case. Shooting a scene where framing for symmetry is the goal, it's important to line things up both horizontally and vertically. It's easier to set up if you have a tripod or flat surface, but the guides are even more convenient in your hands.

Hosted by Android Central's Alex Dobie
Join us for a deep dive into everything you need to know to take better photos. Composition, software features, and editing are just some of the features we'll be tackling together in this course.

Ted Kritsonis loves taking photos when the opportunity arises, be it on a camera or smartphone. Beyond sports and world history, you can find him tinkering with gadgets or enjoying a cigar. Often times, that will be with a pair of headphones or earbuds playing tunes. When he's not testing something, he's working on the next episode of his podcast, Tednologic.
