Dauntless for PlayStation 4: Beginner's guide
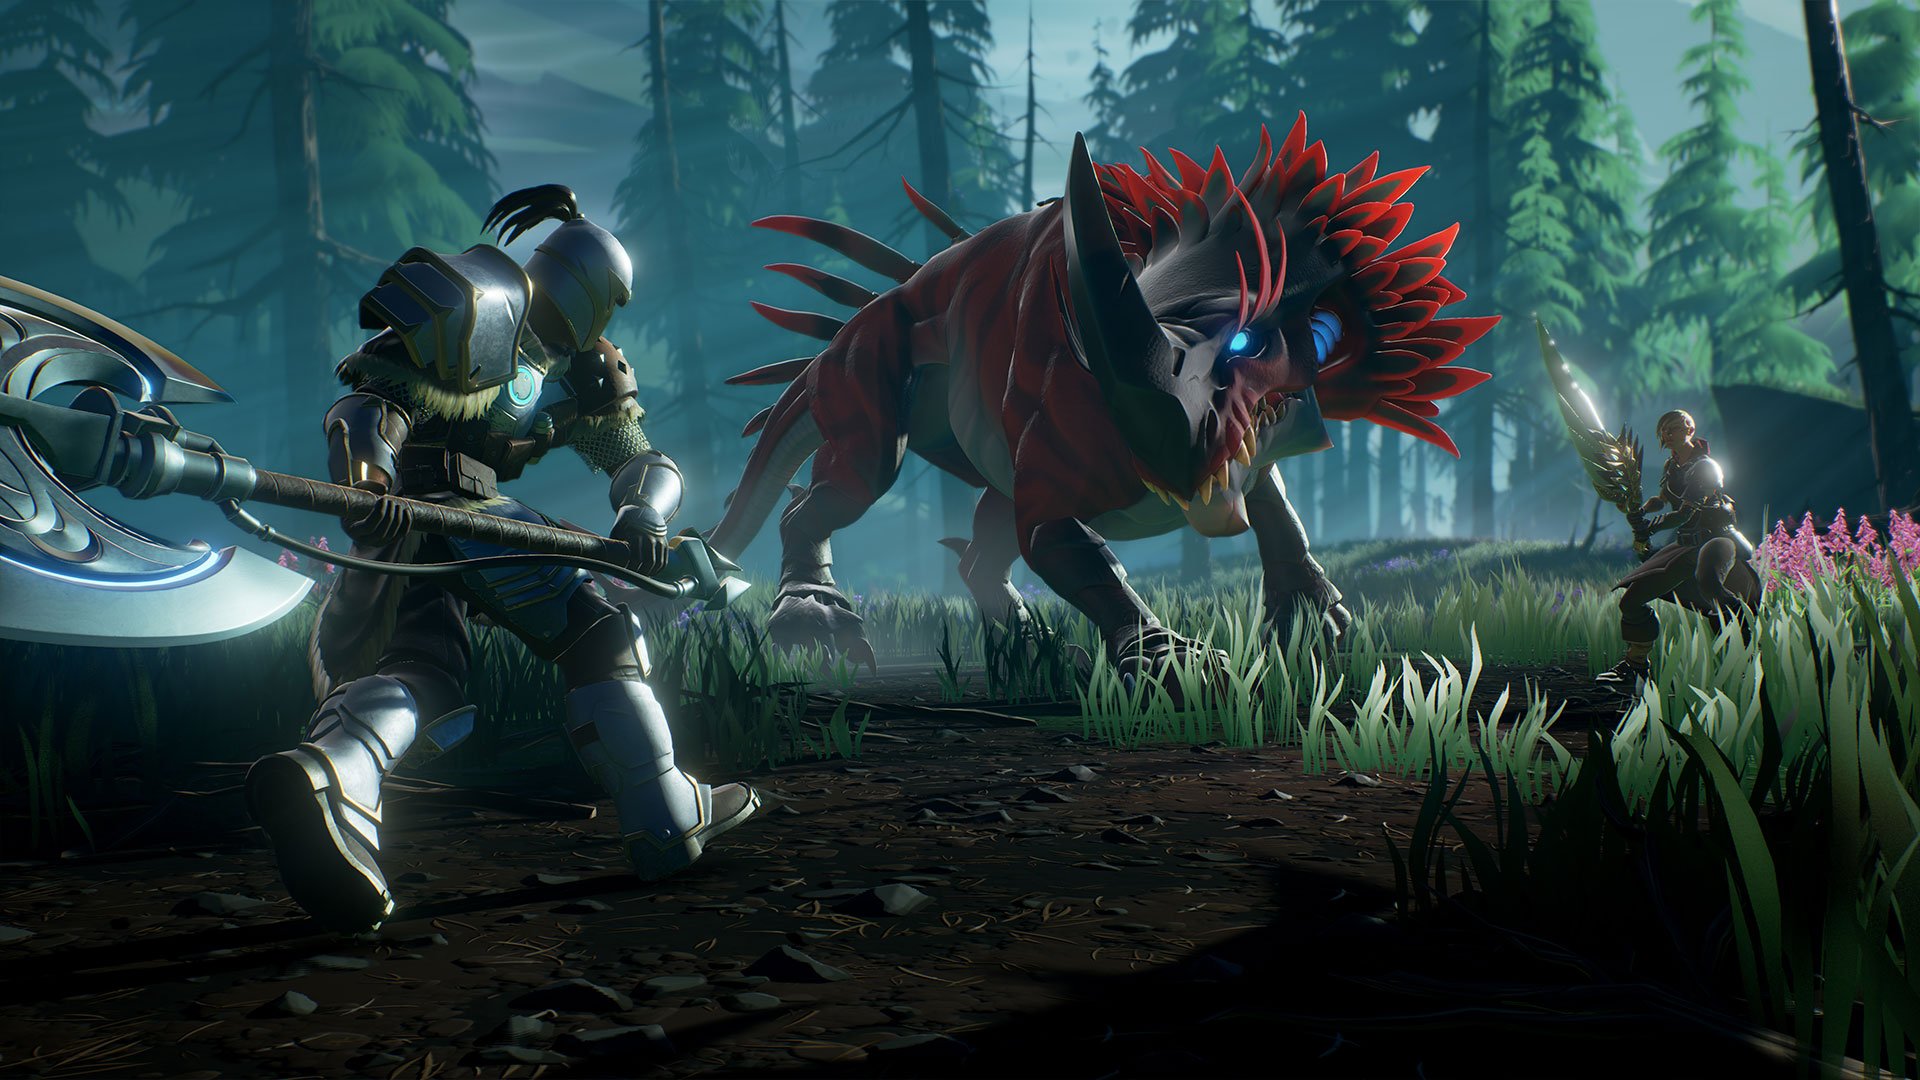
Dauntless is what you get when you mix Fortnite with Monster Hunter: World. If you're one of the new players just jumping in because you heard of its cross-play support or you wanted to give it a try since it's free-to-play, you'll want to know a few things before starting off your adventure. Don't be blindsided by what the game throws at you right out of the gate.
Damage colors What they mean
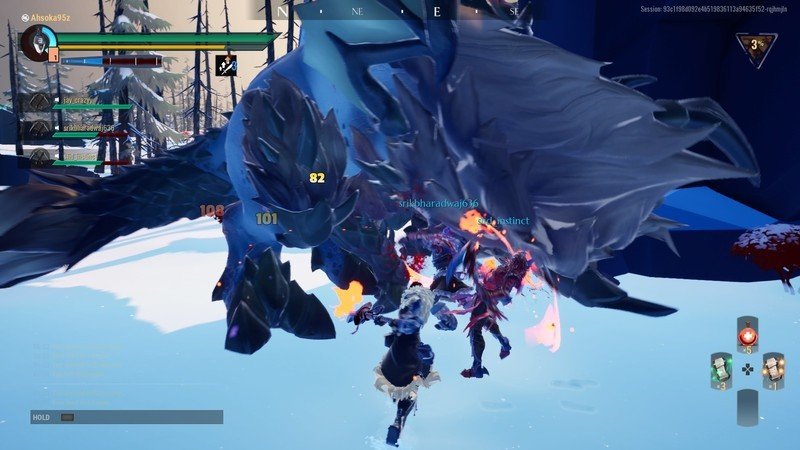
When you attack a Behemoth, you'll notice the damage numbers display as four different colors. These all mean something depending on the type of damage you are doing.
- Red: Red means that you are dealing wound damage. That may sound great, but wound damage actually doesn't deplete a Behemoth's health. What you are doing is wounding a body part in order to deal increased basic damage. War Pikes deal additional wound damage.
- Blue: Blue means that you are dealing stagger damage, which can cause the Behemoth to stagger and collapse once enough is dealt. Blunt weapons like the Hammer deal additional stagger damage.
- Yellow: Yellow means that you are dealing part damage. Like wound damage, it doesn't affect the Behemoth's overall health. Instead, it weakens a particular body part (like a tail) so that you can break them off, like in Monster Hunter: World. Swords, Axes, Chain Blades, War Pikes, and Ostian Repeaters deal additional part damage.
- White: White means that you are dealing basic damage that directly hits the Behemoth's health pool.
Hunts Patrols vs Pursuits
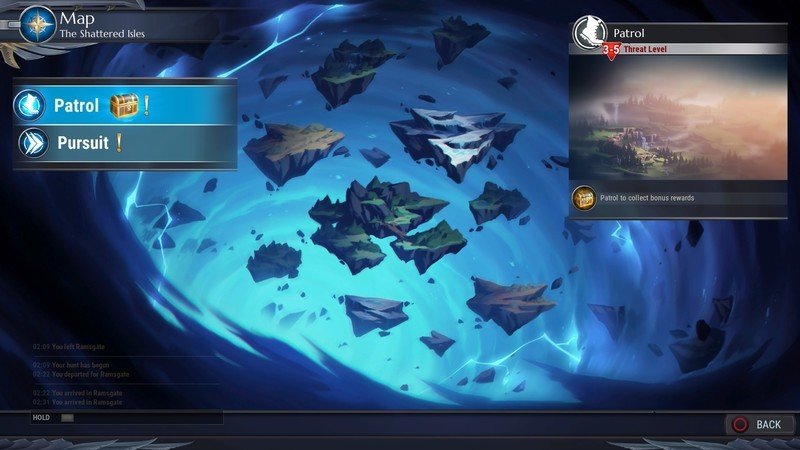
Before you proceed to go out on a hunt, you'll be given two mission types to choose from: Patrol or Pursuit. They're very similar to one another with a few key differences.
- Patrol: In Patrol, the Behemoth you fight is randomized from a select set that vary in power level, but it offers daily rewards and better loot. This option doesn't open up until you've completed a few Pursuits and levelled up first.
- Pursuit: In Pursuit, you can select which Behemoth you want to fight. This give you more control over the level Behemoth you are fighting, but it also gives less loot.
Danger Meter What is it and what happens when it hits maximum?
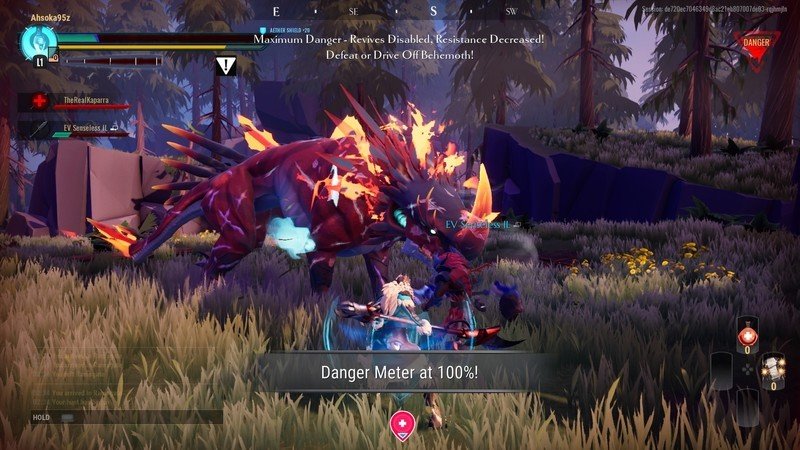
In the top right corner of your screen, you'll notice an inverted triangle that displays different percentages at any given time. This is your Danger Meter. When it reads 0%, you are completely safe. The higher it goes, the more danger you are in.
Though time spent on the island contributes to the overall Danger Meter percentage, a few other factors are involved as well. It will rise while you are in combat with a Behemoth, if you collapse and are in a prone position, or if you don't revive another player. Conversely, reviving a downed player will cause your Danger Meter to decrease.
When the Danger Meter reaches 100%, that's when you need to start really worrying. At 100%, players can no longer revive teammates and Behemoths become more powerful.
Aether What is it and how is it useful?
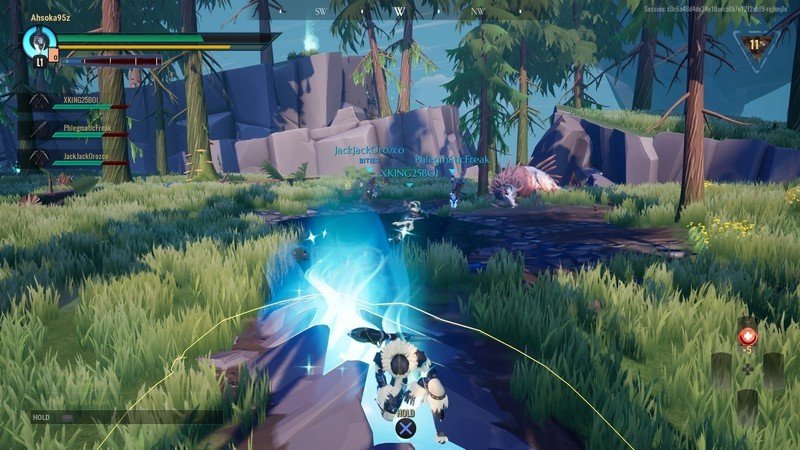
Aether is an energy source that can be collected through floating blue orbs (Aether wisps) that charge your lantern ability or through glowing Aether vents in the ground that heal you during battle. While the wisps can be found all across the island you are on, the Aether vents are rarer to come by, and only allow for a finite amount of healing before they run out. It's best to use these before depleting your health potion stockpile.
Get the latest news from Android Central, your trusted companion in the world of Android
Mastery system Is it important?
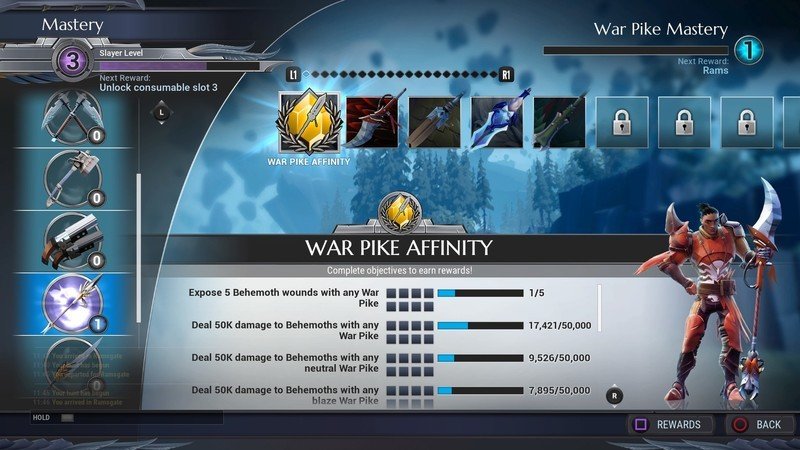
It's easy to ignore the Mastery system section of your menu, but it's actually a good idea to familiarize yourself with it and check up on it once in a while. Increasing your Mastery with a particular weapon type or Behemoth will grant you a ton of rewards. These rewards range from currency to more valuable items that improve your ability to level up and upgrade your weapons and armor.
In order to increase your Mastery in a given area, you'll need the complete the objectives listed for it. Mastery can be broken down between weapon types and even between weapon variants that can be crafted within each type category.
Behemoths Exploit weaknesses
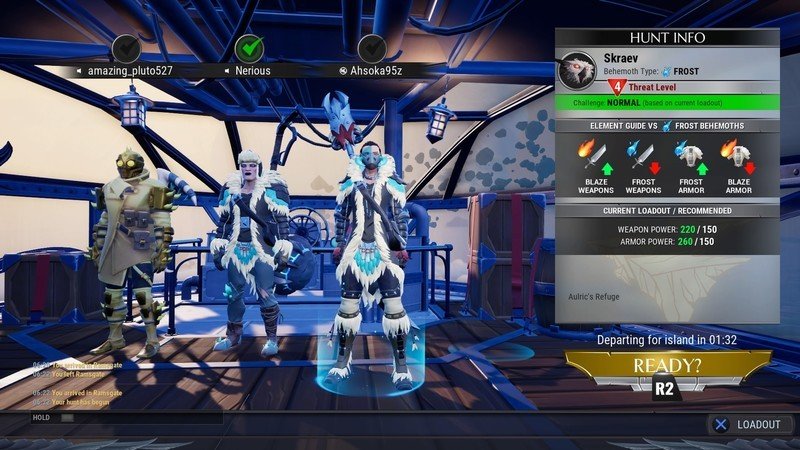
While you're waiting for a match to start up, you'll be given the opportunity to swap out your gear. At this point, you'll see a screen that tells you what type of Behemoth you are fighting as well as its elemental strengths and weaknesses, along with vulnerable body parts. It's best to take note of these and not ignore them.
For example, frost armor is more resistant to Frost Behemoth attacks, and blaze weapons generally do more damage to Frost Behemoths. As for vulnerable body parts, certain areas on Behemoths can be targeted to stun or hurt them further. If you hit an Embermane's head with a heavy attack while it is charging, you can stun it.
Flares How and when to use them
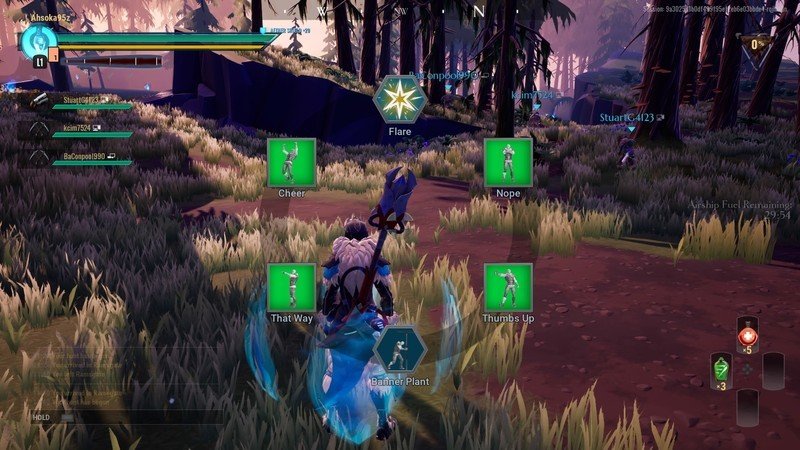
Because you aren't given a map and players tend to spread out to cover more ground quickly while searching for the Behemoth, you'll need to use flares in order to alert them of its location. On PlayStation 4, just hold down L2, select the flare from the radial menu with your right thumbstick, and then press R2 to fire it off. A symbol will pop up on the compass so that other players know the direction to go in.

Jennifer Locke has been playing video games nearly her entire life. You can find her posting pictures of her dog and obsessing over PlayStation and Xbox, Star Wars, and other geeky things.
