Get the most out of the camera in your pocket
For many of us, taking pictures is something we do all year. But during the holidays, there are often so many moments to capture that almost everyone with a camera — including the one on your Android — will want to be snapping a few pictures and making memories they can share and keep forever. The real photobugs in the crowd will have their fancy gear out, and a few will have a good camera with them, but everyone with an Android has a capable camera, too.
With a few tips, you can get pictures you'll love from every Android phone. Maybe they won't make the cover of National Geographic or Time, but pictures you can share on Facebook or with friends and family are really what most of us are asking for. Forget all the talk about which Android phone has the better camera, grab the Android you have and follow past the break for some tips to get the most out of your holiday pictures with it.
The Rule of Thirds


Some camera apps have an overlay that resembles a tic-tac-toe board in the viewfinder. While tic-tac-toe can be a fun time waster, there is actually a purpose for it, and it's called the Rule of Thirds. In a nutshell, the horizon of your picture (if there is one) should be one-third up from the bottom (or down from the top) of your picture, and the focal point should be one-third away from the left or the right edge. A quirk of the human brain makes us think things look better when framed this way, and mathematicians and scholars since the time of Euclid have been trying to refine and figure it all out.
If your camera app of choice doesn't have lines for the Rule of Thirds, don't fret. Just make sure any horizon — where the sky meets the ground, or a wall meets the floor, or any straight line that is going to draw the eye is visible — is about one-third of the screen height from the top or the bottom if it's visible at all. Putting your focal point about one-third from the edge is just as easy, but you need to consider the next tip before you pick a side.
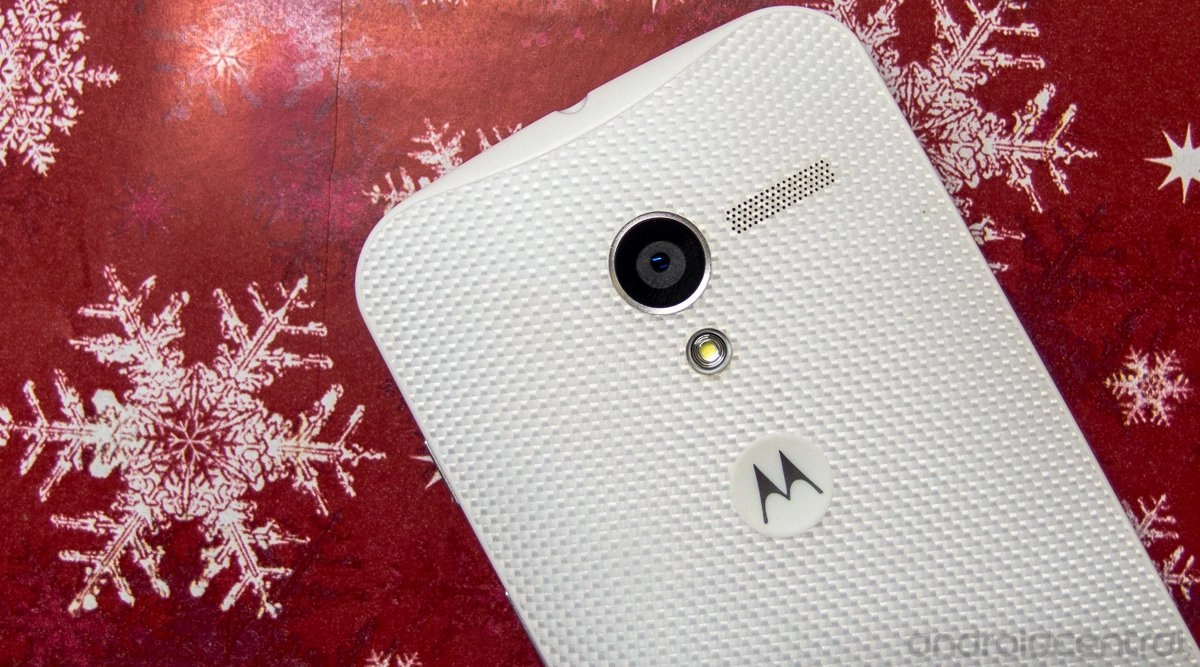
One thing to always remember is that the subject should move into the picture. Look at the Moto X picture at the top of this post. It moves into the picture from the right. It would look pretty goofy if I had put the phone at the left third instead of the right because of its angle. The same goes for faces — they should always look into the picture and not out of it.
Depth and balance

Your pictures will look better if they have natural framing. By this, I mean to use vertical and horizontal lines in a way that compliments the subject. "Lines" doesn't necessarily mean solid, hard edges either. Trees make great natural frames, as do people or objects deep in the background. A fine balance — where not everything is on one side of your picture — looks better.
Depth is important, too. The best photos have scenery in the background or foreground. Oftentimes, these objects are far enough away from what you're focusing on that they appear blurry. This effect can be marvelous, even with the tiny lens and sensor on our Androids. If you're taking a picture against a wall, for example, try moving to a different angle so something else is in the scene.
Get the right background (or foreground) and get your subject in the Golden Ratio by using the Rule of Thirds, and you'll have a much better picture.
Move those feet!

Never, ever use the digital zoom on your camera unless you have to. Instead, move closer to whatever it is you're taking a picture of. Chances are, you'll be better off taking the picture at normal zoom then cropping it later.
You also need to move around to get the framing just right. In the portrait studio, you might sit still and face the camera. The photographer has full manual control over every aspect of the picture he or she is taking, and they can make it work well. When you're out with friends at T.G.I Fridays, or the little ones are running around 300 miles per hour at your feet, you don't.
Move to frame things, and move as close as you need to to get what you want to see on your screen before you take the picture whenever you can.
Elbows in

Don't depend on image stabilization alone
This is super simple, but make a huge difference. Hold your phone firmly in your hands (use two whenever you can) and press your elbows in against your stomach. This keeps the camera steady, and steady cameras mean less blurry shots. OIS in newer Android cameras helps here, but nothing works as well as not shaking the camera in the first place.
Things won't be as steady as a tripod, but do you really want to carry a tripod around in case you want to grab a picture?
Post-processing

The best pictures never come straight out of the camera. Exposure, color correction and white balance are tricky for a smartphone's tiny optics to get right. It's also difficult to frame a picture correctly when the things and people you're taking pictures of are moving around. The good news is, most of this can be fixed pretty easily with a picture editor. The key is to take a lot of pictures — a lot of pictures. Chances are, at least one of them will make the cut.
More than likely you already have a picture editor built in to your camera and gallery app. Take a peek through the menu and options of what you have installed. If you can crop, resize, adjust for "warmth" and "coolness" of your picture, you're off to a good start. If you're not satisfied with what you have here, or you just don't have these options, Google Play can help.
Don't get intimidated by all the choices in Android photography applications. I'll go on and recommend Snapseed for folks who haven't fiddled with a picture editor too much. It's light weight, easy to use, and the defaults do a really good job most of the time. It's also free, so don't be afraid to try it.
Once you have the hang of editing color and sharpness, and have a handle on cropping, you can move on to something with more features that's also more complicated. Be sure to have a look at replacement camera app once you've a little experience under your belt, too. There are plenty of them, and they have a lot to offer.
Using these tips won't automatically make you a pro. And of course, there is more to taking great pictures than what you've read here. But these basics are a great way to get started using your Android as your camera, and should help get some really nice holiday pictures!

