How to add a decal to your PlayStation 4 light bar
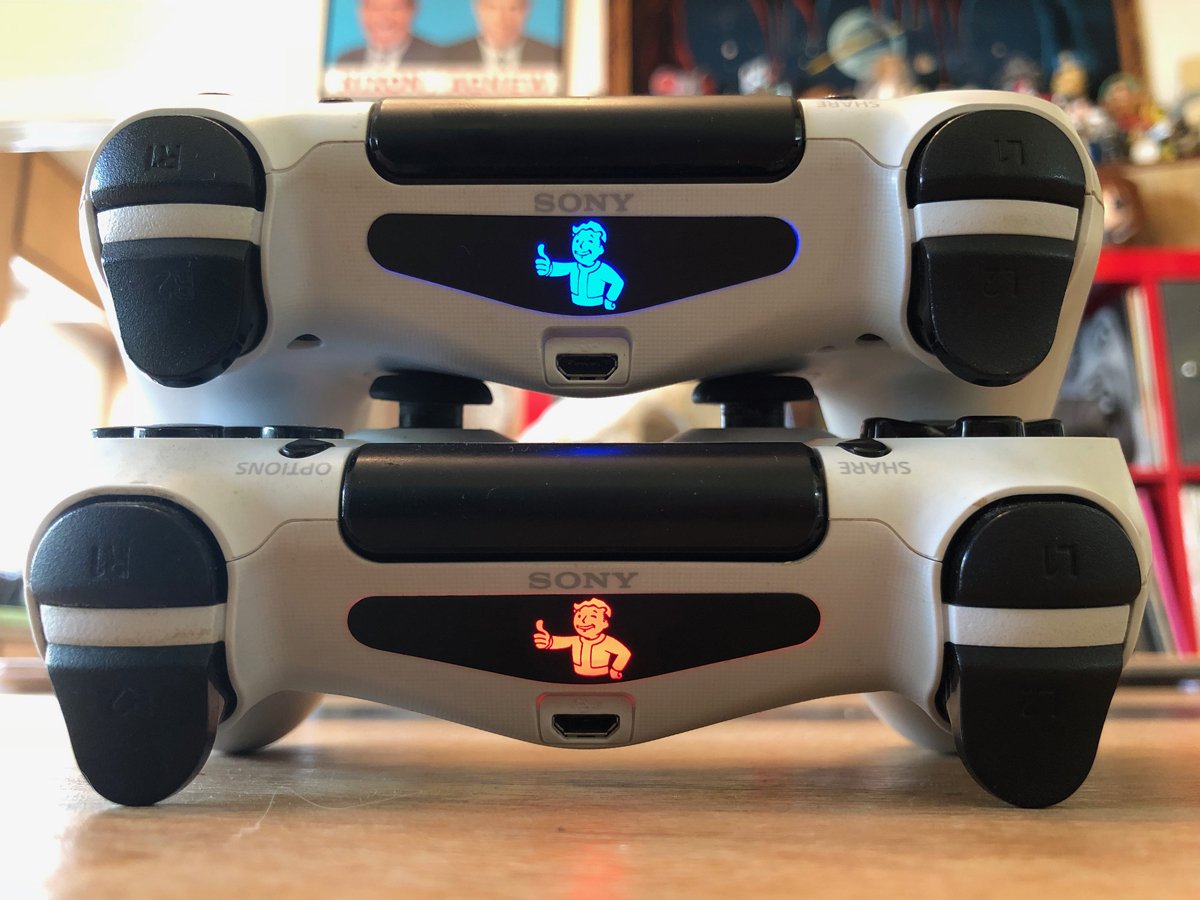
If you want to spice up or customize the look of the lightbar on your PS4 DualShock controllers, one great way to do it is with decals. There are so many different options to choose from that will allow you to make your DualShock your very own. Once you have a sweet decal on it, it will look cooler and no one will mistake it as their own.
Products used in this guide
- Amazon: Integral Vinyl Lightbar Decals ($7)
How to apply your decals
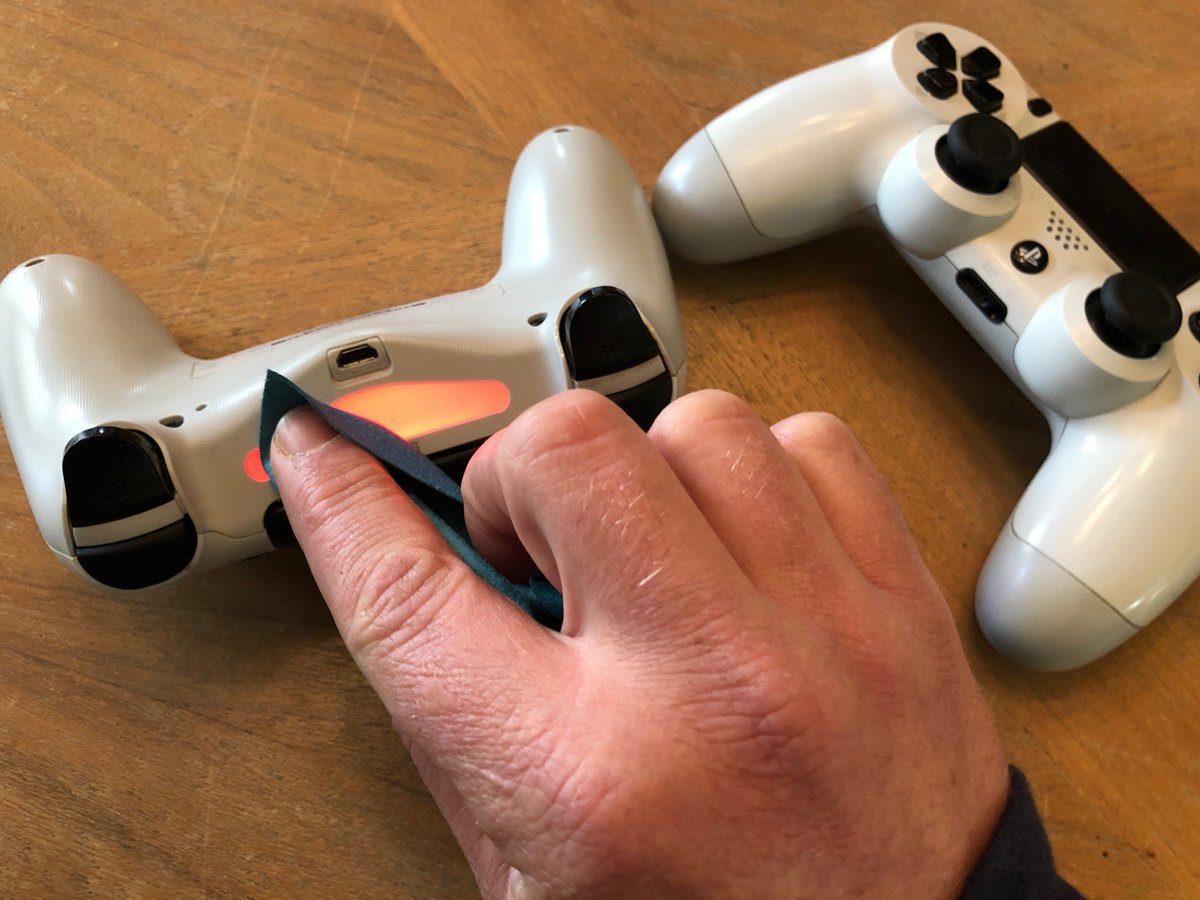
- If your DualShock is a little grimy, make sure to wipe off the lightbar with a soft cloth.
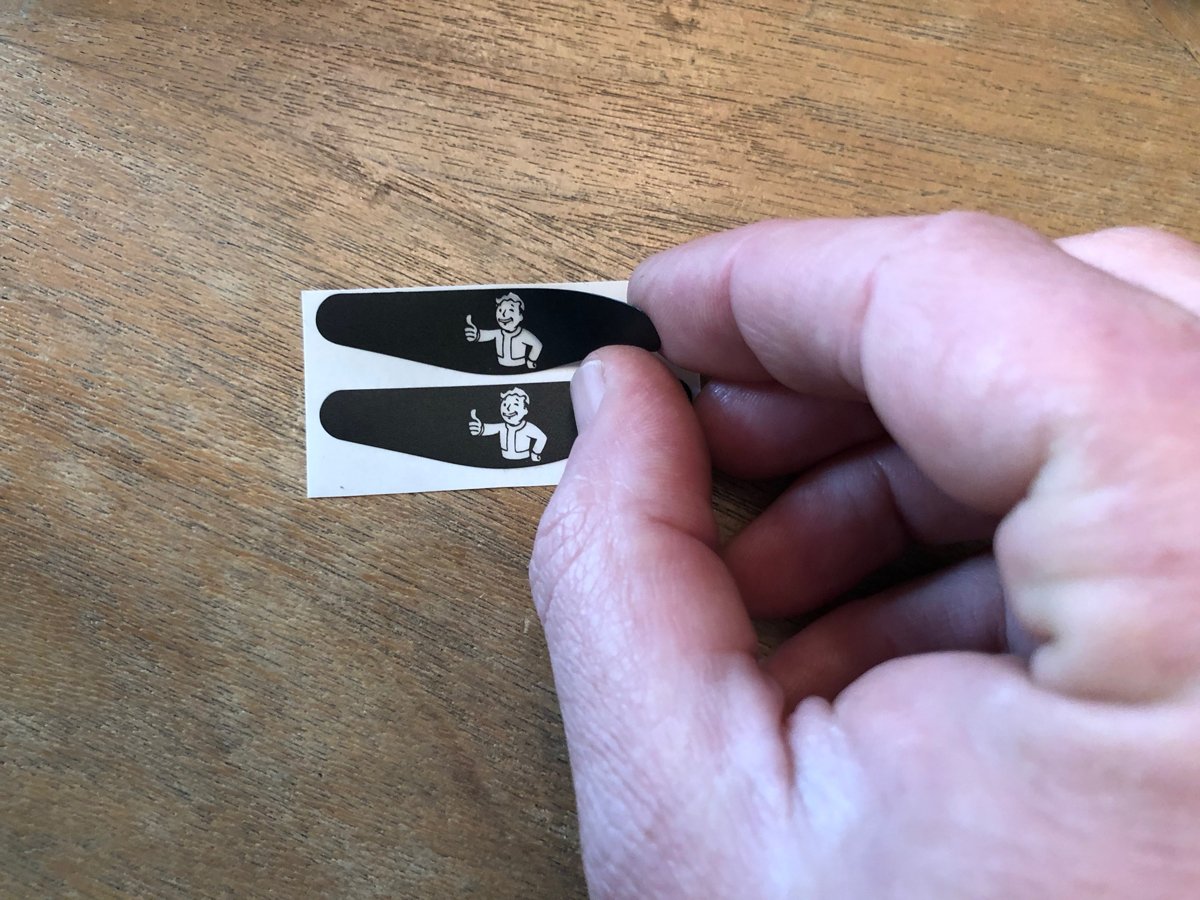
- Carefully remove your decal from the backing paper.
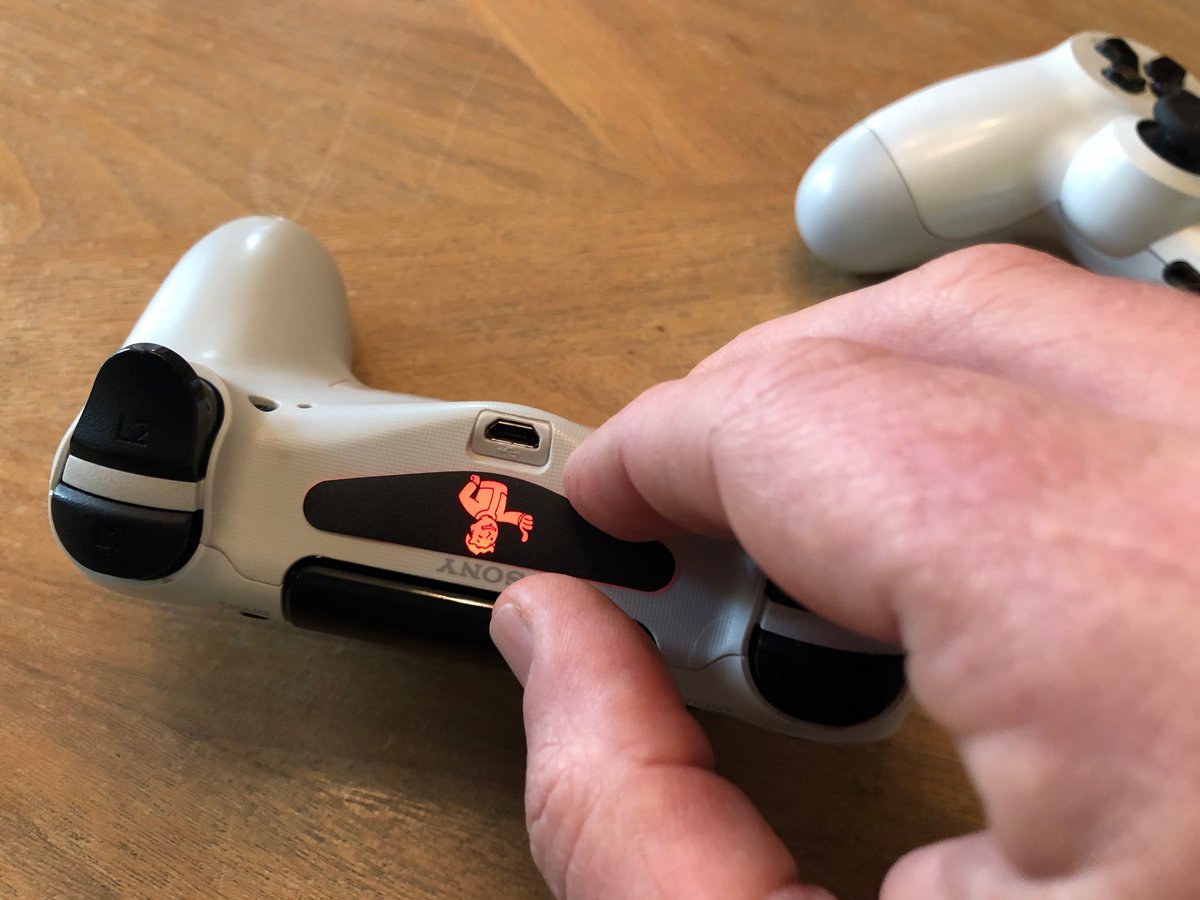
- Line up your decal with the lightbar. I found this to be easiest to accomplish with the DualShock upside down
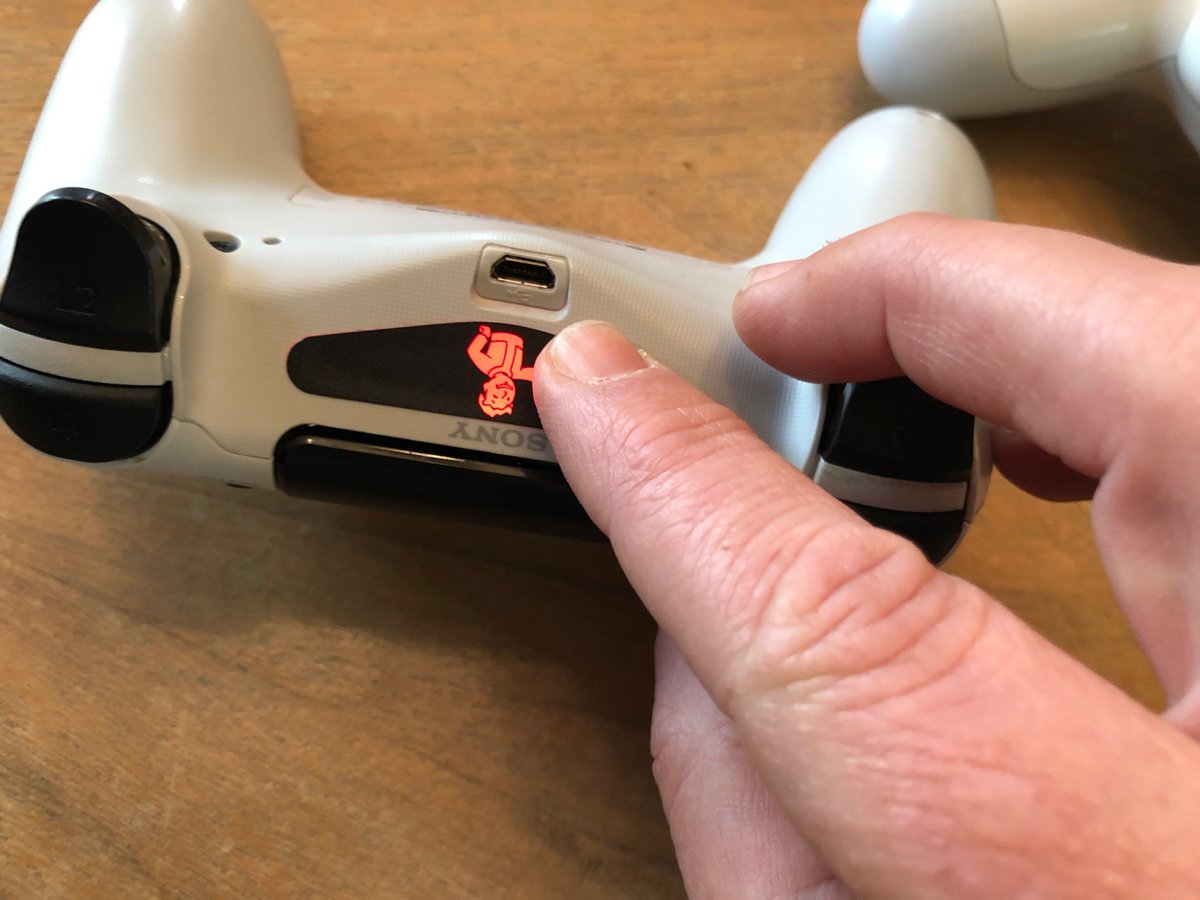
- Burnish the decal with your finger to ensure that it stays adhered to the lightbar.
Congratulations! You now have the coolest looking DualShock on the block. Wow your friends with your awesome customized gear.
Our top equipment picks
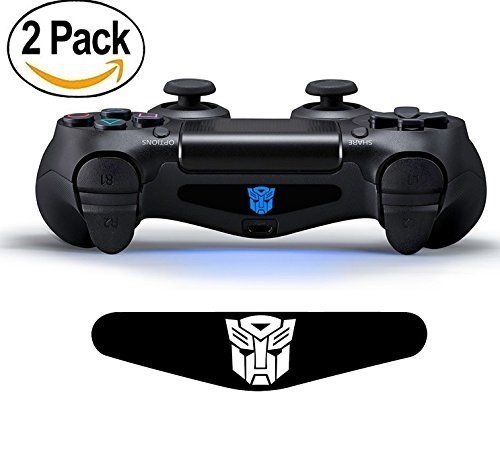
You can choose from various different images and each order comes with a pair of decals
There are plenty of other options out there when it comes to lightbar decals. I personally prefer these as they don't come with a zillion different decals that I will never use.
Additional options
If you would prefer to have a ton of different decals to choose from, rather than just two, you can take a look at this option.
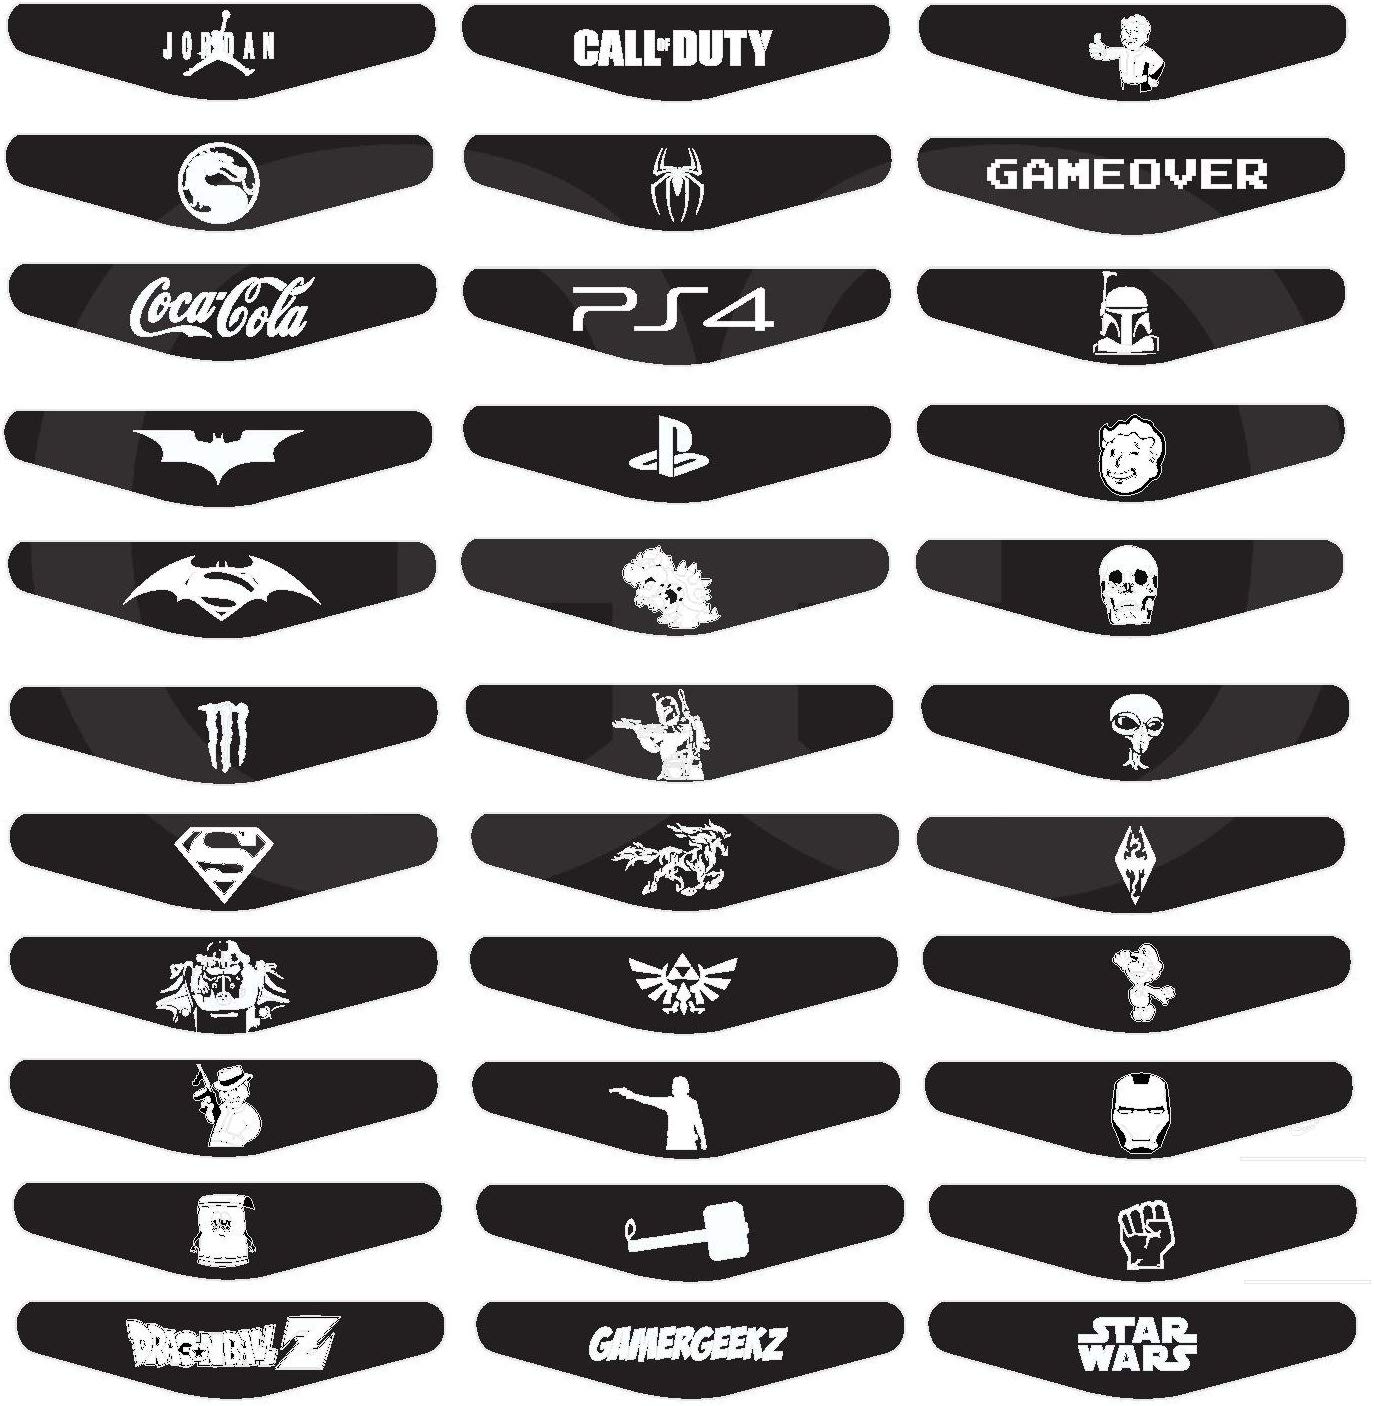
GamerGeekz Light Bar Decals ($10)
These decals come with 33 different options to choose from. If you want volume and the option to regularly swap out your decals, this may be the choice for you.
Get the latest news from Android Central, your trusted companion in the world of Android
