Amazon's Eero is pretty phenomenal, so much that it topped our roundup of the best mesh networking hardware. It's easy to install, easy to use, and offers great speed, reliability, and flexibility. Perhaps more importantly, it's also incredibly easy to expand via eero's network extenders, known as Beacons. We'll walk you through the process involved in adding and removing these devices, including initial setup of your Eero network.
Recommended purchases
- For first-timers: Eero Pro Mesh WiFi System ($400 at Amazon)
- Get more beacons: Eero Beacon WiFi Range Extender ($150 at Amazon)
- Middle of the road: Eero Mesh WiFi 3-Pack($199 at Amazon)
What is an Eero beacon, exactly?

At the time of writing, Eero has three products in its portfolio.

The Eero Pro is eero's top-tier hardware. It's designed to act as both a wireless router and as a hub for the entire Wi-Fi system. It's pricier than the other two units, but also more than twice as powerful as the standard Eero router. On its own, it provides roughly 1,750 square feet of coverage and costs roughly twice as much as a standard Eero router.
The Eero Router, meanwhile, is eero's standard hardware. It's not as fast as the Eero Pro, but it still provides decent speed and up to 1,500 square feet of coverage. Like the Eero Pro, the Eero Router has two Ethernet ports, allowing it to be used as a gateway for the Eero system or to connect a device to the web via ethernet.
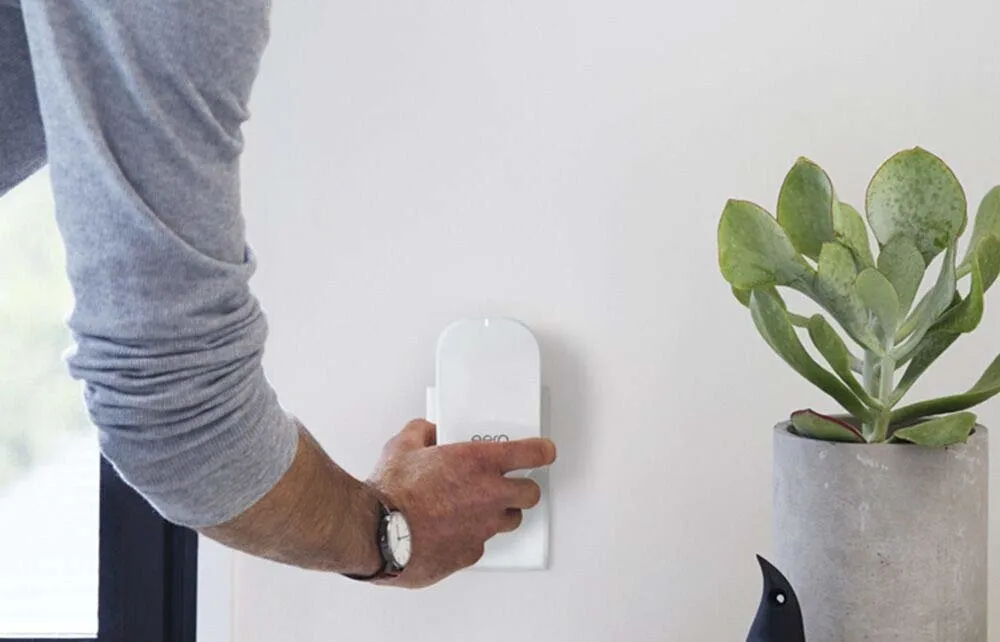
Finally, there's the Eero Beacon, which is a small unit that plugs into your wall outlet and doubles as a nightlight. Notably, it can't really function by itself; in order to use an Eero Beacon, you must already have an existing Eero network in place. You can add as many beacons as you want to a single Eero network.
How to add Eero beacons to your network

Initial setup
In order to have a network that's capable of supporting Eero Beacons, you'll need at least one eero or Eero Pro device. Once you've gotten home and unboxed your eero, setup is relatively straightforward.
- First, download and install the Eero app on your smartphone.
- The first time you start up the app, you'll be prompted to create an account. Follow the on-screen instructions.
- Locate your modem, and unplug it. If you're not sure where your modem is, check the cable outlets in your home.
- Use the provided Ethernet cable to connect your Eero router to the modem.
- Plug in the modem and the Eero device.
- Follow the prompts within the Eero app to set up your Eero network, including both the name (SSID) and password.
- If you have an existing Wi-Fi router, make sure your eero's SSID is different, run the Eero in bridge mode, or uninstall the router entirely.
Adding new Beacons
- Plug your Beacon into a wall socket.
- Open the Eero app.
- Tap on Add an eero.
- Follow the on-screen prompts to add the Beacon to your network.

Removing beacons
Android
- Open your Eero app.
- If you have six or fewer eeros, they should all be visible on the app's home screen. If you have more than six eeros, tap on eeros Online to see a full list.
- Tap on the Beacon you want to remove.
- Then tap Remove eero at the bottom of the screen.
iOS
- Open your Eero app.
- Tap the Online tab.
- Tap on the beacon you want to remove.
- Then tap Remove eero.
Where to purchase more Eero devices
One of the biggest draws of Eero is its ease of use. Whether you're extending your network via Beacons, routers, or additional Eero Pros, everything is designed to be as seamless and as painless as possible. With that in mind, we're going to wrap up with a few of our top recommendations for those of you looking to expand.

Powerful Wi-Fi and easy expansion
The Eero Pro is a great replacement for all but the most superpowered wireless routers. It offers excellent speed, coverage, and reliability, with coverage up to 1,750 square feet. The addition of two Beacons only sweetens the deal, allowing you to easily extend your network to cover most mid-sized homes.

Light the way
With their small footprint and nightlight functionality, Eero Beacons are a great way to extend the range of your wireless network. They're also perfect to light up hallways, kitchens, and bathrooms in the evening hours. Beacons might not provide speeds on par with the Eero Pro or Eero mesh routers, but they're still enough for all but the most intensive computing tasks.

A bit more oomph
If Eero Beacons don't provide quite enough speed for your liking, you may be better-served extending your network with eero's mesh routers. Though they aren't as powerful individually as the Pro, a three-pack provides enough coverage for up to 5,000 square feet.

