How to set up the LG G4
Get the latest news from Android Central, your trusted companion in the world of Android
You are now subscribed
Your newsletter sign-up was successful
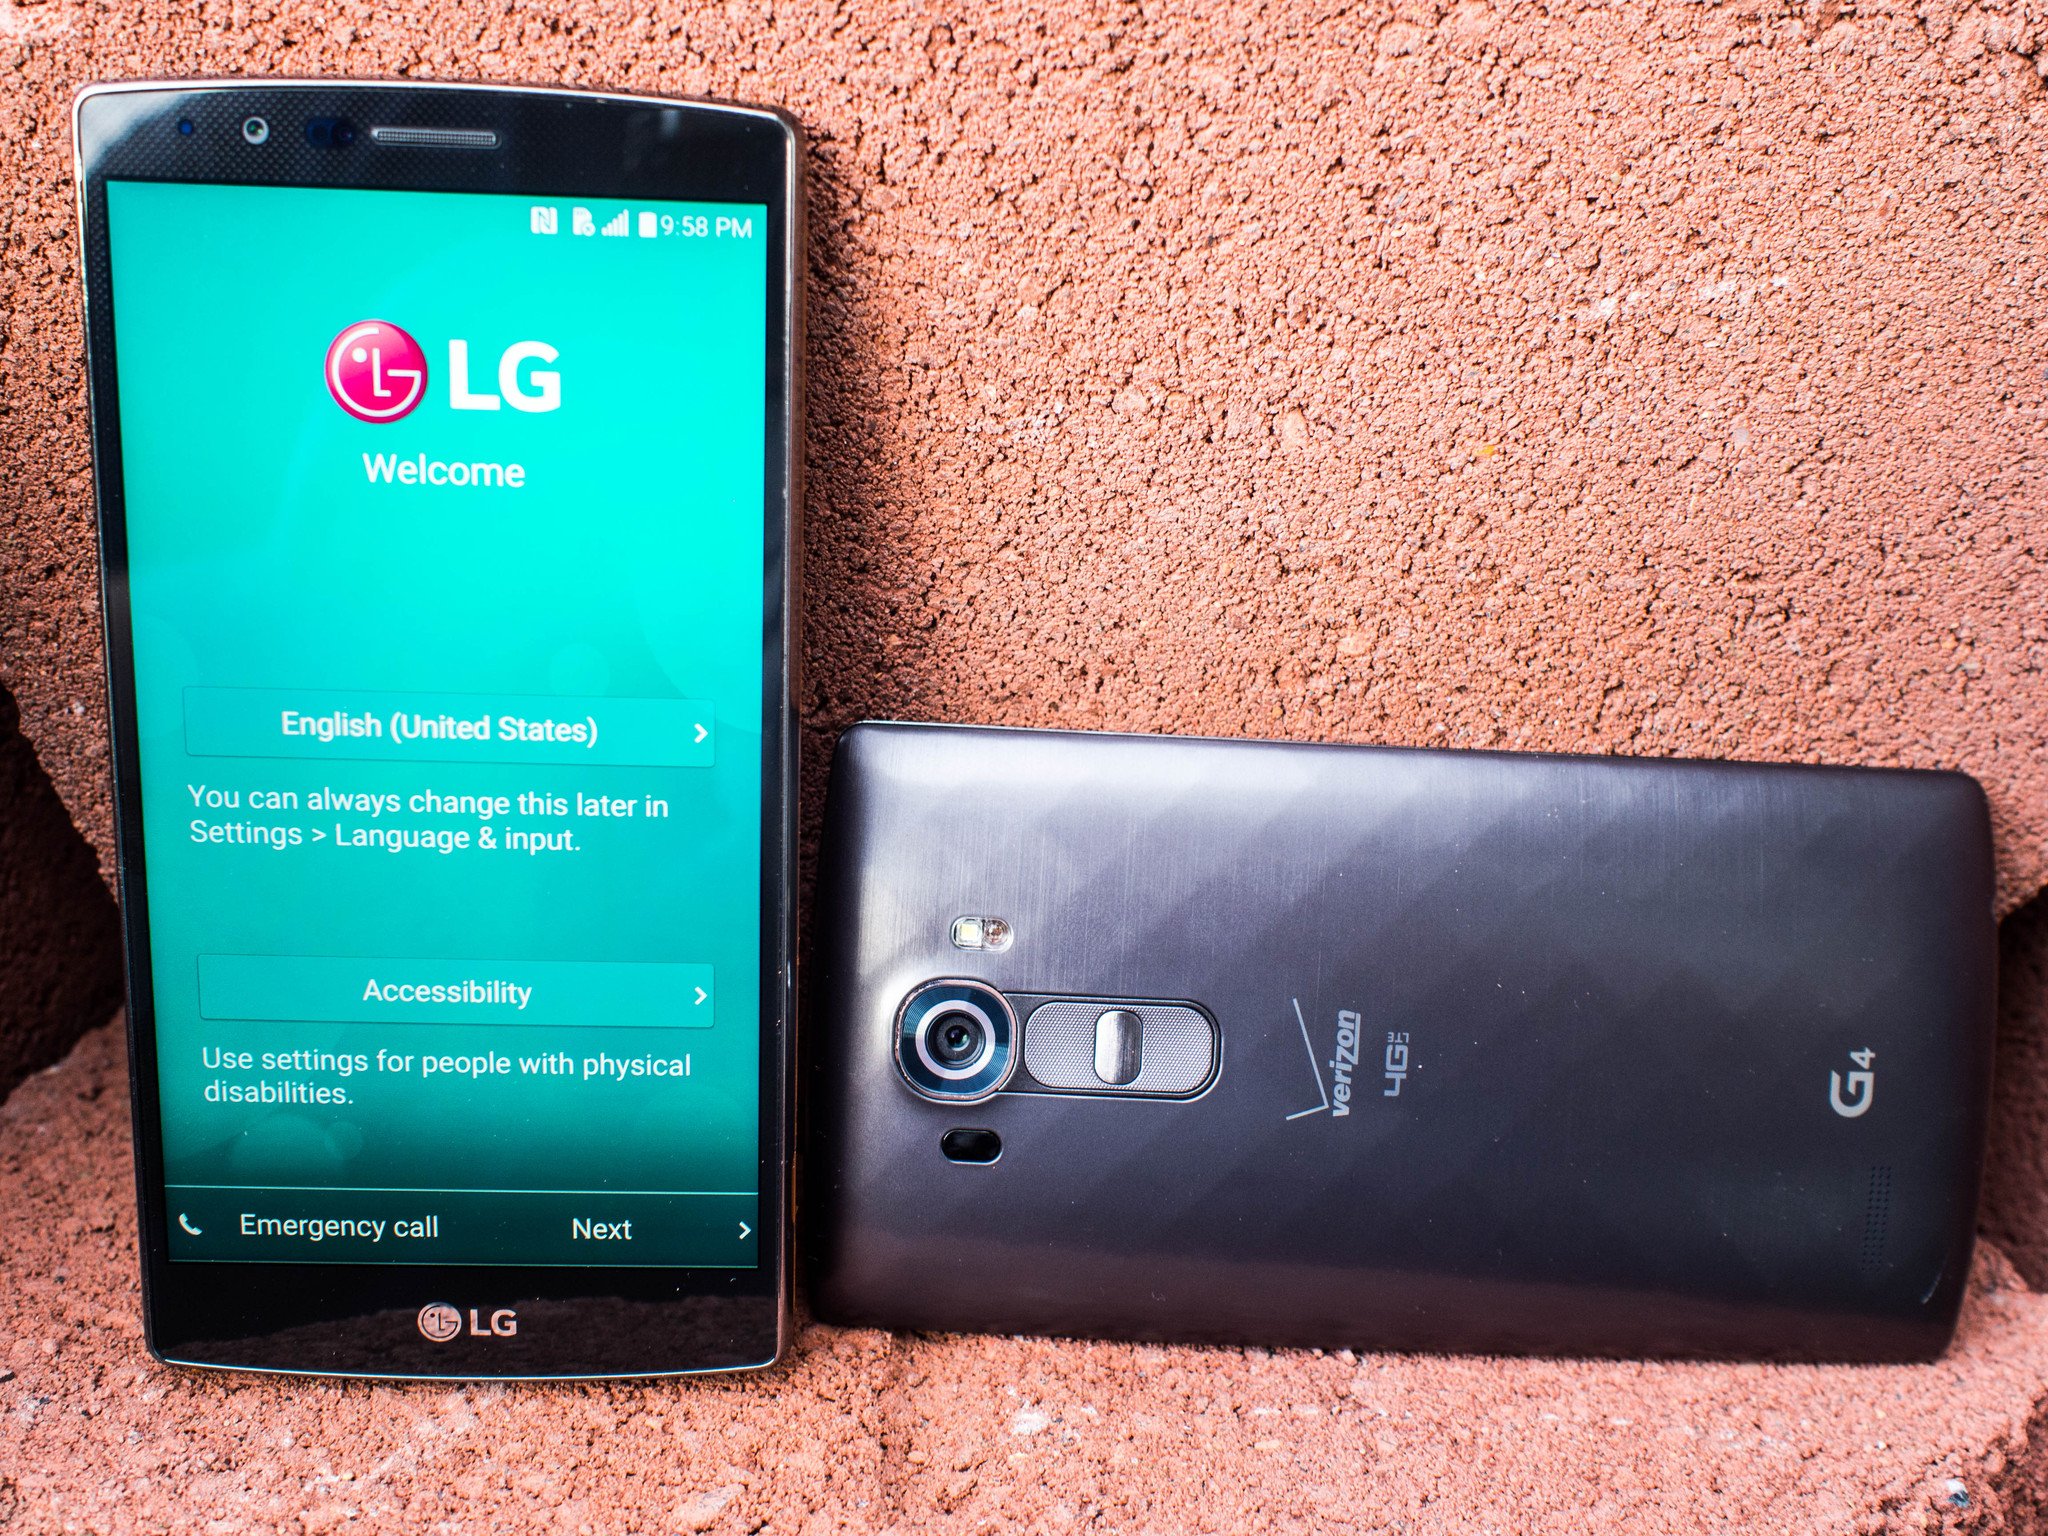
LG's way of doing things in software is not always the same as everyone else in Android land, and as a result things may seem a little different when you decide to make the jump and move in to a shiny new G4. This setup process is mostly harmless, but there's a few things you should know about ahead of time to make the experience as painless as possible.
Ready? Here we go.
READ MORE: How to set up the LG G4
Connecting your G4 to a network
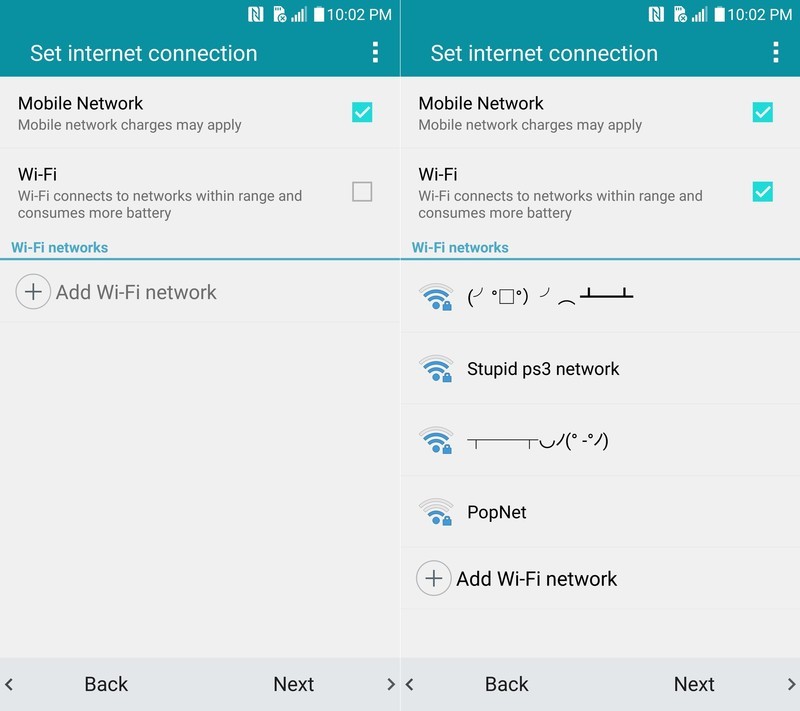
The first thing your G4 is going to want to do is ensure you're connected to a mobile network. Assuming you've got a SIM card from your mobile provider in the device already, this step is mostly about confirming your connecting and establishing a connection. If you'd rather complete the setup process over Wifi, which would mean you're not using your mobile network to sync all of your data and install all of your apps, you can tap the Wifi toggle here and log in to your network of choice.
Once you have chosen how you want to connect for setup, you can move on to the next step.
Logging in to or creating a Google Account
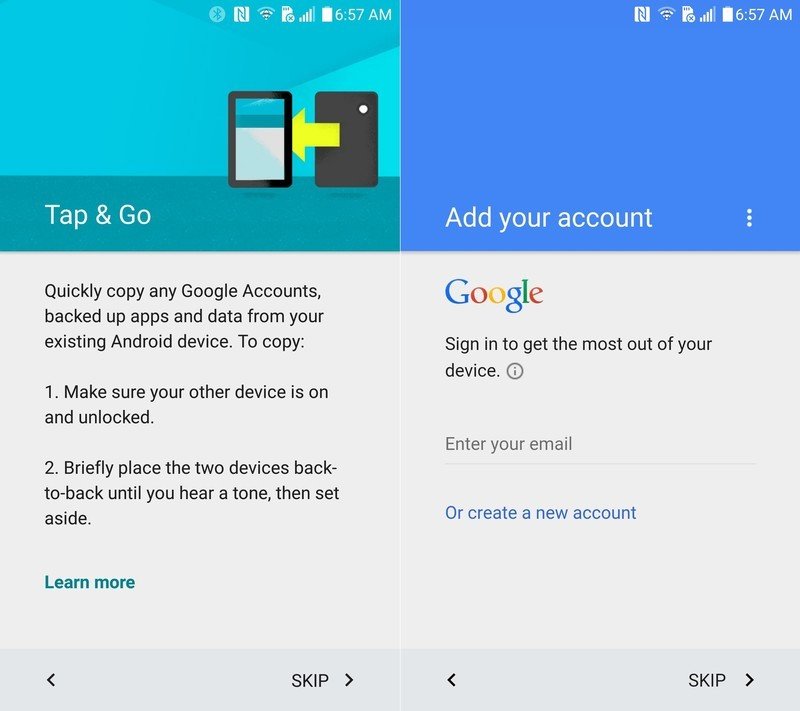
Your Google Account is, for most folks, the center of your Android experience. If you have already owned an Android phone before and are already using a Google Account, you have the option here to use NFC to beam your account details from your old device to your new one. This process is quick, and saves you from having to log in to your accounts individually if you're using more than one for things like email. All you need to do is enable NFC on your old phone and tap it to the back of your G4. You'll hear a brief chirp and then be asked to provide passwords for your accounts on the G4, after which you'll be logged in to all of your accounts.
If you're unable to use NFC from your old phone, or you've never had a Google Account, tap Next and you'll be prompted to log in through the keyboard or create an account. Account creation is quick to start, and Google will walk you through choosing a Gmail address and supplying personal information, and once you're finished you can move on to the next step.
Get the latest news from Android Central, your trusted companion in the world of Android
Personalizing your G4
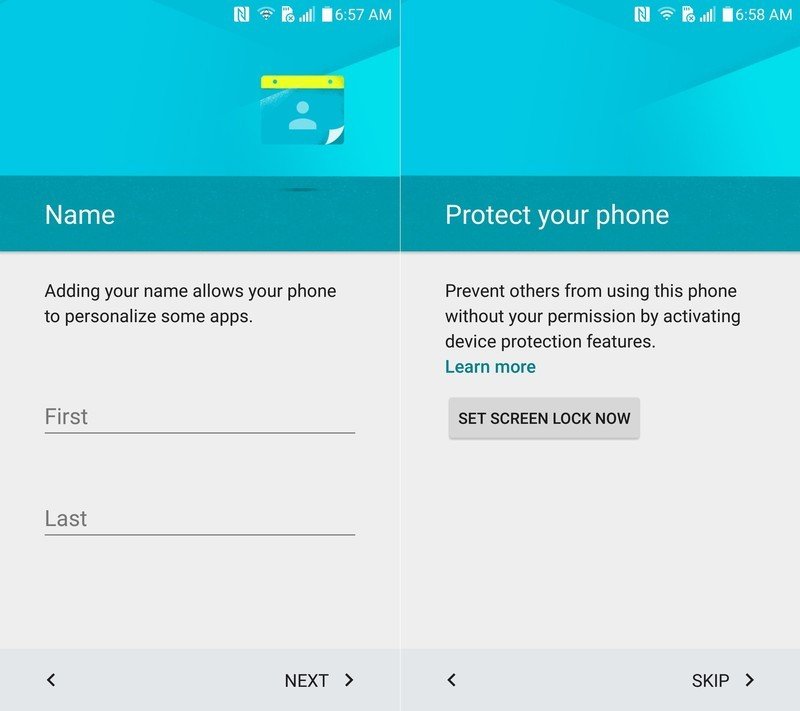
This device belongs to you now, which means it's time to make that clear to the world. You G4 will now prompt you to add your name to the phone in case it is lost or stolen, and the next page invites you to secure the phone with a pattern or pin lock. This is a simple process, especially if you opt to lock your phone with a pattern. That extra bit of security can often be the difference between misplacing your phone for a few minutes and having your friend post obscenities to Facebook in your honor, not to mention keeping someone from easily entering your device and accessing things like bank accounts.
It's a good idea to set up now, and if you're unhappy with the results you can always change it in Settings later on.
Accepting terms
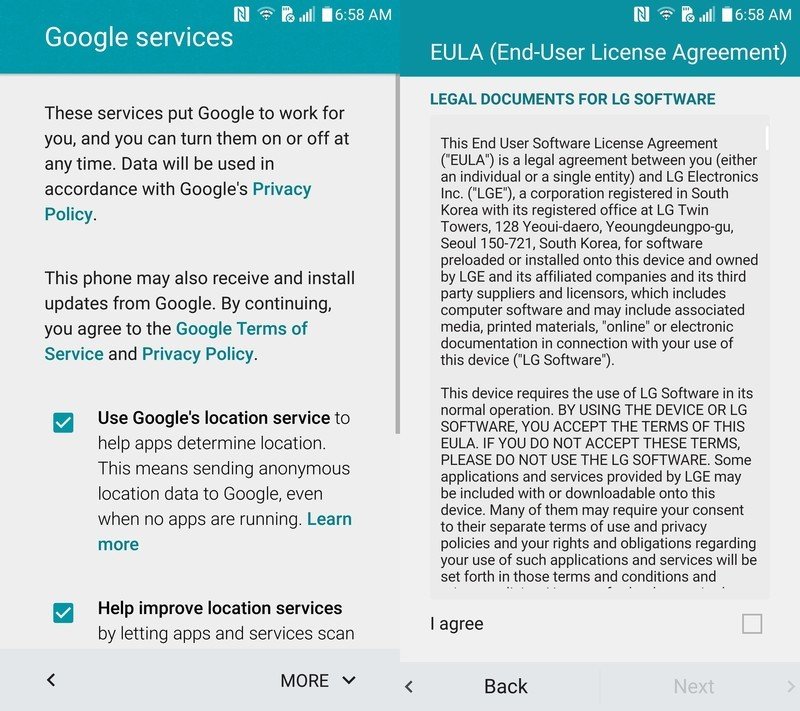
Before you are taken to your homescreen, Google and LG have a few checkboxes for you to look over. LG's information is about their End User License Agreement, which talks about how you use their apps and services that are provided on top of Android. Google's information, however, references the use of location services. You need location services for things like Google Maps and navigation, but whether you choose to have it on all the time is entirely up to you.
These boxes are checked by default with an ex plainer regarding Google's privacy policy, but you can opt out by unchecking those boxes here. If you decide later you'd like to use these things, they can be enabled in Settings. After you select I agree and Next in the LG EULA, you're all done and can start enjoying your new G4.
Setting up a Verizon G4
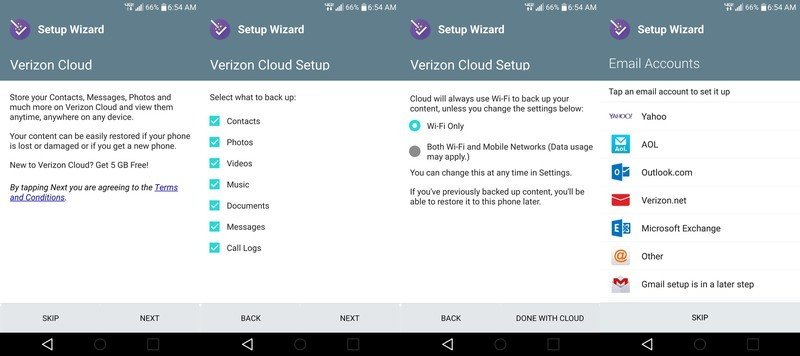
If you're on a Verizon Wireless version of the LG G4, there are a few more steps in the setup process. Before you get to sign in with a Google Account, Verizon would like to tell you about the Verizon Services you have available to you on this phone. This includes Verizon's Cloud services for storing things like contacts and photos, as well as a separate configuration screen for email accounts that don't belong to Google. Everything here can be skipped if you aren't interested in using these services, but if you are already a Verizon Cloud user or are interested in signing in to other accounts, this is the place to do it.
Once you've completed these Verizon-specific setup screens, you'll be taken to the Google Account sign in page, and follow the same steps as every other G4.

