Gmail for Android – A Complete Walkthrough
According to our not-so-scientific poll taken this time last year, chances are good that if you’re reading this then you use Android’s Gmail app. The latest update to Gmail bumped it up to version 4.2.2, adding some useful new features like swipe to delete, as well as the long awaited pinch to zoom. You may or may not have already read about these and started to use them. What about all those features that came before the last update?
Perhaps you’re new to Android, and are still exploring a lot of what Gmail has to offer. Maybe you’ve been using Android for a long time, and want to make sure you’re getting the most out of your Gmail experience. Whatever your level of expertise, this comprehensive walkthrough of Gmail's controls and settings will help advance, or at least refresh, your Gmail skills.
Hit the break for a review of the basics, as well as a deep dig into Gmail's features (and a couple lesser known tricks).
Incoming Messages
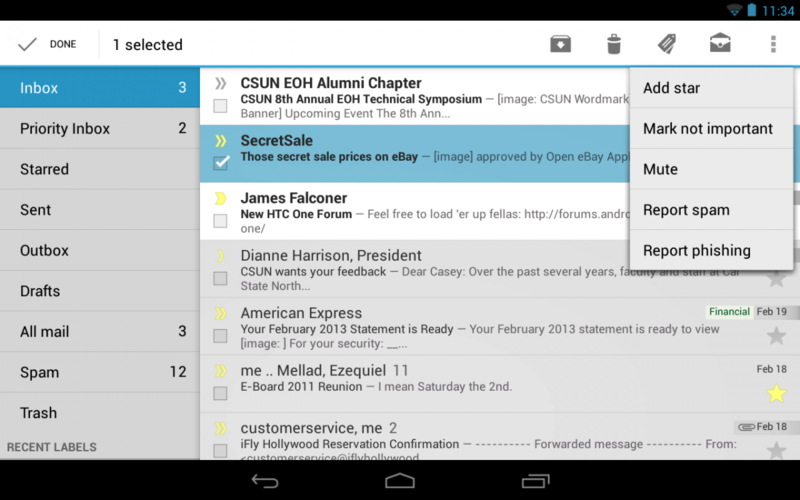
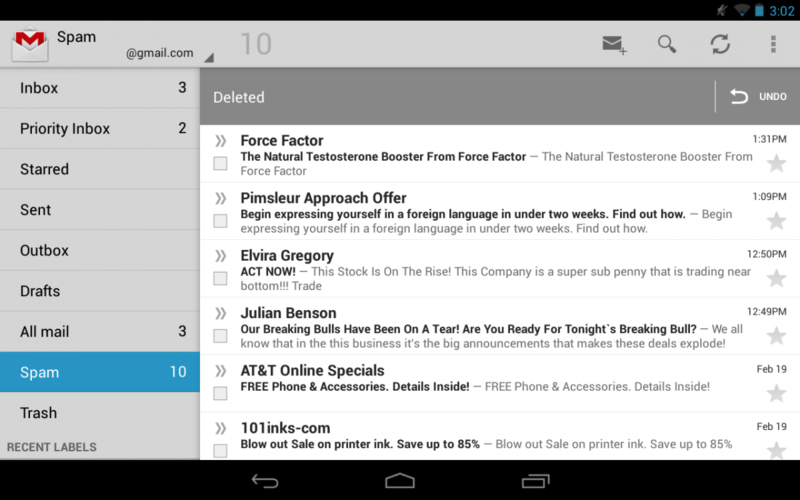
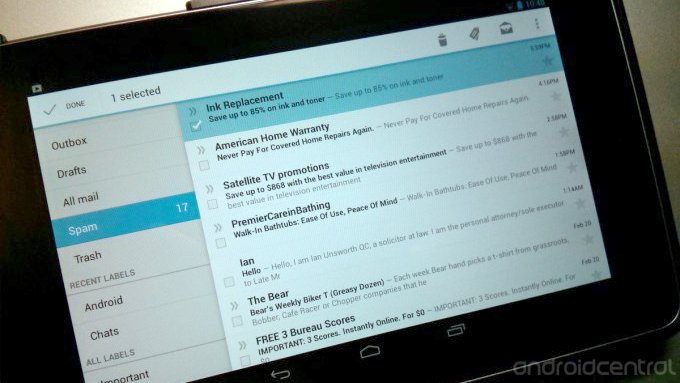
Unless you changed the default settings, the Inbox should be the first thing you see when you open Gmail. You can change messages between read and unread using the checkboxes and the envelope icon in the Action Bar.
Gmail marks what messages it thinks are important using yellow arrows - a double arrow means the message was sent directly to you, a single skinny arrow means you were Cc’d on it, and a fat single arrow means you got the message as part of a group. If the arrow is grey instead of yellow, the message is marked not important (which you can change in the menu). All messages marked important can be found in your Priority Inbox.
You can also mark a message with a yellow star, which places it in Starred. I don’t use my Priority Inbox too much personally, but I do find starring messages to quickly group them together handy sometimes.
The Archive button (box with a white down arrow) can be used to remove email from your Inbox. Instead of sending the messages to your Trash, it keeps them in All Mail, sort of like a filing cabinet so you can access them later if needed. If you assigned the message a custom label using the label button, you can find it in that label as well. You’ll notice my February American Express statement has been labeled Financial. After I archive it, if I want to find it later, I can find it in both All Mail and Financial.
Get the latest news from Android Central, your trusted companion in the world of Android
Mute is quickly becoming one of my favorite Gmail tools. If you’ve ever been Cc’d on one of those email threads that just won’t die, this feature is for you. You can Mute the conversation, which will keep all future replies of that conversation out of your Inbox. It will only return to your Inbox if you are the only recipient, if you’re added to the “To” line, or if you’re added to the “Cc” line. Mute is like auto-archive for a conversation, so if you need to refer to the conversation again, you can find it in All Mail.
Managing Labels
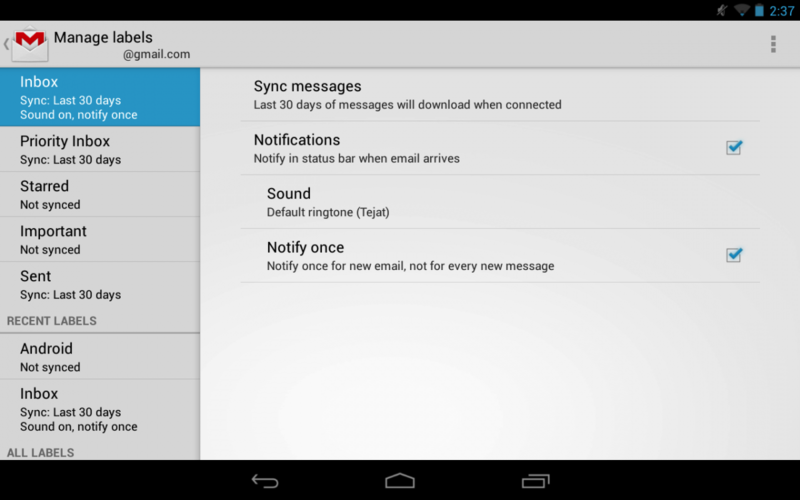
Labels are the Gmail equivalent of folders, only better because you can have one email with multiple labels. This screen, accessible through the 3-dot menu, gives you the ability to fine-tune your settings for each individual label. "Sync messages" can be adjusted to make emails downloaded only by request (None), keep the last 30 days worth preloaded on your device (Last 30 days), or keep every last email locally handy for quick viewing (All). You can turn notifications on and off per label as well, with the added ability to change the notification sound. You can also control if you get a notification once for new mail (getting a second email before you check the first will not cause a notification), or if you want notifications for each new message that comes in.
Advanced Search
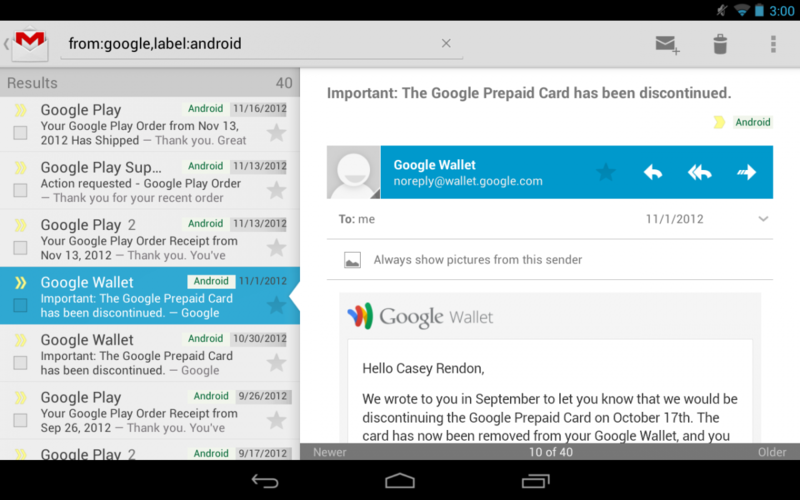
If you have as many emails as I do, knowing how to search for them can save you a lot of time. You can search by a few plain terms, or if you really want hawkeye precision you can use operators - these are part of what Google calls Advanced Search. Operators let you search by sender, recipient, subject, attachment, label, importance, starring, or even size, just to name a few. If you’re using more than one Operator, make sure to separate them with a comma. In the shot above, I searched for any mail that was from Google and was labeled Android. For a complete list of Operators, check out the Google support page.
Working with Attachments
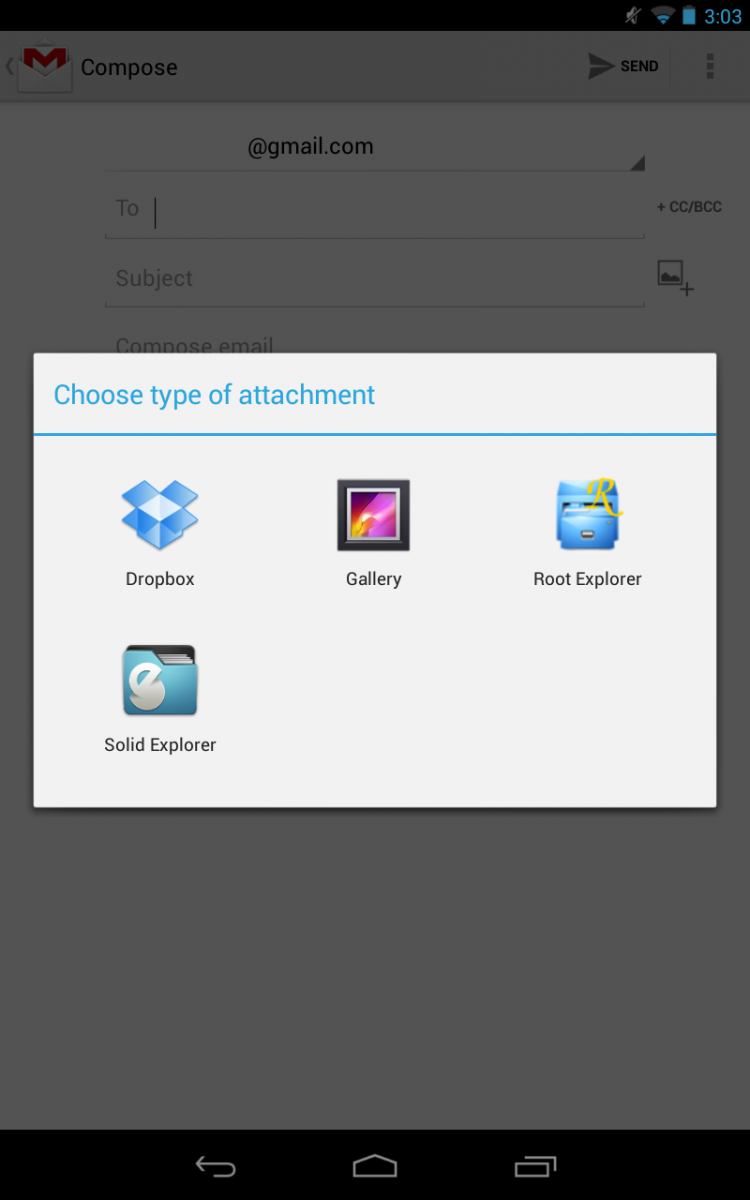
When composing a new message, you might notice that in the menu there are only options for adding two attachment types: pictures and videos. If you do a search in Google Play, you’ll find “attachment” apps whose sole purpose is to enable you to attach other file types. No need to bother with these. Most file explorers will allow you to attach almost any type of file. If you have a file explorer installed, and you go to attach a picture, choose your file explorer in the pop-up box. Viola – your attachment potential becomes limitless. This also works using other app types, like cloud storage apps.
General Settings
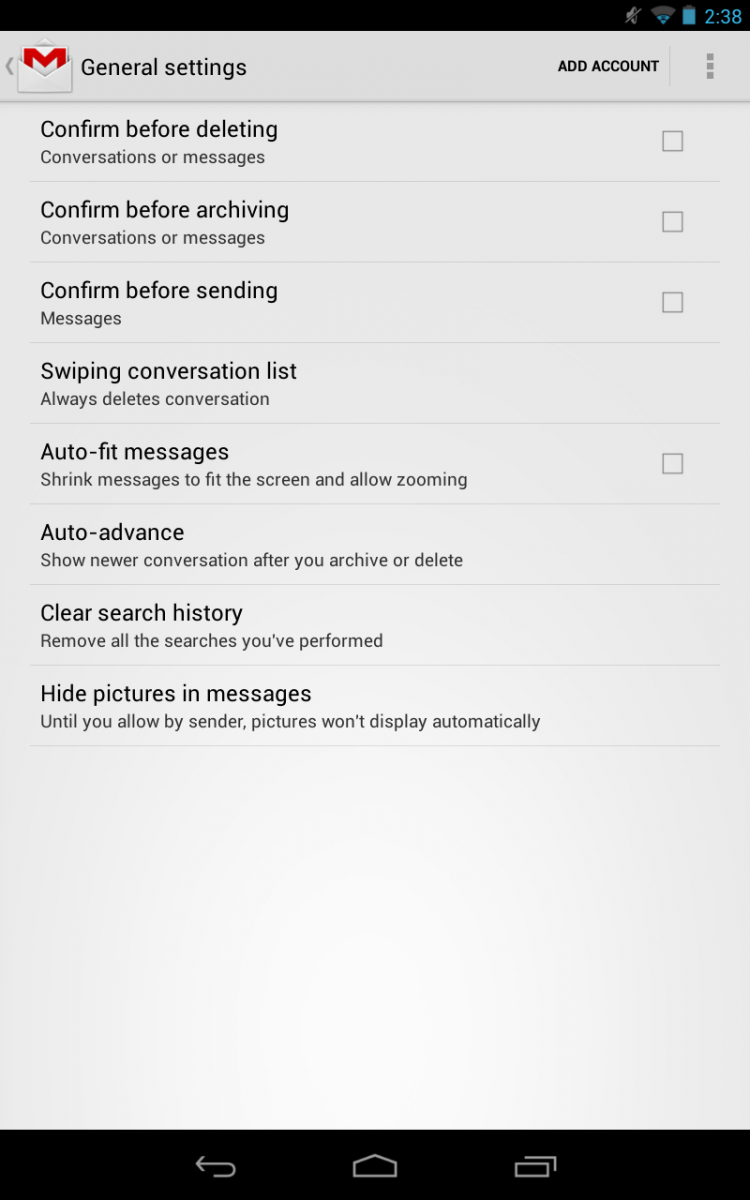
This screen can be found under Settings in the 3-dot menu. If you find yourself accidentally deleting, archiving, or sending messages, you can create a confirmation pop-up using the first three options here. You can also clear any prior email searches, and hide pictures in the bodies of messages. Checking the box next to “Auto-fit messages” will shrink your emails so they completely fit in their window, and will enable you to zoom in and out.
“Auto-advance” is a great time saving feature. If you really want to zip through those new messages, enable the “Newer” setting. This way, after you archive or delete a message you’re reading, you are automatically taken to the next newest message. Alternatively, you can be taken to the next oldest message by selecting “Older”, or selecting “Conversation list” to be taken back to your list of messages.
My favorite feature of this bunch is the “Swiping conversation list”, which I set to “Always deletes”. This lets you swipe messages to the left or right of the screen to delete them. Very cool. If you set this to “Archives or deletes”, a few things happen. Swiping away in the Inbox will archive, swiping away in custom labels will remove that label, and swiping away in the default labels like Sent or All Mail will delete. If this is not your cup of tea, just set the option to “Has no effect”.
Account Settings
You can find this screen just under General Settings. Each of your Google accounts will have their own screen. Here you can make Priority Inbox the first thing you see when opening Gmail, as well as disable notifications individually for each of your accounts. “Sound” takes you back to “Manage labels”, and there’s a place to add an email signature.
“Turn Gmail Sync ON” is simply a shortcut to Android System Settings. “Days of mail to sync” will globally change how many days of email you want synced. If you want to change the days to sync per label instead, you can use “Manage labels”. The last option lets you automatically download any email attachments you receive, or not if you’re concerned about memory or data usage.
The Wrap-Up
If you're a beginner, you should now have a firm grasp on the ins and outs Gmail, while those advanced users might have picked up a trick or two. I’m still trying to learn all those search operators myself. Gmail has certainly come a long way over the years, and new updates should bring even more awesome features for us to play with. If you have your own Gmail tips and tricks, or need help with anything mentioned here, you can hit the forums.
