How to produce beautiful, artistic photos on Android
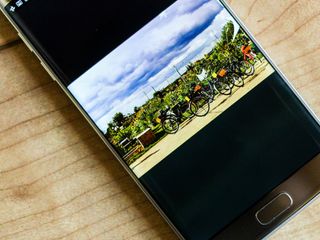
Going somewhere? Packing is tough enough. The last thing you want to do is have to worry about whether you have all the proper hardware to produce well composed, vibrant photography for sharing online. When I travel, I like to reflect on the photos I've snapped every few days. It's my way of appreciating the fact that we live on such a beautiful planet, but I don't want to have to bust out my laptop to do this.
Enter your smartphone (or tablet!). With displays becoming higher resolution and better able to reproduce colors than your standard wide-screen monitor, there's really no reason to carry all that hardware with you just to put out a pretty photo. With a couple of adapters and helpful applications, you can edit your photos just as easily on the go.
Figure out your methodology
First thing's first: how will you shoot your masterpieces? For my vacation in New Zealand, I brought two smartphones: the Galaxy S7 Edge and the Pixel XL. That was really all I needed! Sometimes, I'll bring my trust little entry-level DSLR or borrow my husband's professional-grade kit. Regardless of what you have in tow, you'll want to equip yourself with the proper arsenal of apps.
Shooting with a smartphone
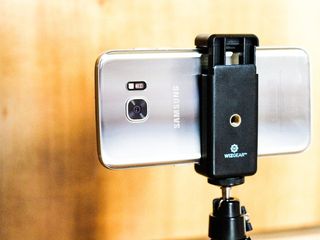
You can shoot with any smartphone, really, but be realistic about the quality of the photos you'll be posting if you're shooting with something low-end to mid-range—like the Honor 6X, for instance. If you're wielding a flagship like the aforementioned devices, however, you can tweak a couple of settings to get the most out of that fixed rear lens.
If you're serious about adjusting the various hues of a photo, you'll want to turn on RAW capture if your smartphone allows it. This means every photo will be shot as a DNG file rather than a JPEG. The advantage is that the file type retains more information than the compressed JPEG would, though you'll have to actively process the photo yourself before it's shareable with the Internet.
On a device like the Galaxy S7 edge, Samsung saves both the RAW and JPEG file to the device so that you can instantly share one photo and then edit it more thoroughly later on. For the purpose of this column, however, you'll be able to edit those DNG files with the right Android app.
Be an expert in 5 minutes
Get the latest news from Android Central, your trusted companion in the world of Android
If you're serious about adjusting the various hues of a photo, you'll want to turn on RAW capture.
Be forewarned that on most devices, you'll have to enter "Pro mode" before you can select the option to shoot in RAW. This requires that you manually adjust elements like the exposure and shutter speed before you can snap a picture. Also, consider investing in a worthy smartphone tripod if you're headed this route. I did, and though it adds a bit of bulk to packing, landscape shots taken with my smartphone have never looked better.
Shooting with a DSLR
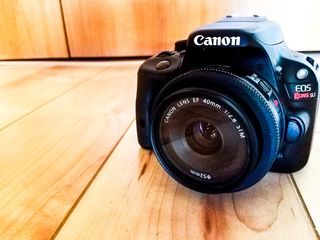
If you're planning to edit photos taken with your DSLR, check to see if your phone or tablet supports USB On-The-Go (OTG) first by downloading this app. If it turns out your device is compatible, grab a USB-connected card reader from a place like Amazon. You can choose between adapters that are compatible with your device's charging port or adapters that allow you to connect any USB flash drive or card reader.


Thanks to Android's "sharing" mechanism, you can open those photos directly in the editing app of your choice.
We've also got a helpful primer on how to properly connect USB flash storage to your Android device. The same steps apply to a USB card reader, too. When you're ready to edit, you can plug in the SD card into your phone and browse through the files like you would on a regular computer. And thanks to Android's "sharing" mechanism, you can open those photos directly in the editing app of your choice.
Choose your applications
Adobe Lightroom
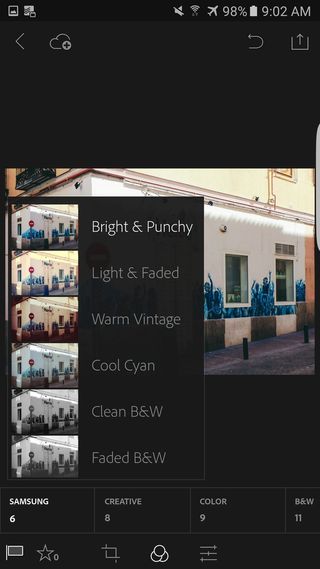
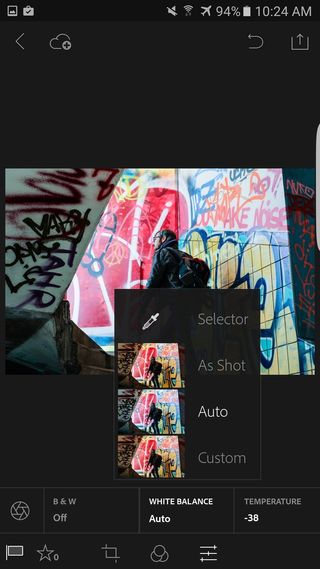
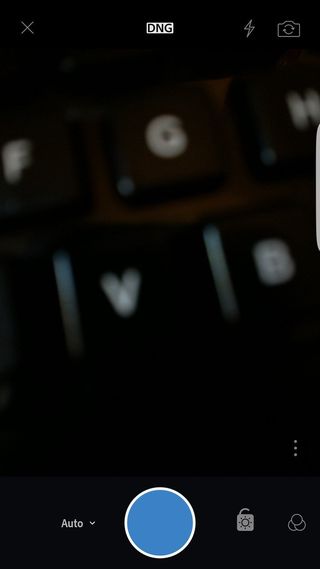
If you've used the desktop app, you know that Adobe Lightroom is one of the primo titles for making your smartphone photos look their absolute best. Lightroom mobile boasts much of the same functionality as the full suite, including the ability to individually adjust hue, saturation, contrast, brightness, white balance, sharpness, and tone. There are also helpful filters to choose from if you're feeling creative, including filters that correspond directly to the type of smartphone you're shooting with.
Lightroom mobile also lets you sign in to your Adobe account, so if you're already a Creative Cloud subscriber, you can log in to access your archived albums and all the metadata. And if your smartphone doesn't employ a "Pro mode," Lightroom mobile comes with the ability to shoot DNG files baked into the camera mode.
Download Adobe Lightroom (Free)
Snapseed
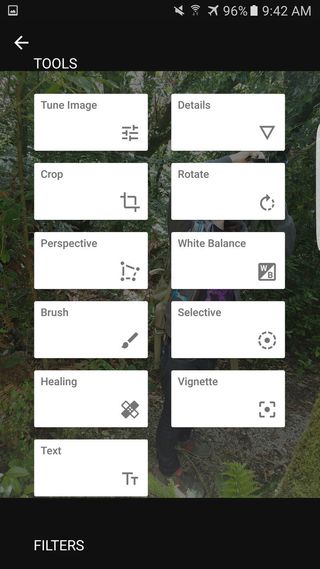
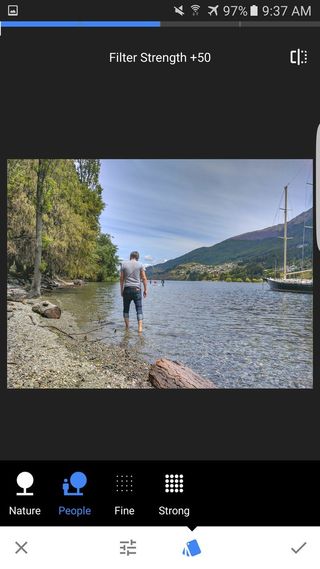

You're an Android user, so you're already entrenched in the Google life. Stick with the family by downloading Snapseed, Google's photo editing suite. The app comes with 25 different tools and filters, including a healing brush and HDR tuner. What's more: Any time you apply a filter, you can tap an icon in the upper right-hand corner to toggle between the before and after. Snapseed also supports DNG files.
When you're finished editing, you can easily share to any of your favorite social networks. For a little more flair, choose between the different frames or add a bit of context with a stylized text caption.
Pixlr
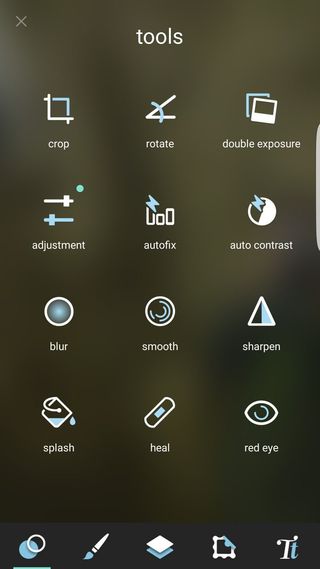
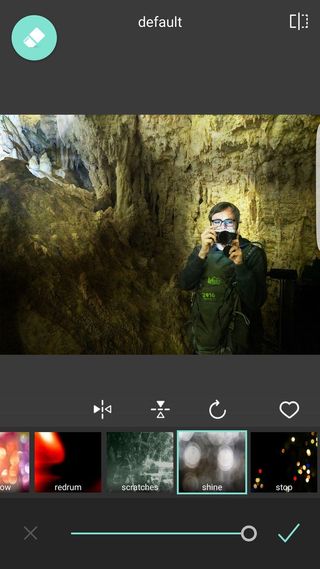
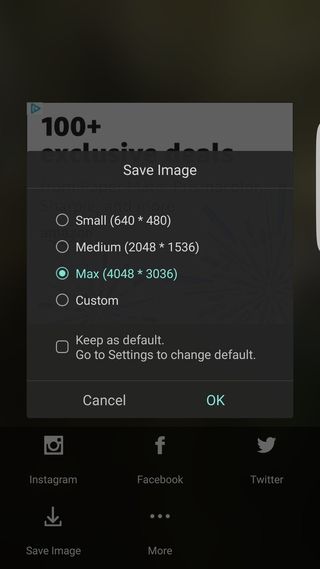
Pixlr claims it offers over 2 million combinations of free effects, overlays, and filters. I can't personally confirm that, but I can say that, anecdotally, I'm sometimes overwhelmed by Pixlr precisely because of its breadth of features. In addition to the standard filters and adjustments, Pixlr lets you do things like create collages, layer multiple photos, and stylize your images. There's also a favorites button in case you get into an editing groove and you don't want to have to recall your steps each time.
When you're finished editing, you can share externally or save the photo to your device at maximum resolution.
Accept the limitations
For those of you who are new to the concept of editing photos with your smartphone, be aware of the limitations. For one, you can only work on one image at a time, and you're likely doing so with a sensitive setup — one wrong flick of the SD card adapter and every edit could disappear before you even have the chance to export. Transferring and editing RAW files also drains your battery, so if you're in the editing process while in transit, for instance, be sure you're tethered to a high capacity battery pack.
But you're likely not reading this article if you're a professional photographer because there's nothing mentioned here that you don't already know. Well, I'd ask you to please consider leaving a comment and letting us know of any other tips you might have for editing photos on the go!
Florence Ion was formerly an editor and columnist at Android Central. She writes about Android-powered devices of all types and explores their usefulness in her everyday life. You can follow her on Twitter or watch her Tuesday nights on All About Android.
